Installing vinyl plank flooring on stairs can be a great way to give your staircase a fresh and modern look. Vinyl plank flooring is durable, easy to clean, and in various styles and colors.
Before you begin the installation process, it is important to properly prepare your stairs and gather all the necessary tools and materials. We will provide you with a quick guide on how to install vinyl plank flooring on stairs. We’ll walk you through the step-by-step process, from preparation to the final installation.
Additionally, we’ll discuss the different types of stairs suitable for vinyl plank flooring and provide some essential safety tips to ensure a successful installation. Get ready to transform your staircase with this cost-effective and stylish flooring option.
How To Install Vinyl Plank Flooring On Stairs: 8 Easy Steps
Installing vinyl plank flooring on stairs can be a great way to update the look of your staircase. Vinyl plank flooring offers durability, easy maintenance, and a variety of stylish options to choose from. When installing vinyl planks on stairs, it is important to ensure that each step is properly prepared and that the planks are securely attached.
However, Installing vinyl plank flooring on stairs can be a simple and effective way to update the look of your staircase. Here are eight easy steps on how to install vinyl plank flooring on stairs, help you install vinyl plank flooring on stairs. By following these steps, you can easily install vinyl plank flooring on stairs and achieve a beautiful and durable result that will enhance the overall look of your home.
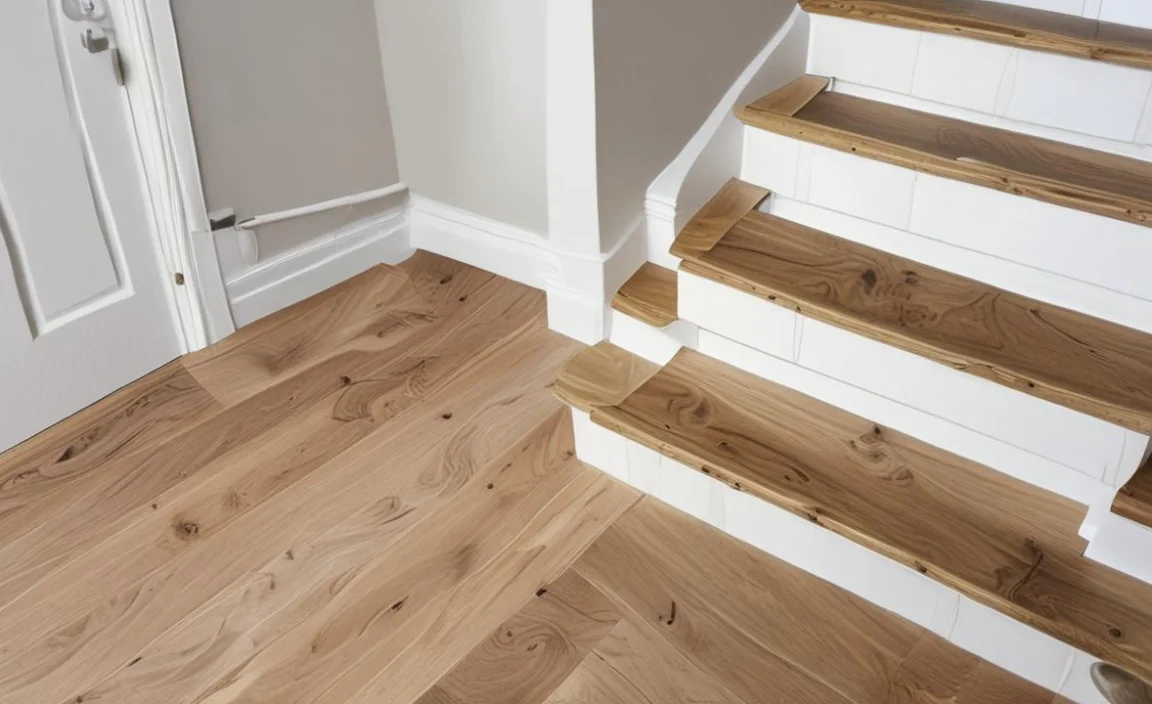
1.Preparation Before You Begin
There are a few important steps before installing vinyl plank flooring on stairs. First, measure and calculate the vinyl plank flooring needed for your stairs. Next, remove any existing carpet or other flooring from the stairs and ensure the surface is clean and smooth.
Installing stair nose molding at the edge of each step is crucial to provide a finished look and protect the edges of the vinyl planks. Begin installing the vinyl planks from the bottom of the stairs, working your way up. Use a high-quality adhesive specifically designed for vinyl flooring to secure the planks to the stairs. Finally, cut and trim the planks to fit them properly on each step.
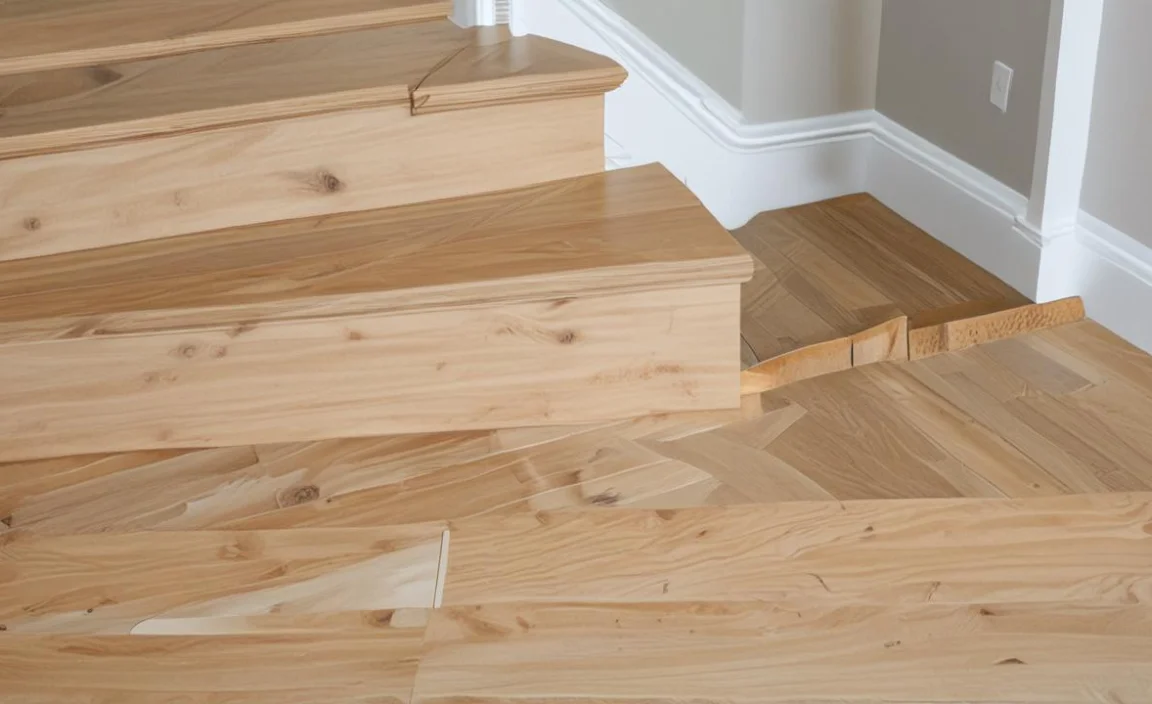
2.Prepare The Sub-Floor
Preparing the subfloor before installing vinyl plank flooring on the stairs is essential to ensure a smooth installation process. Begin by thoroughly cleaning the subfloor and removing any debris or imperfections. Next, measure the dimensions of each step and cut the vinyl planks accordingly.
Apply adhesive to the back of each plank and firmly press them onto the subfloor, starting from the bottom step and working your way up. Use a roller to eliminate any air bubbles and ensure proper adhesion. Align the planks properly and trim any excess vinyl using a utility knife or specialized cutting tool.
3.Adjust Existing Stair Nosing
It is essential to adjust the existing stair nosing to ensure a proper installation of vinyl plank flooring on the stairs. Remove any carpet or existing flooring from the stairs and thoroughly clean the surface. Measure and cut the vinyl planks to fit the width and length of each stair tread.
Apply adhesive to the back of each plank and firmly press it onto the stair tread, starting from the bottom step and working your way up. Use a rubber mallet or roller to secure the planks to the stairs. Remember to leave a small gap between each plank for expansion.
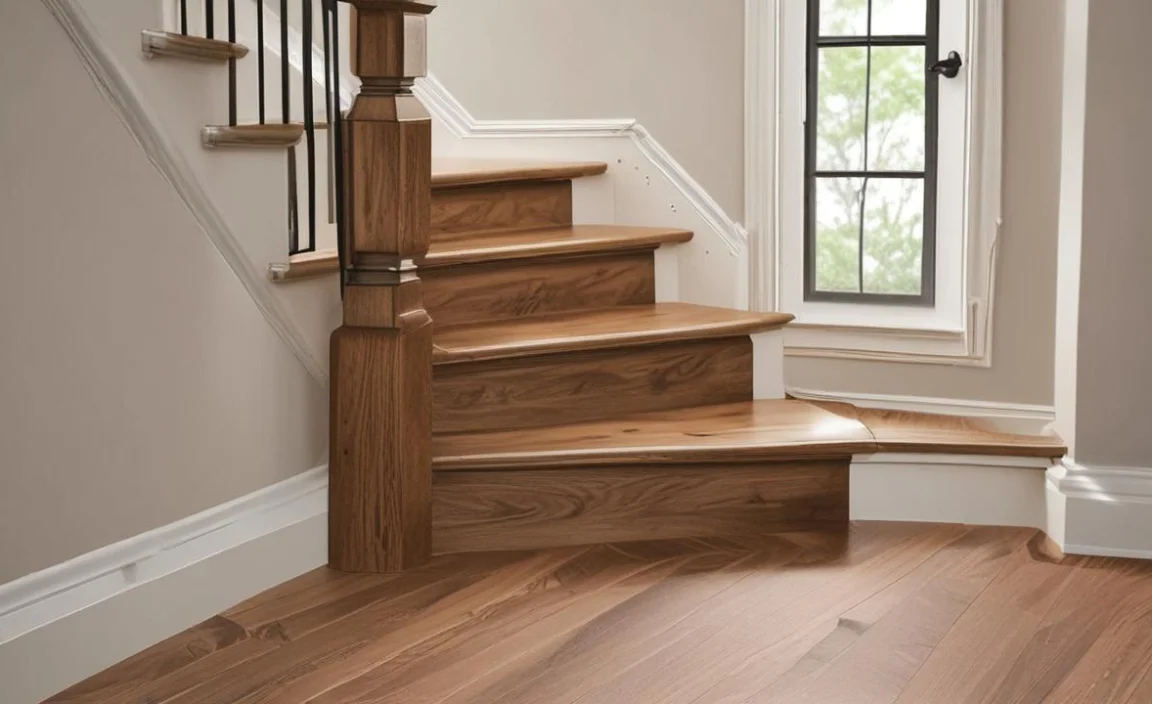
4.Measure Top Tread And Rise
To install vinyl plank flooring on stairs, start by measuring your stairs’ top tread and rise to determine the size of the vinyl planks you’ll need. Use a circular saw or jigsaw to cut the planks to fit each step. Clean the stairs thoroughly and remove any existing flooring or carpeting.
Apply adhesive or double-sided tape to the back of each vinyl plank and firmly press it onto the stair tread, starting from the bottom and working your way up. Use a roller or rubber mallet to ensure secure adhesion without air bubbles or gaps. Repeat this process for each step.
5.Cut First Riser, Tread, And Nosing
To begin installing vinyl plank flooring on stairs, start by measuring and cutting the first riser, tread, and nose to match the dimensions of your staircase. Apply adhesive to the back of the first riser and firmly press it onto the stair. Repeat this process for each riser, ensuring that they are securely attached. Next, install the treads by applying adhesive to their backs and pressing them firmly onto the stairs. Use a rubber mallet to ensure a tight fit between each tread. Finally, cut and install the nosing on each step, ensuring it aligns with the edge of the tread.
6.Rough Fit Pieces
To install vinyl plank flooring on stairs, measure and cut the planks to size for each step. Install a rough fit piece on the stair tread, leaving a small gap between the plank and the riser. Apply adhesive to the back of the rough fit piece and press it firmly onto the stair tread.
Repeat this process for each step, ensuring secure attachment. Trim any excess or uneven edges for a clean finish. Finally, install the remaining full-size vinyl planks on each step using the same process as the rough fit pieces.
7.Glue Tread, Riser, And Nosing
Glueing the tread, riser, and nosing is crucial in installing vinyl plank flooring on stairs. Begin by applying adhesive to the back of the tread and firmly press it onto the stair while ensuring proper alignment. Next, apply adhesive to the back of the riser and firmly attach it to the stair, aligning it with the tread.
Finally, apply adhesive to the nosing and press it securely onto the front edge of the tread, creating a seamless transition between steps. Follow the manufacturer’s instructions for the specific adhesive you are using. Repeat these steps for each step on your staircase until all treads, risers, and nosings are securely glued in place.
8.Repeat Tread, Riser, And Nosing Installation
To repeat the tread, riser, and nosing installation process for vinyl plank flooring on stairs, begin by measuring and cutting the planks to fit the treads. Apply adhesive to the back of each plank and firmly press it onto the tread, ensuring proper alignment.
Repeat this step for each tread. Next, measure and cut the planks to fit the risers, applying adhesive and pressing them onto the risers with proper alignment. Repeat this process for each riser. Following this repeated process can achieve a seamless and professional-looking installation.
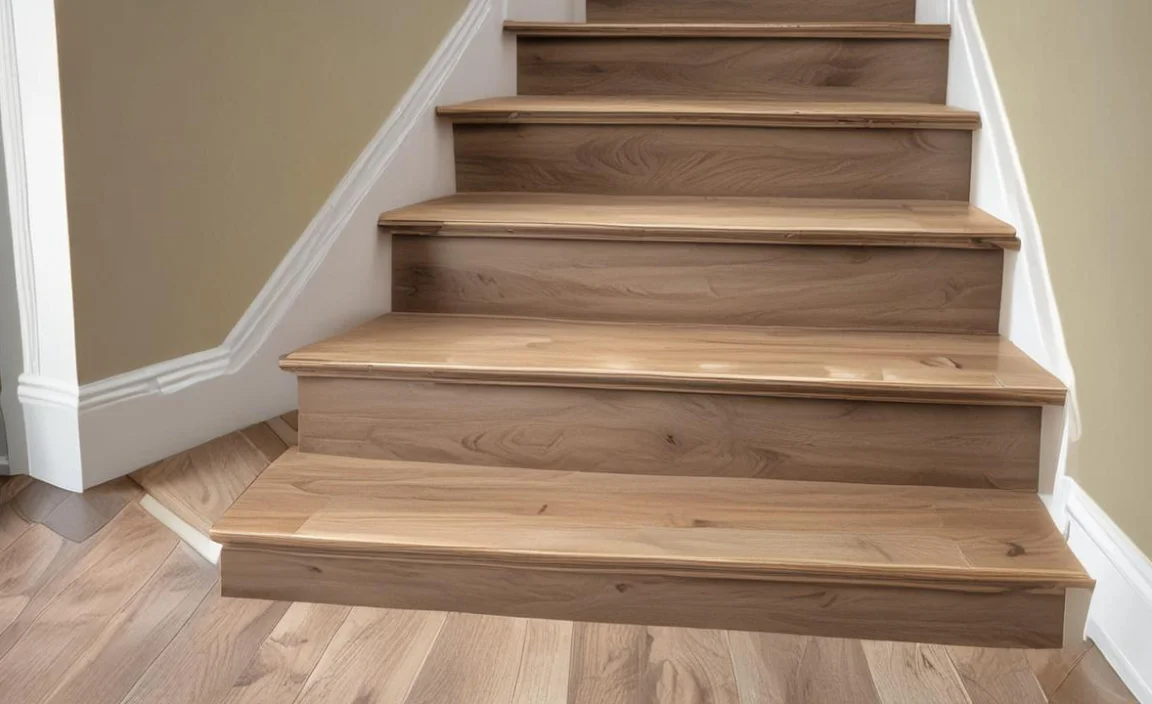
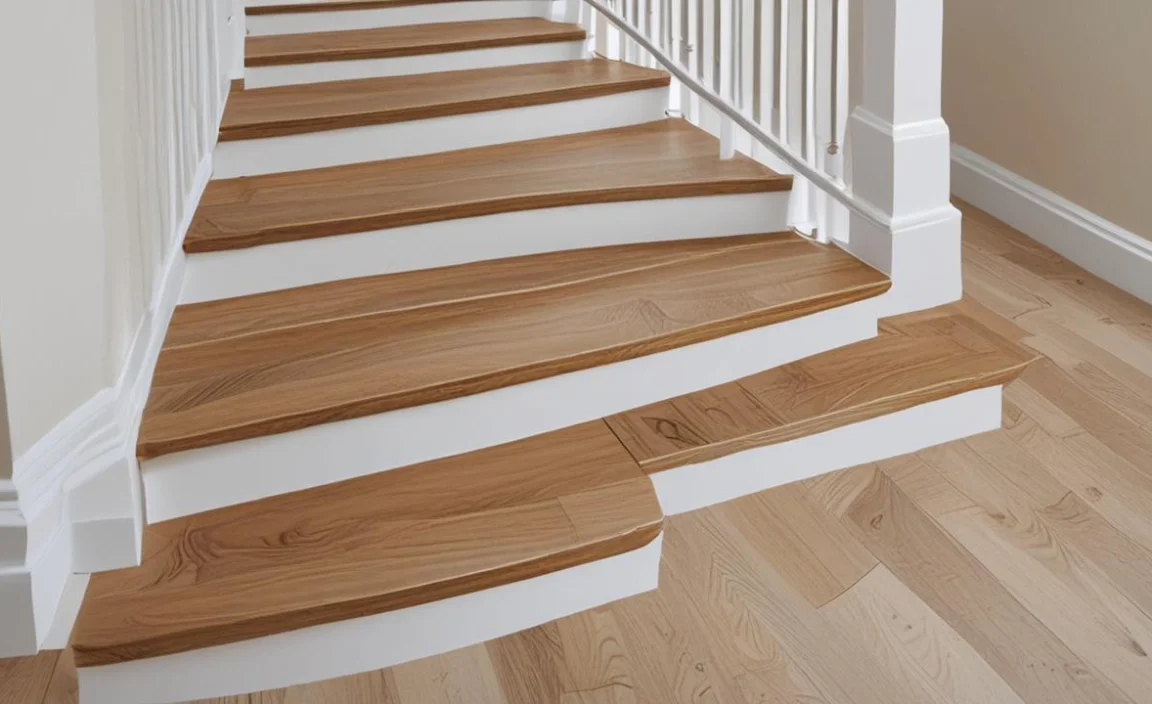
The Different Types Of Stairs You Can Install Vinyl Plank Flooring On
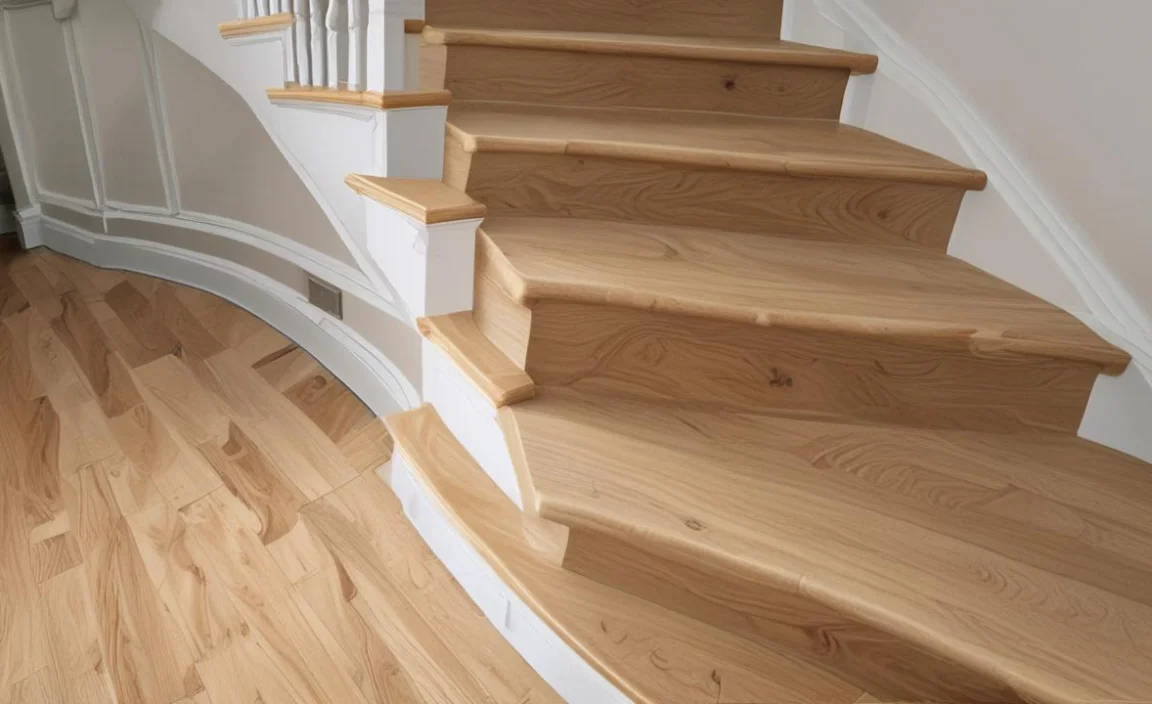
Vinyl plank flooring can be installed on various stairs, achieving a cohesive and seamless look throughout your home. Straight stairs are the easiest to work with, providing a straightforward installation process. L-shaped and U-shaped stairs require precise measurements and cutting techniques to ensure a perfect fit.
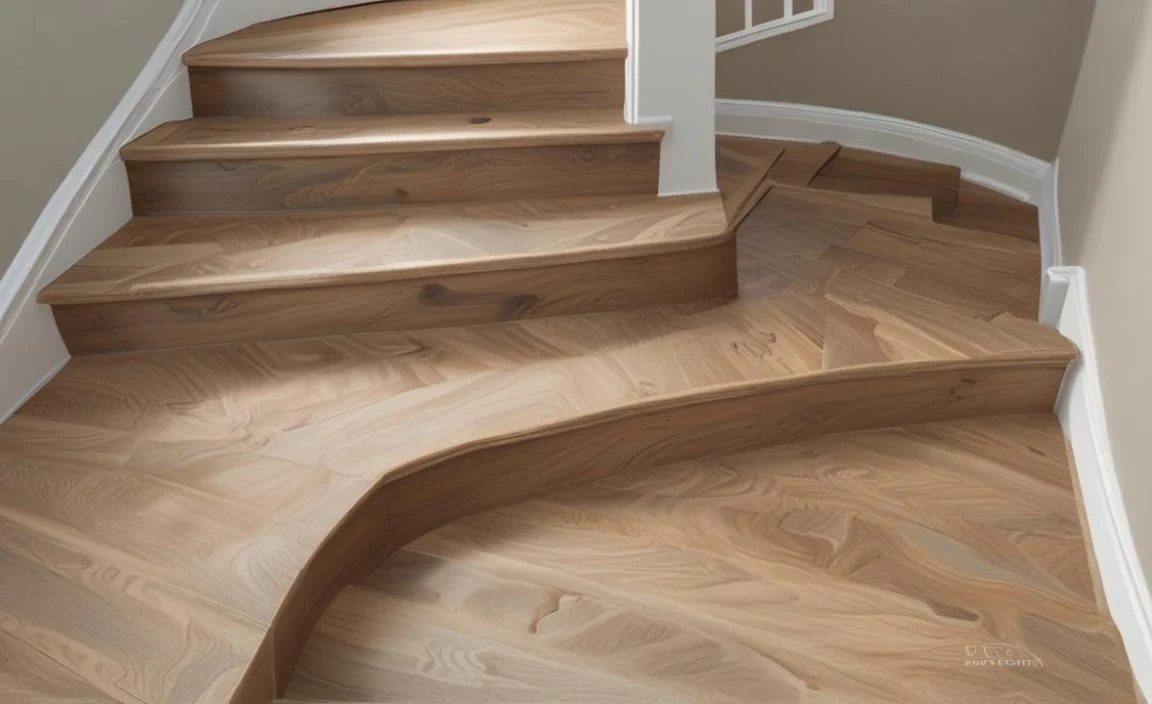
Although more challenging, installing vinyl plank flooring on spiral stairs using flexible adhesive and carefully trimming the planks to match the curved shape is possible. Remember to prepare the staircase surface properly, use specific adhesive for stair installation, and consider incorporating stair nosing for enhanced safety and durability.
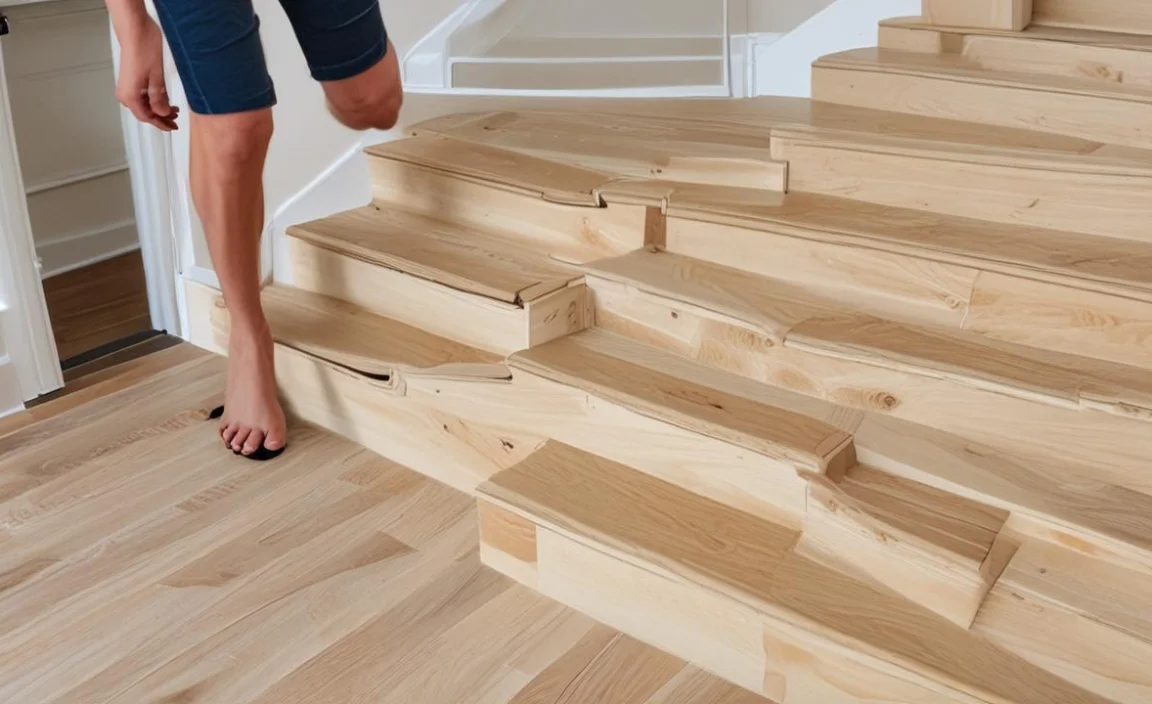
Safety Tips For Installing Vinyl Plank Flooring On Stairs
When installing vinyl plank flooring on stairs, it is important to prioritize safety. Begin by measuring and planning the installation to ensure a proper fit. Prepare the stairs by removing any existing flooring and repairing any damage. Use adhesive specifically designed for vinyl plank flooring to ensure a secure installation.
Start installing the planks from the bottom of the stairs and work your way up, using a stair nosing for a finished look. Remember to take safety precautions, such as wearing protective gear and using the proper tools to avoid accidents during installation.
Conclusion
Knowing how to install vinyl plank flooring on stairs is a great way to enhance your staircase’s overall look and durability. By following these easy steps on installing vinyl plank flooring on stairs and taking the necessary safety precautions, you can achieve a professional-looking installation that will last years. Remember to prepare the subfloor properly, measure accurately, and use adhesive designed specifically for vinyl flooring.
Whether you have straight, curved, or even spiral stairs, vinyl plank flooring can be easily installed. Additionally, regular maintenance and cleaning will help to prolong the lifespan of your vinyl plank flooring on stairs. You can transform your staircase into a stylish, durable home feature with patience and attention to detail.
