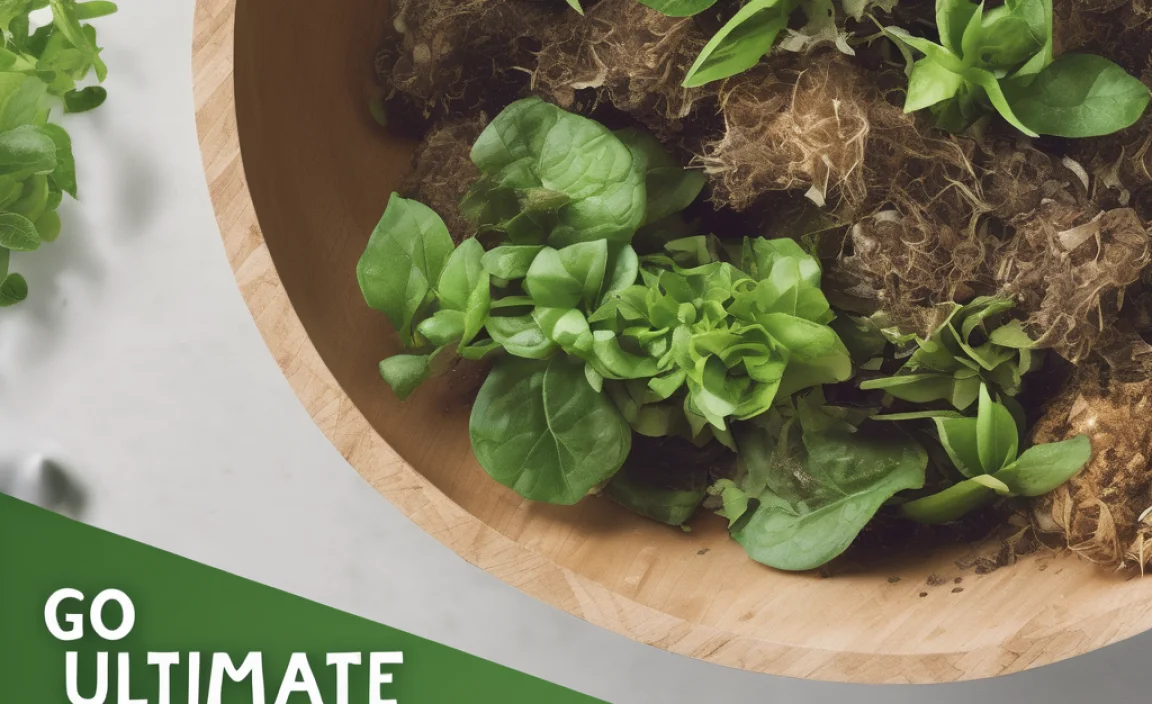
Want to turn your kitchen scraps and yard waste into super-powered plant food? Composting is like a magic trick for your garden. But maybe you’ve heard it’s complicated or messy. Good news! Turning organic waste into nutrient-rich compost is easier than you think. This guide will show you how to make wonderful garden compost right in your European garden. Let’s get started!
Garden Compost In Europe: Effortless Results for Budding Green Thumbs
Hey there, fellow gardeners! Troy D Harn here, your go-to friend for making home improvement and gardening projects simple and stress-free. If you’ve ever looked at your food scraps and garden trimmings and thought, “There must be a better way than the bin,” then welcome! You’re in the right place. We’re going to talk about garden compost in Europe. It’s a fantastic way to enrich your soil, boost plant growth, and reduce waste. And guess what? It’s not as daunting as it sounds. We’ll break it down step-by-step so you can feel confident and get those effortless results you’re dreaming of.
Why Compost? The Beautiful Benefits of Black Gold
Composting is more than just recycling; it’s about creating life. By turning waste into compost, you’re making “black gold” – a dark, crumbly, nutrient-rich soil amendment that plants absolutely love. What does this mean for your garden? It means healthier, more vibrant plants! Here are some of the top reasons to start composting:
- Amazing Soil Booster: Compost improves soil structure, making it easier for roots to grow. It helps sandy soils hold water and nutrients, and loosens clay soils so they drain better. Your plants will thank you with stronger growth and better yields.
- Reduces Waste: Think about how much kitchen waste and garden debris ends up in landfills. Composting diverts this waste, saving valuable landfill space and reducing harmful greenhouse gas emissions.
- Natural Fertiliser: Compost provides essential nutrients for plants, reducing or even eliminating the need for synthetic fertilisers. This is not only better for your plants and your wallet, but also for the environment.
- Water Retention: Healthy, compost-rich soil acts like a sponge, holding moisture longer. This means you’ll need to water your garden less often, which is a real time-saver and great for those dry spells.
- Disease Suppression: The beneficial microorganisms in compost can help suppress soil-borne diseases, making your plants more resilient and reducing the need for chemical treatments.
- Cost Savings: Making your own compost means you don’t have to buy expensive soil conditioners or fertilisers. It’s a sustainable and eco-friendly way to save money on your gardening habit.
Getting Started: What You Need for European Garden Composting
The beauty of composting is its flexibility. You don’t need a huge garden or expensive equipment to get started. Here’s what you might consider:
Choosing Your Composting Method
There are a few popular ways to compost, each with its own pros and cons. For beginners in Europe, simplicity is key!
| Method | Ideal For | Pros | Cons | Setup Ease |
|---|---|---|---|---|
| Open Pile | Larger gardens, lots of yard waste | Simple, no cost for bin, can take large volumes | Can look untidy, may attract pests if not managed well, takes longer to break down | Very Easy (just make a pile!) |
| Compost Bin (Enclosed) | Most gardens, neatness is important | Tidier appearance, retains heat and moisture better, can deter pests | Requires purchasing a bin, capacity is limited by bin size | Easy to Moderate (assemble or place bin) |
| Tumbler Composter | Smaller spaces, quick composting desired | Fastest composting, easy to turn, contained and neat | More expensive initial cost, smaller batches, can get heavy when full | Moderate (assembly required) |
| Worm Composting (Vermicomposting) | Apartments, small balconies, very small gardens | Excellent for kitchen scraps, produces nutrient-rich worm castings, odourless if managed well | Requires specific worms, sensitive to temperature, cannot handle large volumes of garden waste | Moderate (requires a bin and worms) |
For most beginners in Europe, an enclosed compost bin is a great starting point. They come in various materials like plastic or wood and are designed to be relatively compact and tidy for European gardens, which can sometimes be smaller than those in other regions.
Essential Tools (Keep it Simple!)
You don’t need much to start. Think of these as helpful companions, not mandatory purchases:
- Compost Bin or Area: As discussed above. Many European garden centres and DIY stores sell suitable bins.
- Pitchfork or Garden Fork: This is your best friend for turning and aerating your compost pile. It also helps break up clumps.
- Garden Gloves: Protect your hands from dirt and any unpleasantness.
- Watering Can or Hose: Compost needs moisture to work its magic.
- Kitchen Caddy/Bucket: A small lidded bin for collecting kitchen scraps to take out to your main compost bin.
What Can You Compost? The “Greens” and “Browns” Explained
The secret to successful composting is balancing two types of materials: “greens” and “browns.” Think of them as the fuel for your compost heap.
“Greens” (Nitrogen-Rich Materials)
These are typically moist, fresh materials that provide nitrogen. Nitrogen feeds the microorganisms that break down the waste. Examples include:
- Fruit and vegetable scraps
- Coffee grounds and tea bags (paper ones are fine)
- Grass clippings (in thin layers to avoid matting)
- Plant trimmings (non-woody)
- Eggshells (crushed up)
- Manure from herbivores (like chickens, rabbits, horses – ensure it’s aged if possible)
“Browns” (Carbon-Rich Materials)
These are typically dry, woody materials that provide carbon. Carbon gives the microorganisms energy and helps create air pockets in the compost. Examples include:
- Dry leaves
- Straw or hay
- Cardboard (torn into small pieces, remove tape and labels)
- Newspaper (shredded, avoid glossy paper)
- Woody prunings (chopped up small)
- Sawdust (from untreated wood only, use sparingly)
- Paper egg cartons (torn up)
What NOT to Compost
Some things can cause problems, attract pests, or won’t break down well. It’s best to avoid:
- Meat, fish, or dairy products (attract pests and can smell)
- Oily or greasy foods
- Diseased plants or weeds that have gone to seed
- Treated wood or sawdust from treated wood
- Pet waste (from cats and dogs – can contain pathogens)
- Glossy magazines or coloured inks
- Plastics, metals, or glass
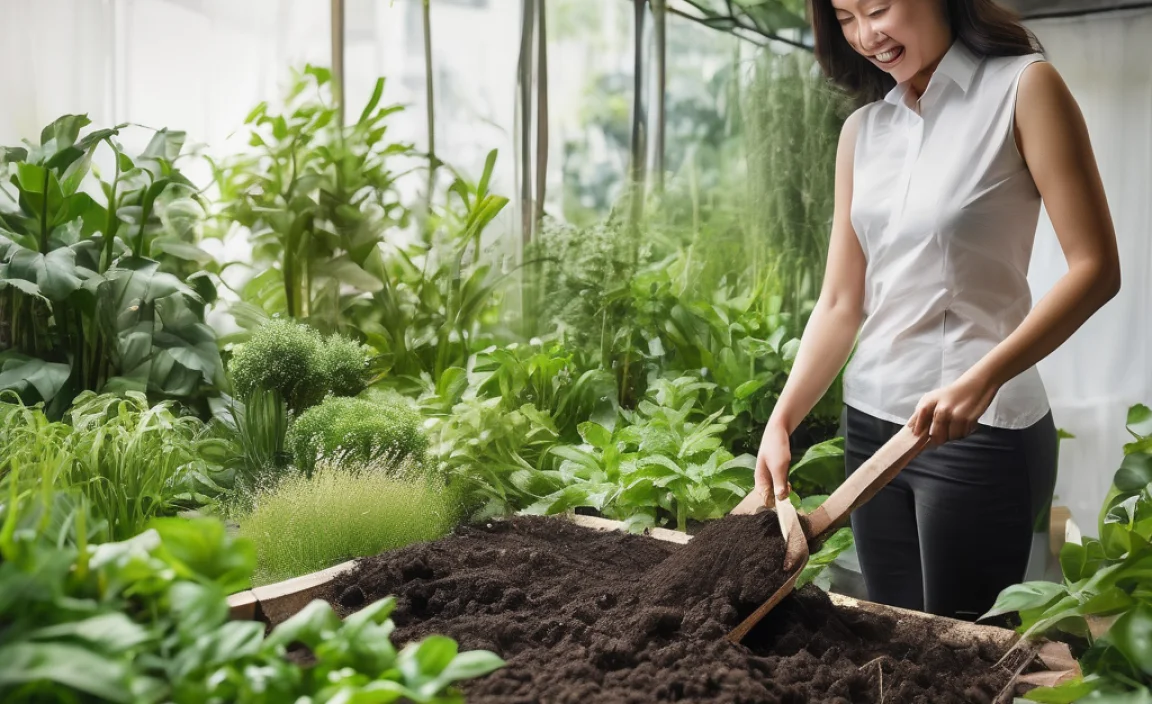
Building Your European Compost Pile: A Step-by-Step Guide
Ready to get your hands dirty (but not too dirty!)? Here’s how to build your compost:
Step 1: Choose Your Location
Find a convenient spot in your garden. It should be:
- Accessible: Easy to get to with your kitchen scraps and garden waste.
- Level: A flat base prevents your bin from tipping or your pile from slumping.
- Good Drainage: Avoid areas that get waterlogged.
- Partially Shaded: Too much direct sun can dry out the compost, while deep shade might keep it too wet and cool. A spot that gets morning sun and afternoon shade is often ideal.
- Not too close to the house: While well-managed compost shouldn’t smell, it’s wise to keep a little distance.
Step 2: Start Layering
This is where balancing greens and browns comes in. A good rule of thumb is to aim for roughly two to three parts browns to one part greens by volume. This ratio helps ensure good aeration and prevents the dreaded “soggy sock” smell!
- Base Layer: Start with a layer of coarse brown materials like twigs or straw at the bottom of your bin or chosen area. This allows for airflow and drainage.
- Alternate Layers: Begin adding your greens and browns in alternating layers. Think of it like making a lasagna! Add a layer of kitchen scraps (greens), then cover it with a layer of dry leaves or shredded cardboard (browns).
- Moisten as You Go: Lightly water each layer as you add it. The compost should be as moist as a wrung-out sponge – not dripping wet, but definitely not dry.
Step 3: Add New Materials
As you generate more kitchen scraps and garden waste, continue adding them to the compost. Try to bury fresh kitchen scraps within the pile to deter pests and speed up decomposition. Always aim to cover your greens with a layer of browns to maintain that ideal C:N (carbon to nitrogen) ratio.
Step 4: Aerate Your Compost (The Turning)
This is crucial for speeding up the composting process and preventing anaerobic conditions (which cause bad smells). Turning introduces oxygen, which the microorganisms need to work efficiently.
- How Often: Aim to turn your compost pile every 2-4 weeks. If you’re using an enclosed bin, you might turn it less often, especially if it has aeration vents. Tumbler composters make turning very easy – just give them a spin!
- How to Do It: Use your garden fork to mix the materials. Try to bring the material from the outside edges into the centre, and the material from the centre to the outside. This ensures everything gets a chance to break down evenly.
Step 5: Monitor Moisture Levels
Check the moisture regularly. If it feels too dry, add some water. If it’s too wet, add more brown materials like dry leaves or shredded cardboard. A simple test is to grab a handful of compost and squeeze it. If a few drops of water come out, it’s just right. If water streams out, it’s too wet. If it feels crumbly and doesn’t release any moisture, it’s too dry.
Step 6: Patience – The Final Ingredient
Composting isn’t an instant process. Depending on the materials you use, the turning frequency, and the weather, it can take anywhere from a few months to a year to produce finished compost.
Recognising Finished Compost
How do you know when your compost is ready to use? It will:
- Look dark and crumbly, like rich soil.
- Smell earthy and pleasant, not sour or foul.
- Have no recognisable food scraps or yard waste left in it.
- Feel cool to the touch, even if the pile was hot during decomposition.
To speed up the breakdown of larger brown materials, consider chopping or shredding them before adding them to the bin. For example, you can use a garden shredder for woody prunings or tear up cardboard boxes. Resources from organisations like the Royal Horticultural Society (RHS) in the UK offer excellent, detailed advice on composting techniques suitable for various garden sizes.
Troubleshooting Common Composting Issues
Even with the best intentions, compost piles can sometimes present small challenges. Don’t worry, these are usually easy to fix!
Problem: Compost Smells Bad (Ammonia or Rotten Eggs)
Cause: Usually too many “greens” (nitrogen) or not enough air (poor aeration). This leads to anaerobic decomposition.
Solution: Add more “browns” (carbon-rich materials) like dry leaves, shredded cardboard, or straw. Turn the pile thoroughly to introduce air. Ensure good drainage.
Problem: Compost is Too Wet and Slimy
Cause: Too much moisture, often from excessive “greens” or rain, and not enough air circulation.
Solution: Add plenty of dry brown materials (leaves, cardboard, straw). Fork through the pile to break up clumps and improve air flow.
Problem: Compost is Too Dry and Slow to Break Down
Cause: Not enough moisture, or too many “browns” relative to “greens.” Can also happen if the pile is too exposed to sun or wind.
Solution: Water the pile thoroughly. You might need to turn it to ensure the moisture penetrates the centre. Add more nitrogen-rich “greens” like kitchen scraps or fresh grass clippings.
Problem: Compost Attracts Pests (Rodents, Flies)
Cause: Often due to the presence of meat, dairy, or oily foods, or exposed kitchen scraps. The pile might also be too wet.
Solution: Ensure you are not adding any prohibited items like meat or dairy. Always bury fresh kitchen scraps deep within the pile and cover them with a layer of browns. Ensure your compost bin is secure if rodents are a persistent problem. Keeping the compost at the right moisture level also helps.
Problem: The Pile Isn’t Heating Up
Cause: The pile might be too small, too dry, too wet, or have an incorrect balance of greens and browns. It’s also possible that it simply needs more time.
Solution: Check the moisture and air. Ensure your pile is at least one cubic meter (1m x 1m x 1m) for optimal heat generation. Adjust the green/brown ratio. Add more nitrogen-rich materials if it’s primarily browns. Turn the pile to expose all materials to oxygen.
Using Your Homemade Compost
Once your compost is ready, you can use it in so many ways around your European garden:
- Soil Amendment: Dig a generous amount of compost into your garden beds before planting vegetables, flowers, or shrubs. This is its most common use and provides a fantastic foundation for healthy growth.
- Top Dressing: Spread a layer of compost around the base of established plants, trees, and shrubs. This nourishes them directly and helps retain moisture.
- Potting Mix: Mix compost with other ingredients like coir, perlite, or sand to create your own nutrient-rich potting mix for containers and hanging baskets. A common recipe is 1/3 compost, 1/3 loam, and 1/3 grit or sand.
- Lawn Dressing: Rake a thin layer of compost over your lawn, especially in spring or autumn, to improve soil structure and introduce nutrients.
Using your compost is the most rewarding part of the journey. It’s like seeing the fruits (and vegetables!) of your labour literally grow from your efforts.
Frequently Asked Questions About Garden Compost In Europe
Q1: How long does it take to make compost?
A: The time it takes varies greatly. With regular turning and the right balance of materials, you can have usable compost in as little as 2-3 months. However, it can also take 6-12 months if the pile is less actively managed.
Q2: What is the best type of compost bin for a small European garden?
A: For smaller gardens, an enclosed plastic compost bin is often ideal. They are tidy, retain moisture and heat well, and help deter pests. Tumbler composters are also good for speed and ease of use, though they can be more costly.
Q3: Can I compost grass clippings?
A: Yes, you can! Grass clippings are a great source of nitrogen (“greens”). However, add them in thin layers to prevent them from matting up and becoming a slimy, smelly mess. Mix them with plenty of brown materials.

I am passionate about home engineering. I specialize in designing, installing, and maintaining heating, ventilation, and air conditioning systems. My goal is to help people stay comfortable in their homes all year long.