Ever look at your kitchen scraps and yard waste and think, “There has to be a better way than the landfill”? You’re not alone! Composting can seem a bit tricky, but what if I told you there’s a way to turn that waste into amazing garden food super fast? It’s called hot composting, and it’s way easier than you might think. We’re going to break it down, step-by-step, so you can start making rich, dark compost that your plants will absolutely love. Get ready to transform your trash into treasure!
What is Hot Composting Anyway?
So, what exactly is this “hot composting” everyone’s talking about? Simply put, it’s a way of composting that heats up quickly. Unlike slow, “cold” composting that can take months or even a year, hot composting is a speedy process. We’re talking about turning your organic materials into finished compost in as little as 4 to 8 weeks! How does it do that? It’s all thanks to tiny microorganisms, like bacteria and fungi, that work like little composting machines. When they have the perfect conditions – the right mix of ingredients, air, and moisture – they get really busy. This activity generates heat, often reaching temperatures between 130°F and 160°F (54°C to 71°C). This high heat is the magic ingredient that speeds up decomposition and, importantly, kills off weed seeds and pathogens. It’s like giving your compost pile a supercharged boost!
Why Choose Hot Composting? The Benefits Are Hot!
Choosing hot composting isn’t just about speed; it’s packed with awesome benefits for your garden and your wallet. Here’s why it’s such a popular choice, especially here in the USA:
- Speedy Results: The most obvious perk! Get nutrient-rich compost ready for your garden beds in just a few weeks, not months. Perfect if you’re eager to see your garden thrive quickly.
- Kills Weeds and Pests: The high temperatures are great for sterilizing your compost. This means weed seeds and the eggs of garden pests are zapped, so you won’t be spreading unwelcome guests into your garden.
- Reduces Waste: You’ll be diverting a significant amount of organic waste from landfills. According to the EPA, food scraps and yard waste make up a big chunk of what we throw away. Composting tackles this head-on.
- Superior Soil Amendment: Hot compost is incredibly rich in nutrients and beneficial microbes. It improves soil structure, drainage, and water retention, leading to healthier, happier plants.
- Odor Control: A well-managed hot compost pile, with the right carbon-to-nitrogen balance, typically doesn’t smell bad. In fact, it should smell earthy and pleasant!
- Cost-Effective: Making your own compost saves money on store-bought soil amendments and fertilizers. Plus, it’s a fantastic way to recycle materials you already have.
Getting Started: What You’ll Need for Hot Composting

Don’t worry, you don’t need a fancy setup to get started with hot composting. The key is having the space and the right materials. Here’s a rundown of what you’ll likely need:
Choosing Your Composter
You have a few options for containing your hot compost pile. The best choice often depends on your space and how much you plan to compost.
- Open Piles: The simplest method. Just designate an area in your yard (at least 3 feet x 3 feet x 3 feet is ideal) and start piling materials. Ensure good airflow. This is great for larger yards.
- Bins/Towers: These can be made from wood pallets, wire mesh, or purchased as plastic compost bins. They help keep the pile contained and can look tidier. Some have lids or doors for easier access.
- Tumblers: These are enclosed barrels that you can rotate. They make turning the compost easy and can speed up the process. They’re a good option for smaller spaces as they are often neater and more contained.
Essential Tools
These are the workhorses that will help you manage your compost:
- Pitchfork or Compost Aerator: Essential for turning and aerating your pile. A compost aerator is a great tool that helps you do this without a lot of heavy lifting.
- Garden Hose with Spray Nozzle: You’ll need to keep your compost pile moist, so easy access to water is a must.
- Bucket with Lid: For collecting kitchen scraps to add to the pile.
- Shovel: Helpful for moving materials and harvesting finished compost.
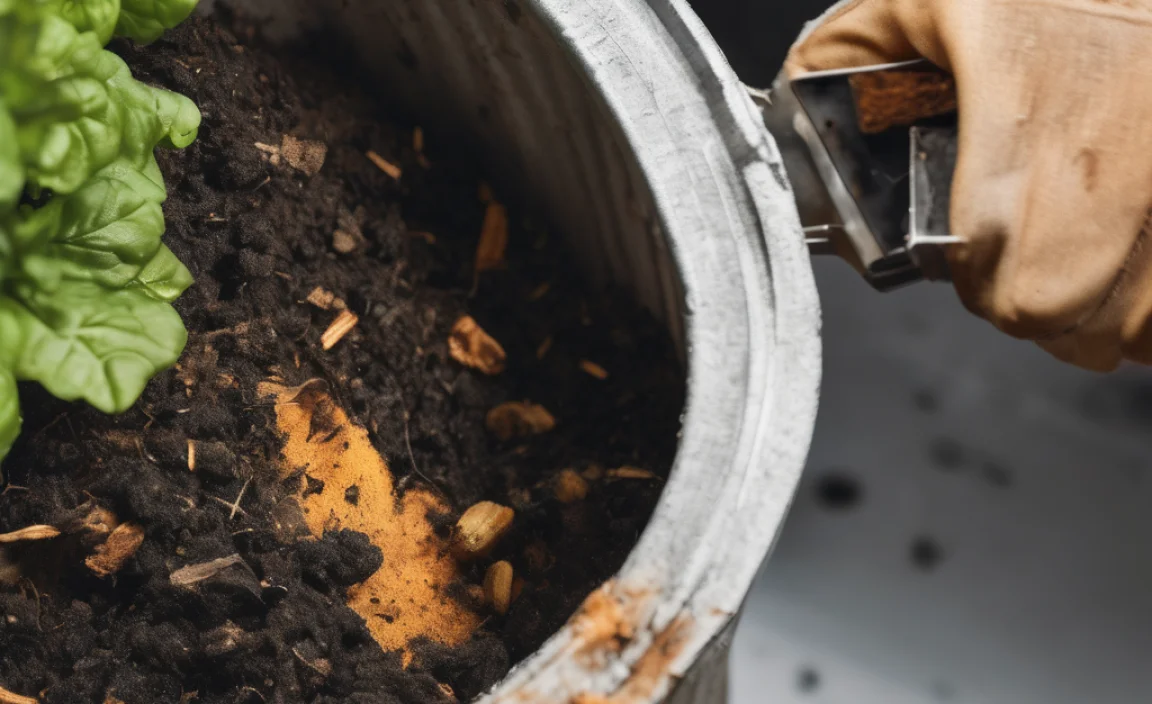
- Thermometer (Optional but Recommended): A compost thermometer is a long probe that allows you to check the internal temperature of your pile. This is crucial for ensuring your pile is heating up properly. You can find these at most garden supply stores.
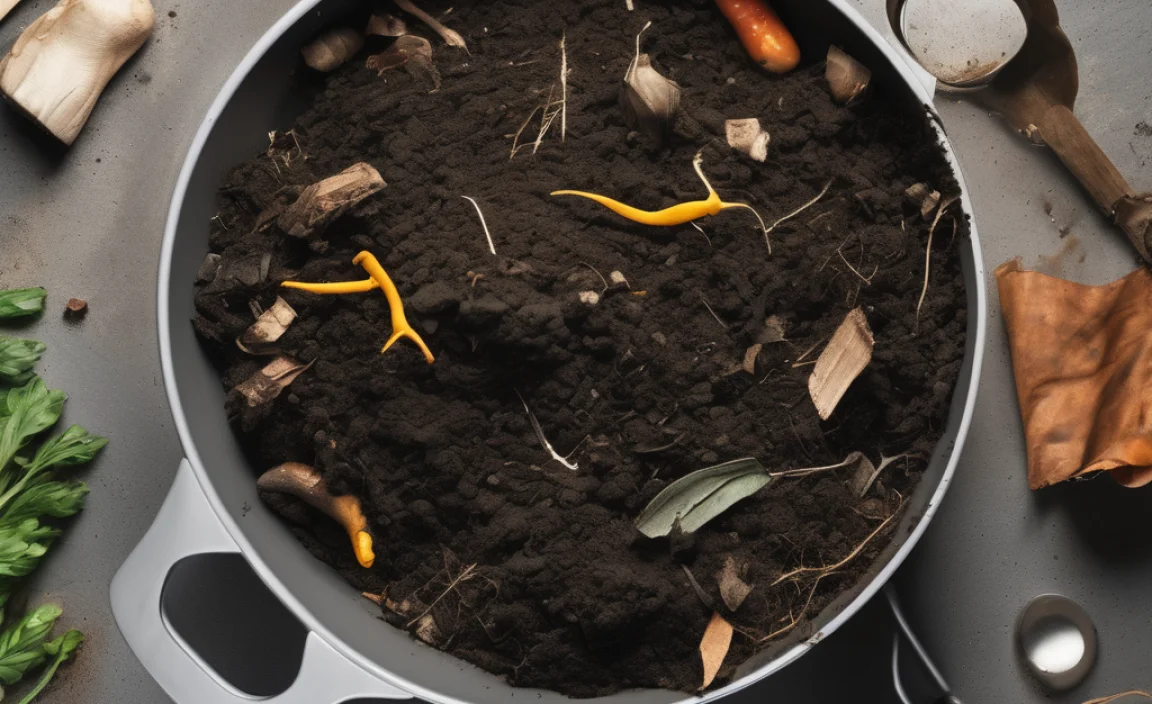
The Secret Sauce: Your “Greens” and “Browns”
The heart of hot composting is the perfect mix of “greens” and “browns.” Think of these as the fuel for your composting fire. You need the right balance for those microorganisms to get cooking!
“Greens” (Nitrogen-Rich Materials)
Greens are generally moist and provide the nitrogen that microorganisms need to grow and multiply. They are the “cooking fuel.”
- Fruit and vegetable scraps (peels, cores, wilted produce)
- Coffee grounds and paper filters
- Tea bags (remove staples and any plastic tags)
- Grass clippings (add in thin layers to avoid matting)
- Plant trimmings (non-woody)
- Manure from herbivores (chicken, cow, horse, rabbit – avoid pet waste!)
“Browns” (Carbon-Rich Materials)
Browns are drier and provide the carbon that microorganisms need for energy. They also help create air pockets in the pile, which is crucial for circulation. They are the “insulation.”
- Dry leaves
- Straw and hay
- Shredded newspaper or plain cardboard (avoid glossy or colored inks)
- Wood chips or sawdust (in moderation, can decompose slowly)
- Pine needles
- Eggshells (crushed)
- Twigs and small branches (chopped or shredded)
The Ideal Ratio: The Recipe for Success
Getting the ratio of greens to browns right is key to achieving that high composting temperature. A good starting point is a ratio of about 2 parts Browns to 1 part Greens by volume. Don’t stress too much about exact measurements; it’s more about getting a good mix. If your pile isn’t heating up, you probably need more greens. If it’s slimy and smelly, you likely need more browns.
Here’s a simple way to break down common composting ingredients:
| Category | Examples | Primary Nutrient |
|---|---|---|
| Greens | Fruit & Veggie Scraps, Coffee Grounds, Grass Clippings, Plant Trimmings | Nitrogen |
| Browns | Dry Leaves, Straw, Shredded Paper/Cardboard, Wood Chips | Carbon |
Remember, a healthy compost pile needs air and moisture, not just the right ingredients!
Step-by-Step: How to Hot Compost Like a Pro
Ready to get your hands dirty? Follow these simple steps to build and maintain your hot compost pile.
-
Choose Your Location
Select a spot that’s convenient but also has good drainage. It should be accessible for adding materials and turning the pile. Partial sun is ideal; full sun can dry it out too quickly, and full shade might keep it too wet. Ensure you have enough space; a pile that’s at least 3 feet wide, 3 feet deep, and 3 feet high is a good starting size for effective heating.
-
Build Your Base Layer
Start with a 4-6 inch layer of bulky brown materials at the bottom. This could be straw, shredded cardboard, or small twigs. This layer helps with aeration and drainage from the very start.
-
Layer Your Greens and Browns
Now, start adding your greens and browns in alternating layers. Think of it like making a layered cake! Aim for those brown-to-green ratios we talked about. A good way to visualize it is to put down a layer of browns, then sprinkle on a layer of greens, then another layer of browns, and so on. Try to keep the greens from getting too thick in any one spot.
Pro Tip: Chop or shred larger items into smaller pieces. This increases the surface area for microorganisms to work on, speeding up decomposition.
-
Add Water as You Go
This is super important! As you build your layers, add water. The goal is for the materials to be as moist as a wrung-out sponge. They should be damp to the touch, but not dripping wet. If you’re adding a lot of dry browns, you’ll need more water. If you’re adding very wet kitchen scraps, you might need less.
-
Turn Your Pile Regularly
This is where the “hot” in hot composting really comes into play. To keep the microbes happy and the pile aerated, you need to turn it. The ideal schedule for hot composting is to turn the pile every 4-7 days. When you turn it, mix the outer materials into the center and the center materials to the outside. This ensures everything gets heated and decomposed evenly.
How to Turn: Use your pitchfork to toss the materials around. If you have a bin, you might need to empty it into a new spot and then refill it with the contents of the old pile. If you have a tumbler, just give it a good spin!
-
Monitor Temperature (Optional but Recommended)
If you have a compost thermometer, use it! Stick it into the center of the pile. You’re aiming for temperatures between 130°F and 160°F (54°C to 71°C). If the temperature drops below 130°F after turning, it’s a sign that your pile needs more greens or more moisture, or it’s not being turned enough. If it gets too hot (over 160°F), it might mean your pile is too dense or has too many greens; turning it will help cool it down.
-
Be Patient and Keep Adding
Continue adding materials and turning your pile. Over time, you’ll notice the materials breaking down, the volume of the pile shrinking, and the temperature fluctuating. When the pile stops heating up consistently and the original materials are no longer recognizable, it’s almost ready!
-
Harvest Your Finished Compost
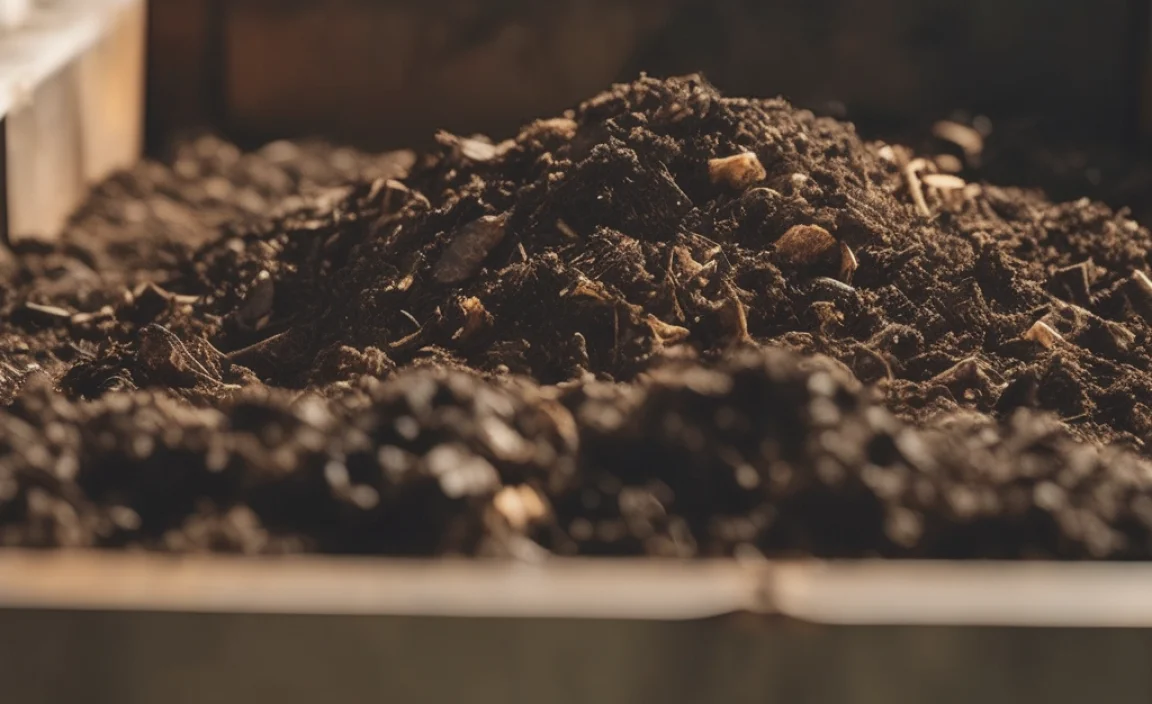
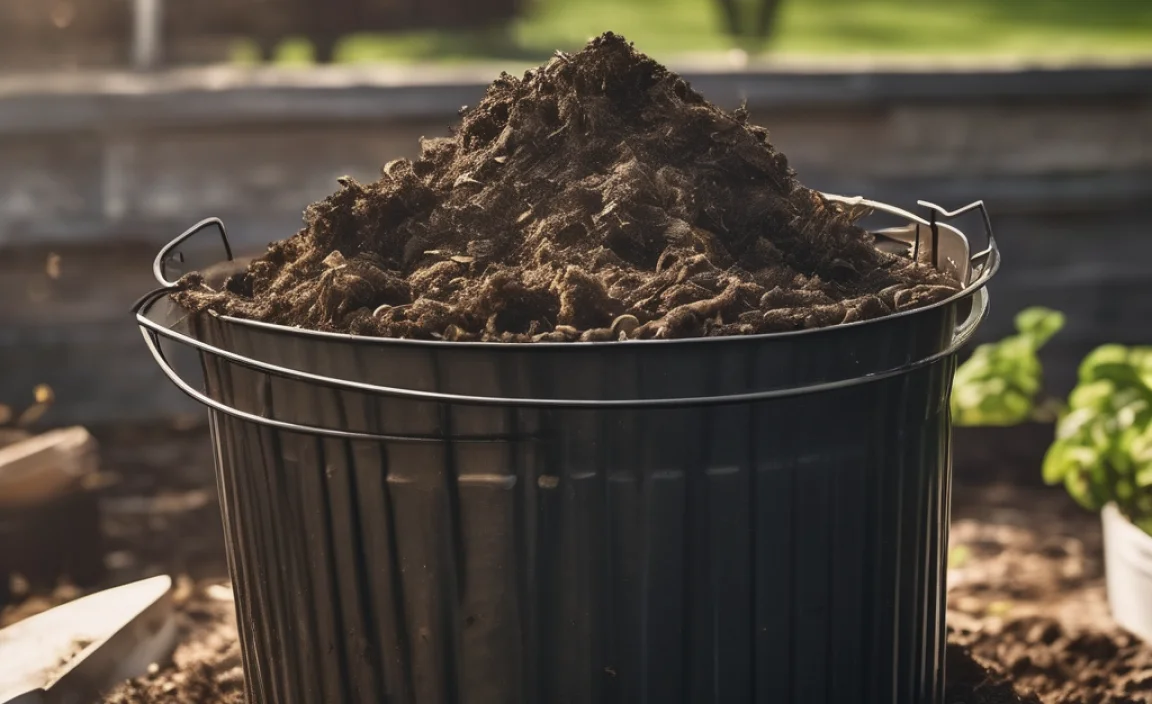
Your compost is ready when it’s dark, crumbly, and smells earthy. There shouldn’t be any recognizable food scraps or yard waste left. This usually takes 4-8 weeks with regular turning and management. You can sift it to remove any larger, undecomposed pieces, which can go back into your next compost pile. Use your finished compost to enrich your garden beds, as mulch, or to give your potted plants a boost!
Troubleshooting Your Hot Compost Pile
Even with the best intentions, sometimes things don’t go as planned. Here are some common composting problems and their quick fixes:
Problem: My pile isn’t heating up.
- Possible Causes: Not enough greens (nitrogen), too dry, pile is too small, or not enough air.
- Solutions: Add more nitrogen-rich “green” materials. Moisten the pile thoroughly. Make sure your pile is at least 3x3x3 feet. Turn the pile to introduce air.
Problem: My pile smells bad (like rotten eggs or ammonia).
- Possible Causes: Too many greens (nitrogen overload), too wet, or not enough air.
- Solutions: Add more carbon-rich “brown” materials to balance out the nitrogen. Turn the pile to aerate it. If it’s very wet, add dry browns and turn.
Problem: My pile is only hot in the center.
- Possible Causes: Pile is too large, or it’s not being turned effectively.
- Solutions: Ensure even distribution of materials when turning. Sometimes, if a pile gets too large, the outer edges don’t heat up. Turning mixes these into the hot core.
Problem: I see lots of flies or pests.
- Possible Causes: Exposed food scraps, pile is too wet.
- Solutions: Bury fresh “green” kitchen scraps in the center of the pile, covering them with brown materials. Ensure the pile isn’t overly wet. Hot composting temperatures should kill most pests, but prevention is best.
What NOT to Compost
While composting is a great way to recycle, there are some things you should keep out of your hot compost pile to avoid attracting pests, spreading diseases, or creating an unpleasant smell. These items are generally best avoided:
- Meat, fish, or bones
- Dairy products (cheese, yogurt, milk)
- Oily or greasy foods
- Diseased plants
- Weeds that have gone to seed (unless you are confident your pile gets hot enough to kill them)
- Pet waste (dog or cat feces) – these can contain harmful pathogens
- Treated wood or sawdust
- Glossy or coated paper/cardboard
- Coal ash or charcoal briquettes
Comparing Hot Composting to Other Methods
It’s helpful to know how hot composting stacks up against other composting techniques. This helps you choose the best fit for your needs and lifestyle.
| Feature | Hot Composting | Cold Composting | Vermicomposting (Worm Composting) |
|---|---|---|---|
| Speed | Very Fast (4-8 weeks) | Slow (6 months – 2 years) | Moderate (3-6 months for first harvest) |
| Temperature | High (130-160°F / 54-71°C) | Ambient (cool) | Ambient, but worms prefer cooler temps (55-77°F / 13-25°C) |
| What it Kills | Weed seeds, pathogens | Few pathogens, no weed seeds | No weed seeds or pathogens |
| Effort/Maintenance | Requires regular turning & monitoring | Minimal turning, just add materials | Requires managing worm bin, feeding worms |
| Space Required | Minimum 3x3x3 ft pile, or bin/tumbler | Any size pile, larger is better | Small bins, good for apartments/patios |
| Best For | Quick compost, weed-free results, larger yards | Low-effort composting, larger volumes of yard waste | Kitchen scraps, small spaces, nutrient-rich worm castings |
Conclusion
See? Hot composting in the USA is absolutely achievable for anyone with a bit of space and a willingness to try. You’re not just getting rid of waste; you’re creating a fantastic, nutrient-rich superfood for your garden soil. That rich, dark compost will boost plant growth, improve soil health, and make your gardening efforts even more rewarding.
Remember, the key is the right mix of greens and browns, consistent moisture, and regular turning to keep those beneficial microbes happy and working hard. So, gather your kitchen scraps and yard trimmings, build your pile, and get ready to witness the magic of hot composting. Your plants, your garden, and even your wallet will be thanking you!
Frequently Asked Questions
1.What is the minimum size for hot composting?
For a compost pile to generate and retain enough heat to be considered “hot,” it generally needs to be at least 3 feet wide, 3 feet deep, and 3 feet high (a 3x3x3 foot cube). This size allows for proper insulation and heat buildup by the decomposing microbes. Smaller piles may not reach the necessary temperatures for fast composting or killing weed seeds.
Related Posts


I am passionate about home engineering. I specialize in designing, installing, and maintaining heating, ventilation, and air conditioning systems. My goal is to help people stay comfortable in their homes all year long.