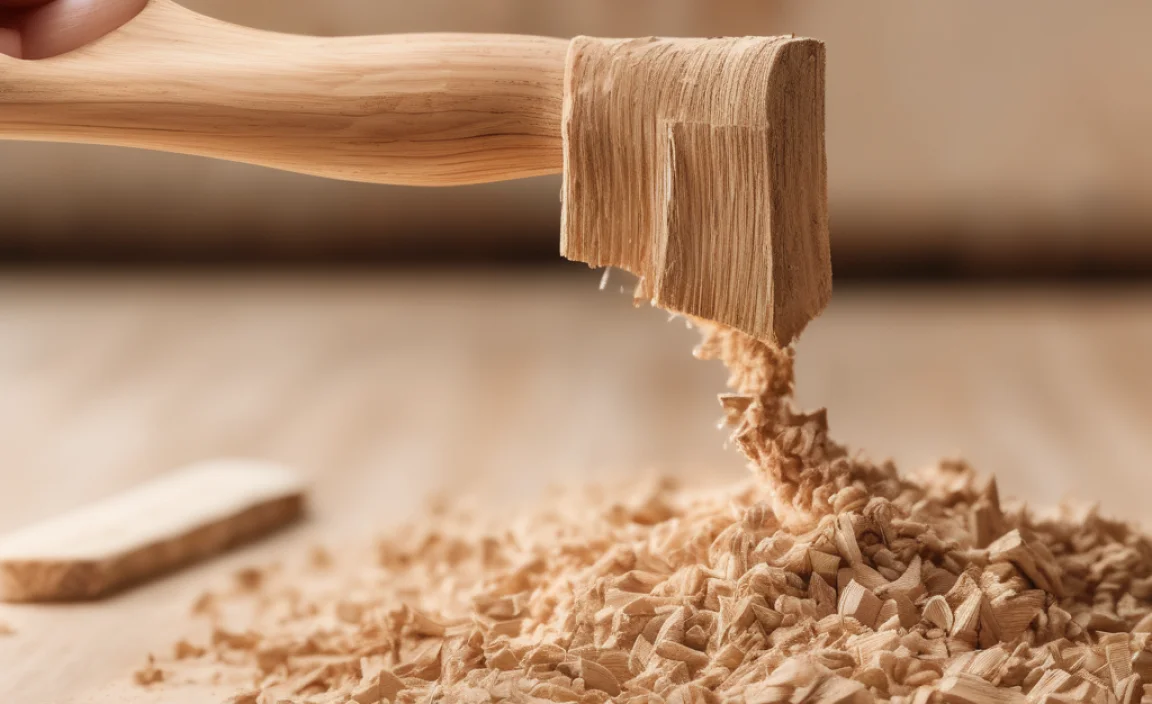
Wood filler usually takes 2 to 24 hours to dry completely. The exact drying time depends on the type of filler, the thickness of the application, the humidity, and the temperature. Always check the manufacturer’s instructions on the packaging for the most accurate drying time.
Ever tried to fix a scratch or a hole in your favorite wooden table, only to find the wood filler still soft days later? It’s a common problem! Knowing how long wood filler takes to dry is key to getting a smooth, professional finish on your DIY projects.
In this guide, we’ll break down everything you need to know about wood filler drying times. We’ll cover factors that affect drying, how to speed up the process safely, and tips for ensuring your repairs are solid and look great. Let’s get started and make those wood repairs a breeze!
Understanding Wood Filler and Drying Times
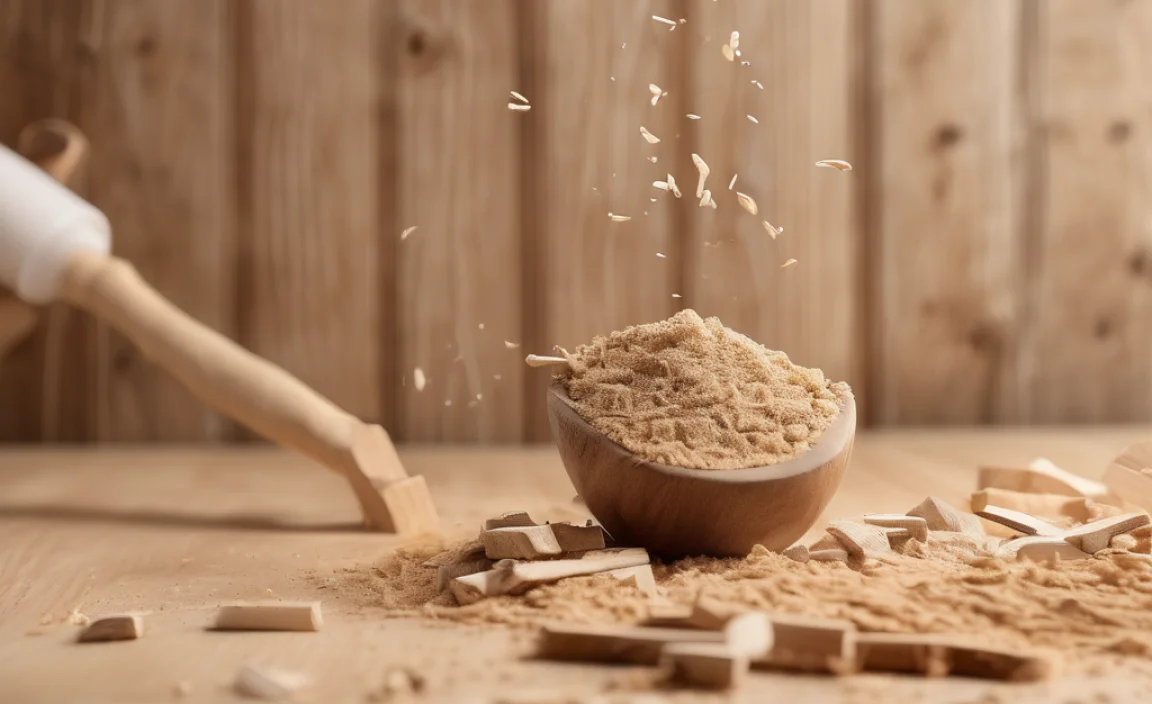
Wood filler is a paste-like substance used to repair imperfections in wood surfaces. It fills holes, cracks, and dents, creating a smooth base for painting or staining. But here’s the thing: not all wood fillers are created equal.
Types of Wood Filler
There are several types of wood fillers, each with its own drying time and best uses:
- Water-Based Fillers: These are easy to clean up, low in odor, and generally dry faster. They’re great for small indoor repairs.
- Solvent-Based Fillers: These fillers are more durable and water-resistant, making them suitable for outdoor projects. However, they have a stronger odor and require solvents for cleanup.
- Epoxy Fillers: These are two-part systems that create a very strong and durable repair. They’re ideal for structural repairs and areas exposed to moisture.
- Lacquer-Based Fillers: These are fast-drying and shrink less than other types, making them good for fine woodworking.
Factors Affecting Drying Time
Several factors can influence how long it takes for wood filler to dry:
- Type of Wood Filler: As mentioned above, different types have different drying times.
- Thickness of Application: A thin layer will dry much faster than a thick one.
- Humidity: High humidity slows down the drying process.
- Temperature: Warmer temperatures speed up drying, while colder temperatures slow it down.
- Ventilation: Good airflow helps the filler dry faster.
Step-by-Step Guide to Drying Wood Filler
Here’s a step-by-step guide to ensure your wood filler dries properly and efficiently.
Step 1: Prepare the Surface
Before applying any wood filler, make sure the surface is clean, dry, and free of loose debris. Sand the area lightly to create a better bond for the filler.
- Clean the Area: Use a brush or vacuum to remove dust and dirt.
- Sand the Surface: Use 120-grit sandpaper to rough up the surface slightly.
- Wipe Clean: Remove any sanding dust with a tack cloth.
Step 2: Apply the Wood Filler
Apply the wood filler with a putty knife or spatula. Press it firmly into the crack or hole, slightly overfilling the area.
- Use a Putty Knife: A flexible putty knife works best.
- Overfill Slightly: The filler will shrink a bit as it dries.
- Smooth the Surface: Try to get the surface as smooth as possible during application.
Step 3: Allow Proper Drying Time
Refer to the manufacturer’s instructions for the recommended drying time. Generally, water-based fillers take 2-4 hours, while solvent-based and epoxy fillers can take 24 hours or longer.
- Check the Label: Always read the manufacturer’s instructions.
- Be Patient: Don’t rush the drying process.
- Test for Dryness: Gently press your fingernail into the filler. If it’s hard, it’s dry.
Step 4: Sand the Excess Filler
Once the filler is completely dry, sand it smooth with fine-grit sandpaper (220-grit or higher). Blend the repaired area with the surrounding wood.
- Use Fine-Grit Sandpaper: Avoid scratching the surrounding wood.
- Sand Evenly: Blend the filler seamlessly with the wood surface.
- Wipe Clean: Remove any sanding dust.
Step 5: Finishing
After sanding, you can paint, stain, or seal the repaired area to match the rest of the wood surface.
- Prime if Necessary: Some fillers require priming before painting.
- Apply Finish: Use a brush, spray, or cloth to apply the finish.
- Allow to Dry: Let the finish dry completely before using the repaired item.
Tips to Speed Up Drying Time
Sometimes you need the wood filler to dry faster. Here are some tips to help speed up the process safely:
- Use a Fan: A fan can increase airflow and speed up drying.
- Use a Dehumidifier: If the humidity is high, a dehumidifier can help.
- Apply Thin Layers: Multiple thin layers dry faster than one thick layer.
- Use a Heat Gun (Carefully): A heat gun can speed up drying, but be careful not to overheat the filler, which can cause it to crack. Keep the heat gun moving and at a safe distance.
- Choose a Fast-Drying Filler: If you’re in a hurry, opt for a lacquer-based or fast-drying water-based filler.
Common Mistakes to Avoid
To ensure your wood filler dries properly and your repairs last, avoid these common mistakes:
- Applying Too Much Filler at Once: Thick layers take longer to dry and are more prone to cracking.
- Not Preparing the Surface Properly: A dirty or unstable surface can prevent the filler from bonding properly.
- Rushing the Drying Process: Trying to sand or finish the filler before it’s completely dry can ruin the repair.
- Using the Wrong Type of Filler: Choose the right filler for the job. Water-based fillers are not suitable for outdoor use, while solvent-based fillers may be overkill for small indoor repairs.
- Ignoring the Manufacturer’s Instructions: Always read and follow the manufacturer’s instructions for the best results.
Table: Wood Filler Drying Times by Type
| Type of Wood Filler | Typical Drying Time | Best Uses |
|---|---|---|
| Water-Based | 2-4 hours | Indoor repairs, small holes and cracks |
| Solvent-Based | 24 hours or more | Outdoor repairs, areas exposed to moisture |
| Epoxy | 24 hours or more | Structural repairs, high-stress areas |
| Lacquer-Based | 1-2 hours | Fine woodworking, fast repairs |
Table: Troubleshooting Wood Filler Drying Issues
| Problem | Possible Cause | Solution |
|---|---|---|
| Filler is still soft after the recommended drying time | High humidity, thick application, low temperature | Use a dehumidifier, apply thinner layers, increase ventilation, use a heat gun (carefully) |
| Filler cracks as it dries | Applying too much filler at once, drying too quickly | Apply thinner layers, avoid using a heat gun, ensure proper ventilation |
| Filler doesn’t adhere properly | Dirty or unstable surface, wrong type of filler | Clean and prepare the surface properly, use the correct type of filler for the job |
| Filler shrinks excessively | Using a low-quality filler, applying too much filler | Use a high-quality filler, apply multiple thin layers |
Wood Filler Safety Tips
Working with wood filler can be safe if you follow these precautions:
- Wear Gloves: Protect your hands from irritation and chemicals.
- Wear a Mask: Avoid inhaling dust and fumes, especially when sanding. A dust mask or respirator is recommended.
- Work in a Well-Ventilated Area: Ensure good airflow to avoid inhaling fumes.
- Read the Label: Follow the manufacturer’s safety instructions.
- Dispose of Waste Properly: Dispose of used rags and containers according to local regulations.
Alternative Wood Repair Methods
While wood filler is a great solution for many repairs, there are other methods you might consider:
- Wood Glue and Clamps: For repairing broken pieces, wood glue and clamps can create a strong bond.
- Wood Putty: Similar to wood filler, but often used for smaller imperfections and nail holes.
- Dutchman Patches: For larger repairs, a Dutchman patch involves cutting out the damaged area and replacing it with a new piece of wood. This requires more skill but can create a seamless repair.
External Resources on Wood Repair
For more in-depth information on wood repair techniques, check out these resources:
- The U.S. Forest Service: Offers extensive research and publications on wood properties and repair methods.U.S. Forest Products Laboratory
- This Old House: Provides detailed guides and videos on various home repair projects, including wood repair.This Old House
- EPA (Environmental Protection Agency): Provides information on safe handling and disposal of materials used in woodworking and repair.EPA
FAQ About Wood Filler Drying Time
How can I tell if wood filler is completely dry?
Gently press your fingernail into the filler. If it feels hard and doesn’t leave an indentation, it’s likely dry. You can also sand a small area to see if it creates dust, which indicates dryness.
Can I speed up the drying time of wood filler?
Yes, you can speed up drying by using a fan to increase airflow, applying thin layers, using a dehumidifier to reduce humidity, or carefully using a heat gun. Always monitor the filler to prevent cracking.
What happens if I sand wood filler before it’s dry?
Sanding wood filler before it’s fully dry can create a gummy mess and damage the surface. It can also prevent the filler from curing properly, leading to a weak repair.
Is it okay to apply a second coat of wood filler?
Yes, applying a second coat is fine, especially if the first coat shrank or didn’t completely fill the area. Make sure the first coat is fully dry before applying the second.
Can I use a hair dryer to dry wood filler?
While a hair dryer can provide some heat, it’s not as effective as a heat gun or a fan. If you use a hair dryer, keep it moving and at a safe distance to avoid overheating the filler.
Does the type of wood affect the drying time of wood filler?
The type of wood itself doesn’t significantly affect the drying time of wood filler. However, the wood’s moisture content and surface condition can influence how well the filler adheres and dries.
Can I stain wood filler?
Yes, you can stain wood filler, but it’s essential to use a stainable wood filler and follow the manufacturer’s instructions. Some fillers may not accept stain evenly, so test a small area first.
Conclusion
Knowing how long it takes wood filler to dry is crucial for successful DIY projects. By understanding the different types of fillers, factors affecting drying time, and steps to speed up the process, you can achieve professional-looking results every time. Remember to prepare the surface properly, apply thin layers, and allow adequate drying time. With these tips, you’ll be well-equipped to tackle any wood repair with confidence. Happy woodworking!