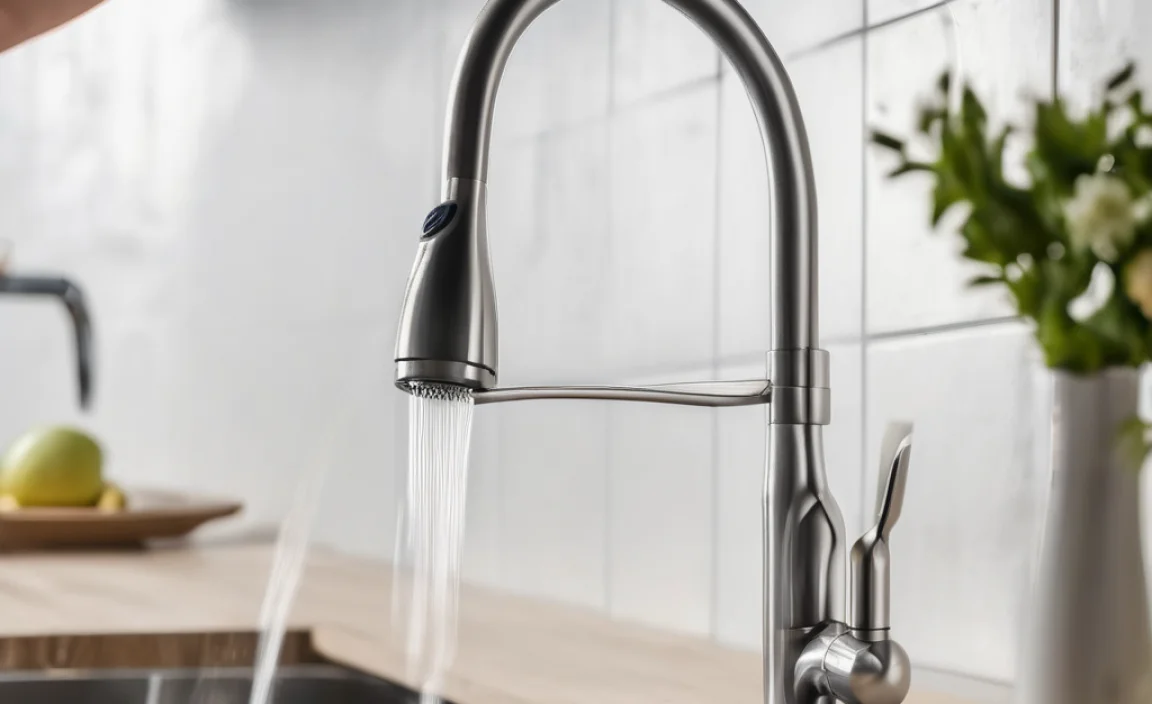
Have you ever washed dishes and wished for a better kitchen faucet? A faucet with a sprayer makes cleaning so much easier. It’s not just a luxury; it’s a handy tool in every kitchen.
Imagine how nice it would be to spray off those stubborn spots from your pots and pans. Rather than scrubbing forever, you could just use the sprayer and let the water do the work! But what if your old faucet isn’t living up to your needs?
Changing a kitchen faucet with sprayer may sound tricky, but it’s easier than you think. With a little guidance, you can do it yourself. Plus, you’ll save money by skipping the plumber. Ready to learn how to transform your kitchen?
Join us as we explore this simple project. You’ll be amazed at how quickly you can upgrade your kitchen with a new faucet. Let’s get started!
How To Change A Kitchen Faucet With Sprayer: Step-By-Step Guide
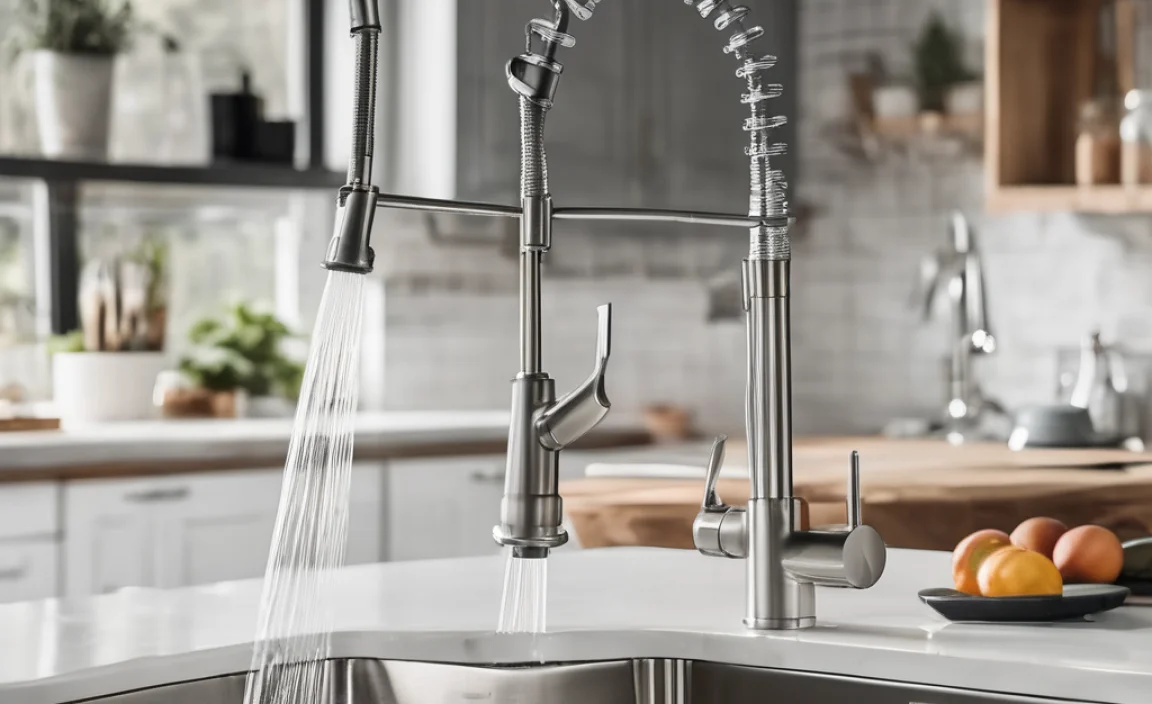
How to Change a Kitchen Faucet with Sprayer
Changing a kitchen faucet with a sprayer can be simple and satisfying. First, gather your tools, like a wrench and towel. Shut off the water supply to avoid a splash. Remove the old faucet by disconnecting the water lines. It’s easier than you think! Install the new faucet and connect the sprayer line. Did you know modern faucets can save water? Enjoy your new kitchen upgrade with a sleek look and better efficiency!
Tools and Materials Needed
List essential tools for the job (e.g., wrench, screwdriver). Identify necessary materials (e.g., new faucet, plumber’s tape).
Gathering the right tools and materials is the first step to your kitchen faucet adventure. You’ll need a wrench to tighten things, a screwdriver to, well, screw things, and a bit of plumber’s tape to keep leaks in check. Don’t forget the new faucet with its sprayer! Think of it like assembling a superhero team—each tool has its own special power.
| Tools | Materials |
|---|---|
| Wrench | New Faucet |
| Screwdriver | Plumber’s Tape |
| Bucket | Washers and Screws |
With this mix, you’re ready to tackle the task and make that old faucet jealous!
Preparation Steps
Instructions for turning off the water supply. Steps to clear the area beneath the sink for access.
Before you start changing your kitchen faucet, it’s important to turn off the water supply. Find the valve under your sink and turn it right to stop the water. Next, make sure to clear out any items stored under the sink. This will give you easy access while working. Here are simple steps:
- Locate the shut-off valves.
- Turn them clockwise to close.
- Remove cleaning supplies or dishes from under the sink.
- Keep a towel handy for any spills.
Why is it important to turn off the water supply?
Turning off the water prevents leaks and messes during the faucet change.
Removing the Old Faucet
Guidelines for disconnecting water supply lines. Techniques for unscrewing and lifting out the old faucet.
First, turn off the water supply to avoid a soggy surprise. Usually, you’ll find the shut-off valves under the sink. Next, grab your trusty wrench and start disconnecting the water supply lines. They might be a little stubborn, but don’t worry—you’re tougher! Once those lines are loose, it’s time to unscrew the nuts holding the old faucet. A little gentle wiggling will help lift it out. Give a cheer; you’re doing great!
| Step | Action |
|---|---|
| 1 | Turn off water supply |
| 2 | Disconnect water supply lines |
| 3 | Unscrew faucet nuts |
| 4 | Lift out old faucet |
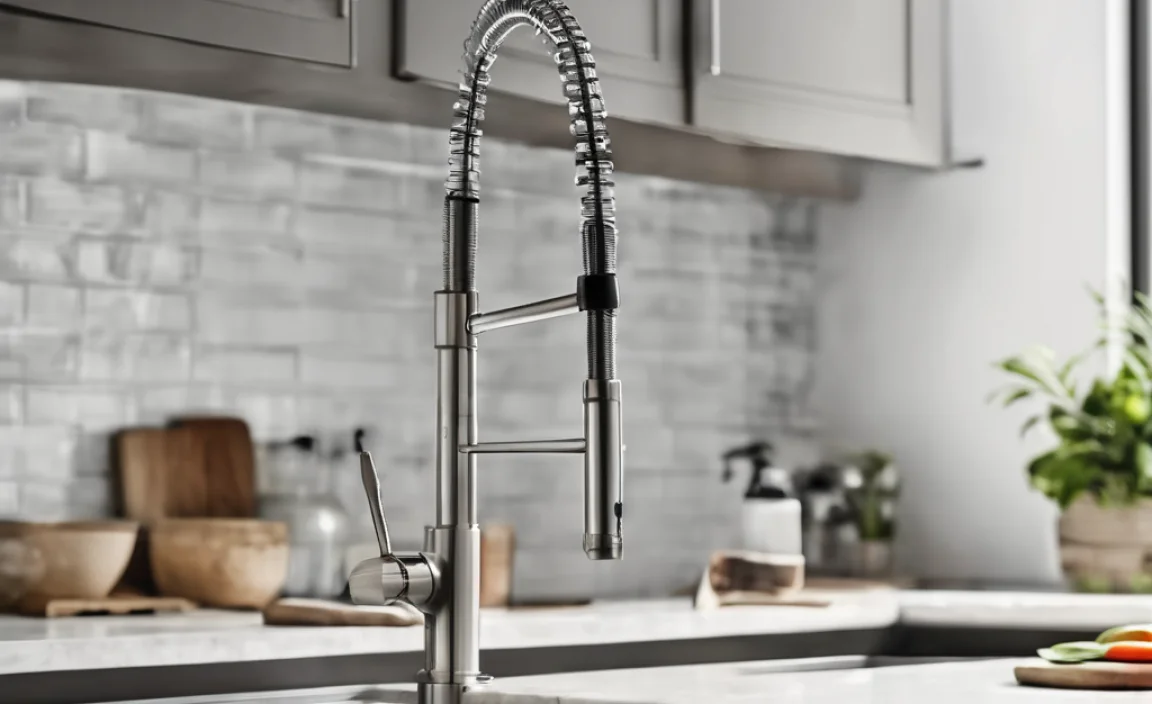
Installing the New Faucet
Stepbystep instructions for positioning the new faucet. Tips for securing the faucet in place.
First, place the new faucet in the hole of the sink. Make sure it fits snugly. Then, use the included washers to create a tight seal. Secure the faucet by tightening the mounting nuts below the sink. Be careful not to over-tighten; this could cause damage. Finally, connect the water supply lines, ensuring each is snug. This will keep everything in place and prevent leaks.
How to secure the faucet?
To ensure your faucet stays firmly in place, follow these steps:
- Tighten the nuts thoroughly.
- Double-check all connections.
- Use plumber’s tape on threads.
- Test for leaks before finishing.
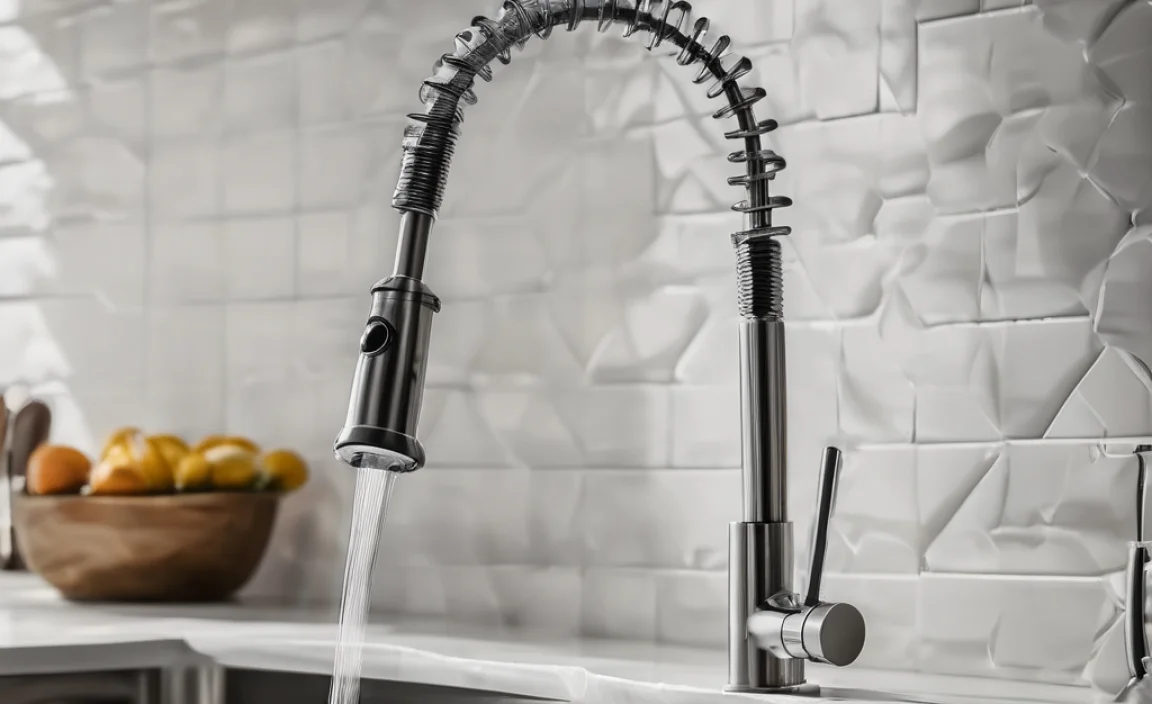
Connecting the Sprayer
Details on attaching the sprayer hose to the faucet. Instructions for securing the connection properly.
To connect the sprayer hose to your new faucet, first find the small connector on the faucet. Then, attach the sprayer hose to this connector. It should easily twist on. To secure the connection, hand-tighten it. Avoid using tools, as they can damage the parts. Finally, check for leaks by turning on the water slowly. If you see any water, tighten it a bit more.
How do I know if the sprayer hose is attached properly?
Make sure the connection feels firm. **If you see any water leaks**, it means it’s not tight enough. Tighten again if needed. It’s important to test this step, as leaks can cause water waste and damage.
Testing for Leaks
Procedures for turning the water supply back on. How to check for leaks and resolve any issues.
After installing the faucet, it’s time to turn the water supply back on. Slowly twist the valve clockwise until it stops. Check for sprays or dripping water. If you see any leaks, tighten connections carefully. Don’t force them too hard, as you can damage the pipes. Sometimes, you may need to replace washers or seals if leaks continue. Regular checks help keep your kitchen faucet working smoothly.
How do I know if my faucet has a leak?
Look for water pooling under the sink, or feel for dampness around the faucet. If water drips from the tap, that’s a sign. You might also hear a sound like running water, even when the tap is off.
Steps to check for leaks:
- Look for water stains on surfaces.
- Wipe areas dry and watch for new moisture.
- Test all connections, including hose fittings.
Final Adjustments and Maintenance Tips
Advice on adjusting faucet aerators and sprayer settings. Maintenance practices to ensure longevity of the new faucet.
To make your new faucet work its best, check the aerator and sprayer settings. Adjust the aerator if the water flow is weak. Simply twist it off and clean any dirt. For the sprayer, try different settings for a fine mist or strong spray. Next, take care of your faucet with these easy tips:
- Wipe the faucet regularly to remove stains.
- Check for leaks once a month.
- Replace washers if water drips.
Doing these things will help your faucet last longer and work better.
How can I adjust my faucet aerator?
To adjust your aerator, simply unscrew it from the faucet and clean any particles inside. Rinse it well before putting it back on. This helps improve water flow.
Conclusion
In conclusion, changing a kitchen faucet with a sprayer is a simple task. First, gather your tools and turn off the water. Then, remove the old faucet and install the new one carefully. Remember to test for leaks. You can do this! If you want to learn more, check out videos online for step-by-step help. Happy DIYing!
FAQs
What Tools And Materials Do I Need To Replace A Kitchen Faucet With A Sprayer?
To replace a kitchen faucet with a sprayer, you need a few tools and materials. You’ll need a new kitchen faucet with a sprayer, of course. Grab a wrench to help you unscrew the old faucet. You might also need pliers to hold small parts. Don’t forget a bucket or towel to catch any water spills!
How Do I Properly Disconnect The Old Kitchen Faucet And Sprayer Before Installation?
To disconnect the old kitchen faucet, first, turn off the water underneath the sink. Next, use a wrench to loosen the nuts that hold the faucet in place. Then, carefully pull the faucet out from the sink. For the sprayer, find the hose, and unscrew it from the faucet. Now, you’re ready for the new faucet!
What Are The Steps To Install The New Kitchen Faucet And Connect The Sprayer?
First, turn off the water under the sink. Next, remove the old faucet by unscrewing it. Then, place the new faucet in the sink hole. Connect the water lines to the faucet and the sprayer hose. Finally, turn the water back on and check for leaks.
How Do I Ensure That There Are No Leaks After Installing The New Faucet And Sprayer?
To check for leaks after putting in your new faucet and sprayer, start by making sure everything is tightened well. Turn on the water slowly and look closely for any drops. If you see a drip, turn off the water and tighten that spot more. Check around the faucet and the sprayer, too. Always wipe up any water to keep everything dry.
Are There Any Common Issues I Should Watch Out For When Changing A Kitchen Faucet With A Sprayer?
When changing a kitchen faucet with a sprayer, you might find some common issues. First, check for water leaks after you install it. You should also make sure all the connections are tight. It’s easy to lose small parts, so keep track of everything. Lastly, remember to turn off the water before you start!