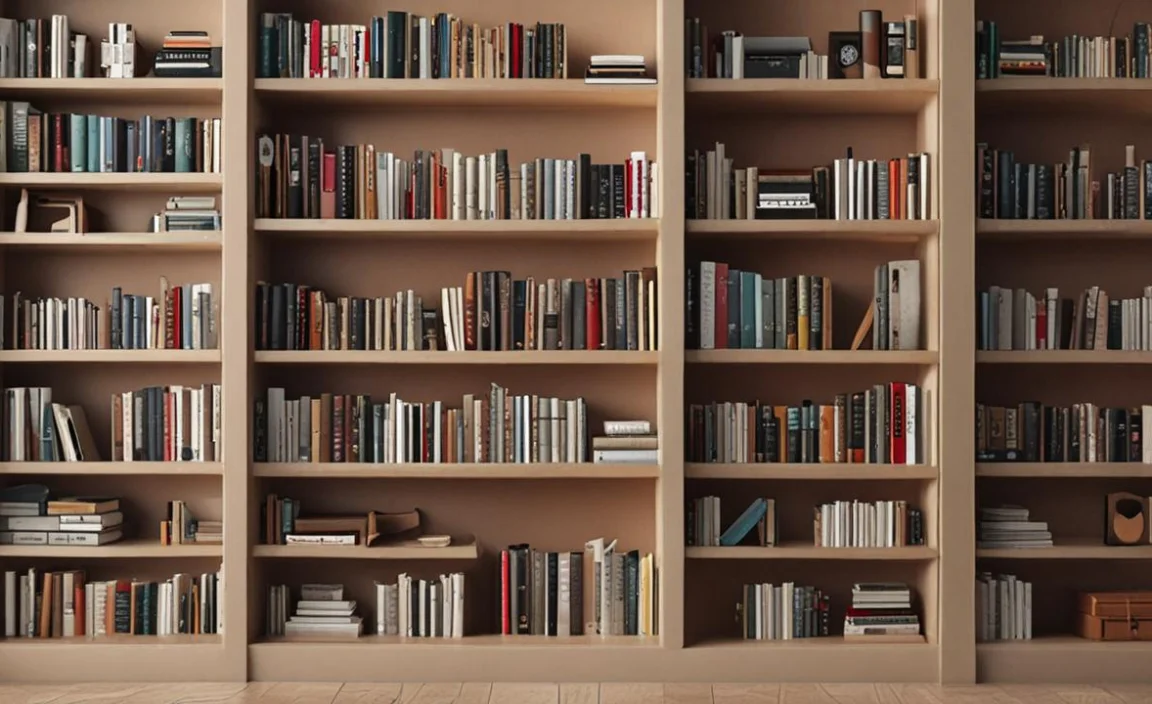
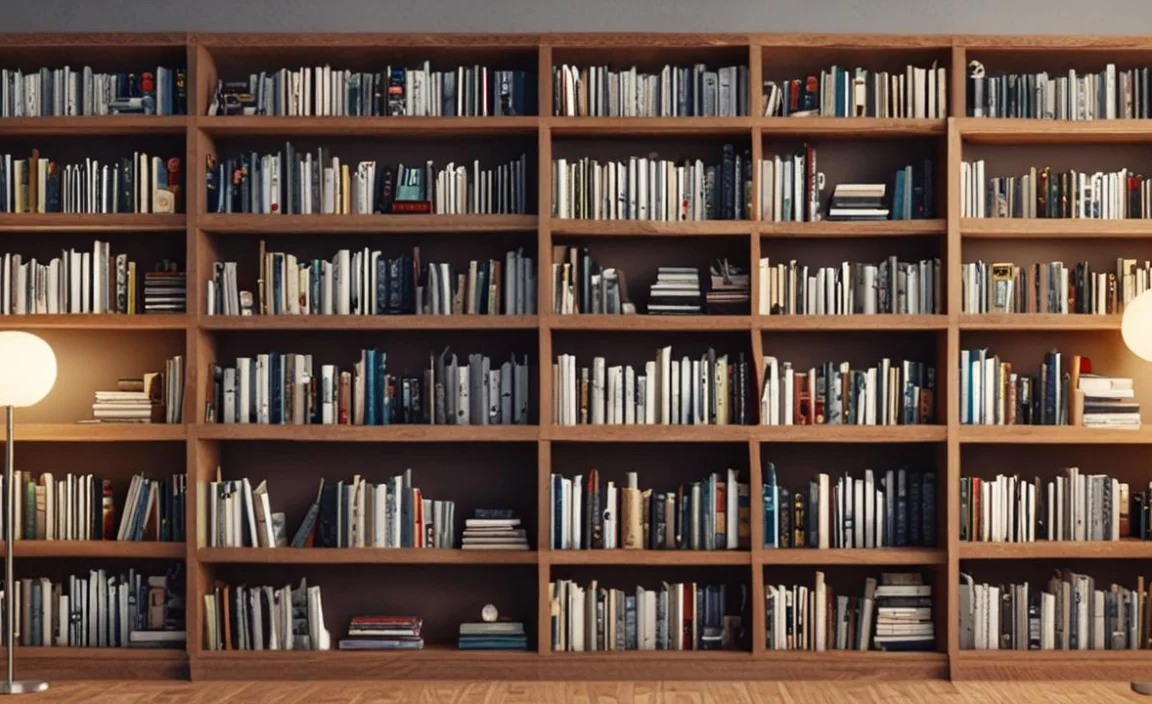
Building a bookshelf is an excellent way to add functionality and character to your home. Whether you’re an avid reader or just looking for a creative DIY project, building your bookshelf can be a fun and rewarding experience.
Here we will guide you through the steps required for how to build a bookshelf that will not only meet your storage needs but also add to the aesthetics of your room.
We will cover everything from materials and tools needed for the project to tips and tricks for perfectly square bookcases. Additionally, we have included a DIY Bookshelf Plans section with cut lists and measurements, making it easy for you to follow along.

How To Build A Bookshelf With These Simple Steps
Building a bookshelf might be just what you need if you are looking for a good DIY project for your home office or living room. With some basic tools like a saw (circular saw or table saw), drill bit, pocket holes jig, mitre saw, drill/driver, stud finder and wood glue, plus some plywood or lumber from the shopping list below, you can create stunning bookshelves that are perfect for keeping things organized.
You can even find printable PDF plans with diagrams on Pinterest or YouTube tutorials if that’s more your style. However, Building a bookshelf can be a fun and rewarding DIY project. You can create a custom piece that perfectly fits your space and style with the right tools and materials. Here are some simple steps on how to build a bookshelf:
1. Materials Needed For DIY Bookshelf
When building a DIY bookshelf project, having the right materials on hand is important. Materials needed for building a bookshelf include wood boards, screws, brackets, and paint or stain for finishing touches.
It’s essential to choose high-quality and sturdy materials that can support the weight of your books. If you’re looking for eco-friendly options, consider using reclaimed or repurposed wood to add character and sustainability to your project.
In addition to the right materials, gather all necessary tools such as a saw (circular saw or table saw), drill with a drill bit and pocket holes jig attachment (for adjustable shelves), mitre saw (for cutting crown moulding), hammer/nail gun with nails/brads (for attaching sideboards), clamps (to hold pieces together while glueing), sanders (to smooth out rough edges and give everything a finished look) and stud finder to locate studs in the wall so you can attach brackets securely.
2. How To Build The Bookshelf Carcass
Building a bookshelf can be a fun and rewarding DIY project. The first step in building the bookshelf carcass is to gather your materials, including wood planks, screws, and a saw. Once you have your materials, measure and cut the wood planks to the desired dimensions for your bookshelf. Next, assemble the sides of the carcass by attaching the planks together with screws.
Then, attach the top and bottom planks to create the bookshelf frame. Finally, add shelves to complete the carcass by measuring and cutting additional wood planks to fit within the frame and attaching them with screws. Remember to sand and finish your bookshelf to give it a polished look before filling it with your favourite books.
3. Building A Jig For Shelf Holes
When building a bookshelf, don’t forget about creating a jig for shelf holes. This DIY tutorial will guide you through every step needed to build a high-quality jig that will make all your shelving needs a breeze.
You’ll need tools such as a drill bit and clamp to ensure drilling accuracy and avoid unwanted slippage. Clean up any excess sawdust or debris after drilling so your finished product looks flawless.
4. Adding Trim To The Bookshelf Sides
Attaching trim to the side panels of your DIY bookshelf can add an extra dimension of beauty to your project. Trim is an excellent way to cover up any rough edges or imperfections in the wood. Crown molding, baseboards and picture frame moldings are preferred trims you can use when designing your bookshelf.
Before attaching the trim on the sides of your bookcase or bookshelf project at home or office using a nail gun or adhesive glue, ensure that you’ve sanded smooth plywood edges and made precise cuts for a seamless fit.
5. Building And Attaching The Face Frame To The Bookshelf

To add structure and beauty to your DIY bookshelf project without compromising on personal choice, consider crafting a face frame from hardwood or softwood.
To ensure your bookshelf project’s sturdy build and seamless appearance, you’ll need essential tools like a miter saw to make precise cuts; wood glue to bind materials together; clamps to hold pieces in place; and finish nails for added reinforcement. Always level your bookshelf before attaching the face frame for the best results.
6. Adding Feet To The Bookshelf
For a more polished and finished look for your DIY bookshelf project, you can add furniture feet by following these simple steps. Begin by selecting furniture feet in proportion to the size of your bookcase.
After drilling suitable holes in the bottom panel with a drill bit and pilot holes with a stud finder on back panels or sideboards use screws to fix each foot onto them. The added touch of furniture feet can make all the difference in giving your bookshelf that professional touch.
7. Adding Adjustable Shelves

Customizing your DIY bookshelf with adjustable shelves is an excellent idea that provides more flexibility. All you need are shelf pins, a drill bit, and a measuring tape. Measure the distance between the top and bottom of your bookcase to determine where to add shelves.
Mark each side of your bookcase at equal intervals for shelf pins. Use a drill bit to make pilot holes for inserting shelf pins. Place your shelves on top of these pins once they are inserted.
8. Finishing The Bookshelf As Desired
After building your DIY bookshelf project, choosing an ideal finish that complements your living room or home office decor is essential. Various finishes like paint, stain, and varnish are available.
Before applying any finish on your bookshelf project, sand it with grit paper to ensure no rough spots or imperfections. Choose a durable finish that protects the wood from wear and tear for long-lasting results.
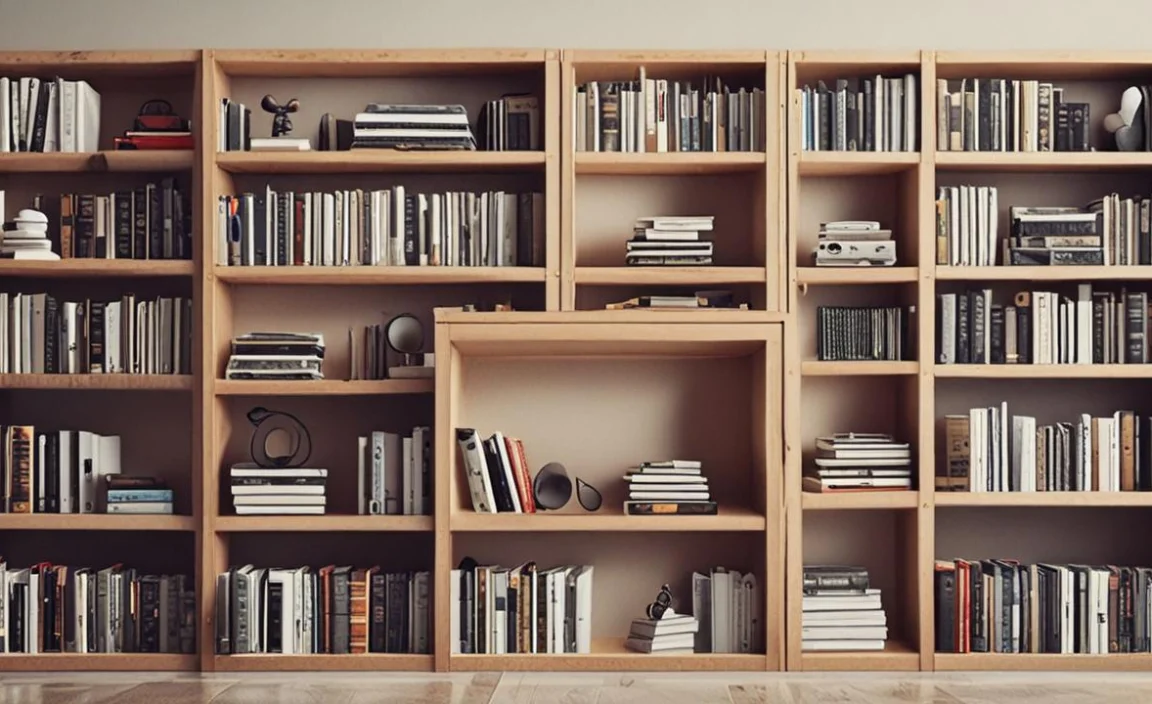
9. DIY Bookshelf Plans
Building a stunning bookshelf can be fulfilling for those who enjoy DIY projects. Start by selecting suitable materials that match your style while considering your budget. When designing your bookshelf, consider the dimensions of the space it will occupy, and consider incorporating adjustable shelves or cabinets to enhance its functionality.
Carefully follow detailed step-by-step instructions in tutorials on YouTube or Pinterest while prioritizing safety measures during woodworking activities. It is important to use quality tools such as saws (circular saw or table saw), sanders for a finished look, clamps to hold pieces together while the glue dries, and pilot holes when drilling so screw heads sit flush with wood surfaces.
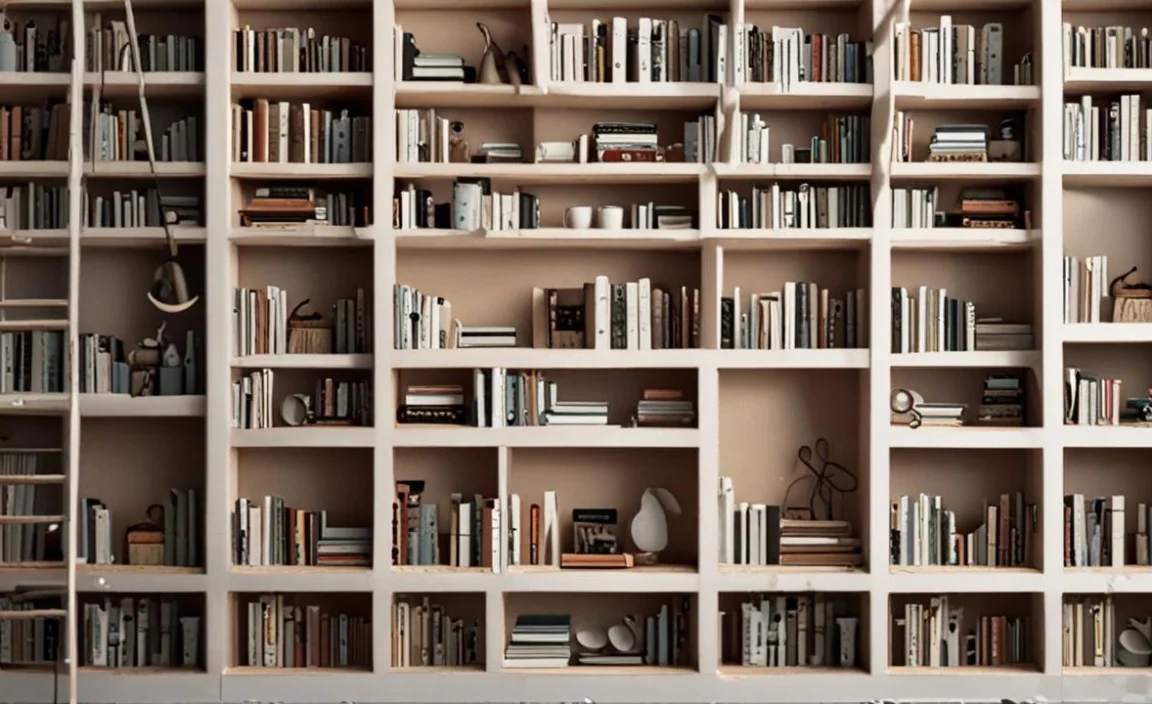
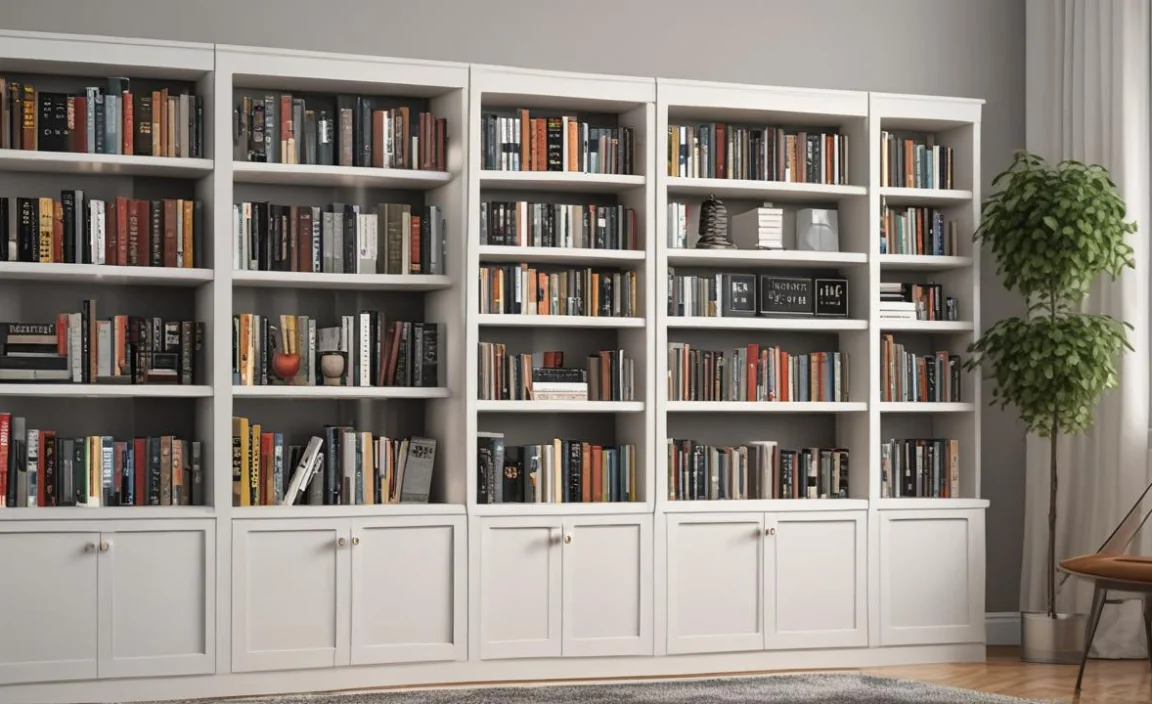
10. Tips For Perfectly Square Bookcases

To make your DIY bookcase project look professional and polished, it’s crucial to achieve perfectly square bookcases. Using tools such as a square and level will help you ensure proper alignment when assembling your bookshelf.
Additionally, using clamps or weights to hold pieces in place while the glue dries will prevent warping or bowing. Accurate cuts are essential in ensuring that all pieces fit together tightly for a sturdy product. Finally, assemble your bookshelf on a flat surface to avoid any issues down the line. Don’t forget to sand and finish your new bookcase for an expertly crafted finished look.
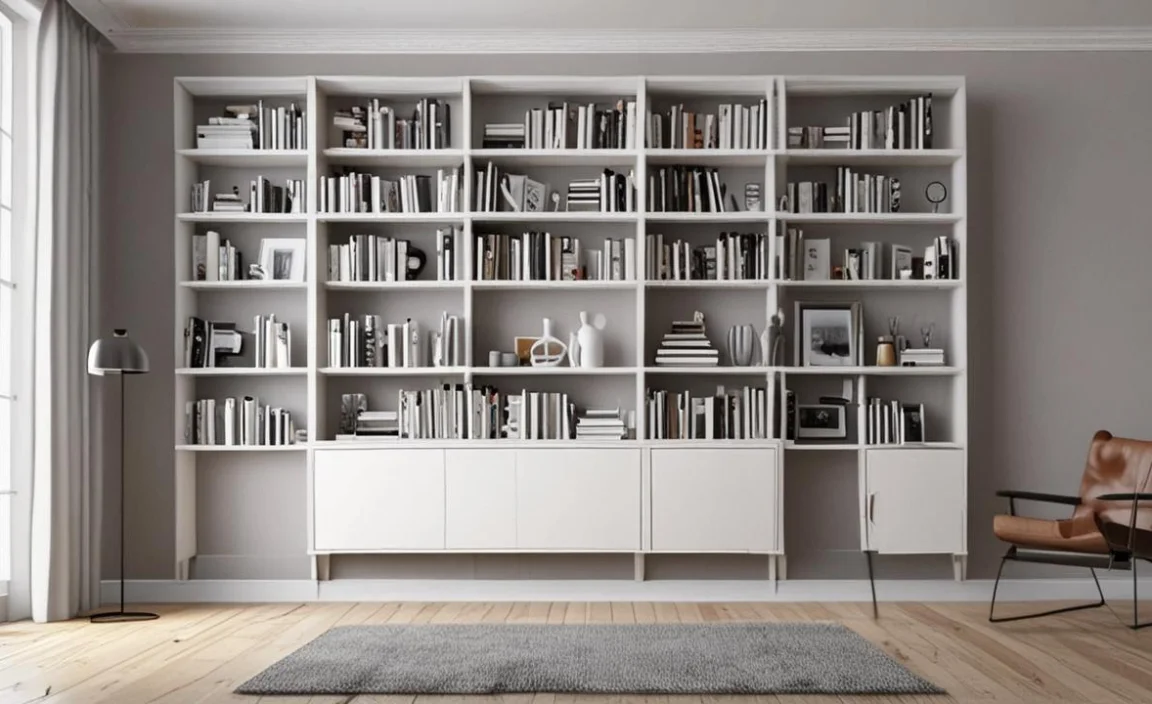
Should You Use Plywood To Build A Bookshelf?
Using plywood to build a bookshelf can be an affordable option, as it is readily available and comes in many different sizes and finishes. However, it’s important to note that not all plywood is created equal. Look for high-quality plywood with a smooth surface and minimal defects.
Additionally, consider finishing the edges with solid wood veneer tape or edge banding to create a more polished look. Ultimately, the choice between plywood and other materials will depend on your budget, design preferences, and intended use of the bookshelf.
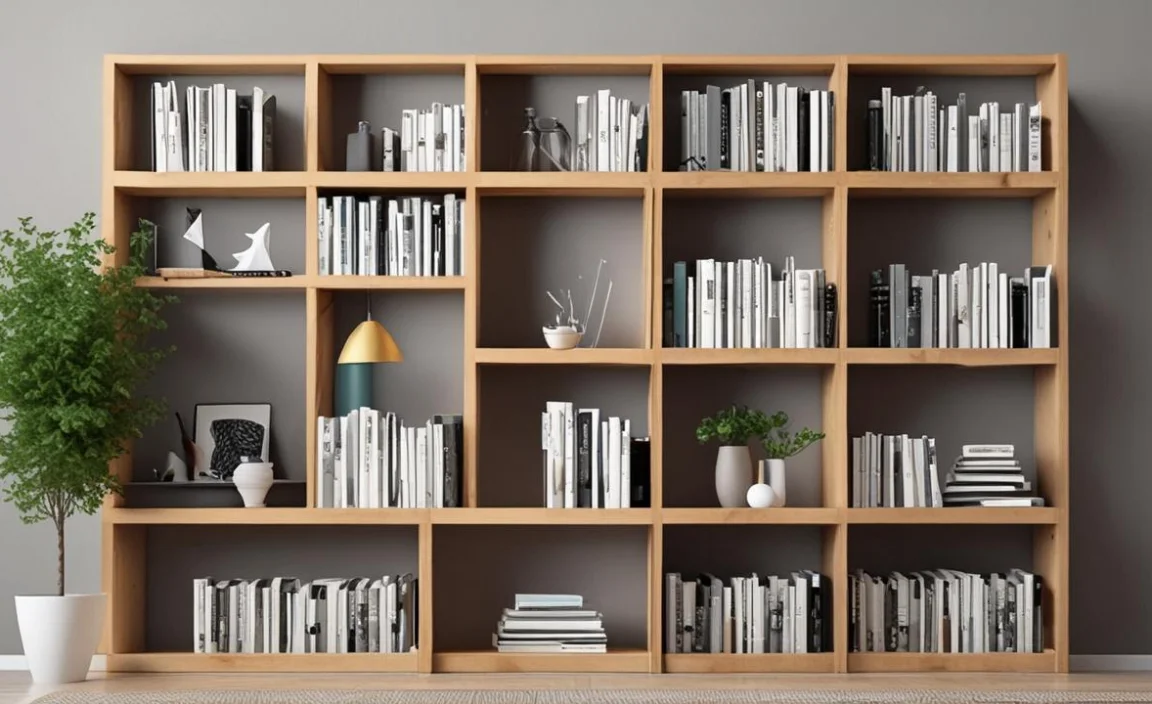
What Are Some Design Considerations For Building A Bookshelf?

When designing a bookshelf, there are several factors to consider. First, think about the purpose and size of the bookshelf. Will it be used mainly for storing books or displaying decorative items? How much space do you have available for the bookshelf?
Next, consider the style and materials best complement your existing decor. Finally, consider any special features you may want to include, such as adjustable shelves or built-in lighting. By carefully considering these design elements, you can create a functional and aesthetically pleasing bookshelf.
Conclusion
Building a bookshelf can be rewarding and satisfying for anyone who loves DIY and woodworking. With the right tools, materials, and instructions, you can create a piece of furniture that is functional and adds character to your home.
No matter what style or design you choose, building a bookshelf requires patience, attention to detail, and a willingness to learn from mistakes. But with practice and perseverance, you can become an expert at building bookshelves and other pieces of furniture.
Building a bookshelf can be a fun and rewarding DIY project for anyone looking to add extra storage and character to their home. Choosing the right materials to measure and cutting the pieces on how to build a bookshelf requires attention to detail and patience. following these steps can help you create a practical and aesthetically pleasing bookshelf.
Frequently Asked Questions
[rank_math_rich_snippet id=”s-8d1cf4e8-5db1-453a-8e98-e9ad2bce075e”]
