As a homeowner, dealing with soft spots in your subfloor can be a frustrating and overwhelming experience. Not only can these issues compromise the stability of your floors, but they can also pose a safety risk to you and your family.
Fortunately, fixing a soft spot in your subfloor doesn’t have to be daunting. With the right tools, materials, and knowledge, you can restore your subfloor and ensure it’s as sturdy as ever. We’ll walk you through how to fix soft spot in subfloor.
From identifying the problem to laying down new flooring, we’ll cover everything you need to know to complete the job. We’ll also provide expert tips and tricks to help you avoid common pitfalls and ensure your repairs are as effective as possible.
Identifying The Cause Of Soft Spots
Soft spots in subfloors can be caused by various factors such as water damage, rotting wood, or inadequate support. It is important to start by identifying the cause of the soft spot, which may require removing flooring material to access the subfloor.
If the soft spot is due to water damage or rotting wood, it is crucial to address the source of the moisture and repair any damaged or rotted areas before fixing the subfloor.
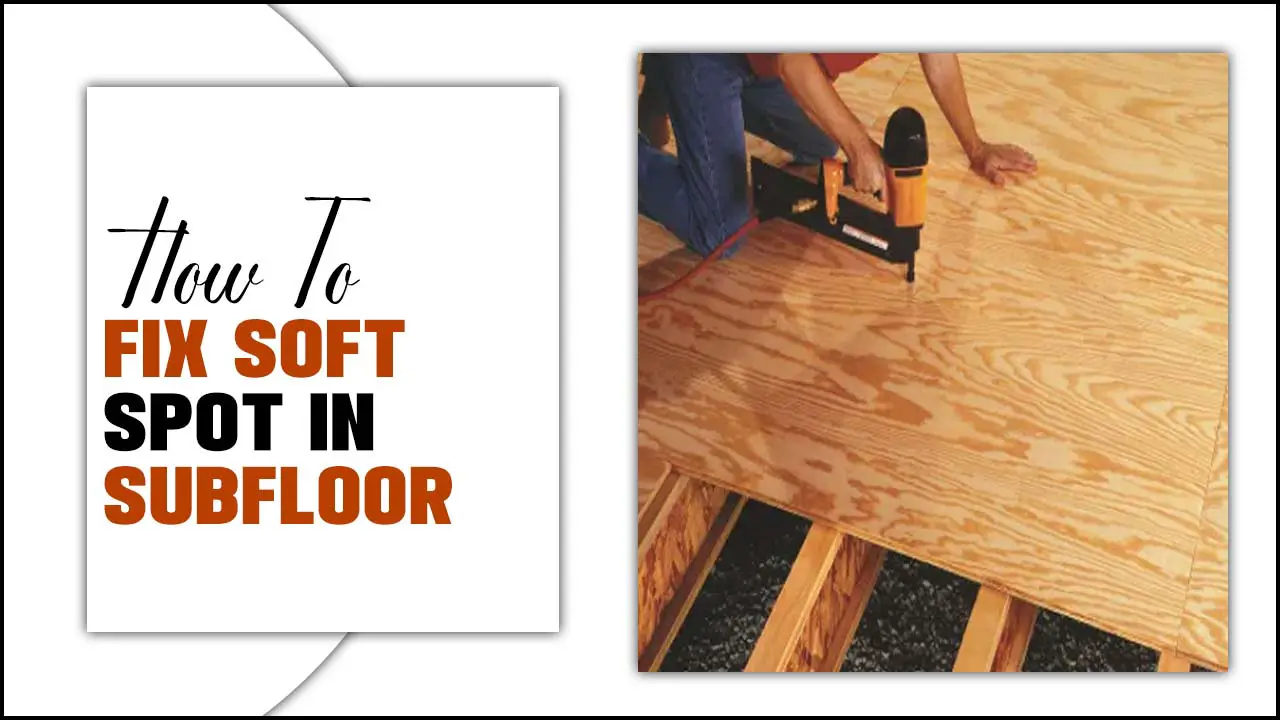
Additionally, determining if additional support is needed for the subfloor is essential, which may involve adding or reinforcing joists. Once the cause has been addressed, cutting out the damaged area using a circular saw and replacing it with a new piece of plywood will help restore the subfloor to its original condition.
Tools And Materials Needed
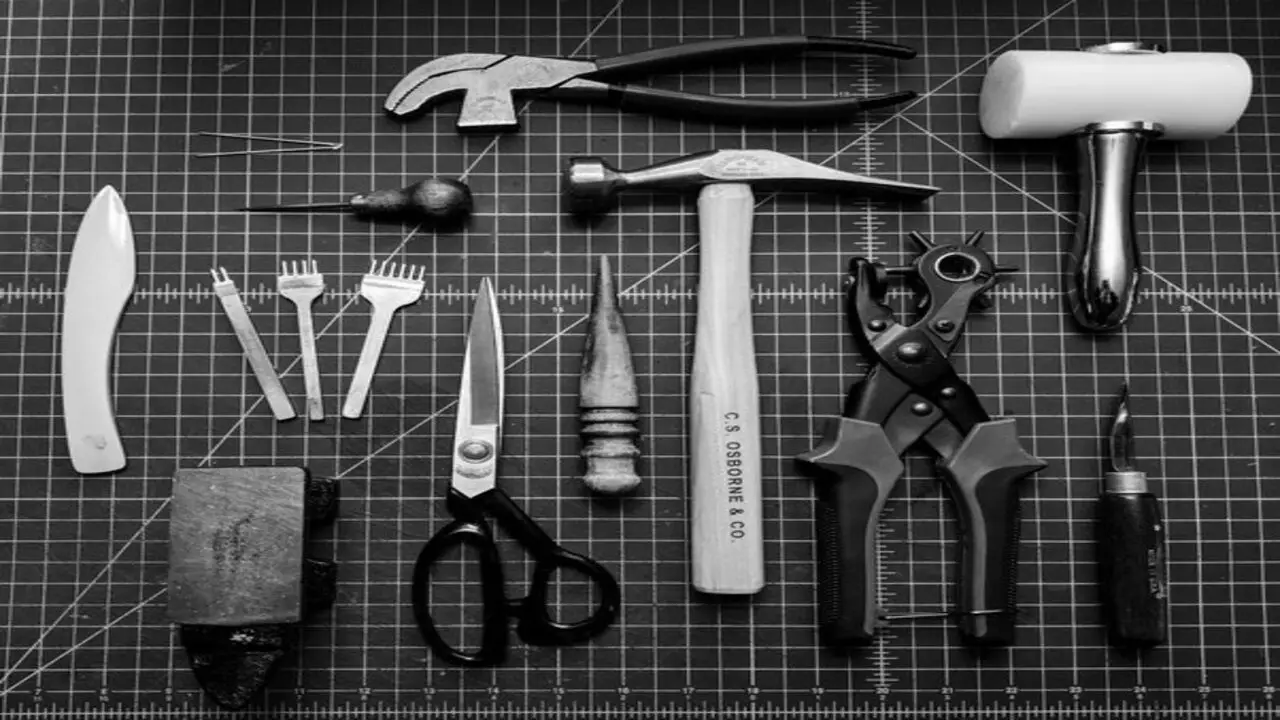
To start the repair process, gather the required tools and materials. You’ll need a circular saw to cut out the damaged section of subflooring, along with a pry bar and hammer to remove any remaining pieces carefully.
Additionally, you’ll need screws or nails to secure the new piece of subflooring, which can be made from plywood or OSB board. Don’t forget to have construction adhesive on hand to attach the new subflooring to the joists. Finally, make sure you have a tape measure to ensure accurate cuts and measurements.
7 Steps On How To Fix Soft Spot In Subfloor
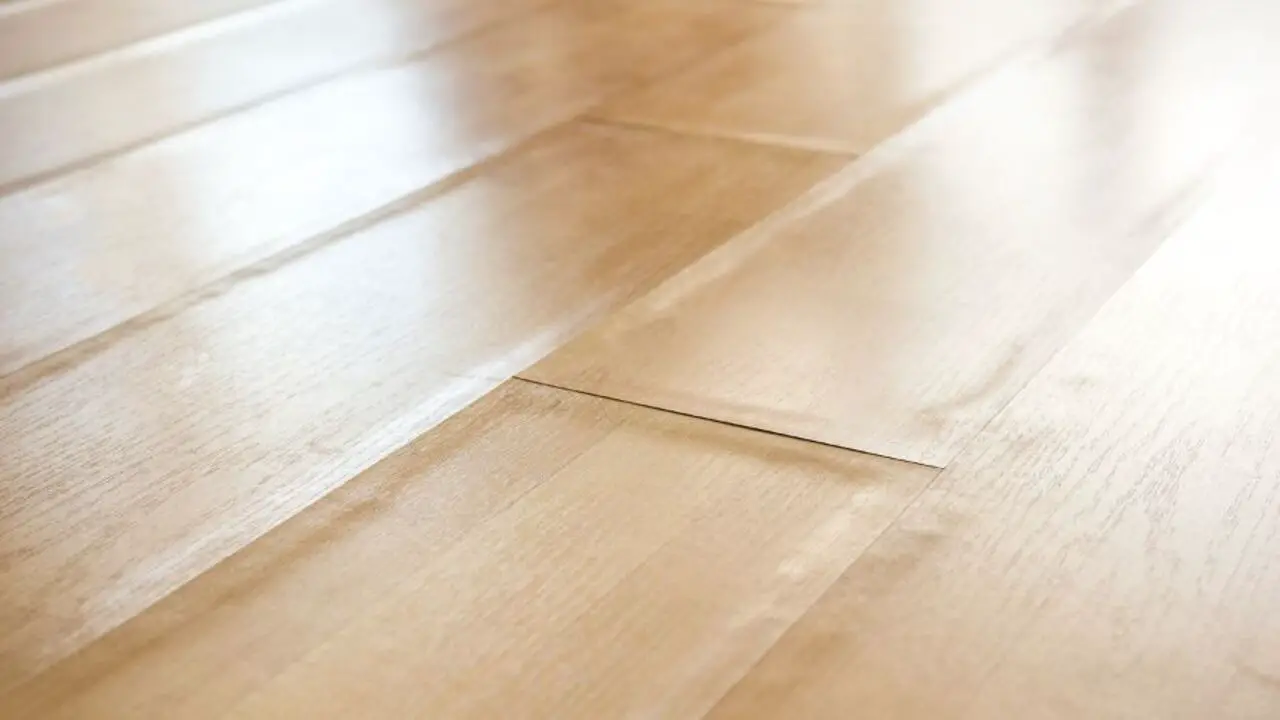
To fix a soft spot in the subfloor, follow these seven steps. Start by identifying the soft area by gently pressing down on the surface. Then, remove any flooring materials covering the affected area to expose the subfloor. Inspect the subfloor for water damage or rot and address those issues.
Next, cut out the damaged section using a circular or reciprocating saw. Measure and cut a replacement piece of subfloor, apply construction adhesive to the edges and secure it with screws or nails. Here are 7 Steps on how to fix soft spot in subfloor
Step 1: Removing The Damaged Subfloor
To begin fixing a soft spot in the subfloor, the first step is to remove the damaged section. Wear protective gear like safety goggles and gloves to prevent injuries while cutting out the damaged portion using a circular or reciprocating saw.
After removing the damaged section, inspect the joists underneath for any signs of damage or rot. If necessary, repair or replace the damaged joists before proceeding with the subfloor repair.
Measure and cut a replacement piece of plywood or oriented strand board (OSB) to fit the opening in the subfloor. Apply construction adhesive to the top of the joists and carefully fit the replacement piece into position, aligning it properly with the surrounding subfloor.
Step 2: Inspecting The Joists And Making Repairs
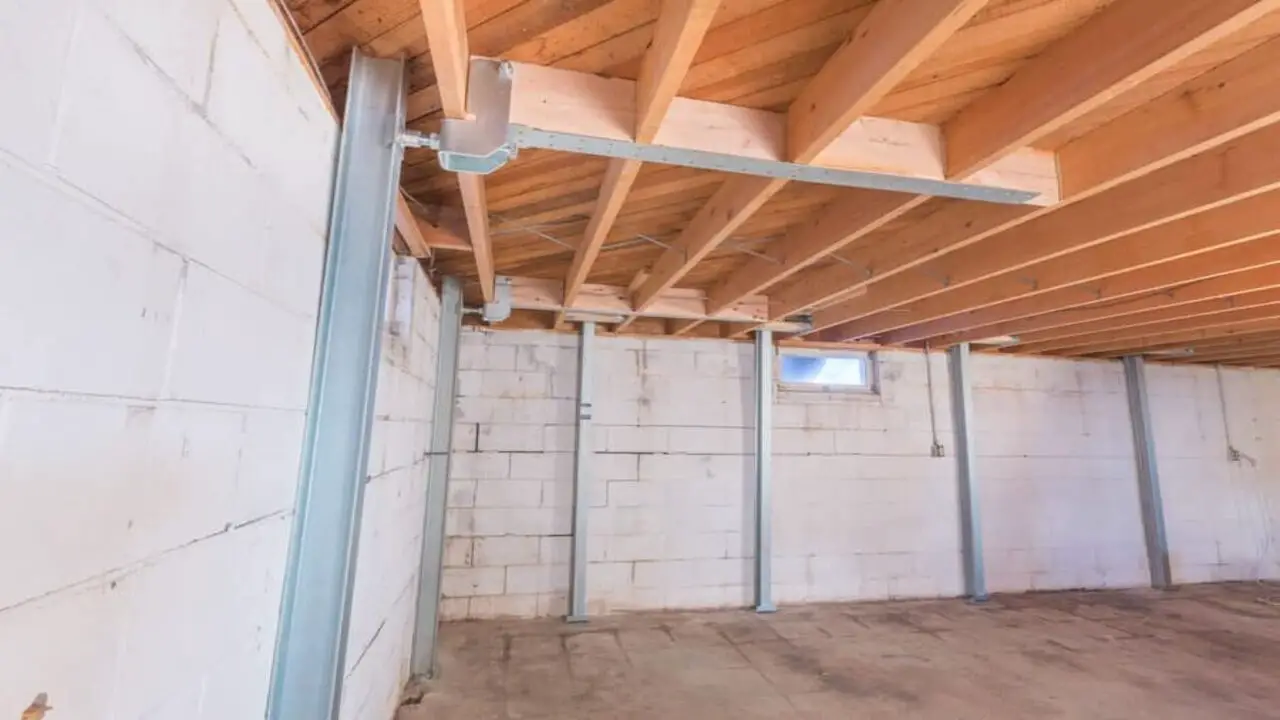
After identifying the soft spot in the subfloor, closely examine the joists using a flashlight to check for signs of rot, pests, or other issues that may have caused the damage. If any damage is found, make the necessary repairs by replacing or reinforcing the affected joists.
Ensure the new joists are properly secured and aligned with the existing structure, using screws, nails, or brackets for a strong and stable repair. Once the repairs are complete, test the area by walking over it to ensure it feels firm and stable.
Step 3: Replacing The Subfloor
After identifying the soft spot in the subfloor, remove any damaged or rotten sections using a circular saw or reciprocating saw. Cut out the area within the lines of the joists. Measure and cut a new piece of plywood to fit into the hole, ensuring it matches the existing subfloor’s thickness.
Apply construction adhesive to the edges of the joists and lay the new plywood piece in place, securing it with screws or nails. Fill any gaps or seams with wood filler, allowing it to dry completely. Sand down rough edges and ensure the new subfloor is leveled with the surrounding floor.
Step 4: Filling Gaps And Cracks
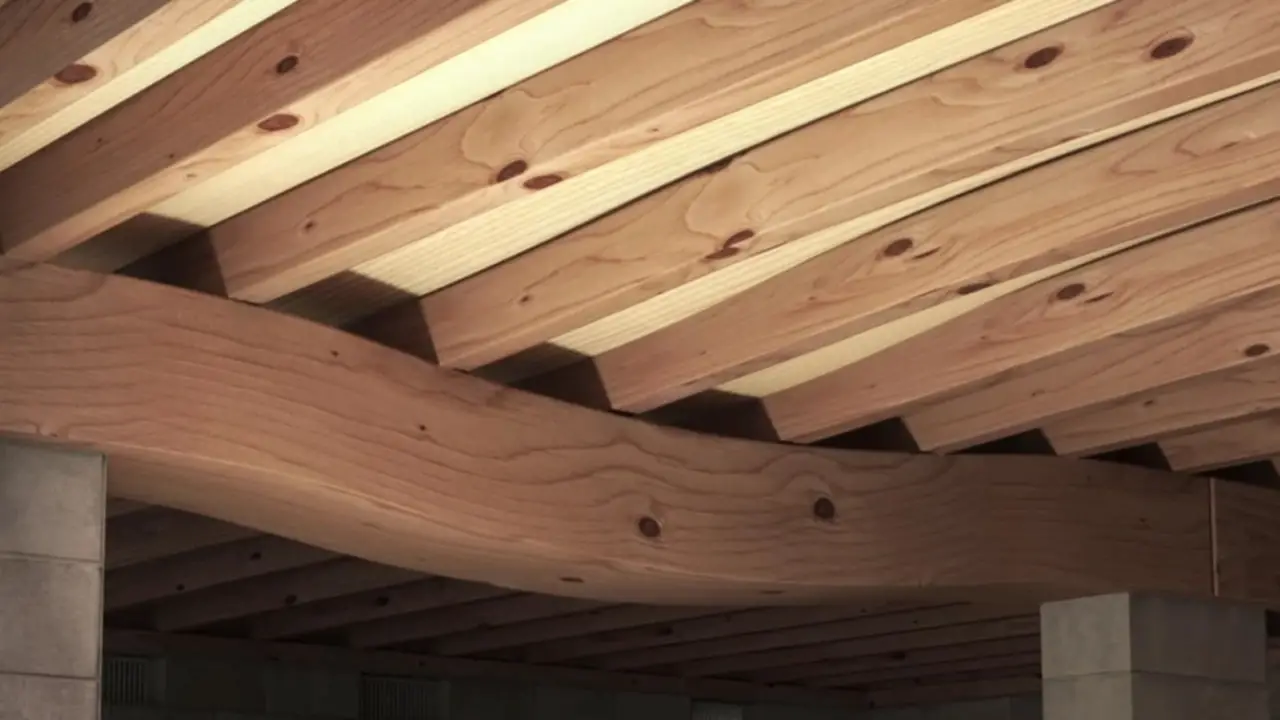
Step four involves filling any gaps and cracks in the subfloor to ensure a successful repair. Prior to filling, make sure the area is clean and free of debris. Use a putty knife or scraper to remove loose or crumbling material from the gaps and cracks. Following the manufacturer’s instructions for mixing and application, apply a wood or epoxy filler to the affected areas.
Smooth the filler using a putty knife or trowel, ensuring it is leveled with the surrounding subfloor. Allow the filler to dry completely before proceeding to the next steps. Remember to sand down rough areas or excess filler until the subfloor is smooth and even.
Step 5: Sanding And Smoothing The Surface
Sanding is crucial in fixing a soft spot to achieve a level and smooth finish on the subfloor. Begin by using coarse-grit sandpaper to eliminate any rough edges or bumps. Use a handheld sander or sanding block for consistent results, applying even pressure.
Work in small sections, sanding back and forth along the wood grain. As you progress, switch to finer grit sandpaper for a smoother surface. It’s important to periodically check for any remaining soft spots or unevenness while sanding.
Step 6: Installing New Flooring
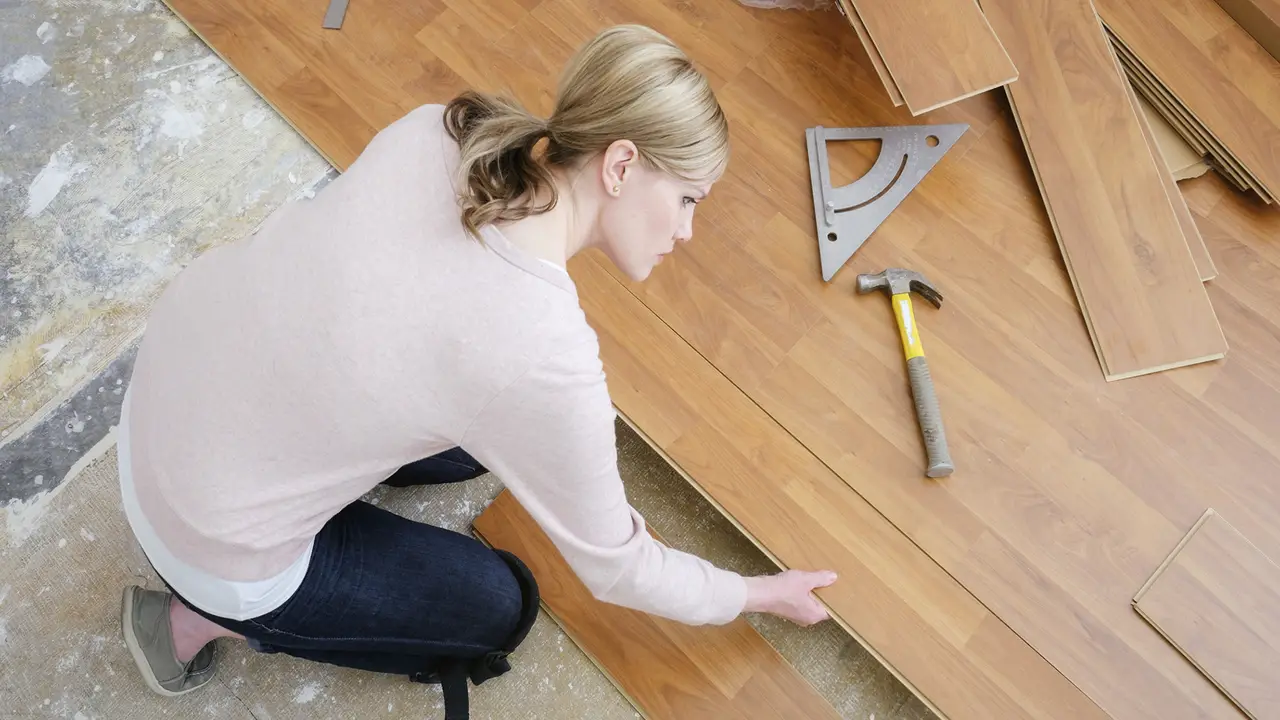
Now that the soft spot in the subfloor has been repaired, it’s time to move on to the next step: installing new flooring. When choosing your flooring material, consider your specific needs and preferences. Take accurate measurements and cut the flooring to fit the space perfectly.
Follow the manufacturer’s instructions for installation, which may involve adhesive or underlayment. Secure the flooring with a hammer and nails or a pneumatic nail gun. Remember to leave an expansion gap around the room’s edges to accommodate any potential movement or changes in temperature.
Step 7: Finishing Touches And Maintenance Tips
After the subfloor repair is complete, securely attach any removed flooring materials. Remove any debris or excess adhesive from the repair area. Inspect the repaired area for remaining soft spots or signs of damage.
Apply a protective sealant or paint to safeguard the subfloor from moisture and further damage if necessary. Remember to regularly inspect and maintain the repaired subfloor to prevent future issues. Promptly address any water damage or leaks that may have caused the initial soft spot.
Conclusion
Fixing a soft spot in your subfloor is a step-by-step process that requires careful inspection and precise repairs. By identifying the cause of the soft spots, gathering the necessary tools and materials, and following each step with precision, you can restore the integrity of your subfloor and ensure a stable foundation for your flooring.
Remember to take your time and follow safety precautions throughout the process. If you’re unsure about any step or need professional assistance, don’t hesitate to contact a trusted contractor or handyman. We have provided bulk information on how to fix soft spot in subfloor and hope our information was helpful from your perspective.
Frequently Asked Questions
[rank_math_rich_snippet id=”s-72e7f712-ff26-480b-92d9-45937a1b1083″]

I am passionate about home engineering. I specialize in designing, installing, and maintaining heating, ventilation, and air conditioning systems. My goal is to help people stay comfortable in their homes all year long.


