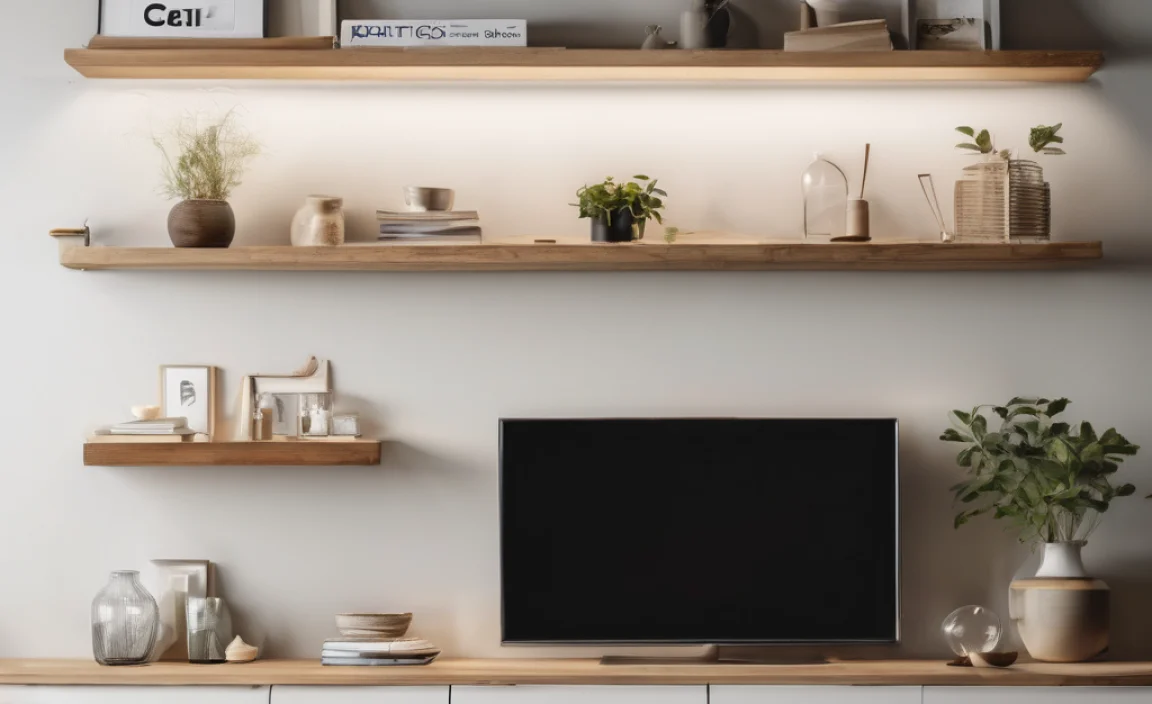
Have you ever wished you could add more space to your room without moving? Floating shelves are a fantastic solution. They save space and can make your walls look amazing. Imagine showing off your favorite books, plants, or tiny treasures on a neat shelf. Wouldn’t that look great?
Building floating shelves might sound tricky, but it’s easier than you think. You don’t need to be a master carpenter. With just a few simple tools, you can learn how to make floating shelves that fit perfectly in any room.
Did you know that floating shelves create the illusion of more space? They can make even a small room feel larger. So, let’s dive into how to floating shelves and turn your walls into a space-saving display.
How To Floating Shelves: Tips, Ideas, And Installation Guide
How to Floating Shelves
Floating shelves add charm and space to any room. They hang on walls without visible brackets, giving a sleek look. To create them, you’ll need basic tools like a drill and level. Choosing the right location is essential. Consider light and accessibility. Fun fact: Floating shelves can also work as a creative display for photos and plants! Think about how you can personalize your space with these stylish additions. Let your creativity shine while you learn how to make your home more inviting.
Understanding Floating Shelves
Definition and concept of floating shelves. Benefits of using floating shelves in home decor.
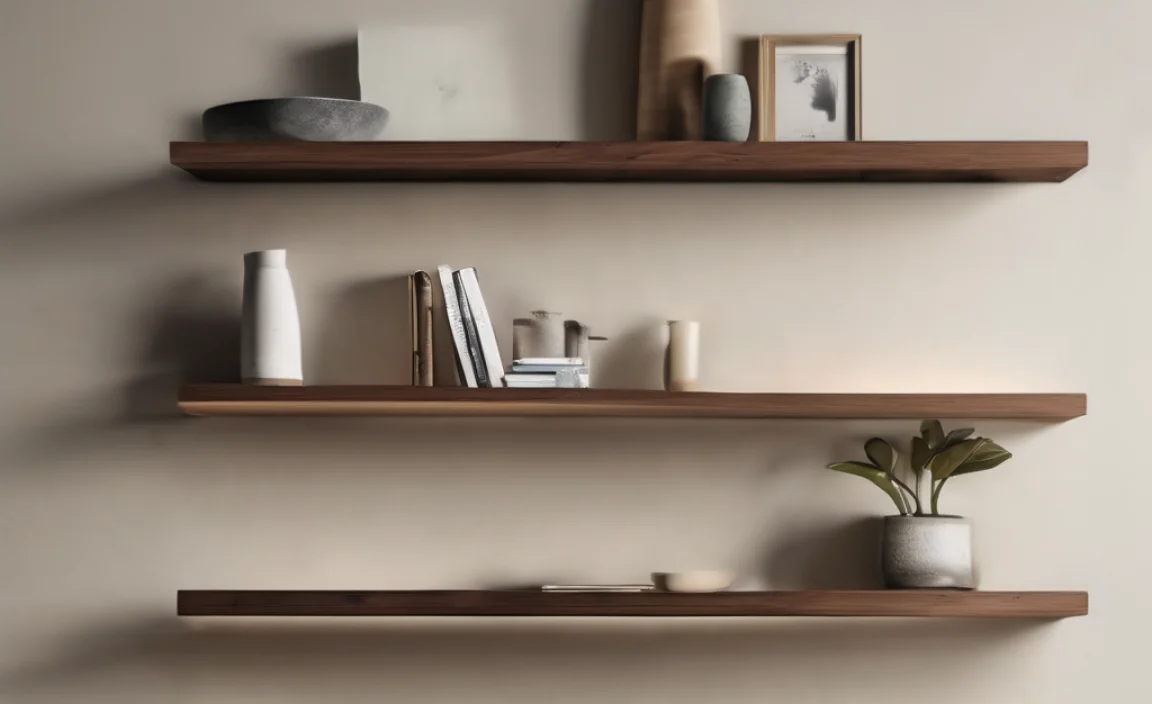
Floating shelves are unique shelves that seem to “float” on your wall. They don’t have visible brackets, giving them a sleek look. These shelves can be a great addition to your home decor because they save space and add style. They are perfect for displaying books, photos, or plants. Plus, they can make a small room look bigger by keeping the floor clear.
- Space-saving: They help keep your floor tidy.
- Stylish: They offer a modern touch to any room.
- Flexible: You can place them anywhere, like the living room or kitchen.
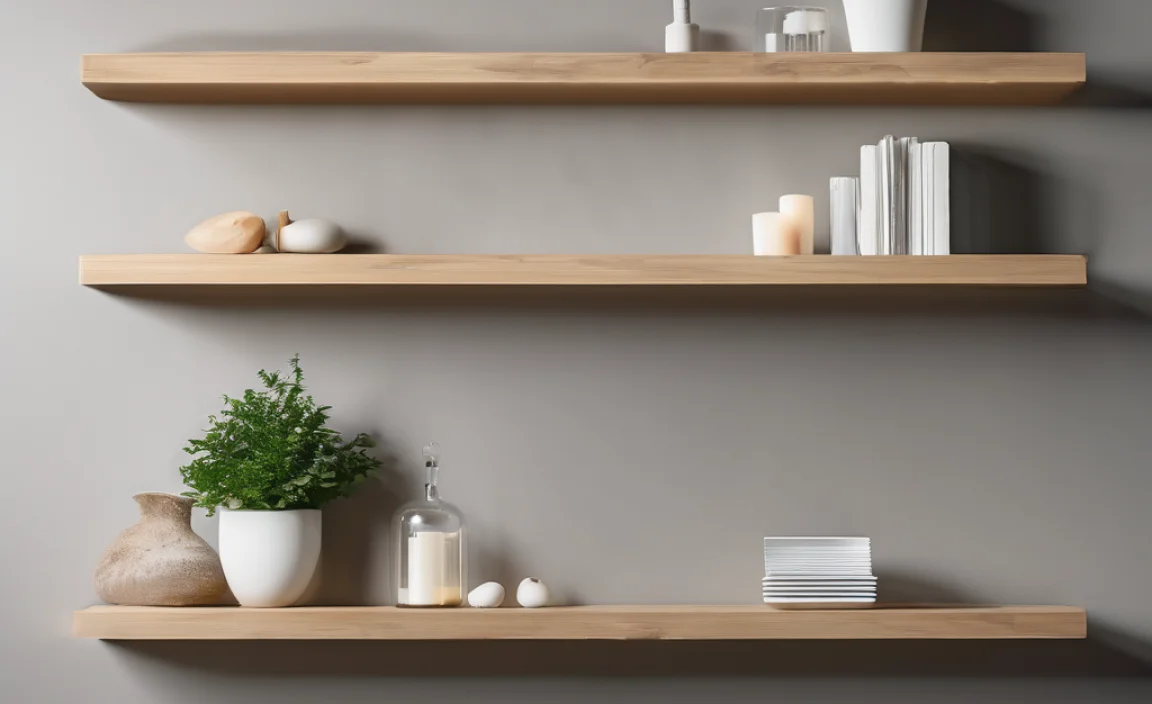
What are floating shelves used for?
Floating shelves are used to display items like books and decorations. They are also used to keep things organized without taking up much space.
Types of Floating Shelves
Different materials (wood, metal, glass) and their pros and cons. Variations in design styles (modern, rustic, minimalist).
Floating shelves come in different materials, each with its own perks and drawbacks. Wood is warm and classic but can warp. Metal is strong and modern, perfect for a sleek look. Yet, it might rust. Glass looks fancy and can brighten a room, but it can break easily. Styles vary too. Some like minimalist for clean lines, others prefer rustic for charm, while many adore modern designs that pop. Choosing the right shelf is fun!
What are the best materials for floating shelves?
The best materials often depend on style and function. Wood is sturdy and cozy, while metal offers a chic industrial vibe. Glass adds elegance but needs more care.
Key Points on Materials:
- Wood: Durable, warm, but can warp.
- Metal: Strong, modern, but can rust.
- Glass: Elegant, brightens spaces, but is fragile.
Which design styles are popular?
Popular designs include modern, rustic, and minimalist. Modern is sleek, rustic is cozy and warm, and minimalist is simple and clean.
Design Style Details:
- Modern: Sleek and contemporary.
- Rustic: Warm and inviting.
- Minimalist: Simple and uncluttered.
Tools and Materials Needed
Essential tools for installation (drill, level, etc.). Materials required (shelves, brackets, anchors).
To install floating shelves, you need some tools and materials. Here’s a quick list:
- Tools:
- Drill: Helps make holes in the wall.
- Level: Ensures your shelves are straight.
- Screwdriver: For securing screws.
- Materials:
- Shelves: The surfaces you want to display.
- Brackets: Support the shelves.
- Anchors: Keep everything strong in the wall.
Gathering these items makes the job easy and fun. Are you ready to start?
Preparing the Wall
How to choose the best location for your shelves. Checking for wall studs and using a stud finder.
Finding the perfect spot for your shelves is essential. You want them to be useful and stylish, not doing the limbo dance on your wall. Start by looking for wall studs. These are the strong beams hiding behind your drywall. Grab a stud finder or knock gently on the wall. If it sounds hollow, keep searching! Use a tape measure to ensure even spacing; nobody wants their shelves to look like they’re competing in a beauty pageant!
| Stud Finder Tips | Common Mistakes |
|---|---|
| Hold it flat against the wall. | Skipping stud checks. |
| Mark where you find a stud. | Forgetting to measure evenly. |
Measurement and Marking
Importance of accurate measurements. How to mark for bracket placement.
Getting measurements right is like finding the perfect pair of shoes: too big or too small, and you’re in trouble! Start by measuring your wall space. Use a tape measure to determine where your shelves will go. Mark these points with a pencil. You want your brackets to be level, or your books might take a tumble. A little help from a friend or a level tool can make this easy. Remember, accuracy counts for good-looking shelves!
| Step | Action |
|---|---|
| 1 | Measure the wall where shelves will be. |
| 2 | Mark the spot for the bracket placement. |
| 3 | Ensure everything is level before proceeding. |
Installing Brackets
Detailed steps for attaching brackets securely. Tips for ensuring brackets are level and properly aligned.
To attach brackets securely, first, locate the studs in the wall. Use a stud finder or knock on the wall to find a solid spot. Next, hold the bracket against the wall where you want to install it. Mark the screw holes with a pencil. Drill pilot holes for easier screw insertion. When securing the brackets, use a level to ensure they are straight. For a perfect fit, check alignment frequently as you work.
- Find the studs before drilling.
- Mark screw holes with a pencil.
- Drill pilot holes for easy screws.
- Use a level to check alignment.
How do you make sure the brackets are level?
Use a level tool while installing, and adjust as needed to keep them straight.
Following these steps will help you mount floating shelves easily and keep them sturdy. Remember, safety first! Always wear safety goggles when drilling. With the right technique, you will enjoy your new shelves in no time!
Mounting the Floating Shelves
Instructions for placing the shelf onto the brackets. Securing the shelf to prevent movement.
After placing your floating shelf on the brackets, it’s essential to secure it. This helps prevent any movement and keeps your items safe. Here’s how to do it:
- Check that the shelf is level before securing it.
- Use brackets with locking mechanisms if possible.
- Add screws to the shelf from underneath, if needed.
- Make sure all parts are tightened well.
This way, your shelf will stay put and look great! Decorate without worry!
How do I make sure my floating shelves stay secure?
To keep floating shelves stable, be sure to use proper brackets and secure screws. Regular checks can help catch any loose parts early.
Styling Ideas for Floating Shelves
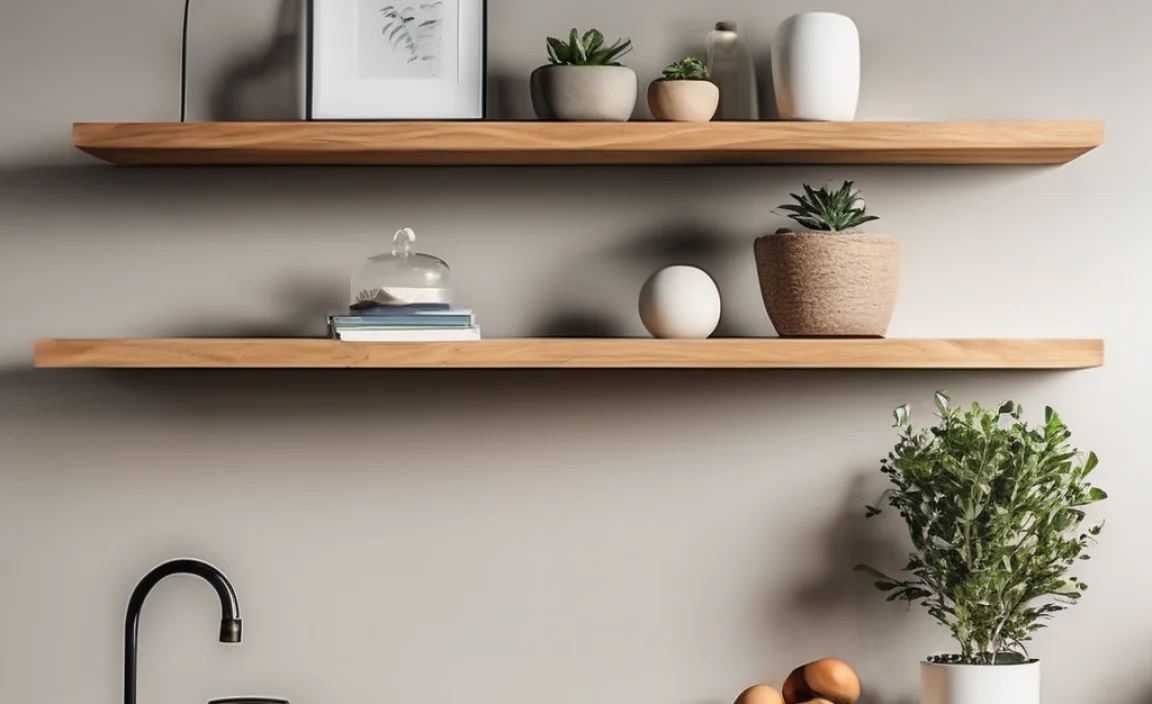
Creative ways to decorate your floating shelves. Tips on arranging items for visual appeal.
Looking to jazz up your floating shelves? There are fun ways to style them! Start by mixing books with plants. You can stack books horizontally for a cozy look, like a fancy sandwich! Use different heights for interest. Add decorative items, but don’t go overboard. Keep it balanced, like walking a tightrope! Remember, less is often more. Want a pop of color? Choose a couple of bright accents. Here’s a simple table to get you started:
| Item Type | Example |
|---|---|
| Books | Colorful novels or coffee table books |
| Plants | Small succulents or tall ferns |
| Decorative Objects | Sculptures or quirky figurines |
These ideas can turn your shelves from drab to fab. Happy styling!
Maintenance Tips for Floating Shelves
Cleaning and upkeep recommendations. How to prevent damage and maintain structure over time.
Keeping floating shelves clean and safe is easier than you think! First, dust them regularly to avoid that pesky grime. Use a soft cloth, and remember, the gentler, the better! For tough stains, a mixture of water and vinegar works wonders. To prevent damage, avoid putting heavy items on your shelves; nobody wants a shelf surprise party with falling decor! Also, make sure they are properly anchored to the wall. Check those screws!
| Maintenance Tips | Details |
|---|---|
| Dust Often | Use a soft cloth weekly. |
| Clean Stains | Mix water and vinegar for tough spots! |
| Avoid Overloading | Keep it light to prevent falls. |
| Check Anchors | Make sure screws are secure. |
Conclusion
In conclusion, floating shelves are a simple way to add style and storage. You need to measure your space, choose the right shelves, and install them securely. Remember to gather your tools and follow instructions carefully. By doing this, you can create a beautiful display in your room. For more tips and ideas, keep exploring online!
FAQs
What Materials Do I Need To Install Floating Shelves Securely?
To install floating shelves securely, you need a few important materials. First, get the floating shelves themselves. Then, find wall brackets or brackets that fit your shelves. You will also need screws to hold everything together. Finally, have a level handy to make sure the shelves are straight.
How Do I Determine The Best Height And Placement For My Floating Shelves?
To find the best height for your floating shelves, think about what you will put on them. If you want to display small items, place the shelves about eye level. For books or taller items, you can put them higher. Measure the space and make sure there’s enough room above and below. Use a level tool to keep them straight!
What Are The Steps For Mounting Floating Shelves On Drywall Versus A Concrete Wall?
To mount floating shelves on drywall, first, find the studs using a stud finder. Then, mark where you want the shelf to go. Next, drill holes into the studs and attach the brackets with screws. For a concrete wall, use a hammer drill to make holes in the wall. Then, put special anchors in those holes and attach the brackets with screws. Finally, place your shelf onto the brackets!
How Much Weight Can Floating Shelves Typically Support, And How Can I Maximize Their Load-Bearing Capacity?
Floating shelves can usually hold 15 to 50 pounds, depending on their size and how they are installed. To make them stronger, you can add extra brackets or use thicker shelves. Always install them into studs, which are the strong wooden parts inside your wall. This way, you can safely put more things on your shelves!
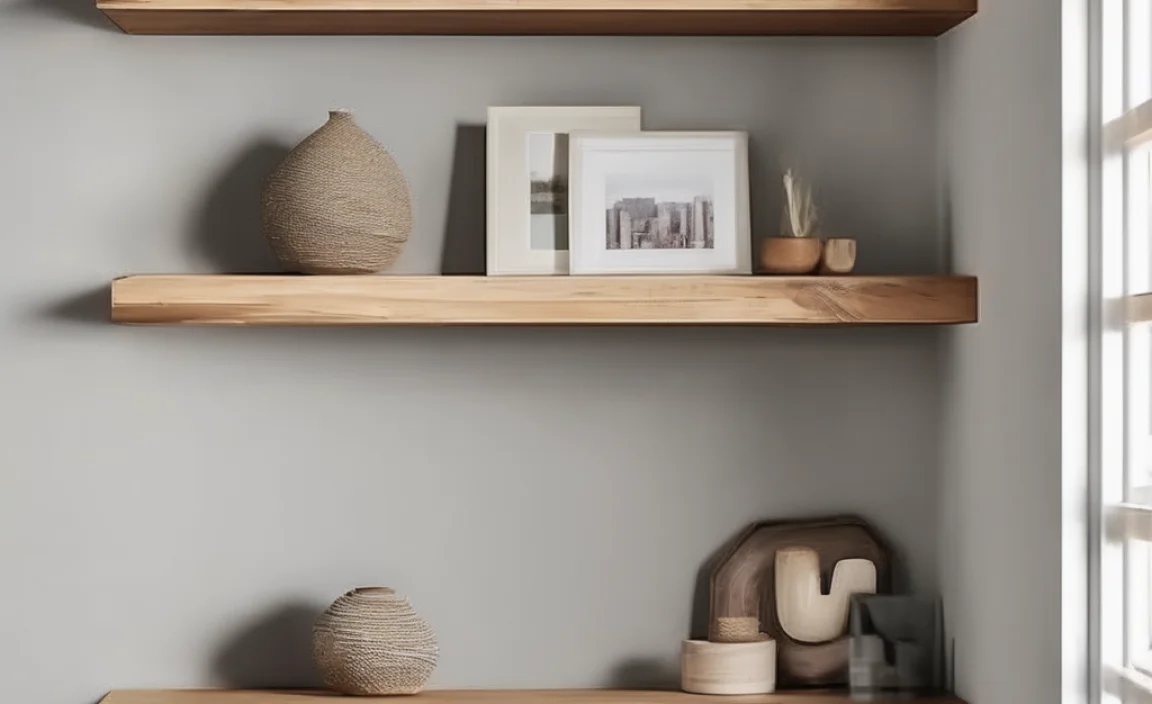
What Design Tips Can I Follow To Enhance The Aesthetic Appeal Of My Floating Shelves?
To make your floating shelves look great, start by choosing a few fun colors for the items you display. Arrange your items in different heights to create interest. Use some plants or pictures to add a lively touch. Finally, keep things tidy. Too much clutter can make it look messy!