Have you ever thought about upgrading your bathroom or kitchen? Installing a countertop sink can give your space a fresh look. It’s a simple task that many people can do themselves. Imagine transforming a regular room into something beautiful with just a few tools and a little effort.
But where do you start? Learning how to install a countertop sink might seem tricky at first. What if you could do it without hiring a plumber? The good news is that you can. With the right steps, you will feel proud of your work.
Did you know that even a beginner can learn this skill? Many folks think plumbing is only for experts. However, many people successfully install their sinks every day. In this article, you will discover easy steps to help you install a countertop sink like a pro. Let’s dive in and make your home even more special!
How To Install A Countertop Sink: A Step-By-Step Guide
How to Install a Countertop Sink

Installing a countertop sink can be a fun project! Start by gathering all the tools you need, like a wrench and adhesive. Next, prepare the sink area by cleaning the surface. Did you know that proper sealing keeps water from leaking? After placing the sink, secure it with adhesive and connect plumbing. Check for leaks by running water. With a little effort, your new sink can brighten up your kitchen or bathroom. Who’s ready to get started?
Understanding Countertop Sinks

Definition and types of countertop sinks. Benefits of installing a countertop sink.
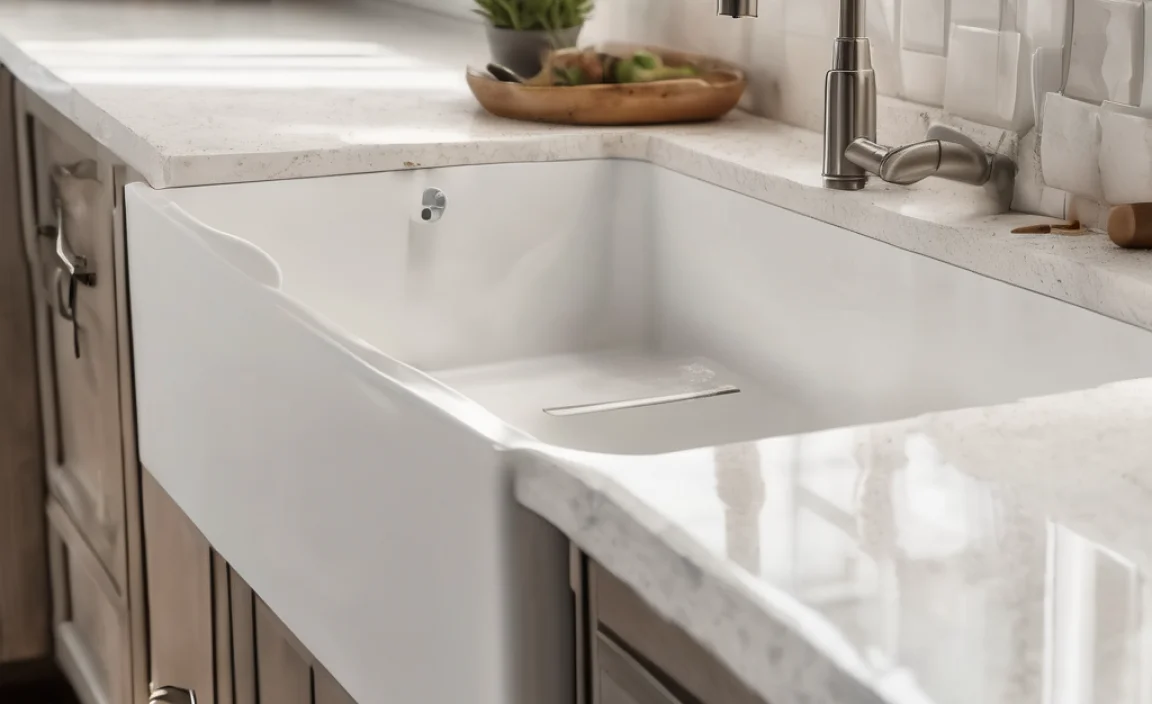
Countertop sinks are stylish and practical. They sit above the counter, making them easy to use. There are a few types, like drop-in and vessel sinks. Each has its own charm! Drop-in sinks are quick to install, while vessel sinks look like art pieces. The benefits? They save space, look good, and can fit any bathroom or kitchen style. Think of them as the cherry on top of your countertop cake!
| Type of Sink | Description |
|---|---|
| Drop-In Sink | Easy to install and fits securely in the countertop. |
| Vessel Sink | Raises above the countertop, adding a touch of elegance. |
So, consider giving your space a fun upgrade with a countertop sink! After all, who doesn’t want a sink that makes washing hands a little more enjoyable?
Tools and Materials Needed
Essential tools for installation. Recommended materials and supplies.
To install a countertop sink, gather some important tools and materials. You’ll need items like a drill, screwdriver, and plumber’s putty. Get these supplies ready:
- Adjustable wrench
- Pipe wrench
- Silicone caulk
- Measuring tape
- Sink mounting clips
Having the right tools makes the job easier. Good materials help your sink last longer!
What tools are needed for sink installation?
Essential tools include a drill, screwdriver, adjustable wrench, and plumber’s putty. These tools help to ensure the sink is securely installed and functions well.
Preparing the Installation Area
Measuring the installation space. Choosing the right countertop. Clearing and cleaning the installation area.
Start by measuring your space. Grab a tape measure and check the length and width where the sink will go. Think of it like fitting a pizza in the oven; you don’t want to burn the crust! Next, choose the right countertop. Is it stylish enough for your kitchen? You don’t want a countertop that looks like it came from the stone age. Finally, clear the area and give it a good clean. No one wants dust in their new sink, right?
| Step | Action |
|---|---|
| 1 | Measure the installation area carefully. |
| 2 | Pick a countertop that matches your style. |
| 3 | Clear and clean the installation area. |
Remember, a little prep work can save you a big headache later! And trust me, it’s much easier to install a shiny new sink in a spotless space.
Removing the Old Sink (if applicable)
Steps to safely disconnect plumbing. Tips for removing the old sink without damage.
Start by turning off the water supply to avoid any leaks. Next, use a pipe wrench to disconnect the plumbing under the sink. Be gentle, so you don’t damage the pipes. Carefully remove any clips or fasteners holding the sink in place. Keep it steady as you lift it out.
To prevent damage, try these tips:
- Use a putty knife around the edges to break the seal.
- Have a helper hold the sink while you unscrew it.
- Protect the countertop with a cloth or cardboard.
What is the first step to remove a sink?
Turn off the water supply to prevent any leaks.
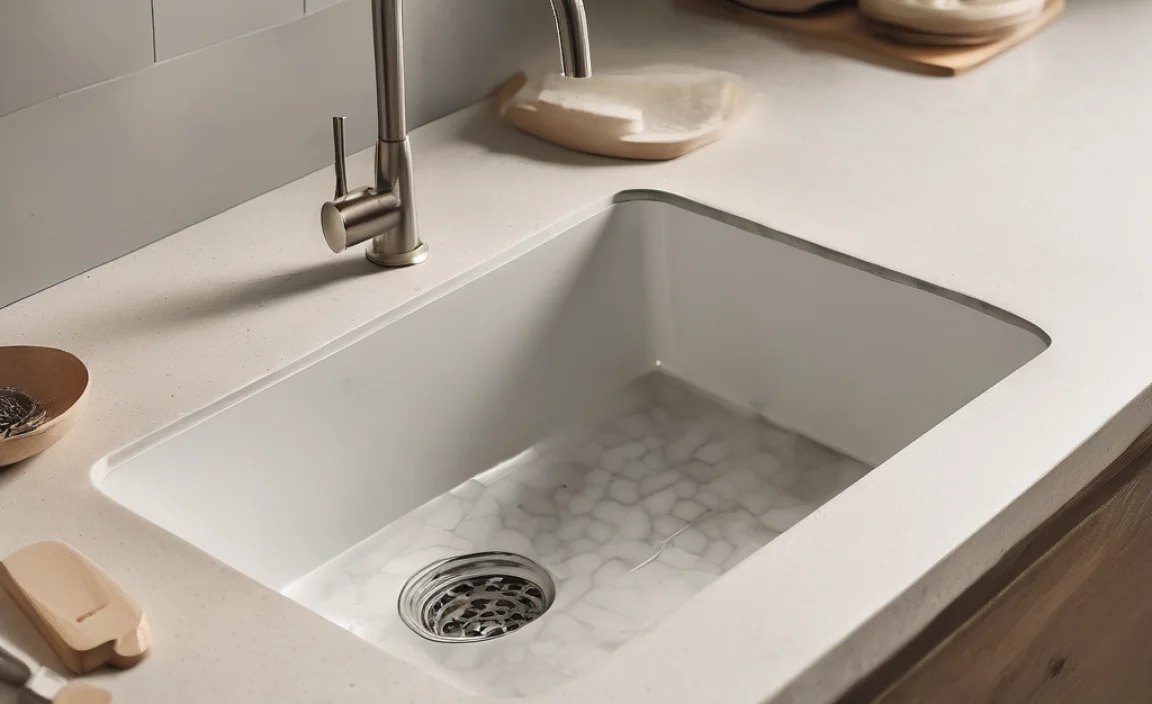
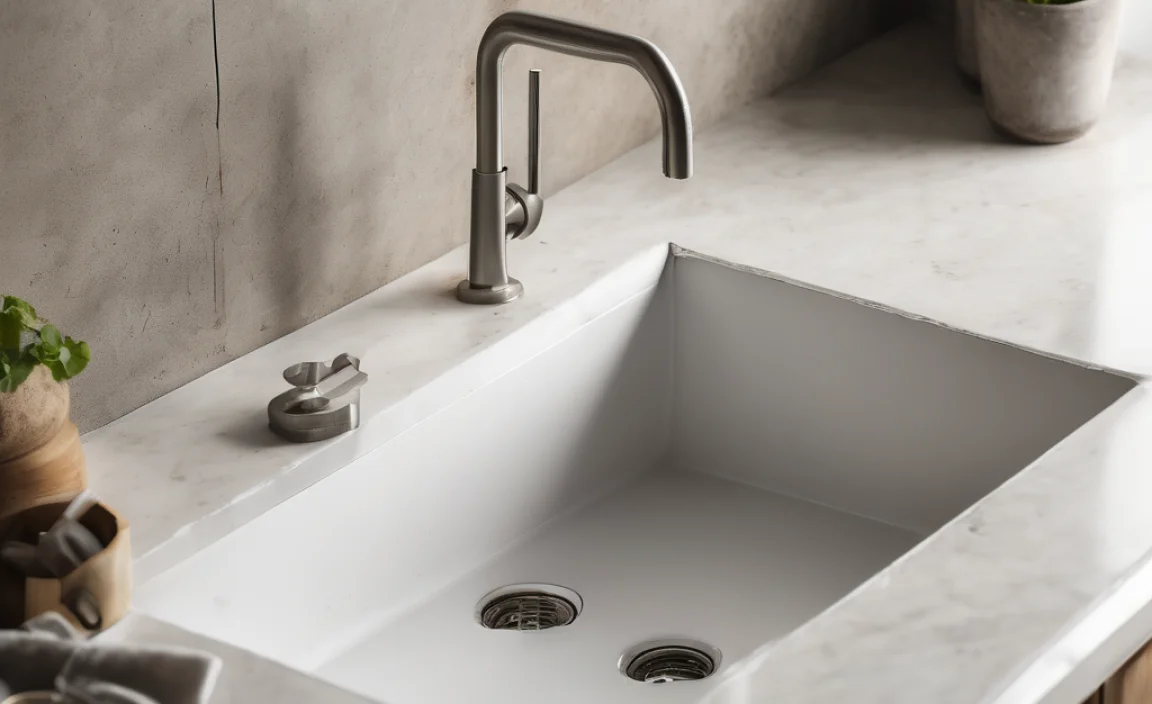
Installing the Countertop Sink
Stepbystep guide for installation. Best practices for securing the sink. Plumbing connections: How to connect water supply and drainage.
First, gather your tools: a wrench, silicone adhesive, and a level. Start by measuring the counter space where the sink will sit. Cut a hole according to the sink’s shape. Now, let’s secure the sink: apply a generous amount of silicone around the edges before placing it in the hole. Don’t skip this step; it keeps your sink from feeling like a roller coaster!
Next, it’s time for plumbing connections. Connect the water supply pipes, ensuring they’re tight. For drainage, attach the sink’s drain to the pipe below. Check for leaks as you go, because nobody likes an indoor water feature that wasn’t planned! Remember, a steady hand makes for smooth sailing.
| Step | Description |
|---|---|
| 1 | Measure and cut counter for sink |
| 2 | Apply silicone to sink edges |
| 3 | Place sink into cutout |
| 4 | Connect water supply |
| 5 | Attach drainage pipe |
Sealing and Finishing Touches
Importance of sealing the sink. Recommended sealants and application techniques.
Sealing your countertop sink is very important. It helps keep water from leaking and prevents damage. Using the right sealant is key for a long-lasting sink. Here are some recommended sealants:
- Silicone sealant
- Epoxy resin
- Acrylic latex
To apply the sealant:
- Clean the area well.
- Apply the sealant evenly.
- Let it dry completely before use.
This simple process helps protect your sink and keeps it looking great!
Why is sealing a sink crucial?
Sealing a sink stops water leaks, avoiding mold and damage.
What are the best application tips?
Make sure to clean the area, apply smoothly, and allow proper drying time.
Testing the Installation
How to check for leaks. Ensuring proper drainage and water flow.
After you’ve installed your countertop sink, it’s time for the fun part: testing! First, turn on the water and watch for any sneaky leaks. If water starts dancing down the sides, you may need to tighten some bolts. Next, check if the water flows smoothly down the drain. If it plays hide-and-seek instead, you might have a blockage. Here’s a quick table to help:
| Check | What to Look For | Action Needed |
|---|---|---|
| Leaks | Water dripping anywhere | Tighten fittings or replace connections |
| Drainage | Water standing in the sink | Clear clogs or adjust the drain slope |
Remember, a happy sink means a happy home! So, give it a good test and ensure everything flows as it should.
Common Mistakes to Avoid
Typical errors in installation. Tips for troubleshooting issues.
Installing a countertop sink can be tricky! Many people make common mistakes that can turn a fun project into a plumbing nightmare. One typical error is not measuring correctly. Always double-check your dimensions; otherwise, the sink might be swimming in a too-big hole! Another mistake is using the wrong sealant. Using too much or the wrong kind can cause leaks. If you find water where it shouldn’t be, try tightening the connections first before panicking!
| Error | Tip |
|---|---|
| Incorrect measurements | Double-check twice! |
| Poor sealant choice | Ask the store for advice! |
| Ignoring instructions | Read them all the way through! |
Remember, installing a sink shouldn’t feel like rocket science. It’s more like assembling a puzzle, except if you mess up, water might fly everywhere!
Maintenance Tips for Countertop Sinks
Cleaning and care guidelines. Longterm maintenance practices to extend lifespan.
Keeping your countertop sink clean is key to its longevity. Wipe it regularly with a soft cloth and warm, soapy water. Avoid harsh chemicals that could cause damage. Think of your sink as a pet: it needs love and care! For long-term maintenance, check for leaks, and tighten loose parts every few months. A little attention now can save you big headaches later. Don’t forget to share a laugh with your sink; it makes cleaning way more fun!
| Cleaning Task | Frequency |
|---|---|
| Wipe down | Daily |
| Check for leaks | Every 3 months |
| Tighten connections | Every 6 months |
Conclusion
In conclusion, installing a countertop sink is a fun project you can do yourself. Start by gathering your tools and materials. Follow the steps carefully, from measuring to sealing. Remember to check for leaks afterward. If you’re unsure, seek guidance from online tutorials or local experts. Now, you’re ready to create that beautiful sink space in your home!
FAQs
Sure! Here Are Five Related Questions On The Topic Of Installing A Countertop Sink:
Sure! Here are five questions about installing a countertop sink. 1. What tools do you need? 2. How do you measure for the sink? 3. Can anyone install it, or do you need help? 4. What do you do if it leaks? 5. How do you clean the sink after it’s installed? If you have any specific questions from this list, feel free to ask!
Sure! Please provide the question you would like me to answer.
What Tools And Materials Are Required For Installing A Countertop Sink?
To install a countertop sink, you will need some tools and materials. First, get a measuring tape to measure your space. You also need a drill, which makes holes for screws. Don’t forget a screwdriver to tighten everything. For materials, you will need the sink, a faucet, and plumbing pipes to connect the water. A sealant helps keep everything water-tight.
How Do I Measure And Prepare The Countertop For A Sink Installation?
To measure for a sink, start by checking the sink’s size. Use a tape measure to find the width and length. Mark those spots on your countertop with a pencil. Cut out the marked area carefully. Make sure the hole fits your sink properly before moving on.
What Are The Steps To Properly Seal And Secure The Sink To The Countertop?
To seal and secure the sink to the countertop, first clean both surfaces. Make sure there are no dirt or dust. Next, apply a bead of silicone sealant around the edge of the sink. Then, place the sink in the hole. Press it down and wipe away any extra sealant. Finally, let it dry according to the package instructions before using it.
How Do I Connect The Plumbing And Drainage For The Countertop Sink?
To connect the plumbing and drainage for your countertop sink, start by finding the water pipes under your sink. You will need to attach a water supply line to let water in. Next, connect a drainpipe to remove dirty water. Make sure all the pipes are tight and check for leaks. Finally, turn on the water to see if everything works!
What Common Challenges Might I Face During The Installation Process And How Can I Overcome Them?
During installation, you might face problems like missing parts or unclear instructions. If you can’t find a part, check the package carefully or ask for help. If the instructions are confusing, take a break and read them slowly. You can also watch a video online that shows the steps. Don’t worry; we all have trouble sometimes, and asking for help is okay!