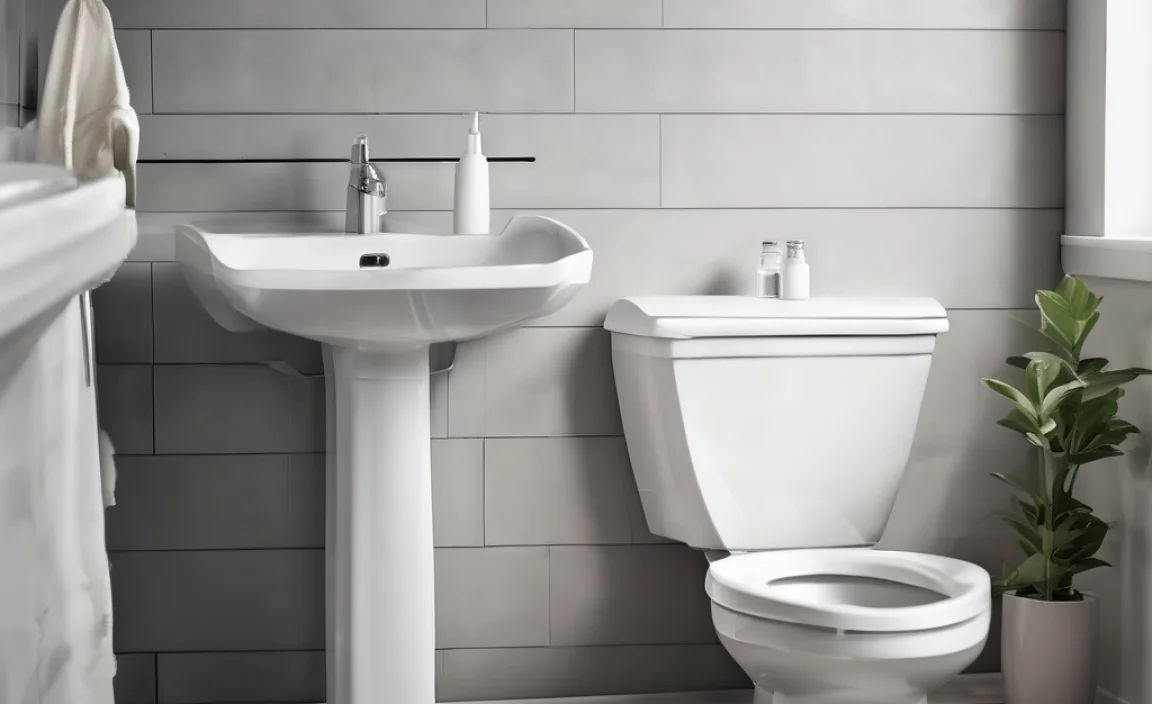
Have you ever wondered how a simple thing like a toilet works? Most of us take this for granted. Yet, a toilet needs water to flush properly. That’s where the toilet water supply line comes in. It connects the toilet to the water source. If this line breaks or needs replacing, don’t worry! You can easily fix it yourself.
Imagine you are at home, and you hear a strange sound coming from the bathroom. It turns out, your toilet is leaking! What do you do? Learning how to install a toilet water supply line can save you a lot of money and stress. You won’t need to call a plumber. Instead, you can tackle this task on your own.
Did you know that a dripping toilet can waste a lot of water? In fact, it can waste over 200 gallons a day! Fixing it quickly not only saves water but also keeps your bills low. By following some simple steps, you can have your toilet back in good shape.
So, are you ready to learn how to install a toilet water supply line? Let’s dive in and get your bathroom running smoothly again!
How To Install A Toilet Water Supply Line Safely And Easily
—
Installing A Toilet Water Supply Line Is A Straightforward Task That Can Save You Both Time And Money. Whether You’Re Replacing An Old Line Or Installing A New Toilet, This Guide Will Walk You Through The Necessary Steps. Let’S Dive Into The Process To Ensure You Have A Proper And Efficient Installation.
Tools And Materials Needed
Before Starting, Gather The Following Tools And Materials:
– Adjustable Wrench
– Screwdriver
– New Water Supply Line
– Teflon Tape
– Bucket Or Towel
Step-By-Step Guide
Step 1: Turn Off The Water Supply
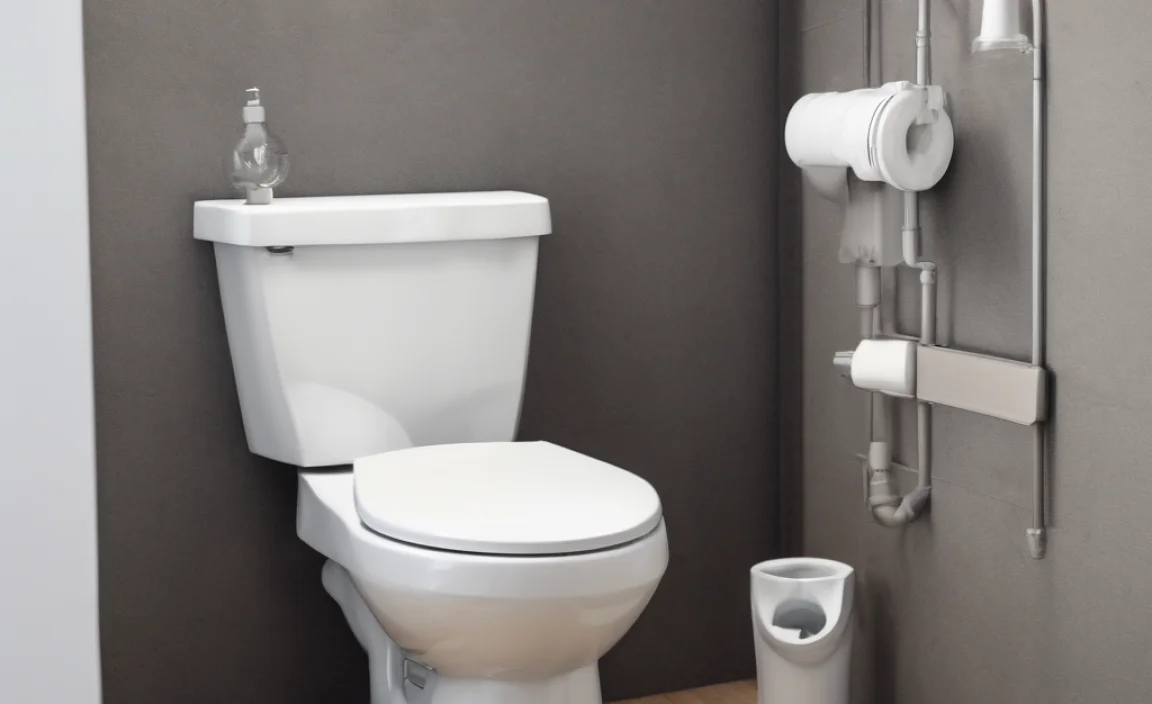
Locate The Shutoff Valve Near The Base Of Your Toilet. Turn It Clockwise To Shut Off The Water Flow Completely. Flush The Toilet To Help Empty The Tank And Bowl, Making The Installation Easier.
Step 2: Disconnect The Old Supply Line
Using An Adjustable Wrench, Carefully Disconnect The Old Water Supply Line From The Toilet Tank. Make Sure To Have A Bucket Or Towel Handy To Catch Any Remaining Water That May Spill.
Step 3: Prepare The New Supply Line
Take Your New Water Supply Line And Check If It Has Threaded Ends On Both Sides. If Necessary, Wrap The Threads With Teflon Tape To Ensure A Tight Seal.
Step 4: Connect The New Supply Line
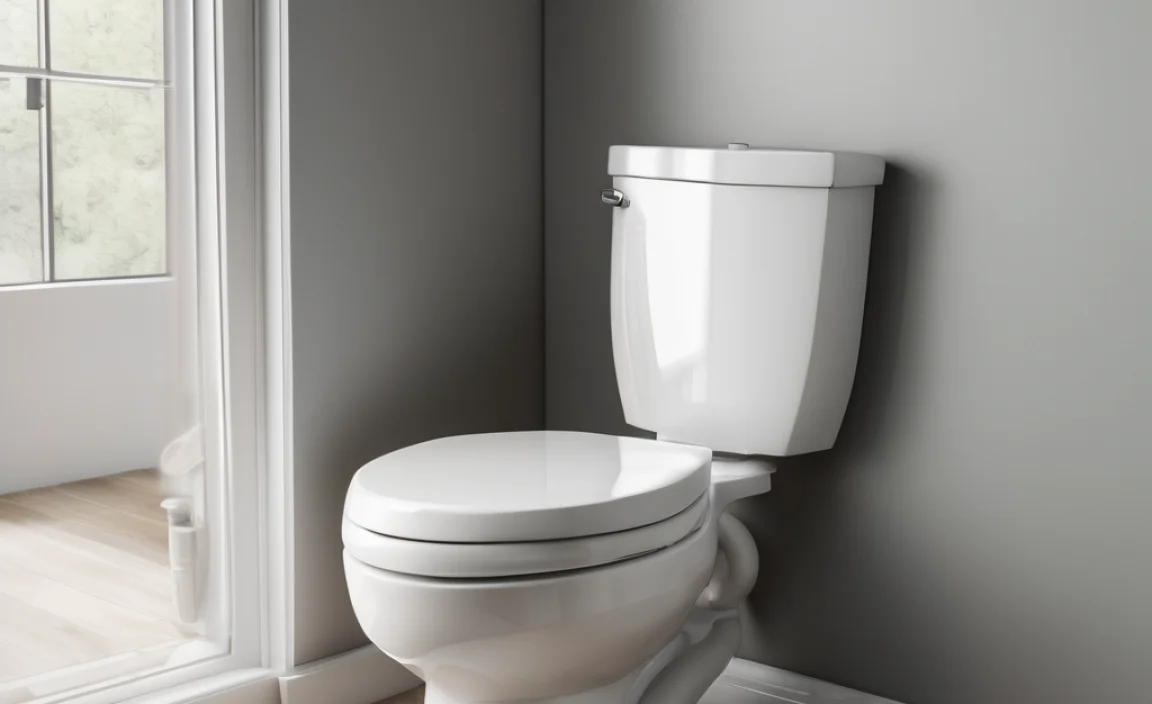
Connect One End Of The New Water Supply Line To The Toilet Tank, Tightening It Securely With An Adjustable Wrench. Ensure It Is Snug But Avoid Overtightening To Prevent Damage.
Step 5: Connect The Other End
Connect The Other End Of The Water Supply Line To The Shutoff Valve. Again, Ensure It Is Tight But Not Overly So To Avoid Any Future Leaks.
Step 6: Turn On The Water Supply
Slowly Turn The Shutoff Valve Counterclockwise To Restore The Water Flow. Check For Leaks Around Both Connections. If You Notice Any Leaks, Tighten The Connections Slightly Until They Stop.
Step 7: Test The Toilet
Flush The Toilet Several Times To Ensure Proper Operation And Check For Any Leaks. If Everything Looks Good, You Have Successfully Installed Your Toilet Water Supply Line!
Conclusion
Installing A Toilet Water Supply Line Doesn’T Have To Be A Daunting Task. With The Right Tools And A Little Patience, You Can Complete This Project With Ease. Always Remember To Check For Leaks After Installation, And Enjoy The Peace Of Mind That Comes With A Properly Functioning Toilet!
How to Install a Toilet Water Supply Line
Installing a toilet water supply line can seem tricky, but it’s doable. First, turn off the water and empty the tank. Then, choose the right supply line and connect it to the shut-off valve. Tighten the fittings without overtightening to avoid leaks. Finally, turn the water back on and check for drips. Learning to install a supply line can save you money and give you confidence in home repairs. Why not give it a try?
Understanding Toilet Water Supply Lines
Definition and purpose of toilet water supply lines. Types of water supply lines commonly used.
A toilet water supply line brings fresh water to your toilet so it can flush properly. Without it, your toilet wouldn’t work at all. There are a few common types of water supply lines:
- Flexible hoses: These are easy to install and adjust.
- Metal lines: These are strong and long-lasting.
- PVC pipes: These are lightweight and often used in home plumbing.
Each type serves the same purpose but varies in materials and ease of use. Understanding your options can help you choose the best one for your toilet.
What is a toilet water supply line?
The toilet water supply line is a pipe that connects your toilet to the water source. It allows water to flow for flushing and cleaning.
Why do I need to know about types of supply lines?
Knowing the different types helps you make smart choices. You can pick the one that fits your needs, saving time and money!
Tools and Materials Needed
List of essential tools for installation. Recommended materials for a successful install.
To start installing your toilet water supply line, gather some essential tools and materials. Here’s what you need:
- Adjustable wrench
- Pipe cutter
- Plumber’s tape
- Flexible water supply line
- Shut-off valve
- Connectors and fittings
These items will help make your job easier and ensure everything fits perfectly. Remember, having the right tools is key to a smooth installation!
What tools do I need to install a toilet water supply line?
You will need a wrench, pipe cutter, and plumber’s tape to make the job easier.
Preparation Steps Before Installation
Shutting off the water supply. Draining the toilet tank to avoid spills.
Before you dive into installing that shiny new toilet water supply line, you need to do some prep work—kind of like setting up for a dance party! First, you must shut off the water supply to avoid any unexpected waterworks. Nobody wants a surprise shower while they work! Next, drain the toilet tank to keep things tidy. A little splash can turn into a mini-water park, and trust me, no one wants to slip on bathroom tiles! Here’s a quick table to make it easy:
| Step | Description |
|---|---|
| 1 | Shut off the water supply |
| 2 | Drain the toilet tank |
Step-by-Step Installation Process
Connecting the water supply valve to the toilet tank. Securing the connection and checking for leaks.
First, grab the new water supply line and look for the nut. This nut needs to connect to the toilet tank. Twist it on snugly, but don’t go Hulk on it! Once that’s secure, it’s time for the other end. Connect it to the water supply valve, which is usually on the wall. Use a wrench to tighten it gently. Now, the moment of truth—turn on the water and check for leaks. If you see water crying from any parts, tighten them a bit more. And voilà! You’ve got a toilet that’s refreshed and ready to flush!
| Step | Action |
|---|---|
| 1 | Attach line to toilet tank |
| 2 | Secure the water valve connection |
| 3 | Check for leaks |
Common Installation Issues and Solutions
Identifying leaks and fixing them. Dealing with corrosion or damaged fittings.
Installing a toilet water supply line can be tricky. One common issue is leaks. If you notice water pooling, tighten the fittings or use plumber’s tape. It’s like giving your pipes a hug! Corrosion can also ruin your day. If the fittings look rusty or damaged, it’s best to replace them. A shiny new fitting is always better than a rusty old one! Check out the table below for quick tips:
| Issue | Solution |
|---|---|
| Leaks | Tighten fittings or use plumber’s tape. |
| Corrosion | Replace damaged fittings. |
Maintenance Tips for Toilet Water Supply Lines
Regular checks for leaks and wear. Importance of replacing old lines periodically.
Check your toilet water supply lines often. Look for leaks and wear. Even a small drip can lead to big water bills. Think of it as giving your toilet a health check! Replace old lines every few years. They can wear out, just like your favorite shoes. Old lines can crack and cause flooding, which is no fun for anyone. Stay ahead of trouble with these simple steps!
| Maintenance Task | Frequency |
|---|---|
| Check for leaks | Monthly |
| Inspect for wear | Every 6 months |
| Replace old lines | Every 5 years |
When to Call a Professional
Signs that indicate the need for professional assistance. Benefits of hiring a plumber for complex issues.
Some signs show when it’s best to call a professional. If your water supply line is leaking or damaged, it’s time to ask for help. Strange noises from pipes can signal hidden problems. You might also need a plumber if you see water stains on walls or ceilings.
Hiring a plumber has many benefits. They have experience and tools for tough jobs. A pro can fix issues quickly and safely, helping you avoid bigger problems later. It ensures your toilet works right.
When should you call a plumber for toilet issues?
If you notice problems like clogs or leaks, it’s wise to call a plumber right away. They can help prevent larger damage and save you money in the long run.
- Visible leaks
- Frequent clogs
- Unusual odors
Conclusion
In summary, installing a toilet water supply line is simple. First, gather your tools: a supply line, wrench, and pliers. Next, connect the new line to the toilet and shut-off valve. Finally, check for leaks. You can do it yourself! For more tips and details, consider reading further guides or watching helpful videos. Let’s get started on your plumbing project!
FAQs
What Tools And Materials Are Needed To Install A Toilet Water Supply Line?
To install a toilet water supply line, you need a few important tools and materials. First, you will need a adjustable wrench to tighten things. Next, gather Teflon tape to help prevent leaks. You will also need a new water supply line, which is a hose that connects to the toilet. Lastly, you may want to have a bucket handy in case any water spills.
How Do I Measure And Cut The Water Supply Line To The Correct Length?
To measure the water supply line, first, find where it connects. Use a tape measure to check the distance. Add a little extra length for easy connections. Mark that spot with a pen. Then, use a pipe cutter or scissors to cut the line at the mark. Be careful while cutting!
What Are The Steps For Connecting The Water Supply Line To The Toilet And The Shut-Off Valve?
First, turn off the water at the shut-off valve. Then, find the toilet’s fill valve and attach one end of the water supply line to it. Next, connect the other end of the supply line to the shut-off valve. Make sure both connections are tight, but don’t overdo it. Finally, turn the water back on and check for leaks.
How Can I Ensure There Are No Leaks After Installing The Toilet Water Supply Line?
To check for leaks after installing the toilet water supply line, turn the water on slowly. Look for any water dripping from the connections. If you see any, tighten the connections gently. You can also feel around with your hand to see if it feels wet. Make sure to do this after waiting a few minutes to see if drops form.
What Are Common Mistakes To Avoid When Installing A Toilet Water Supply Line?
When installing a toilet water supply line, be careful not to cross the water pipes. Make sure the shut-off valve works before connecting. Don’t over-tighten the fittings, or you might break them. Always check for leaks after you’re done. It’s important to use the right size parts to avoid problems later.