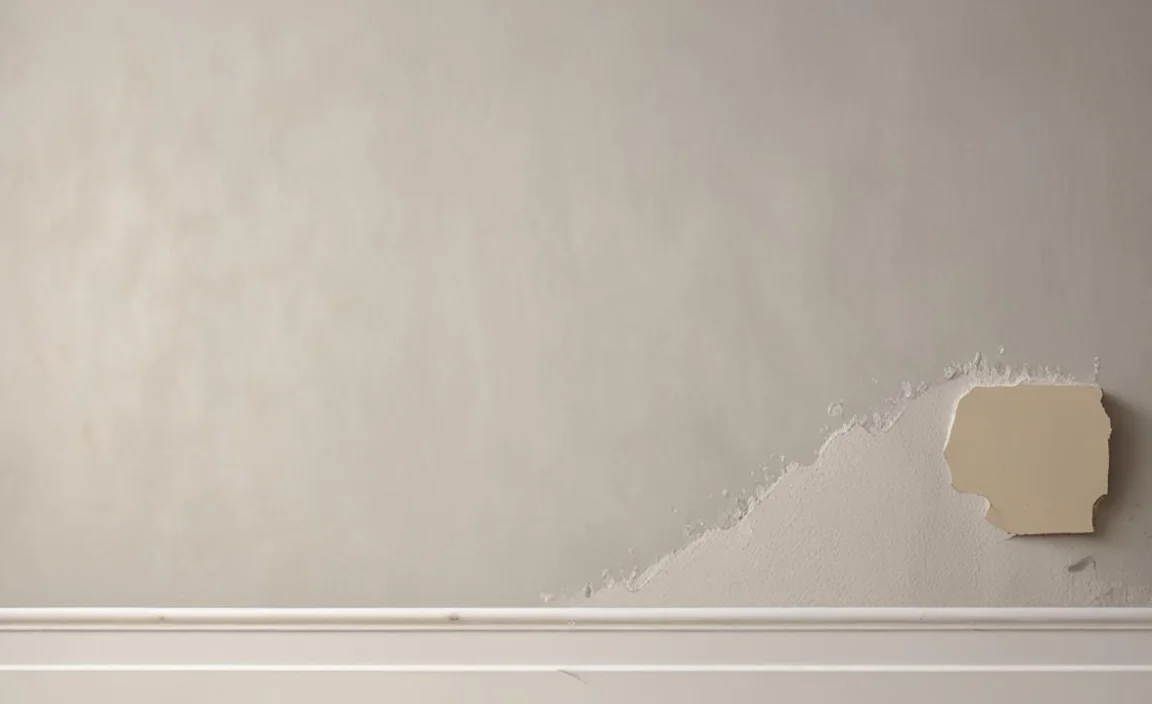
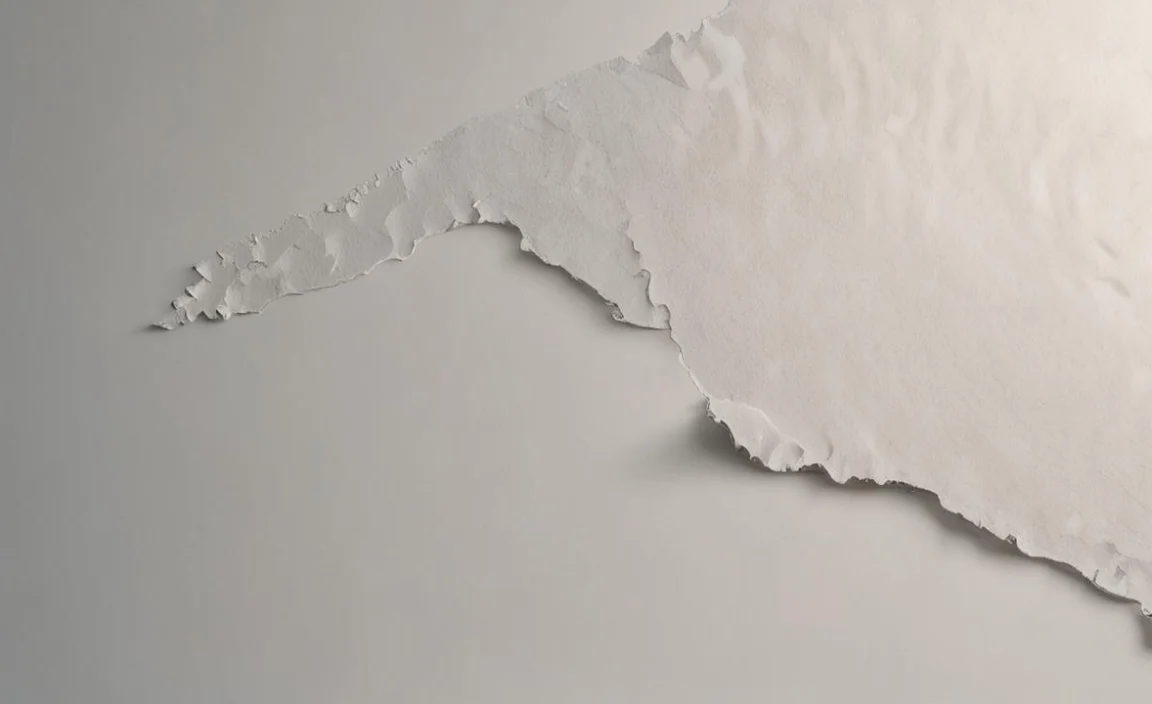
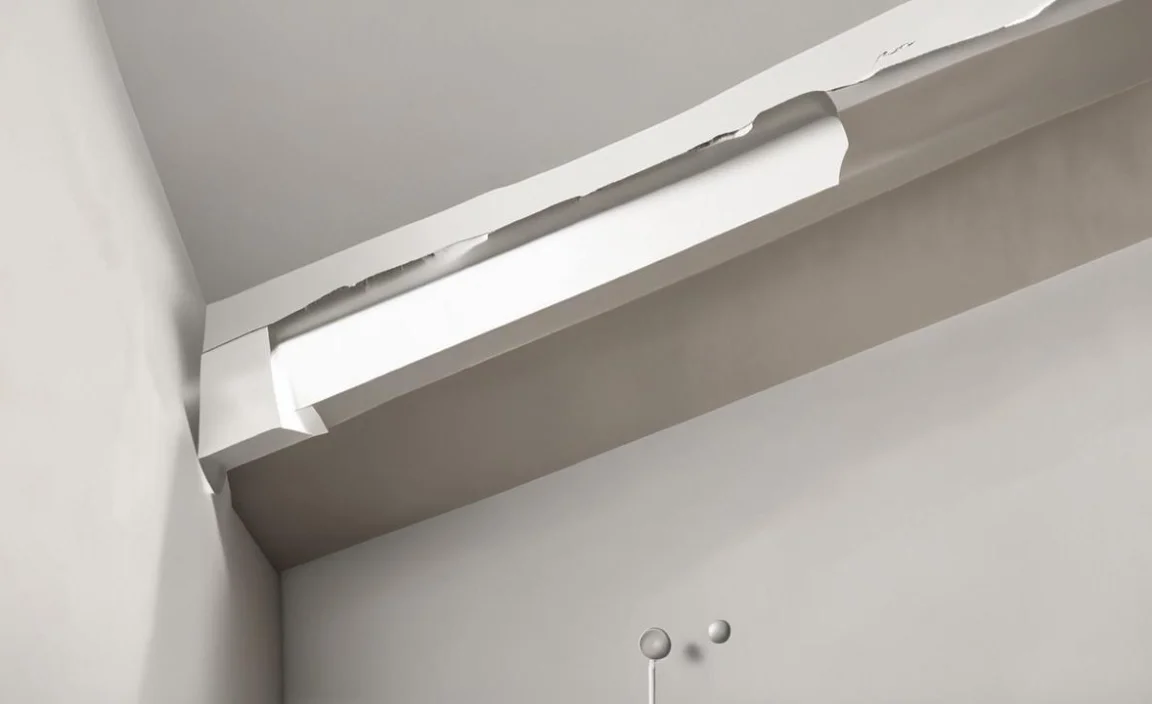
Drywall holes can be frustrating for homeowners, especially if they are noticeable or in a high-traffic area. Fortunately, repairing drywall holes is a relatively simple process that can be done with just a few tools and some basic skills.
Whether the hole was caused by accidental damage, hanging pictures or shelves, or other household mishaps, you can easily restore your walls to their original condition with these helpful tips and techniques. We will walk you through everything you need to know about how to repair drywall holes.
From the materials you’ll need to finding the right stud and preparing the hole for patching, we’ve got you covered. We’ll even cover how to repair popped nail heads and dents that may have formed over time.

How To Repair Drywall Holes: Explained
Repairing drywall holes is a common DIY task that can be easily tackled with the right tools and techniques. how to repair drywall holes, start by cleaning the area around the hole and removing any loose debris.
Then, cut a piece of self-adhesive mesh tape slightly larger than the hole and place it over the hole, pressing it firmly into place. Next, apply a thin layer of joint compound over the mesh tape, using a putty knife to smooth it out and feather the edges.
Allow the joint compound to dry completely before sanding it with a fine-grit sandpaper. Repeat this process until the surface is smooth and flush with the surrounding wall. For larger holes, you may need to use a drywall patch instead of mesh tape. With patience and attention to detail, repairing drywall holes can be a simple and satisfying DIY project.
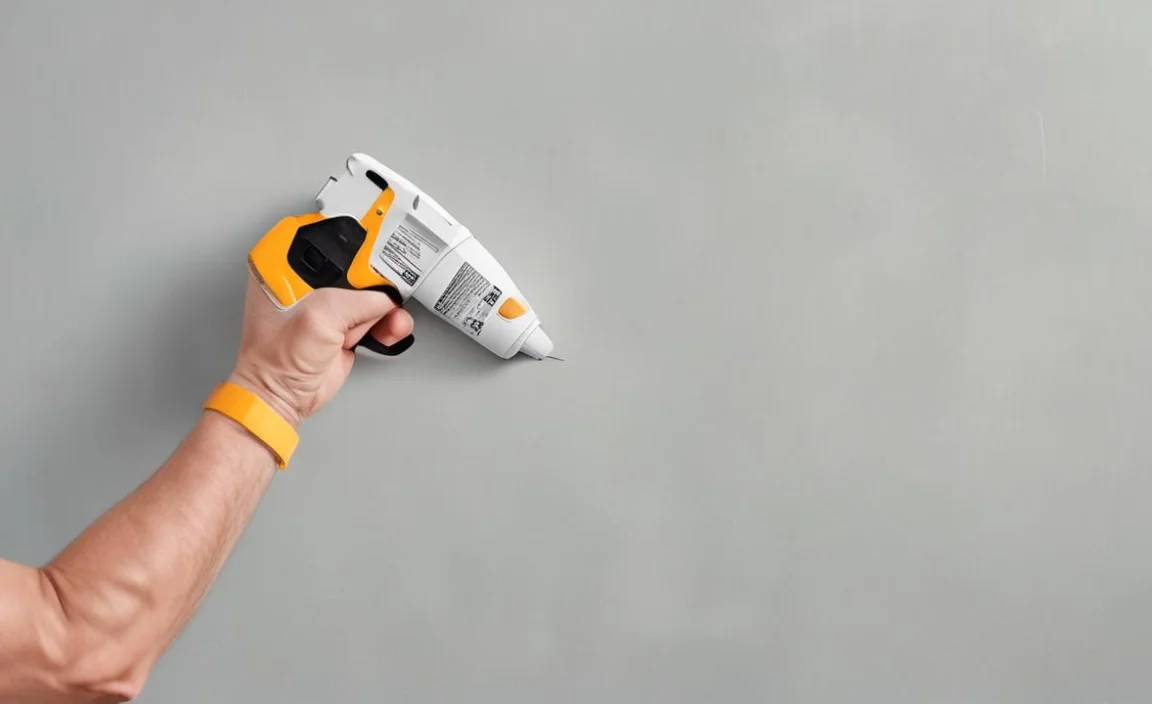
1. Materials Needed For The Job
To repair drywall holes, you will need a few basic tools and materials, such as self-adhesive mesh tape, joint compound, putty knife, sandpaper, and a drywall patch (for larger holes). If you’re repairing a larger hole, you may also need a stud finder to locate the nearest studs for added support.
These materials are readily available at any hardware store and are relatively inexpensive. With these tools in hand, you’ll be able to complete the job quickly and easily.
2. Drywall Mesh Tape For Added Support
Drywall mesh tape is essential for repairing small to medium-sized holes in drywall. The self-adhesive tape provides added support to the joint compound, preventing it from cracking or crumbling over time.
Additionally, the mesh design allows the joint compound to seep through and create a stronger bond with the surrounding wall, ensuring a smooth and seamless repair. Whether a DIY enthusiast or a seasoned professional, drywall mesh tape is a must-have for any drywall repair job.
3. Spackle For Filling Small Holes
Spackle can be a quick and easy solution if you have small holes in your drywall. However, Spackle is a lightweight joint compound that can fill holes up to ¼ inch in size. Simply apply the spackle with a putty knife and allow it to dry before sanding it down with fine-grit sandpaper.
Spackle dries quickly and is easy to work with, making it ideal for DIY repairs. Keep a tub of spackle on hand for those unexpected small holes that need patching.
4. Joint Compound For Larger Holes
For larger holes in drywall, joint compound is the go-to material for repairing and smoothing the surface. Apply self-adhesive mesh tape over the hole, then use a putty knife to fill the hole with the joint compound. Allow it to dry, then sand it down with fine-grit sandpaper until smooth.
Multiple layers may be needed for larger holes. For an even stronger repair, consider using a drywall patch in addition to the mesh tape and joint compound. With these materials and patience, you can repair any size hole in your drywall like a pro.
5. Finding The Right Stud
To find the right stud for repairing drywall holes, use a stud finder to locate them behind the surface. Next, measure and mark the hole’s location before cutting a piece of scrap drywall that is slightly larger than it. Fit this new piece into place and secure it with either screws or nails. Finally, apply joint compound to fill in gaps or seams before sanding smooth and priming/painting for a seamless finish.
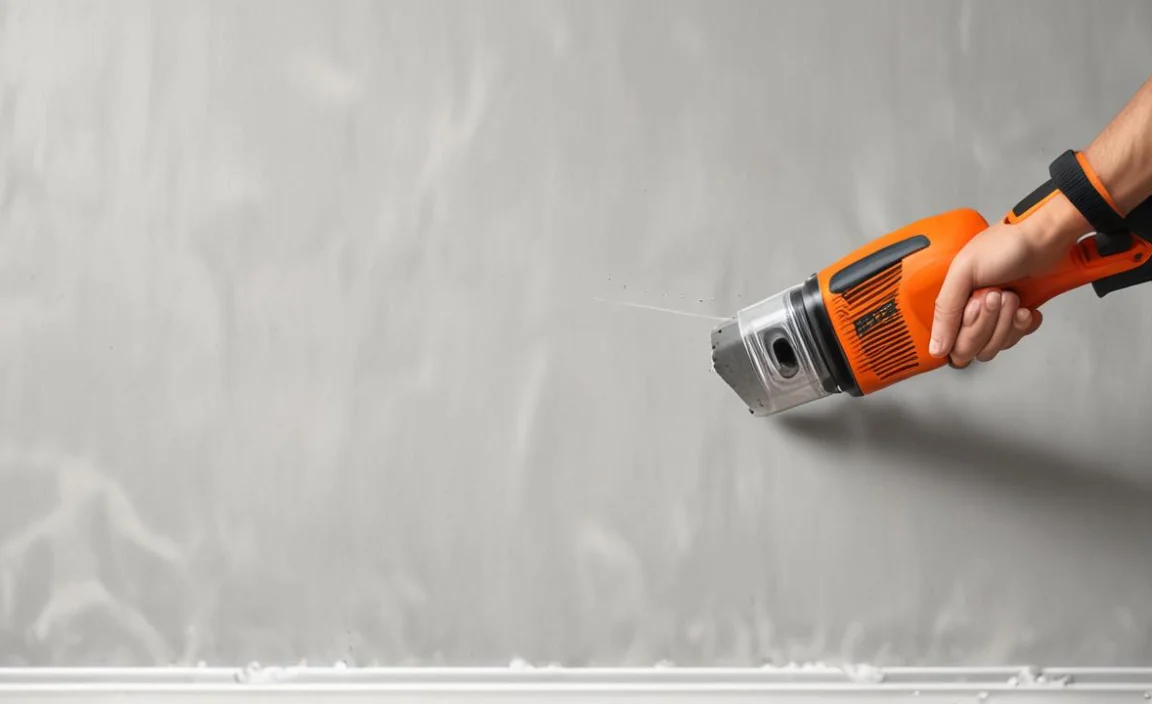
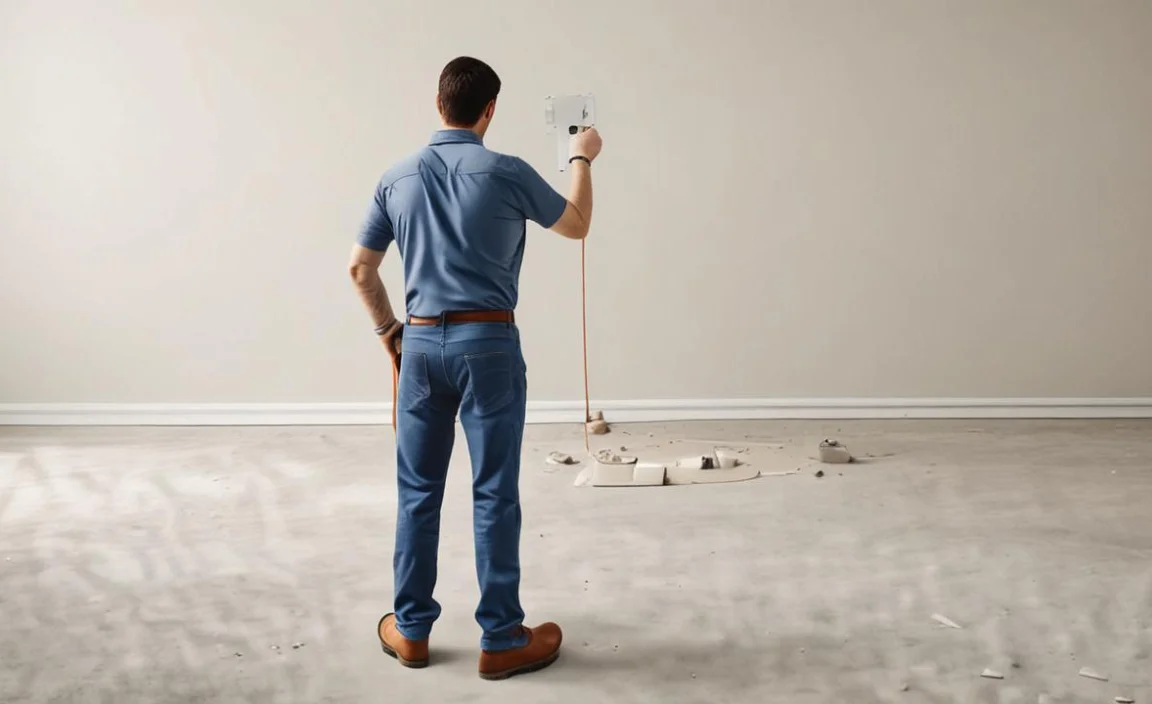
How To Locate Studs With A Stud Finder
When repairing drywall holes, it is important to locate the studs to provide a strong anchor for the patch. A stud finder can be a helpful tool in this process. To use a stud finder, turn on the device and place it flat against the wall. Slowly move it horizontally until it beeps or lights up, indicating it has detected a stud.
Mark the location with a pencil or tape. Repeat this process until you have located all of the studs in the area where you will be making repairs. By locating and marking these studs, you can ensure that your patch will be securely anchored to the wall for a long-lasting repair.
How To Locate Studs Without A Stud Finder
If you don’t have a stud finder, other ways exist to locate studs when repairing drywall holes. One method is to look for visible signs of where the studs might be, such as nail heads or seams in the wall. You can also use a small drill bit to make test holes until you hit a stud.
Once you find one stud, measure out 16 inches (standard spacing) to locate adjacent studs. It may take extra time and effort, but locating the studs will ensure your repair patch is securely anchored for a durable fix.
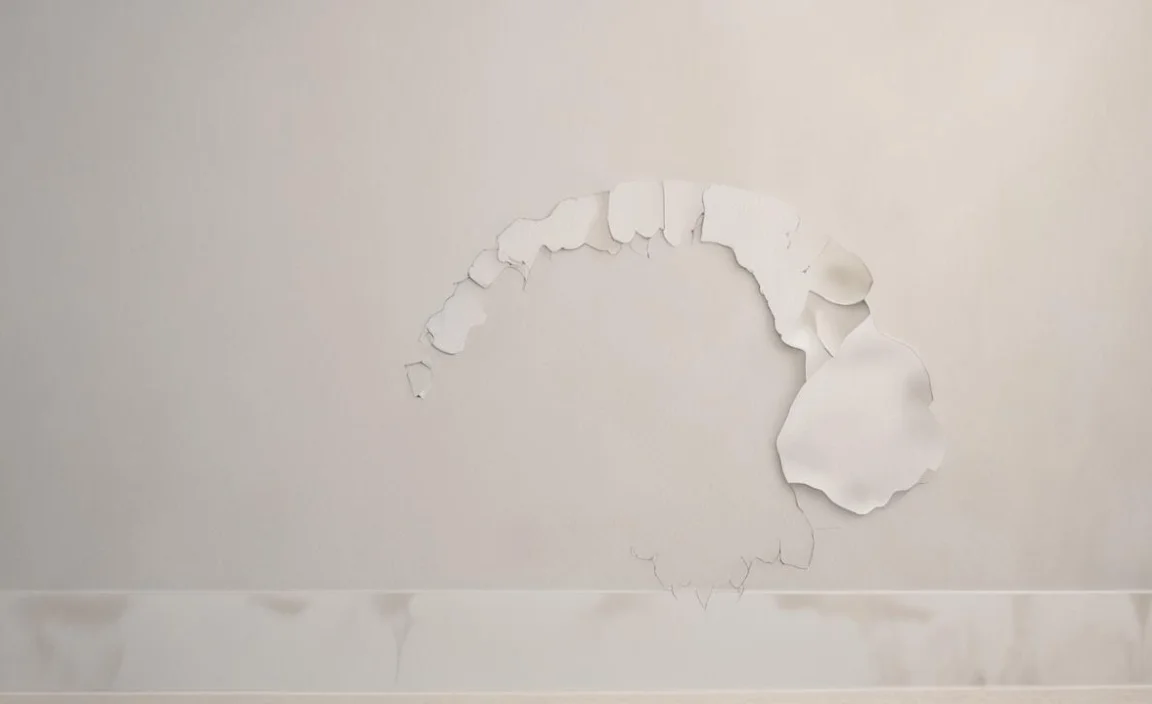
Preparing The Drywall Hole
To prepare the damaged area on the wall, gather all necessary tools, such as a utility knife or sandpaper to remove loose debris around the hole. Cut a drywall patch to fit your damaged area and secure it with a few drywall screws.
Spread the joint compound over the patch and surrounding areas using a putty knife. Once dried completely, sand it down to remove any rough edges before applying additional coats of mud if required.
Cutting Out The Damaged Area
When repairing drywall holes, locating the studs in the wall is important to ensure a secure and long-lasting fix. Using a stud finder is an easy and effective way to do this. Start by turning on the stud finder and placing it against the wall where you want to find the stud.
Move it slowly across the surface until it beeps or lights up, indicating that it has detected a stud. Repeat this process along the wall length until you have marked all the studs. Once you have located the studs, you can easily patch and repair any holes in the drywall with confidence that they will hold up over time.
Preparing The Surface For Patching
Preparing the surface is a crucial step in repairing drywall holes. Before patching, you must clean the area around the hole and remove any loose debris or drywall paper. This will ensure that the patch adheres properly and creates a smooth finish.
You can use a putty knife or sandpaper to gently scrape away any rough edges or bumps around the hole. You can apply your patching material once you’ve cleaned and smoothed the surface. By taking the time to prepare the surface properly, you’ll be able to achieve a seamless repair that blends in with the surrounding wall.
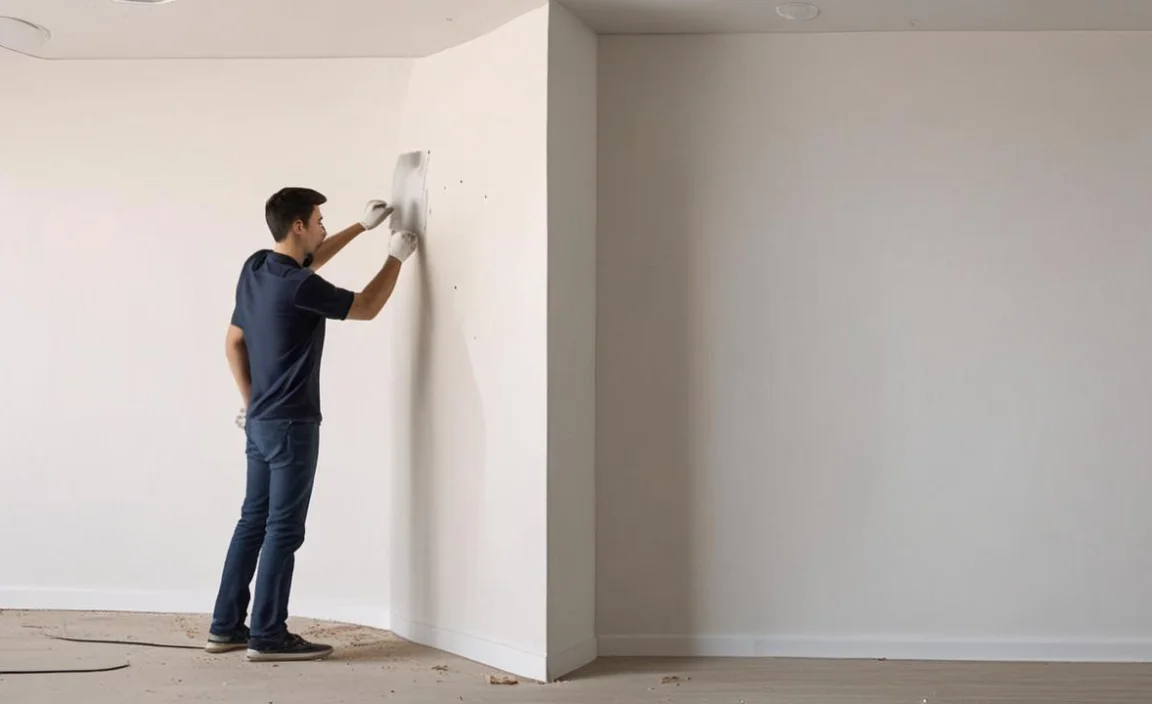
Applying The Patch
You can use a few different methods when applying the patch to repair drywall holes. One common approach is using a self-adhesive mesh patch, which is easy to apply and doesn’t require additional tools or materials. Simply peel off the backing and press the patch firmly onto the wall over the hole. Smooth out any air bubbles or wrinkles by pressing them flat with a putty knife or your fingers.
Cutting And Installing The Support
When repairing drywall holes, cutting and installing the support is crucial in ensuring a successful repair. Start using a drywall saw or utility knife to remove any loose or damaged drywall around the hole. Then, measure and cut a piece of wood or metal to fit behind the hole, making sure it is slightly larger than the hole itself.
Secure the support using screws or nails, careful not to over-tighten and break the drywall. Once the support is in place, you can cut a piece of drywall to fit over the hole and secure it with screws or adhesive. This will ensure that your repair is strong and long-lasting.
Cutting And Fitting The Drywall Patch
To cut and fit a new drywall patch in repairing drywall holes, measure the hole’s size and add an extra two inches before cutting out the new piece of drywall using a saw or utility knife.
Once it fits snugly into place, secure it with drywall screws and cover the seams with joint compound applied using a putty knife while feathering its edges for smoothness. Remember to let it dry completely before sanding or applying additional coats of paint.
Applying Joint Compound And Mesh Tape
After the drywall patch is in place, the next step in repairing drywall holes is to apply joint compound and mesh tape to ensure a smooth finish. Apply a thin layer of joint compound over the seams and edges of the patch, then press self-adhesive mesh tape into the compound.
Smooth any bumps or bubbles with a putty knife, then wait for it to dry before applying another layer of joint compound. Repeat this process until the repair is flush with the surrounding wall. Then, sand the area smoothly and apply paint to match the rest of the wall.
With these steps, your dry wall repair job will look as good as new. Remember to take your time and be patient throughout the process; you’ll end up with a strong and seamless repair.
Smoothing The Surface With Sandpaper
Once the joint compound has dried, it’s time to smooth the surface with sandpaper. Use fine-grit sandpaper to gently sand down any bumps or rough spots on the surface until it’s flush with the surrounding wall.
Be careful not to sand too much, or you may damage the patch and have to start over. Take your time and use light pressure until you’re happy with the results. After sanding, wipe away any dust and debris before painting over the area to finish your drywall repair job.
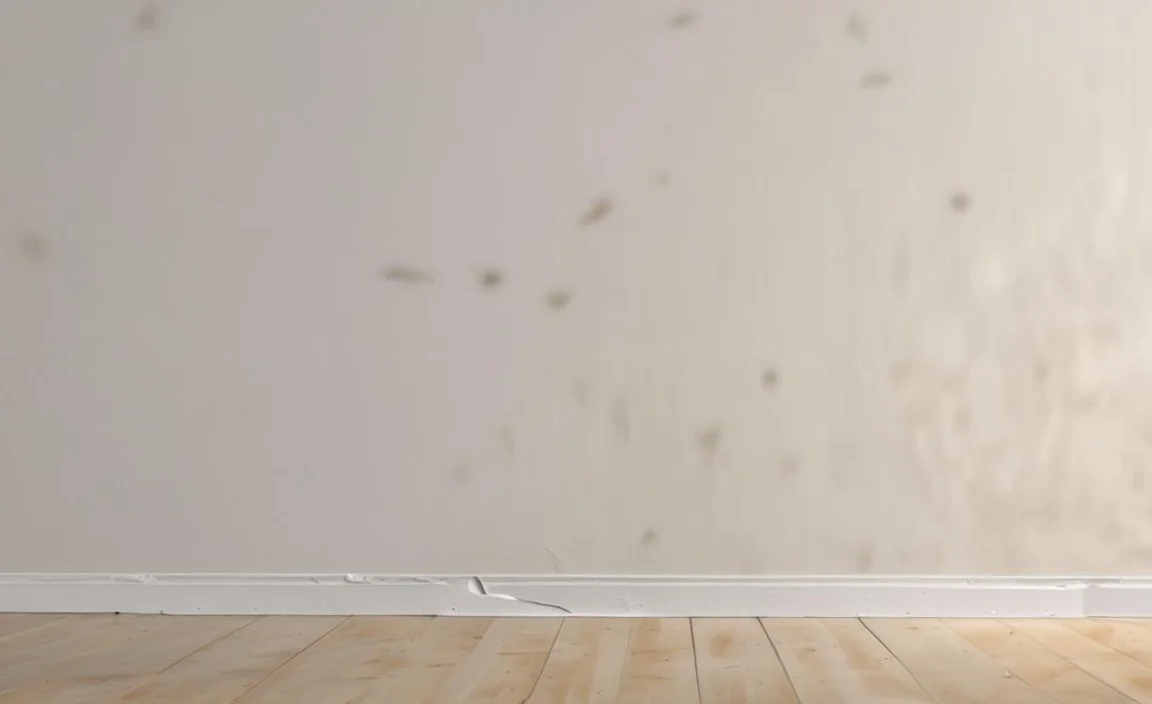
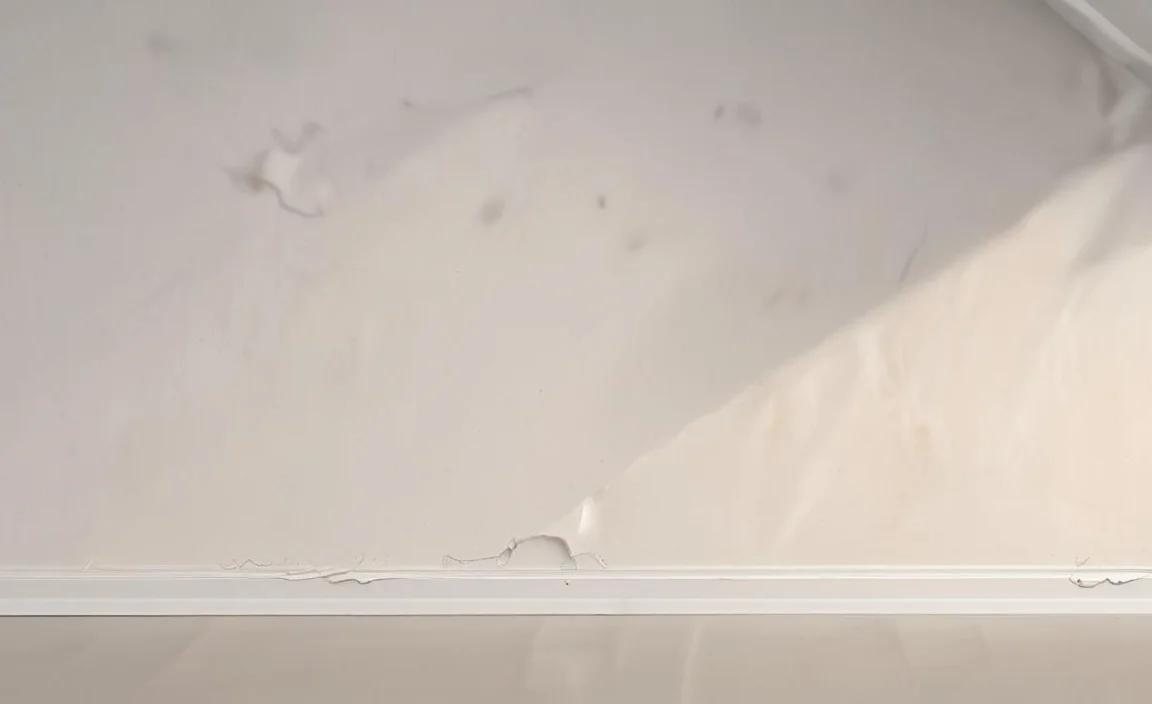
Repairing Popped Nail Heads And Dents
Repairing drywall holes can be a DIY project for many homeowners. Two common issues that can arise with drywall are popped nailheads and dents. First, use a hammer to gently tap the nail back into the drywall to repair a popped nail head.
Then apply joint compound over the area and allow it to dry completely. Sand the area smoothly and repeat until the surface is even. For dents, use a putty knife to apply joint compound over the dent, spreading it evenly and feathering out the edges.
Allow it to dry completely before sanding the area smooth, and repeat until the surface is even. With patience and attention to detail, you can repair these common drywall issues and restore your walls to their former glory.
Removing The Nail And Filling The Hole
Use pliers to remove the nail and apply spackle to fix dents or popped nails on damaged drywall without calling for professional help. For larger holes, cut a new piece of drywall using a saw or utility knife.
Cut the patch to measure slightly larger than the damaged area and attach it with a joint compound. Sand and prime it before painting. Remember to follow safety precautions while working on your DIY project.
Filling Dents And Holes With Spackle
To fill small dents and holes in your drywall, use Spackle. Apply a small spackle to the damaged area with a putty knife, spreading it evenly over the surface. Allow it to dry completely before sanding the area smooth and repeat until the surface is even.
Use joint compound instead of spackle for larger holes to ensure a more durable repair. Remember to follow safety precautions while working on your DIY project and take your time for best results.
Common Mistakes To Avoid
When repairing drywall holes, it’s important to avoid common mistakes such as over-sanding the surface, applying too thick a layer of joint compound or spackle, and not allowing the compound to dry completely before sanding. These mistakes can lead to an uneven surface and require additional repair work. Additionally, wear safety gear such as gloves and goggles while working with tools and materials.
Skipping The Proper Repair Process
When repairing drywall holes, it is important to follow the proper process to ensure a long-lasting and professional-looking repair. Skipping steps or taking shortcuts may result in an unsightly patch job that will need to be redone sooner rather than later.
Some common mistakes people make when repairing drywall holes include not properly cleaning the area, not using enough joint compound, and not sanding down the patch to blend with the surrounding wall.
To avoid these mistakes, it is important to take your time and follow each step carefully. This may involve watching tutorials or seeking guidance from a professional if you are new to DIY repairs.
Using The Wrong Materials
When repairing drywall holes, using the right materials for the job is important. Using the wrong type of joint compound or spackle can result in an uneven surface or a repair that doesn’t last. Make sure to choose a joint compound or spackle designed for your specific type of repair, whether a small hole or a larger one.
Additionally, using the wrong type of tape or not using any tape at all can lead to problems with adhesion and durability. Take the time to research and select the proper materials before beginning your repair project.
Ignoring Safety Precautions

When repairing drywall holes, it is important to take safety precautions seriously. Ignoring safety measures can put you at risk of injury or harm. Before starting any repairs, wear protective gear such as gloves, eye protection, and a dust mask.
Additionally, turn off any electrical power in the area where you will be working to avoid electrocution. If you are using a ladder, make sure it is secure and on level ground before climbing up. By following these safety precautions, you can ensure that your drywall repair project goes smoothly and without incident.
Conclusion
Repairing drywall holes requires the right tools and techniques for a seamless finish. For minor holes, a hammer and nails can be used, but it’s advised to use drywall screws or adhesive patches for a stronger fix.
Smoothing rough edges, applying thin coats of joint compound, and sanding between each coat is key for a seamless finish. It’s important to have all the necessary materials ready before starting the job, such as drywall mesh tape, spackle, joint compound, and sandpaper.
Finding the right stud to anchor your patch is also vital. Don’t forget to take safety measures like wearing gloves and goggles. Avoid common mistakes like skipping necessary prep work or using the wrong materials. With this step-by-step guide, you can how to repair Drywall holes like a pro and save money on hiring professionals.
Frequently Asked Questions
[rank_math_rich_snippet id=”s-bb9cd4fa-c317-4736-a56c-ae5fe5f48c11″]
