If you’re looking to install an air compressor, you’ll need to consider a few things. First, you’ll need to determine the type of air compressor you need. There are two main types of air compressors: stationary and portable.
Stationary air compressors are typically larger and more powerful, while portable air compressors are more compact and easy to move around. Once you’ve selected the right air compressor, it’s time to install it. If you opt for a stationary air compressor, you must bolt it down to a surface supporting its weight.
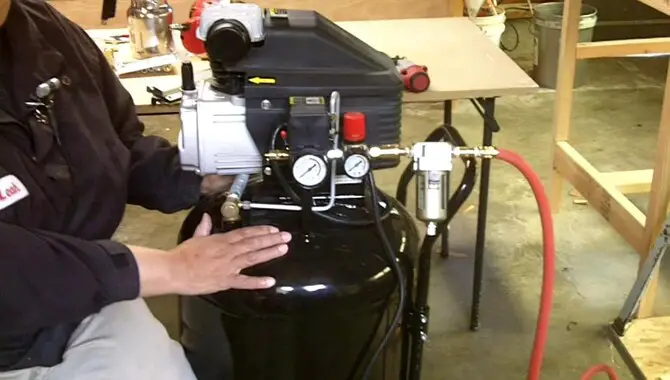
On the other hand, portable air compressors can be placed on the ground or a table. Next, you’ll need to connect your air compressor to an electrical outlet. Most air compressors run on standard 120-volt household power, but some may require 240-volt power. Once your air compressor is plugged in, you must connect it to an air tank or an airline.
Finally, you’ll need to prime your air compressor. This means filling the air compressor with air to be ready to use. Once your air compressor is primed, it can start inflating tires, powering air tools, or doing whatever else you need.
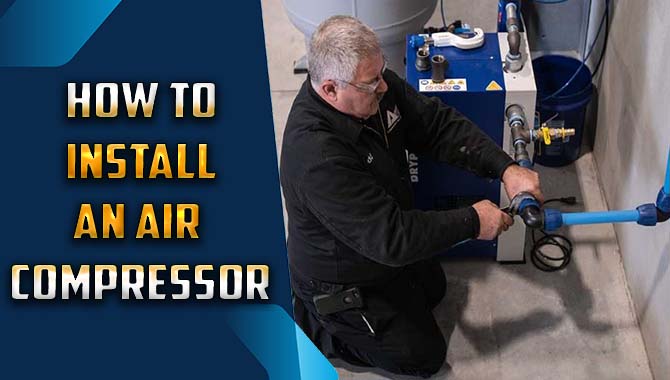
How Do You Properly Install An Air Compressor?
Compressors are one of the essential pieces of equipment in any workshop. They’re used to power various tools, from airbrushes to impact wrenches. But before you can use your air compressor, you need to install it properly.
Here’s a step-by-step guide to installing an air compressor:
- Choose the right location. Your air compressor needs to be placed in a well-ventilated area. It should also be close to the tools you’ll use.
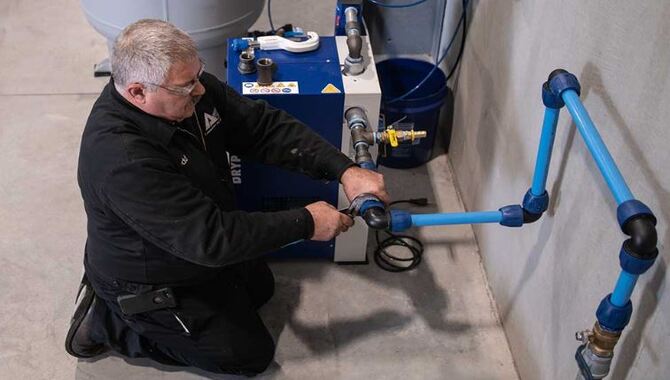
- Assemble the compressor. Follow the instructions that come with your compressor to assemble it.
- Connect the compressor to an electrical outlet. Ensure you use an outlet that can handle the power requirements of your compressor.
- Attach the air hose. Connect the air hose to the compressor and the tool you’ll buy
- Turn on the compressor. Start the compressor and let it build up enough pressure. Then you can start using your air-powered tools.
Installing an air compressor is a relatively simple process. But it’s important to do it right to ensure years of trouble-free use.
What Are The Steps Involved In Installing An Air Compressor?
If you’re a business owner or manager, you’ll need to install an air compressor at some point. Here are the steps involved in installing an air compressor and a real-life example.
- Choose the right location: The first step is to choose the right location for your air compressor. It should be in a well-ventilated area, away from any heat sources, and close to an electrical outlet.
- Assemble the air compressor: Once you have it in the right location, you must assemble it. This typically involves attaching the air hose to the compressor and any other required parts.
- Test the air compressor: Before you start using it, it’s important to test it to ensure it’s working properly. Please turn it on and let it run for a few minutes. If everything seems to be working correctly, you’re ready to start using it.
- Use the air compressor: The final step is to start using the air compressor. This will vary depending on what you’re using it for, but you’ll need to turn it on and start using it.
As you can see, the steps involved in installing an air compressor are relatively simple. However, following them carefully is important to ensure everything goes smoothly.
What Are Some Tips For Installing An Air Compressor?
- Choose a location for your air compressor. It should be close to where you will be using it and on a level surface.
- Assemble the air compressor according to the manufacturer’s instructions.
- Connect the air compressor to a power source.
- Connect the air compressor to an air tank or hose.
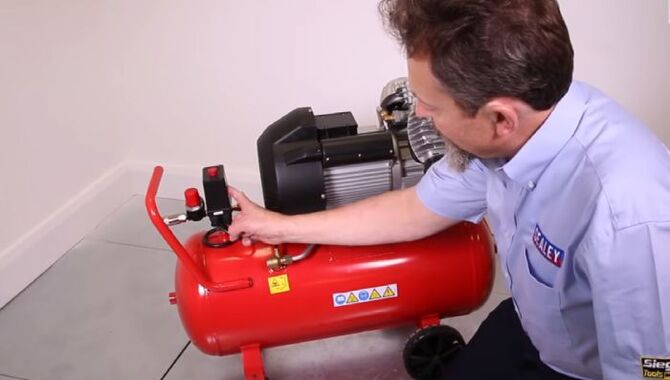
- Turn on the air compressor and check for leaks.
- Adjust the air pressure as needed.
How Do You Ensure A Successful Air Compressor Installation?
Installing an air compressor is a fairly simple process, but there are a few things you need to do to ensure a successful installation.
- Choose the right location. The air compressor needs to be in a dry, well-ventilated area. It should also be away from any heat sources.
- Mount the air compressor. Most air compressors come with mounting brackets. Use these to secure the compressor to a wall or other surface.
- Connect the air compressor to a power source. Make sure the compressor is properly grounded.
- Attach the air hose. Connect one end of the air hose to the compressor and the other to the outlet.
- Turn on the power. Flip the switch to the on position and let the compressor run for a few minutes.
- Check for leaks. Once the compressor is running, check all connections for leaks. If you find any, tighten the fittings or replace the gasket.
- Adjust the pressure. Use the pressure gauge to set the desired air pressure.
That’s it! By following these simple steps, you can ensure a successful air compressor installation.
Conclusion
The process is quite simple if you’re wondering how to install an air compressor. Connecting the air compressor to an electrical outlet and your tank would be best. Once everything is connected, you must turn on the air compressor and let it do its job. If you’re still unclear about installing an air compressor, let us know in the comments below.
FAQs
How Do You Connect A Compressed Air Hose?
To connect a compressed air hose, you need to attach the female end of the hose to the compressor’s air outlet valve and then connect the male end of the hose to the tool or equipment that needs air pressure.
Which Type Of Compressor Allows You To Skip The Compressor?
A portable air tank allows you to skip the compressor.
What Are The Three Types Of Air Compression?
The three types of air compression are
Positive displacement,
Dynamic, and
How Do You Adjust The Pressure Setting On The Regulator?
You can adjust the pressure setting on the regulator by turning the adjusting screw clockwise to increase pressure or counterclockwise to decrease pressure.
How Do You Use The Air Inlet Valve?
The air inlet valve controls the flow of air into the system. It can be opened or closed by turning the valve handle. To use it, turn the handle counterclockwise to open the valve and allow air to flow into the system. Turn it clockwise to close the valve and stop the flow of air.

I am passionate about home engineering. I specialize in designing, installing, and maintaining heating, ventilation, and air conditioning systems. My goal is to help people stay comfortable in their homes all year long.