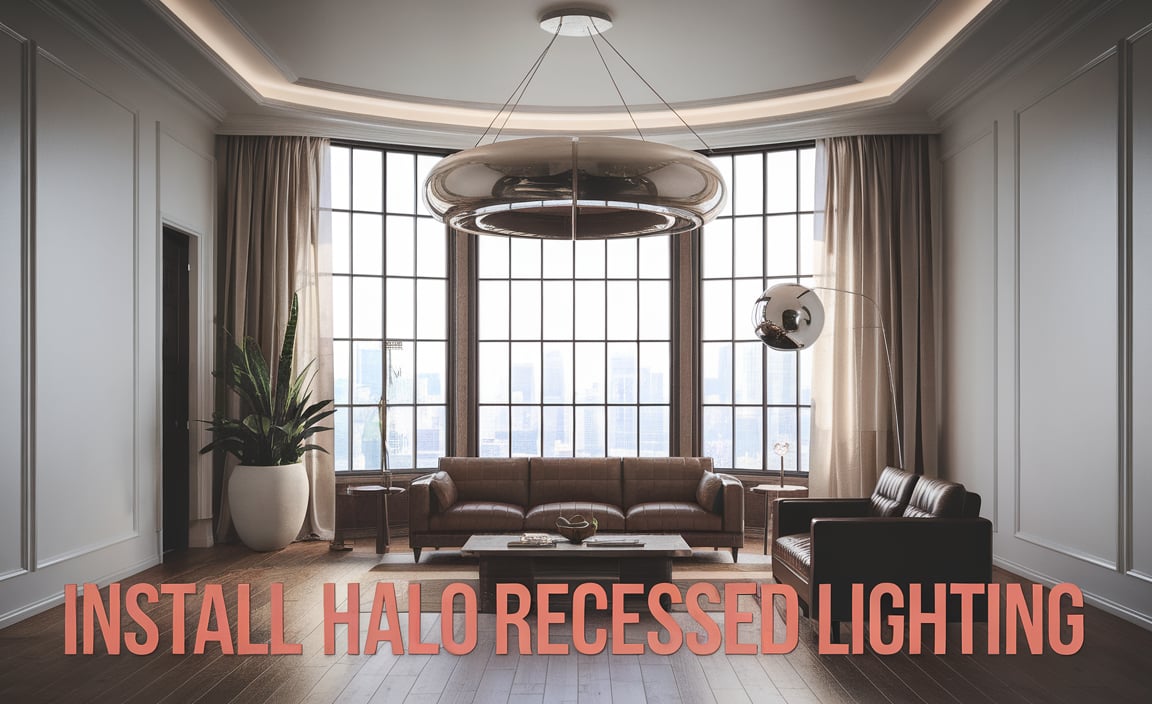
Have you ever walked into a room and thought it felt too dark? Or maybe you wanted to make your space look more modern? If so, you might want to consider installing halo recessed lighting. This type of lighting can change how your room feels. It brightens areas without taking up space like traditional lamps.
Installing halo recessed lighting might seem tough, but it doesn’t have to be. Many people worry about the wiring or tools needed. However, with the right steps, you can do it yourself! Imagine showing off your new lights to friends and family. They’ll be amazed at how great your home looks.
Did you know that recessed lights can make small rooms feel bigger? It’s true! When you choose halo recessed lighting, you can create a stylish and inviting atmosphere. Let’s dive into how to install halo recessed lighting and transform your home today!
How To Install Halo Recessed Lighting: A Step-By-Step Guide
Installing Halo recessed lighting is easier than you might think! Start by gathering the right tools and materials. You’ll need a drill, a saw, and the recessed cans themselves. Next, choose the best location for your lights. Mark spots on the ceiling and cut holes. After that, connect the wiring carefully. Always remember to turn off the power first! Once everything is connected, insert the Halo lights and secure them in place. Enjoy your bright, stylish new lighting!
Tools and Materials Needed
List of essential tools for installation. Recommended materials and Halo products.
Ready to light up your space? First, gather your tools and materials. You’ll need some basics like a drill, wire stripper, and screwdriver. A tape measure is also handy for precise placement—no one wants lopsided lights! As for materials, grab quality Halo recessed lights and compatible trim kits. Trust me, they’ll make your ceiling shine like a disco ball at a 70’s party. Here’s a quick checklist:
| Tools | Materials |
|---|---|
| Drill | Halo Recessed Lights |
| Screwdriver | Trim Kits |
| Tape Measure | Electrical Wire |
| Wire Stripper | Wire Nuts |
With these in hand, you’re ready to shine!
Preparing the Space
Measuring and planning the layout. Identifying electrical sources and switching options.
First, grab a tape measure and channel your inner architect! Measure your ceiling and plan where you want those halo lights to shine. Remember, the goal is to light up your space without creating shadows like a horror movie! Next, identify electrical sources and switch options. Safety first! You don’t want to turn your home into a special effects set. Double-check where the power comes from before you begin.
| Action | Tip |
|---|---|
| Measure the Ceiling | Find the right spots for lights! |
| Identify Power Source | Locate existing electrical feeds. |
| Consider Switching Options | Choose between dimmer or standard switches. |
By carefully measuring and planning, you’re one step closer to lighting magic! And before you start, keep in mind that proper preparation makes installation a breeze. Let’s light it up!
Electrical Considerations
Safety precautions when working with electricity. Connecting to existing wiring and circuit considerations.
Working with electricity can be dangerous. Always turn off the power before starting any wiring job. Use insulated tools to stay safe. Connect to existing wiring carefully, ensuring your wires match the color code. Check the circuit load to prevent overload. Each light must have enough power; too many can trip the breaker. Follow these tips for safety:
- Turn off the power at the circuit breaker.
- Use insulated tools.
- Follow wire color coding.
- Check circuit loads.
What should I consider when connecting recessed lights?
Consider safety, wiring compatibility, and circuit limits. Make sure the existing wiring can handle the new lights without overloading. Consult an electrician if unsure.
Installation Steps
Step 1: Marking the ceiling for cutouts. Step 2: Cutting holes for the fixtures. Step 3: Wiring and connecting the lights. Step 4: Securing the fixtures in place.
Start your recessed lighting project with these simple steps. First, mark your ceiling to show where to cut for the fixtures. Use a pencil to make clear dots. Next, carefully cut holes in the ceiling. Make them just big enough for the lights. After that, wire and connect the lights, ensuring safety. Finally, secure each fixture in its place. Follow these steps closely, and soon, you’ll have beautiful lighting!
What is the best way to mark the ceiling before cutting?
Use a pencil to make small dots where you want the lights. This will help you cut the right holes later!
- Mark the location clearly.
- Check for wires above the ceiling.
- Make sure the lights are spaced evenly.
Finishing Touches
Installing trim and bulbs. Testing the installation for functionality.
Once you have your halo recessed lights in place, it’s time for the fun part: adding trim and bulbs! Picture this—bulbs are like the cherry on top of a sundae. They make everything shine! Simply twist the bulbs into the sockets and snap on the trim pieces. They should fit snugly; if they don’t, check if you brought your trusty toolkit along.
Now, let’s put your work to the test! Flip the switch on and see if the lights come on. If all looks good, congratulations! If not, don’t panic—check your connections. Remember, lighting is like magic: sometimes it just needs a little extra spark!
| Action | Status |
|---|---|
| Install Bulbs | ✅ Done! |
| Attach Trim | ✅ Completed! |
| Test Lighting | 🔥 Shining Bright! |
Troubleshooting Common Issues
Identifying and resolving wiring problems. Addressing issues with dimming and lighting quality.
Wiring problems can cause issues with your lights. To fix this, check all connections to ensure they are tight and secure. Sometimes, wires can get damaged or loose. So, look for any visible damage. Troubleshoot dimming or poor lighting quality by making sure your bulbs are compatible with your dimmer switch. Not all bulbs work well with dimmers.
- Check connections.
- Look for wire damage.
- Ensure bulb-dimmer compatibility.
Taking these steps can help you enjoy your lighting.
What to do if your light is flickering?
Check the bulb and wiring connections. If the bulb is loose, it might flicker. Tighten it or replace it if needed.
How to improve lighting quality?
Use higher wattage or LED bulbs. They often give better light than regular bulbs. Make sure they match the fixture for safety.
Maintenance and Care
Cleaning and maintaining Halo recessed lights. Tips for replacing bulbs and trims.
Keeping your Halo recessed lights sparkling clean is a breeze! Use a soft, damp cloth to wipe them down. No harsh cleaners—your lights aren’t dirt-magnets, after all! For bulb replacements, simply twist off the old one and pop in a new one. Easy peasy! Check the trim for dust while you’re at it—lights love a good spring cleaning too. Here’s a quick tip table to keep your lights shining bright:
| Maintenance Tip | Description |
|---|---|
| Cleaning | Use a damp cloth to avoid scratches. |
| Bulb Replacement | Twist off the old bulb and replace with a new one. |
| Trim Care | Dust the trims regularly for a polished look. |
Remember, clean lights bring good vibes!
Conclusion
In conclusion, installing halo recessed lighting is a great way to brighten your space. Remember to choose the right bulbs and follow safety guidelines. Measure carefully before cutting holes in your ceiling for the lights. We encourage you to gather your tools and try it out! For more tips, check online resources or watch helpful videos to guide you.
FAQs
What Tools And Materials Do I Need To Install Halo Recessed Lighting?
To install Halo recessed lighting, you’ll need a few important tools. Grab a drill to make holes in the ceiling. You also need a screwdriver for screws. Don’t forget wire connectors to join the wires together. Finally, make sure you have the Halo recessed light fixtures ready to install!
How Do I Determine The Correct Placement For Halo Recessed Lights In A Room?
To find the right spot for Halo recessed lights, first, decide what you want to light up. Stand in the room and imagine where the light will shine. Make sure the lights aren’t too close to walls or furniture. You can space the lights about 4 to 6 feet apart. Finally, test the spots by marking them before drilling any holes.
What Are The Steps For Wiring Halo Recessed Lights Safely And Correctly?
To wire Halo recessed lights safely, start by turning off the power at the circuit breaker. Next, take the wire from the light and connect it to the house wires. You usually connect black to black and white to white, then twist on wire nuts to keep them safe. After that, you can put the light in the ceiling. Finally, turn the power back on and test your lights to make sure they work!
How Can I Choose The Right Trim And Bulb Options For My Halo Recessed Lighting Setup?
To choose the right trim for your Halo recessed lights, think about the look you want. There are many styles, like round or square. Next, pick the bulb. Look for LED bulbs because they shine bright and use less energy. Make sure the bulb fits in your chosen trim. Finally, check the color of the light. Warmer colors look cozy, while cooler colors feel bright and fresh.
What Common Issues Should I Look Out For During The Installation Of Halo Recessed Lighting?
When installing Halo recessed lighting, watch out for these common issues. First, make sure you have enough space in your ceiling. Check for any wires or pipes that might be in the way. Next, keep the lights at least 3 inches away from insulation to prevent fire hazards. Finally, test the lights after installation to make sure they work properly.