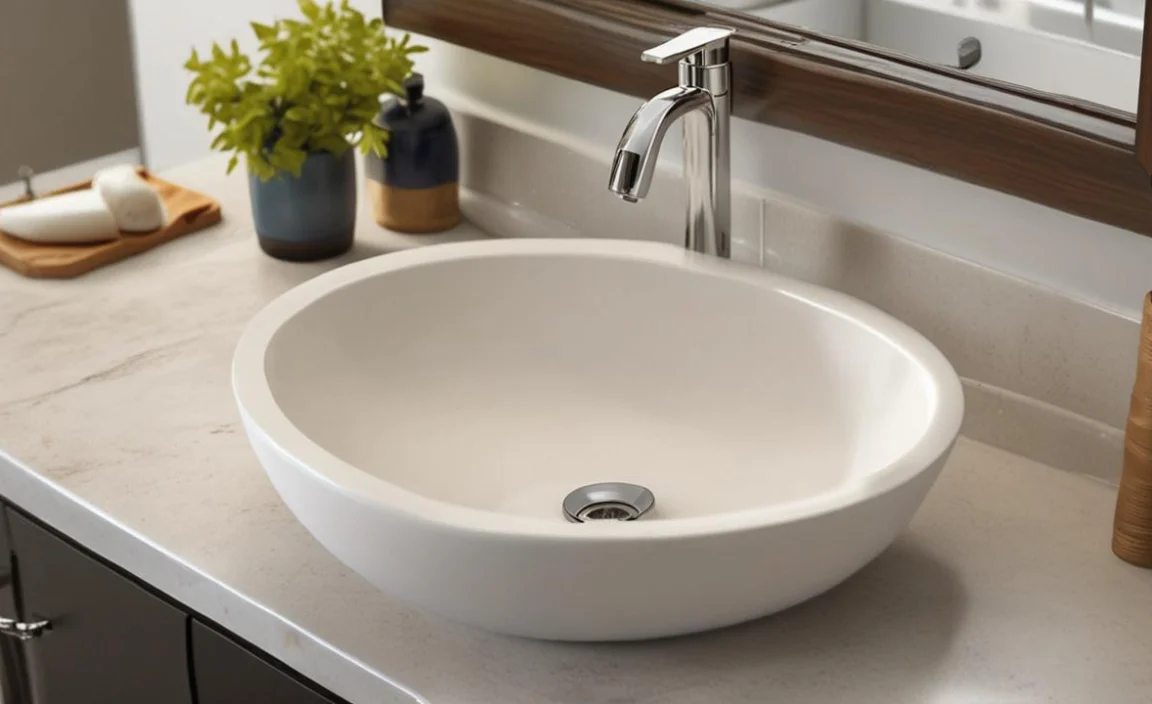
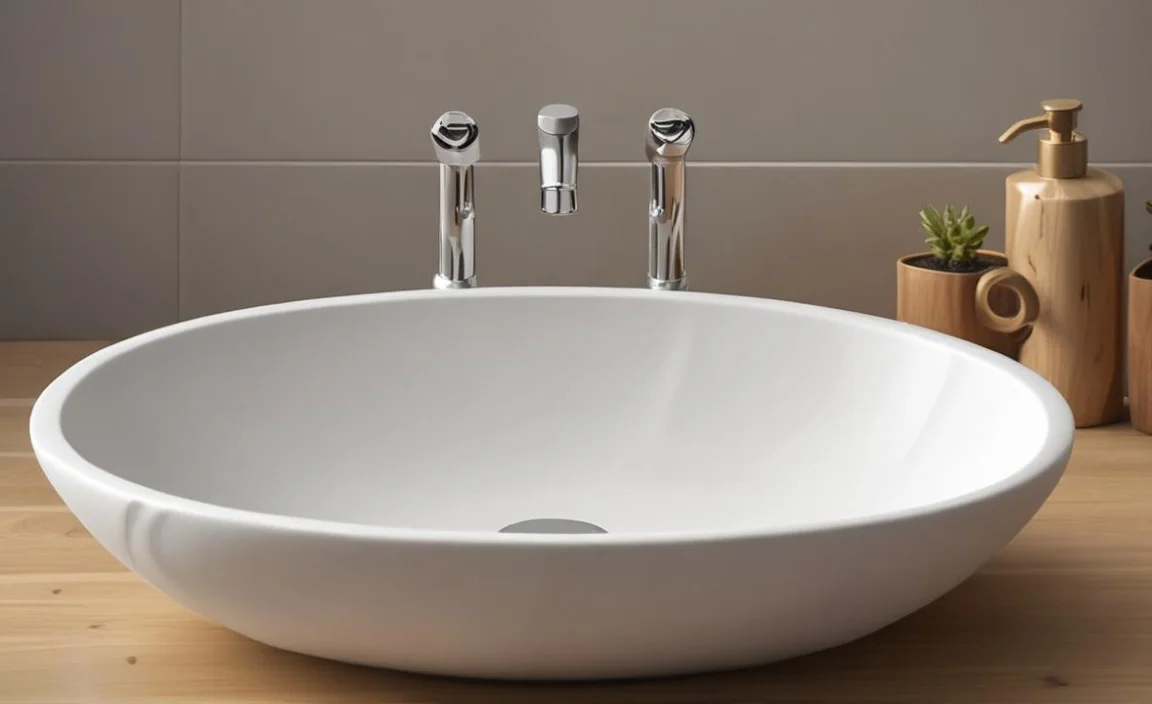
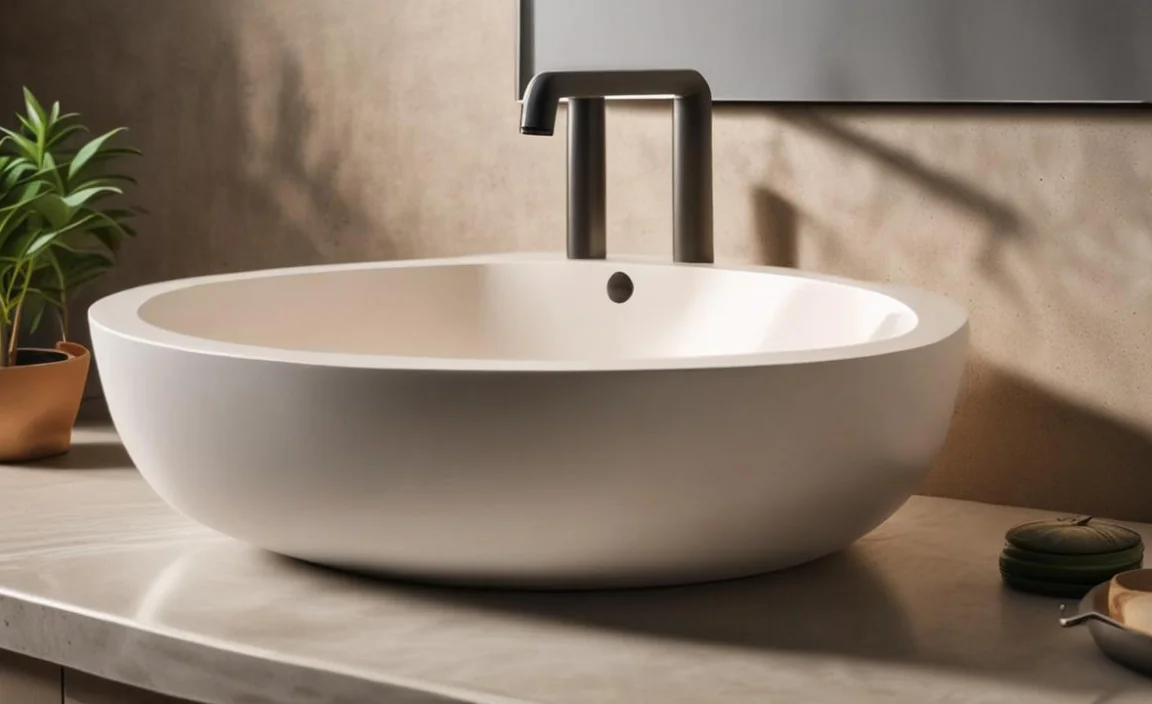
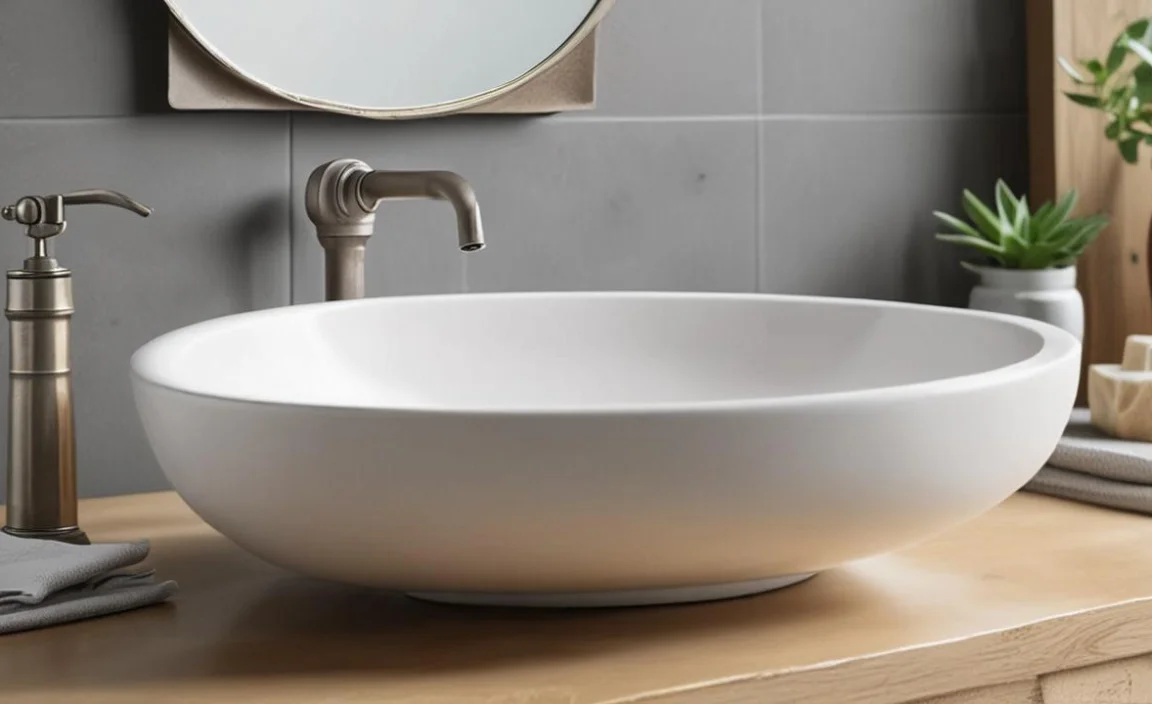
Have you ever seen a cool sink that sits on top of the counter? It’s called a vessel sink. These sinks look great in bathrooms. But, how to plumb a vessel sink can seem tricky. Don’t worry! It’s not as hard as you think. With some help, you can do it yourself.
Plumbing a sink means connecting it to the water pipes. You also need to connect it to the drain. This lets the water flow in and out. Are you ready to learn how to plumb a vessel sink? Let’s get started!
Key Takeaways
- Properly sealing the sink prevents leaks and water damage.
- Use the correct tools to avoid damaging the sink or pipes.
- How to plumb a vessel sink involves connecting water lines and drain.
- Carefully measure and align all parts for a secure fit.
- Always turn off the water supply before starting any plumbing work.
Understanding Vessel Sink Plumbing
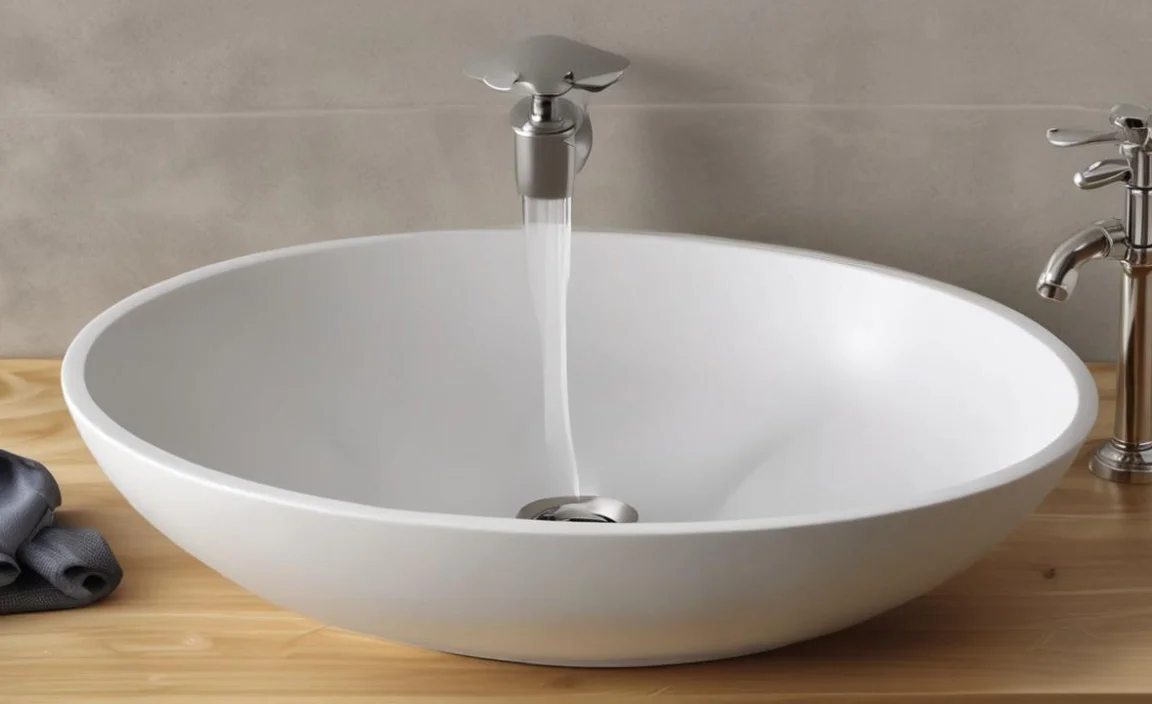
Plumbing a vessel sink is different than plumbing a regular sink. Vessel sinks sit on top of the counter. Regular sinks fit inside the counter. This means the pipes connect in a different way. You need to use special parts for vessel sinks. These parts include a tailpiece extension, a pop-up drain, and special faucets. It’s important to understand these parts before you start. Knowing what each part does will help you avoid mistakes. If you are not sure, ask an adult for help. They might know how to plumb a vessel sink. Or, they can find someone who does. Taking your time and doing it right will make your bathroom look great. Plus, you’ll feel good about doing it yourself!
- Vessel sinks sit on top of the counter.
- Regular sinks fit inside the counter.
- Special parts are needed for vessel sinks.
- A tailpiece extension helps connect the drain.
- Pop-up drains let you stop water easily.
- Special faucets are taller for vessel sinks.
Before you begin, gather all the tools you need. You’ll need a wrench, plumber’s tape, and a measuring tape. You might also need a screwdriver and a level. Make sure you have all the parts for your sink. This includes the drain, the faucet, and the water lines. Read the instructions that came with your sink. They will tell you exactly what you need to do. If you get stuck, don’t be afraid to ask for help. There are lots of videos online that show how to plumb a vessel sink. Remember to turn off the water before you start. This will prevent water from spraying everywhere. Plumbing can be tricky, but it’s also very rewarding. When you’re finished, you’ll have a beautiful new sink!
Fun Fact or Stat: Did you know that vessel sinks became popular in the early 2000s? They are now found in many modern bathrooms.
What is a Tailpiece Extension?
Have you ever seen a sink drain that is too short? A tailpiece extension helps fix this problem. It is a pipe that adds length to the drain. Vessel sinks often need these because they sit higher than regular sinks. Without a tailpiece extension, the drain might not reach the pipe in the wall. These extensions come in different lengths. You need to measure the distance from the sink drain to the wall pipe. This will help you choose the right size. Installing a tailpiece extension is easy. You simply screw it onto the drain. Make sure to use plumber’s tape to prevent leaks. With the right tailpiece extension, your vessel sink drain will work perfectly.
Why Use Plumber’s Tape?
Imagine trying to connect two pipes without anything to seal them. Water would leak everywhere! Plumber’s tape helps prevent this. It is a thin, white tape that you wrap around the threads of pipes. The tape fills in tiny gaps between the pipes. This creates a watertight seal. Plumber’s tape is also called Teflon tape. It is very easy to use. Just wrap it around the threads a few times before screwing the pipes together. Make sure to wrap it in the right direction. This will prevent the tape from unraveling. Plumber’s tape is a small thing, but it makes a big difference. It helps keep your bathroom dry and prevents water damage.
Choosing the Right Faucet
Vessel sinks need special faucets. Regular faucets are too short. The water wouldn’t reach over the edge of the sink. Vessel sink faucets are taller. They can be mounted on the counter or on the wall. Counter-mounted faucets are the most common. Wall-mounted faucets save space on the counter. When choosing a faucet, think about the style of your bathroom. Do you want a modern look or a more traditional look? Faucets come in many different styles and finishes. You can choose from chrome, brushed nickel, or even gold. Make sure the faucet you choose matches your sink. A beautiful faucet will make your vessel sink look even better.
Essential Tools for Plumbing a Vessel Sink
To plumb a vessel sink, you need the right tools. Imagine trying to build a house with just your hands! You need hammers, saws, and nails. Plumbing is the same way. You’ll need a wrench to tighten pipes. You’ll need a screwdriver to install the faucet. A measuring tape will help you make sure everything is the right size. Plumber’s tape will prevent leaks. And a level will make sure your sink is straight. Having the right tools will make the job much easier. It will also help you avoid mistakes. Before you start, make a list of all the tools you need. Then, gather them together in one place. This will save you time and frustration. With the right tools, you’ll be able to plumb your vessel sink like a pro!
- Wrenches help tighten pipes securely.
- Screwdrivers install faucets and other parts.
- Measuring tapes ensure accurate measurements.
- Plumber’s tape prevents leaks around pipe threads.
- Levels make sure the sink is perfectly straight.
- Pliers can help grip and turn small parts.
It’s also important to have some safety gear. Wear gloves to protect your hands from dirt and chemicals. Wear safety glasses to protect your eyes from splashes. And if you’re working in a small space, make sure to have good ventilation. Plumbing can be messy, so be prepared to clean up afterward. Keep a bucket and some rags handy to catch any drips. And don’t be afraid to ask for help if you get stuck. There are lots of people who know how to plumb a vessel sink. They can give you advice or even help you with the job. Remember, safety first! With the right tools and a little bit of caution, you can plumb your vessel sink safely and successfully.
Fun Fact or Stat: A good set of plumbing tools can last for many years if you take care of them. Clean them after each use and store them in a dry place.
Why is a Wrench Important?
Imagine trying to tighten a bolt with your fingers. It would be impossible! A wrench gives you the leverage you need. It helps you turn nuts and bolts easily. In plumbing, wrenches are used to tighten pipes and fittings. There are different types of wrenches. Some are adjustable, so you can use them on different sizes of pipes. Others are specifically designed for certain types of fittings. When using a wrench, make sure to grip the pipe firmly. Turn the wrench in the right direction. And don’t over-tighten the pipe. This can damage the threads. With a good wrench, you can create a tight, leak-free connection.
The Role of a Screwdriver
Screwdrivers are simple tools, but they are very useful. They help you turn screws. Screws hold things together. In plumbing, screwdrivers are used to install faucets and other fixtures. There are different types of screwdrivers. Some have flat heads, and others have Phillips heads. Make sure you use the right type of screwdriver for the screw. When using a screwdriver, apply steady pressure. Turn the screwdriver in the right direction. And don’t strip the screw head. This can make it difficult to remove the screw later. With a good screwdriver, you can install your faucet quickly and easily.
Using a Level for Perfect Alignment
Have you ever seen a picture hanging crooked on the wall? It doesn’t look very good! A level helps you make sure things are straight. It uses a bubble in a tube to show you if something is level. In plumbing, a level is used to make sure your sink is straight. A level will help prevent water from pooling on one side of the sink. To use a level, place it on the surface you want to check. If the bubble is in the middle, the surface is level. If the bubble is to one side, the surface is not level. Adjust the surface until the bubble is in the middle. With a level, you can ensure that your sink looks perfect.
Step-by-Step Guide: Plumbing Your Vessel Sink
Now, let’s talk about the steps of how to plumb a vessel sink. First, turn off the water supply. You don’t want to flood your bathroom! Next, install the faucet. Follow the instructions that came with the faucet. Then, install the drain. This usually involves screwing the drain into the sink. Make sure to use plumber’s putty to create a watertight seal. After that, connect the water lines. These are the flexible hoses that bring water to the faucet. Finally, connect the drainpipe. This pipe carries the water away from the sink. Once everything is connected, turn the water back on slowly. Check for leaks. If you see any leaks, tighten the connections. If you follow these steps, you’ll have your vessel sink plumbed in no time!
- Turn off the water supply first.
- Install the faucet according to instructions.
- Install the drain with plumber’s putty.
- Connect the water lines to the faucet.
- Connect the drainpipe to the sink drain.
- Turn the water on slowly and check for leaks.
It’s important to take your time and be careful. Plumbing can be tricky, and it’s easy to make mistakes. If you’re not sure about something, ask for help. There are lots of resources available online and at your local hardware store. You can also hire a plumber to do the job for you. This will cost more money, but it will ensure that the job is done right. Remember, safety is always the most important thing. Don’t take risks that could lead to injury. With a little bit of planning and effort, you can plumb your vessel sink yourself. And you’ll feel great about accomplishing something new!
Fun Fact or Stat: The average person uses about 60 gallons of water per day. A leaky faucet can waste a lot of water over time.
Installing the Faucet Correctly
The faucet is the most visible part of your sink. It’s important to install it correctly. Start by reading the instructions that came with the faucet. These instructions will tell you exactly what to do. Usually, you’ll need to attach the faucet to the counter or the sink. Use the hardware that came with the faucet. Make sure the faucet is tight and secure. Then, connect the water lines to the faucet. These lines bring hot and cold water to the faucet. Use a wrench to tighten the connections. Be careful not to over-tighten them. This can damage the pipes. Once the faucet is installed, test it to make sure it works properly.
Connecting the Water Lines
Water lines are like the veins and arteries of your sink. They carry water to and from the faucet. Connecting them properly is very important. First, make sure the water supply is turned off. Then, attach the water lines to the faucet. Use a wrench to tighten the connections. Be careful not to cross-thread the connections. This can cause leaks. Next, attach the other end of the water lines to the water supply pipes. These pipes are usually located under the sink. Again, use a wrench to tighten the connections. Once the water lines are connected, turn the water on slowly. Check for leaks. If you see any leaks, tighten the connections further.
Sealing the Drain Properly
The drain is how water leaves your sink. Sealing it properly is very important. If the drain is not sealed correctly, water can leak and cause damage. To seal the drain, use plumber’s putty. This is a soft, pliable substance that creates a watertight seal. Roll the plumber’s putty into a rope. Then, press it around the drain opening. Make sure the putty is evenly distributed. Next, insert the drain into the opening. Tighten the nut underneath the sink. This will compress the plumber’s putty and create a seal. Wipe away any excess putty. Then, test the drain to make sure it doesn’t leak.
Choosing the Right Plumbing Materials
When you plumb a vessel sink, you need the right materials. Think of it like building a Lego castle. You can’t build it without the right Lego bricks! For plumbing, you’ll need pipes, fittings, and sealant. Pipes carry the water. Fittings connect the pipes together. Sealant prevents leaks. There are different types of pipes. Some are made of copper, others are made of plastic. Copper pipes are strong and durable. Plastic pipes are cheaper and easier to work with. Fittings also come in different materials. You can choose from brass, plastic, or galvanized steel. Sealant is usually plumber’s tape or plumber’s putty. Choose the right materials for your project. This will help you create a plumbing system that lasts.
- Copper pipes are strong and durable.
- Plastic pipes are cheaper and easier to use.
- Fittings connect pipes together securely.
- Sealant prevents leaks around pipe connections.
- Choose materials that match your existing plumbing.
- Consider the water pressure in your home.
It’s important to consider the size of your pipes. Pipes come in different diameters. The diameter is the width of the pipe. You need to choose the right size pipe for your sink. If the pipe is too small, the water won’t flow properly. If the pipe is too big, it will be harder to connect. Check the instructions that came with your sink. They will tell you what size pipe you need. You should also consider the water pressure in your home. If you have high water pressure, you’ll need stronger pipes. This will prevent them from bursting. With the right materials, you can plumb your vessel sink with confidence.
Fun Fact or Stat: The first plumbing systems were used in ancient Rome. They used lead pipes to carry water. Lead is now known to be toxic, so it is no longer used in plumbing.
Understanding Pipe Types
Different pipe types have different uses. Copper pipes are strong and resist corrosion. They are often used for hot and cold water lines. PVC pipes are made of plastic. They are lightweight and easy to cut. PVC pipes are often used for drains and vents. PEX pipes are flexible and can bend around corners. They are often used for water supply lines. Choose the right type of pipe for your specific needs. This will ensure that your plumbing system is reliable and long-lasting.
The Importance of Fittings
Fittings are like the connectors in an electrical circuit. They allow you to join pipes together. There are many different types of fittings. Elbows are used to change the direction of a pipe. Tees are used to split a pipe into two directions. Couplings are used to join two pipes together. Adapters are used to connect pipes of different sizes. Choose the right type of fitting for your specific application. This will ensure that your plumbing system is leak-free and efficient.
Choosing the Right Sealant
Sealant is like the glue that holds your plumbing system together. It prevents leaks and keeps water where it’s supposed to be. Plumber’s tape is a thin, white tape that you wrap around pipe threads. It creates a watertight seal when you tighten the connection. Plumber’s putty is a soft, pliable substance that you press around drain openings. It creates a watertight seal between the drain and the sink. Choose the right type of sealant for your specific application. This will prevent leaks and protect your home from water damage.
Avoiding Common Plumbing Mistakes
When you plumb a vessel sink, it’s easy to make mistakes. But don’t worry! Everyone makes mistakes sometimes. The important thing is to learn from them. One common mistake is not turning off the water. This can lead to a big mess! Another mistake is not using enough sealant. This can cause leaks. Another mistake is over-tightening the connections. This can damage the pipes. Another mistake is using the wrong type of pipe or fitting. This can cause problems down the road. By being aware of these common mistakes, you can avoid them. And you can plumb your vessel sink like a pro!
| Mistake | Cause | Solution |
|---|---|---|
| Leaks | Not enough sealant or loose connections | Apply more sealant and tighten connections |
| Damaged Pipes | Over-tightening connections | Tighten connections gently |
| Clogged Drains | Hair or debris in the drain | Use a drain cleaner or snake |
| Low Water Pressure | Kinked or blocked pipes | Straighten pipes or remove blockages |
- Not turning off the water before starting.
- Using the wrong type of pipe or fitting.
- Over-tightening the connections.
- Not using enough sealant.
- Forgetting to check for leaks.
- Ignoring the instructions.
It’s also important to read the instructions carefully. The instructions will tell you exactly what to do. They will also warn you about potential problems. If you’re not sure about something, ask for help. There are lots of people who know how to plumb a vessel sink. They can give you advice or even help you with the job. Remember, plumbing is not a race. Take your time and be careful. With a little bit of patience and attention to detail, you can avoid common mistakes. And you can enjoy your beautiful new vessel sink for years to come!
Fun Fact or Stat: Plumbers are some of the highest-paid tradespeople in the world. They provide a valuable service that is essential to modern life.
The Importance of Reading Instructions
Imagine trying to assemble a complicated toy without reading the instructions. It would be very difficult! The same is true for plumbing. Instructions provide a step-by-step guide to the process. They tell you what tools you need, what materials to use, and how to connect everything properly. Reading the instructions carefully can save you time, money, and frustration. It can also help you avoid making costly mistakes. So before you start plumbing your vessel sink, take the time to read the instructions. It’s an investment that will pay off in the long run.
Checking for Leaks After Installation
Imagine filling a bucket with water, only to find that it has a hole in the bottom. The water would leak out everywhere! The same can happen with your plumbing. That’s why it’s so important to check for leaks after installation. Turn on the water and let it run for a few minutes. Then, carefully inspect all the connections. Look for any signs of water dripping or seeping. If you see any leaks, tighten the connections or apply more sealant. Catching leaks early can prevent serious water damage.
Avoiding Over-Tightening Connections
Imagine trying to screw a bolt into a piece of wood. If you tighten it too much, you could strip the threads or even break the bolt. The same is true for plumbing connections. Over-tightening can damage the pipes or fittings. It can also make it difficult to remove the connections later. When tightening plumbing connections, use a wrench to apply gentle pressure. Stop tightening when the connection feels snug. Don’t try to force it any further. This will help you avoid damaging the pipes and fittings.
Maintaining Your Vessel Sink Plumbing
After you plumb a vessel sink, you need to take care of it. Think of it like a car. You need to change the oil and rotate the tires. This will keep it running smoothly. With plumbing, you need to clean the drain and check for leaks. This will prevent problems from happening. Clean the drain regularly to remove hair and debris. This will prevent clogs. Check for leaks around the faucet and the drain. If you see any leaks, fix them right away. This will prevent water damage. By taking care of your vessel sink plumbing, you can keep it working properly for years to come.
- Clean the drain regularly to prevent clogs.
- Check for leaks around the faucet and drain.
- Tighten any loose connections immediately.
- Avoid pouring harsh chemicals down the drain.
- Flush the drain with hot water periodically.
- Inspect the pipes for corrosion or damage.
It’s also important to avoid pouring harsh chemicals down the drain. These chemicals can damage the pipes and the environment. Instead, use natural cleaning products. You can also use a drain snake to remove clogs. A drain snake is a long, flexible tool that you can insert into the drain. It will help you break up the clog and remove it. If you have any problems with your plumbing, don’t be afraid to call a plumber. A plumber is a professional who can fix any plumbing problem. With a little bit of maintenance, you can keep your vessel sink plumbing in good condition.
Fun Fact or Stat: Some plumbers use video cameras to inspect pipes. This allows them to see inside the pipes and identify problems without having to dig them up.
Cleaning the Drain Regularly
A clean drain is a happy drain. Over time, hair, soap, and other debris can build up in the drain. This can cause clogs and slow down the flow of water. To prevent this, clean the drain regularly. You can use a drain cleaner or a drain snake. You can also pour hot water down the drain periodically. This will help to flush out any debris. A clean drain will keep your vessel sink working properly.
Checking for Leaks Periodically
Leaks can cause serious water damage to your home. That’s why it’s important to check for leaks periodically. Look around the faucet, the drain, and the pipes under the sink. If you see any signs of water, investigate further. Tighten any loose connections. If the leak persists, you may need to replace the faucet or the drain. Catching leaks early can save you a lot of money and hassle.
Avoiding Harsh Chemicals
Harsh chemicals can damage your plumbing system. They can corrode the pipes and fittings. They can also harm the environment. Avoid pouring harsh chemicals down the drain. Instead, use natural cleaning products. You can also use a drain snake to remove clogs. Natural cleaning products are safer for your pipes and for the environment.
Summary
In this article, we learned how to plumb a vessel sink. Vessel sinks are stylish but require careful plumbing. We discussed the tools you need, like wrenches and plumber’s tape. We covered the steps involved, from turning off the water to connecting the drainpipe. We also talked about common mistakes and how to avoid them. Choosing the right materials is crucial. Understanding pipe types and fittings helps. Regular maintenance keeps your plumbing in good shape. With these tips, you can confidently install and maintain your vessel sink.
Conclusion
Plumbing a vessel sink may seem hard at first. But with the right tools and knowledge, you can do it. Remember to take your time and follow the steps carefully. Safety is important, so turn off the water before you start. Check for leaks after you finish. With a little effort, you can enjoy your new vessel sink. Knowing how to plumb a vessel sink is a great skill to have. Good luck with your plumbing project!
Frequently Asked Questions
Question No 1: What tools do I need to plumb a vessel sink?
Answer: To plumb a vessel sink, you will need a few essential tools. These include a wrench, which helps tighten pipes and fittings securely without damaging them. A screwdriver is necessary for installing the faucet and other fixtures. A measuring tape ensures accurate measurements for cutting pipes and positioning the sink. Plumber’s tape is vital for creating watertight seals around pipe threads, preventing leaks. A level will help you make sure the sink is perfectly straight, ensuring proper drainage. Pliers can assist in gripping and turning small parts. Having these tools on hand will make the plumbing process smoother and more efficient.
Question No 2: How do I turn off the water supply before starting?
Answer: Turning off the water supply is a critical first step before you start plumbing any sink. Find the shut-off valves for the hot and cold water lines under your existing sink or near the toilet if you are replacing the sink. If you don’t see shut-off valves there, you might need to turn off the main water supply to your house. This is usually located in the basement or near the water meter. Turn the valve clockwise until it’s completely closed. After turning off the water, open the faucet briefly to relieve any remaining pressure in the pipes. This will help prevent water from spraying when you disconnect the old faucet or pipes.
Question No 3: What is plumber’s putty, and how do I use it?
Answer: Plumber’s putty is a soft, pliable clay-like substance used to create a watertight seal around drains and other plumbing fixtures. It prevents water from leaking through small gaps and openings. To use plumber’s putty, take a small amount and roll it into a rope-like shape. Apply the putty around the underside of the drain flange or the fixture you want to seal. Press the fixture into place, and then tighten the connections. The putty will squeeze out around the edges. Remove any excess putty with a damp cloth. Plumber’s putty is easy to use and an essential material for how to plumb a vessel sink.
Question No 4: How do I connect the drainpipe to the vessel sink drain?
Answer: Connecting the drainpipe involves several steps to ensure a leak-free connection. First, attach the tailpiece extension to the bottom of the vessel sink drain. Use plumber’s tape on the threads for a secure seal. Next, connect the P-trap to the tailpiece extension. The P-trap is a curved pipe that traps debris and prevents sewer gases from entering your home. Tighten the slip nuts on the P-trap by hand, then use a wrench for a snug fit. Finally, connect the other end of the P-trap to the drainpipe in the wall. Make sure all connections are tight to prevent leaks. This part of how to plumb a vessel sink ensures proper drainage.
Question No 5: How do I check for leaks after installing the vessel sink?
Answer: After you’ve connected all the pipes and fittings, it’s crucial to check for leaks. Slowly turn the water supply back on, both hot and cold. Carefully inspect all the connections under the sink, including the faucet connections, drain connections, and water supply lines. Look for any signs of water dripping or seeping. If you find a leak, turn off the water supply immediately and tighten the connection. If the leak persists, you may need to disassemble the connection, apply more plumber’s tape or putty, and reassemble. This process will help ensure that your plumbing is watertight.
Question No 6: What should I do if I can’t plumb the vessel sink myself?
Answer: If you’re not comfortable with plumbing or encounter difficulties during the installation, it’s best to hire a professional plumber. Plumbing can be tricky, and mistakes can lead to water damage or other costly problems. A licensed plumber has the knowledge, skills, and tools to install your vessel sink correctly and safely. They can also identify and fix any underlying plumbing issues you might not be aware of. While it might cost more upfront, hiring a plumber can save you money and headaches in the long run by ensuring the job is done right the first time. Learning how to plumb a vessel sink is great, but knowing when to call for help is even better.
