Removing a toilet from the floor may sound daunting, especially if you are unfamiliar with the process. However, it can be done quickly and easily with the right tools and techniques.
Whether you need to remove a toilet to replace it with a new one, fix a leaking toilet, or repair the flooring underneath, this step will provide you with all the necessary information. We will walk you through How to remove toilet from floor, from preparing the workspace to disconnecting the water supply, removing the bolts, and lifting the toilet flange.
We will also provide tips and tricks to make the job easier and avoid problems. This guide is suitable for both DIY enthusiasts and professionals alike, and it will help you save money and time by avoiding the need for a plumber.
How To Remove Toilet From Floor Effectively
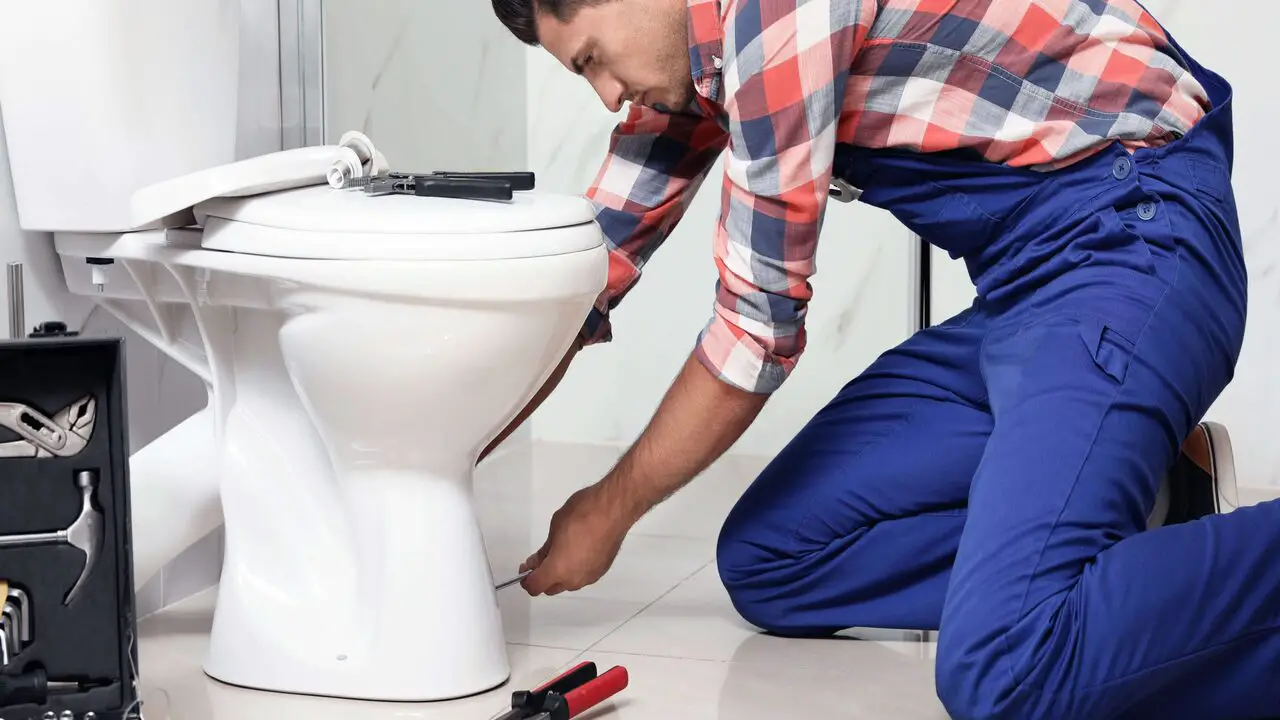
Removing a toilet from the floor might seem daunting, but it can do with a few simple steps. The first step is to turn off the water supply to the toilet and flush the toilet to drain the water from the bowl and tank. Next, disconnect the water supply line from the bottom of the toilet tank and loosen the bolts that hold the toilet to the floor. Once the bolts are loosened, carefully lift the toilet off of the floor and move it to a safe location.
Having a helper for this step is important, as toilets can be heavy and awkward to maneuver alone. Once the toilet is removed, inspect the flange on the floor for any damage or debris. The flange is the circular fitting that connects the toilet to the drain pipe. If the flange is damaged, it must be repaired or replaced before installing a new toilet. If debris is in the flange, remove it with a scraper or putty knife. Here are step-by-step processes on how to remove toilet from floor.
Commonly Used Tools
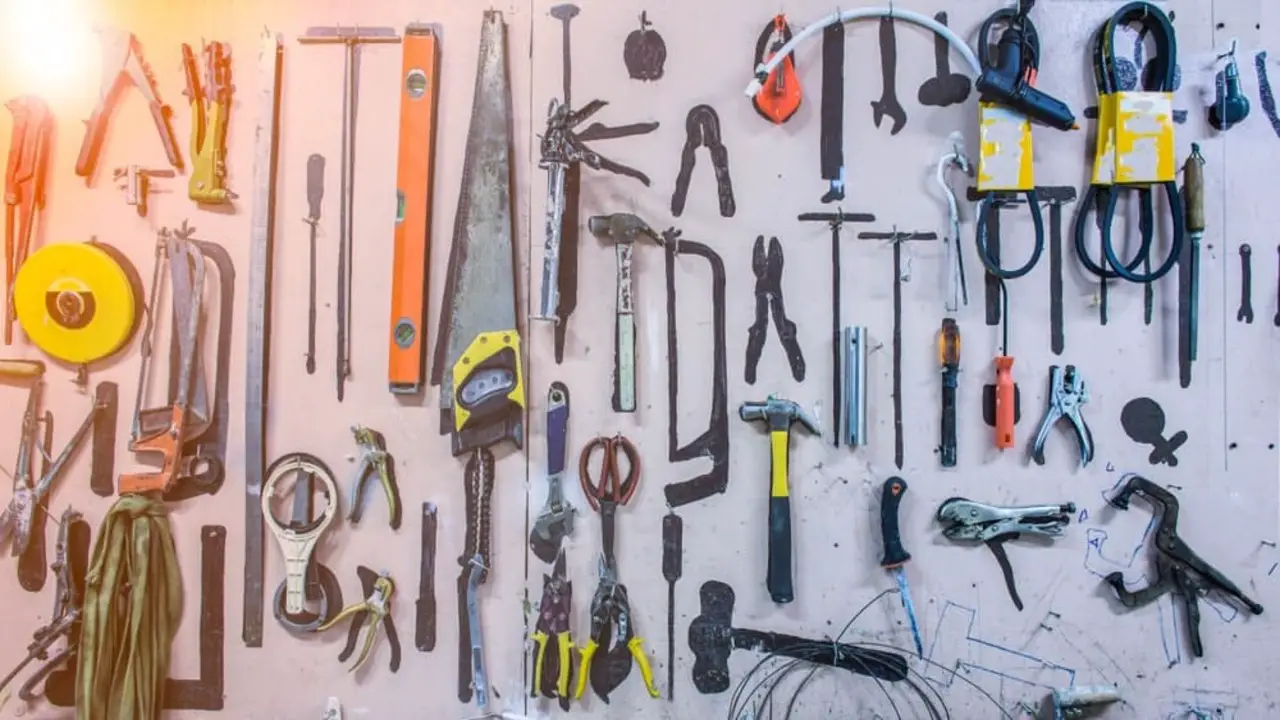
When removing a toilet from the floor, it is important to have the right tools on hand. Some commonly used tools for this process include an adjustable wrench, screwdriver, putty knife, bucket or container, and gloves with safety goggles.
The adjustable wrench removes the nuts and bolts securing the toilet to the floor, while the screwdriver is handy for removing the screws or bolts holding the toilet seat in place. A putty knife is handy for scraping off any old wax or caulk around the base of the toilet, and a bucket or container is essential for catching any water or debris that may spill during the removal process. Wearing gloves and safety goggles is important to protect your hands and eyes from hazards.
Safety Equipment
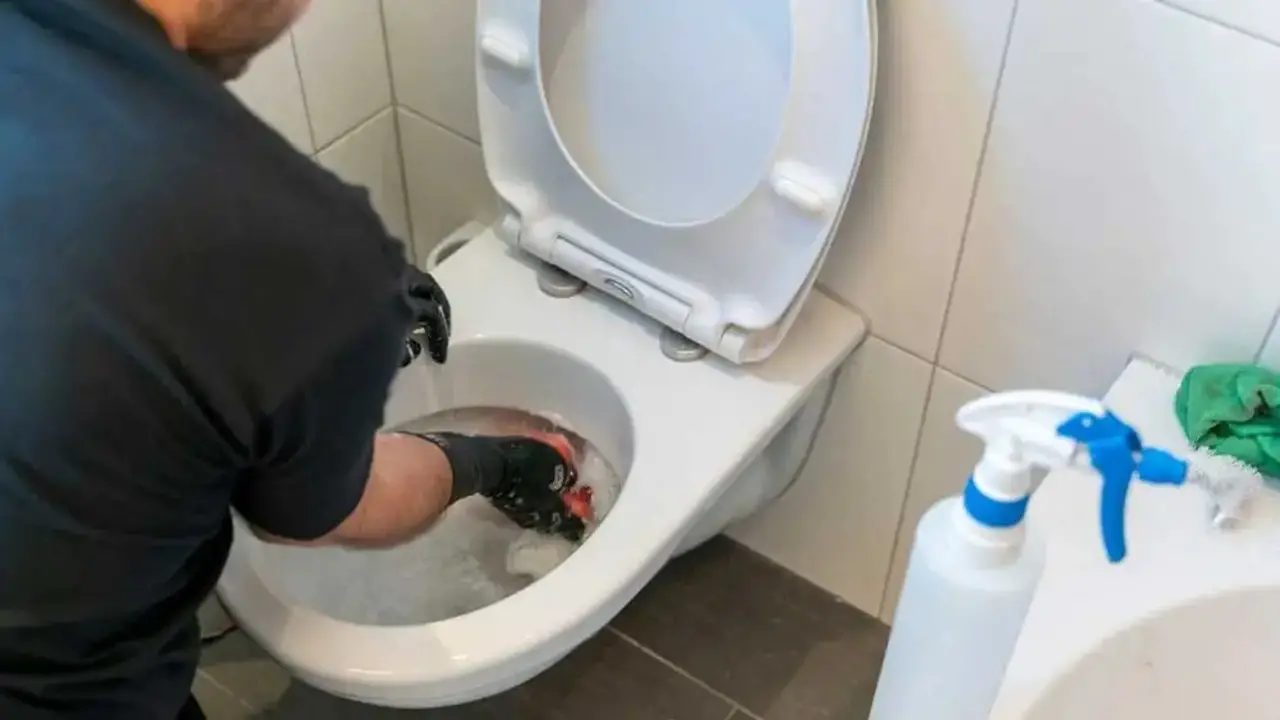
To ensure your safety while removing a toilet, it is important to have the proper safety equipment. Safety goggles and gloves are essential for protecting your eyes and hands throughout the process. Wearing a dust mask or respirator is also recommended to avoid inhaling dust or debris. Additionally, knee pads or a cushion can provide comfort and support while working on the floor. And don’t forget to have a first aid kit nearby in case of any accidents or injuries.
Preparing The Toilet For Removal
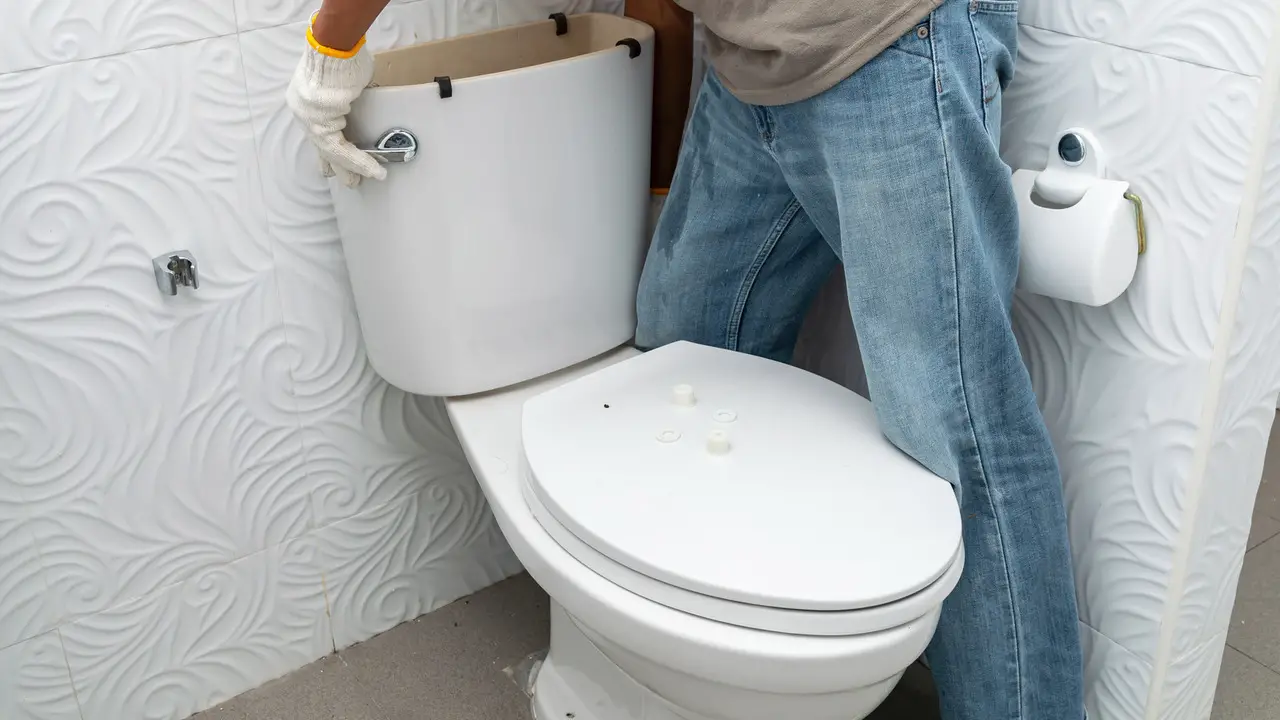
To prepare the toilet for removal, start by turning off the water supply and flushing the toilet to empty the tank and bowl. Disconnect the water supply line from the bottom of the tank and remove the tank by unscrewing the bolts or nuts holding it in place. Then, disconnect the toilet bowl from the floor by unscrewing the bolts or nuts connecting it to the flange. Carefully lift the toilet bowl off the flange, ensuring not to damage the wax ring.
Turning Off The Water Supply
First, to turn off the water supply before removing the toilet from the floor, locate the shut-off valve behind or near the toilet. Turn it clockwise to stop the water flow. If there is no shut-off valve, you’ll need to shut off the main water supply to the house. Flush the toilet to drain as much water as possible from the tank and bowl. Use a towel or sponge to soak up any remaining water in the bowl or tank. Once the water supply is turned off and the toilet is drained, you can remove the toilet from the floor.
Emptying The Bowl And Tank
To empty the bowl and tank, start by turning off the water supply to the toilet and flushing it to drain the water. Remove any remaining water using a plunger or sponge. Disconnect the water supply line from the bottom of the tank. Next, remove the nuts or bolts securing the tank to the bowl and carefully lift off the tank. Finally, use a wrench to disconnect the bolts securing the bowl to the floor and remove the bowl.
Disassembling The Toilet
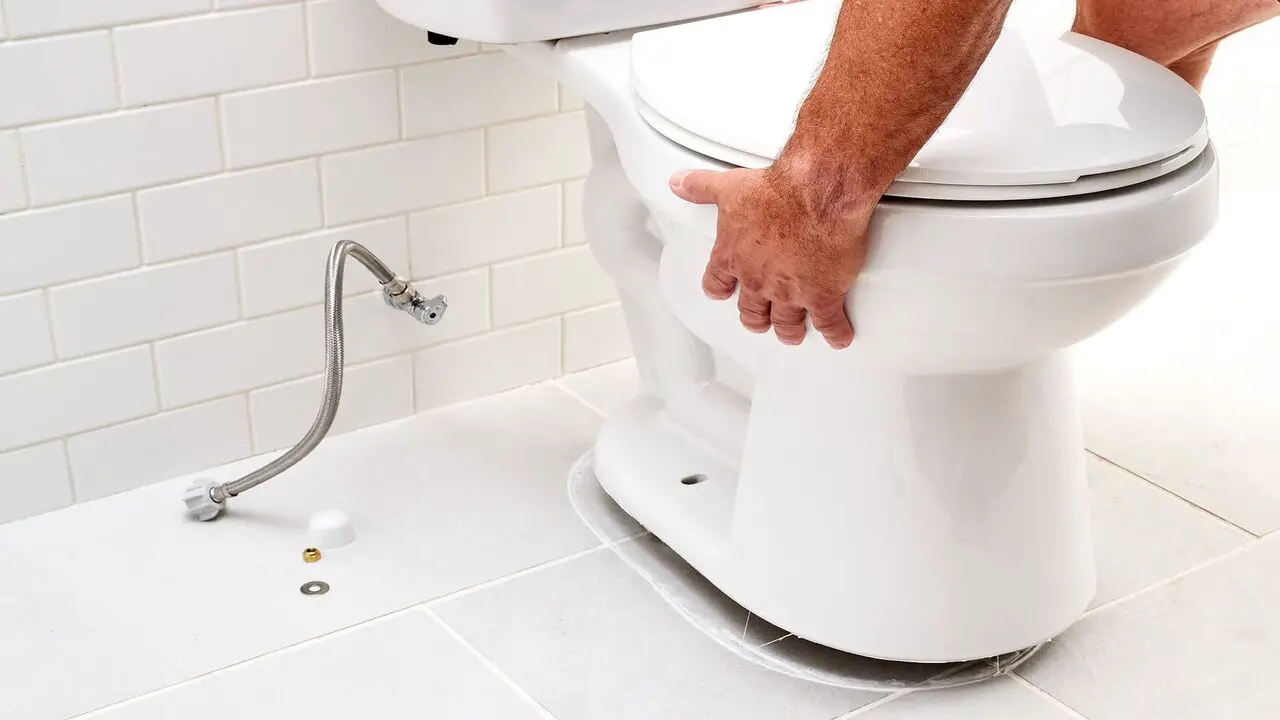
To disassemble the toilet, gather the necessary tools and materials like gloves, a wrench, and a tarp or bucket. Shut off the water supply by turning the valve near the floor. Flush the toilet to remove as much water as possible. Disconnect the water supply line from the bottom of the tank using a wrench. Remove the nuts securing the toilet to the floor and carefully lift it off, placing it on a tarp or bucket.
Removing The Tank
To remove the tank, start by turning off the water supply to the toilet. Disconnect the water supply line from the bottom of the tank using a wrench. Next, remove the bolts securing the tank to the bowl using a screwdriver or adjustable wrench. Carefully lift the tank off the bowl, being cautious not to damage any components. Place the tank in a safe location as you proceed with the rest of the toilet removal process.
Removing The Seat And Lid
To remove the seat and lid, lift the seat cover and unscrew the bolts that hold it in place. Once the bolts are removed, carefully lift the seat and lid off the toilet bowl, ensuring not drop or damage them. You may need a wrench or pliers to loosen and remove any additional nuts or screws securing the seat and lid. Once all the fasteners are removed, lift the seat and lid away from the toilet bowl.
How To Safely Lift And Remove The Toilet From The Floor?
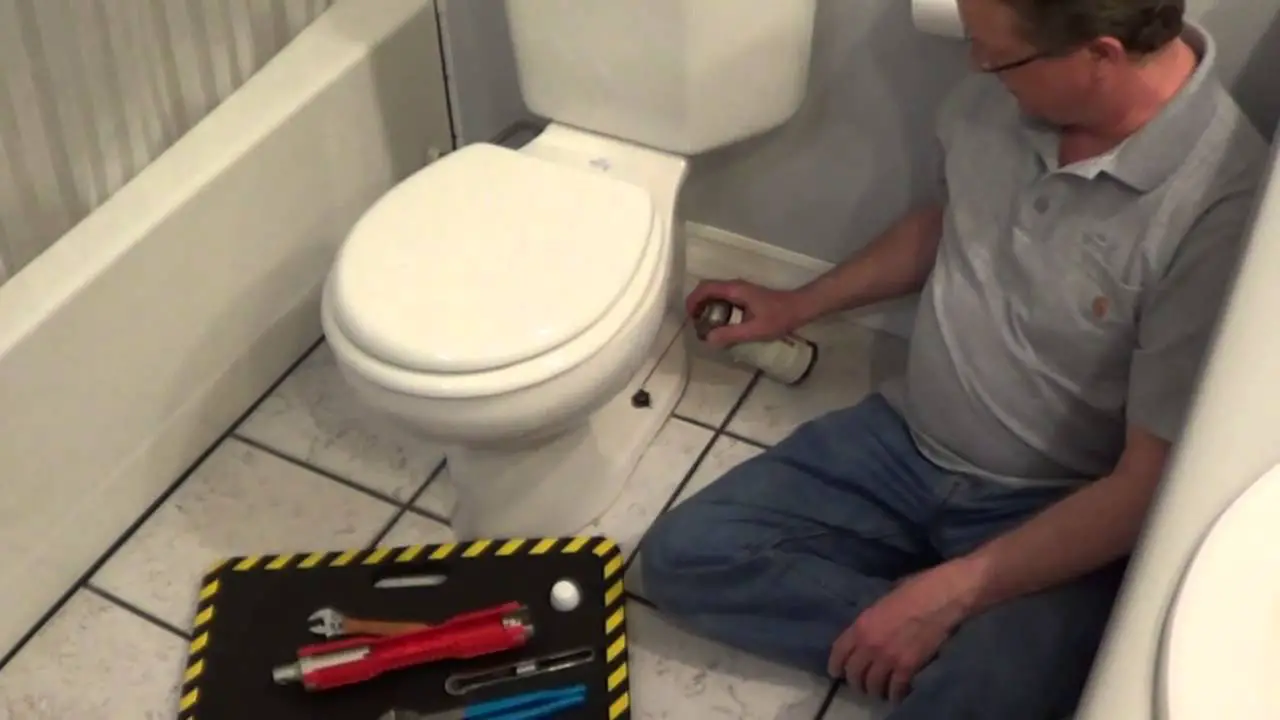
To safely lift and remove a toilet from the floor, start by turning off the water supply and draining any remaining water. Disconnect the water supply line and remove the nuts or bolts securing the toilet to the floor. Carefully lift the toilet with a partner, ensuring no damage to the wax seal.
Loosening The Floor Bolts
To loosen the floor bolts, use a wrench or pliers to loosen the nuts on the bolts. If the bolts are stubborn, applying penetrating oil can make them easier to loosen. Gently wiggle the toilet back and forth to break the seal and loosen it from the wax ring. Be cautious when lifting the toilet to avoid straining your back or damaging the bathroom floor. Once the toilet is lifted, place it on a towel or old blanket to protect the surfaces.
Cutting The Caulk
Cutting the caulk around the toilet’s base is essential to ensure a clean and easy removal process. Carefully use a utility knife or razor blade to cut through the caulk seal, taking caution to avoid any damage to the flooring or toilet. This step helps release the toilet’s grip on the floor, making it easier to lift and remove. Gently cut the caulk, then rock the toilet back and forth to break any remaining seal before lifting it off the floor.
Conclusion
To successfully remove a toilet from the floor, following a step process and having the necessary tools and safety equipment is essential. Start by turning off the water supply and emptying the bowl and tank. Then, carefully disassemble the toilet by removing the tank, seat, and lid. to lift and remove the toilet from the floor, loosen the floor bolts, and cut the caulk.
Remember to take proper safety precautions throughout the process to avoid any injuries. Wear protective gloves and eyewear, and be cautious when handling heavy objects. By following these steps and using the right tools om How to remove toilet from floor, you can safely remove a toilet from the floor without any hassle.
Frequently Asked Questions
[rank_math_rich_snippet id=”s-e71c1374-038d-4945-ab98-b58d55c2edb0″]

I am passionate about home engineering. I specialize in designing, installing, and maintaining heating, ventilation, and air conditioning systems. My goal is to help people stay comfortable in their homes all year long.


