Floor pans are an essential component of any vehicle, as they provide protection from road debris and support the weight of the passengers and cargo.
Over time, due to wear and tear, these floor rusty floor pans can become rust damage and require replacement. Traditionally, the process of installing new floor pans involved butt welding, which can be a daunting and expensive task for those without the necessary proper tools and expertise.
However, with advancements in technology and automotive techniques, it is now possible to install floor pans without welding. This revolutionary method saves time and money and allows individuals with minimal mechanical experience to complete the installation successfully. Here we will guide you through the step-by-step process of installing how to install floor pans without welding.
The Necessity Of Installing Floor Pans
The necessity of floor pans is undoubtedly a great one. Large sheet metal is handy for stamping on the car as a floor plan. Sometimes, it needs a short sheet-to-floor pans process when all the car’s floors do not spoil.
You need to use it or work on it according to your needs. A floor pan is also helpful for the car to use. It helps to modify the car. A floor pan can also establish the body floor and the chassis. Sometimes, it is essential for the car’s size.
The process of changing or repairing floor pans is vital structural work. It helps the car regenerate the production of car use and gives cars a new life look. So, if your car floor has become old or is creating holes in the floor, you can install a floor pan without welding.
Steps On How To Install Floor Pans Without Welding
It is possible to install an entire floor pan on floor panel without weldingThere are different ways to install a floor pan, such as removing the surface rust if you are not interested in the welding method of changing the old floor. So you can choose the second way to change the floor pan.
If your car has a hole, it does not need to be repaired. Then, you can use the patch repair. It would be best if you replaced the patch with the cutting piece of the panel and riveted it. Below, we provide detailed guidelines on how to install floor pans without welding.
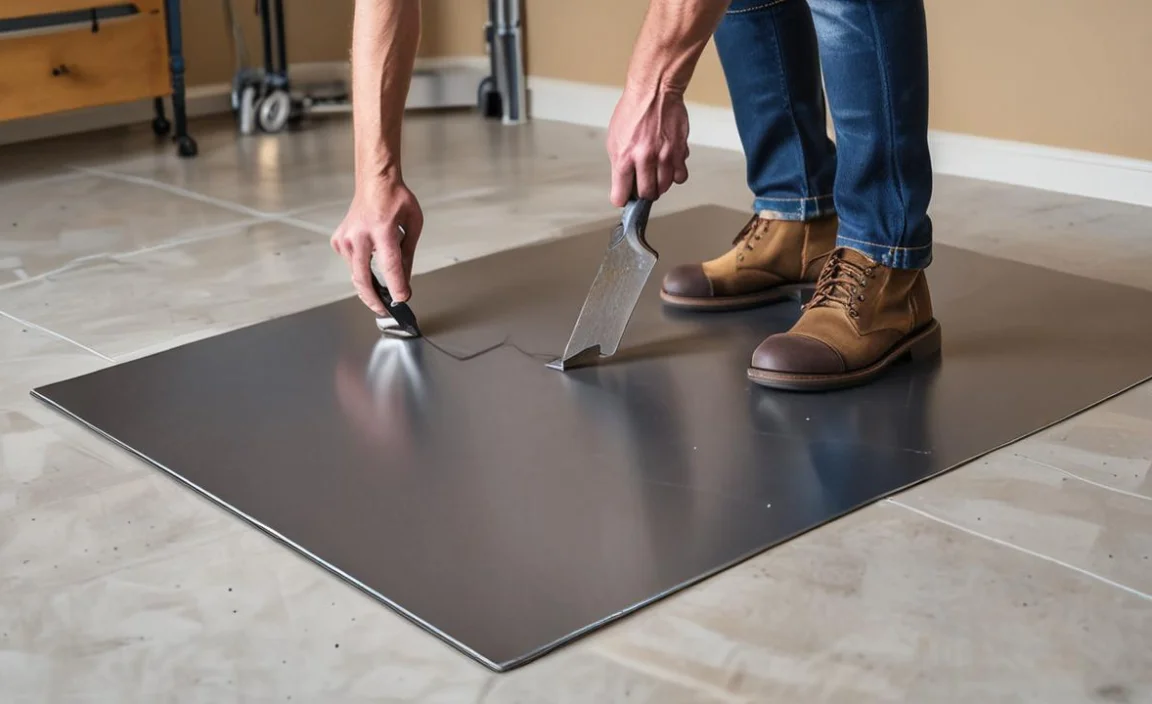
Step-01: Remove The Rust From The Car
You have to find the rusty holes and metal holes in the car floor. Then, you have to cut the rust damaged parts where a hole is visible from the whole floor. It would help if you had the jigsaw cutter for cutting rusty parts of the car’s original floor.
Always attach the spot weld to the cutter and the air drill. Otherwise, the cutting teeth will break. And also, you have to be aware of the knife before centring the spot wield. When you use cordless drills or electric drills, You have to work slowly.
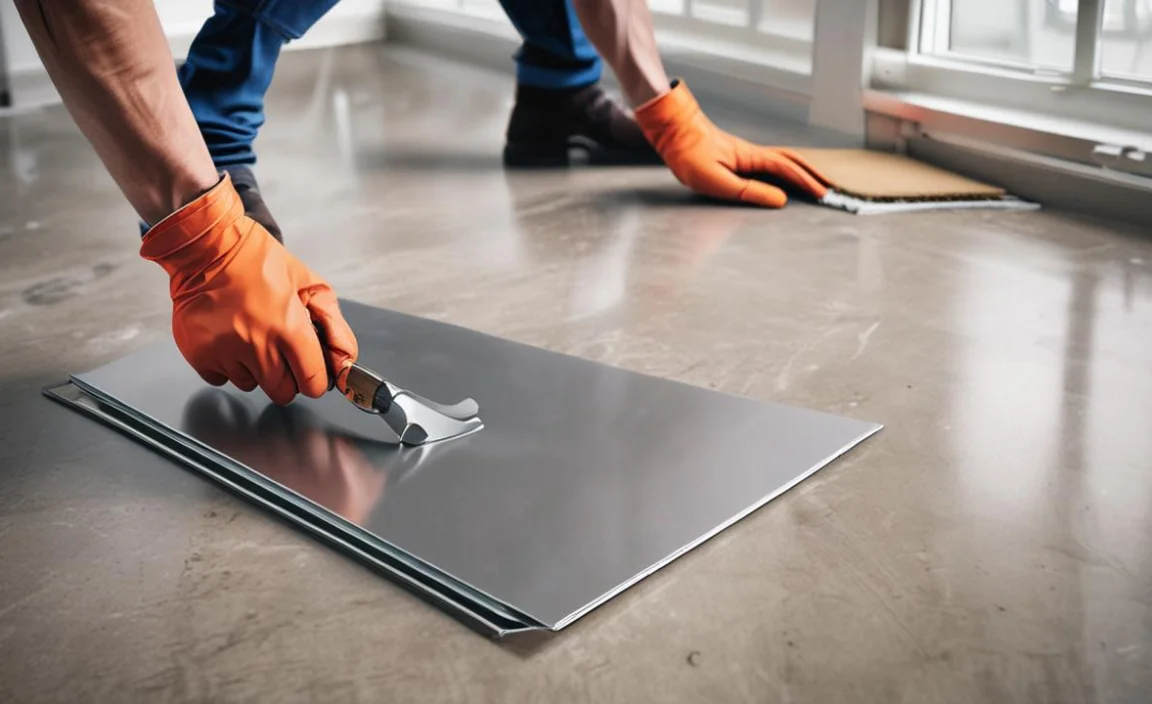
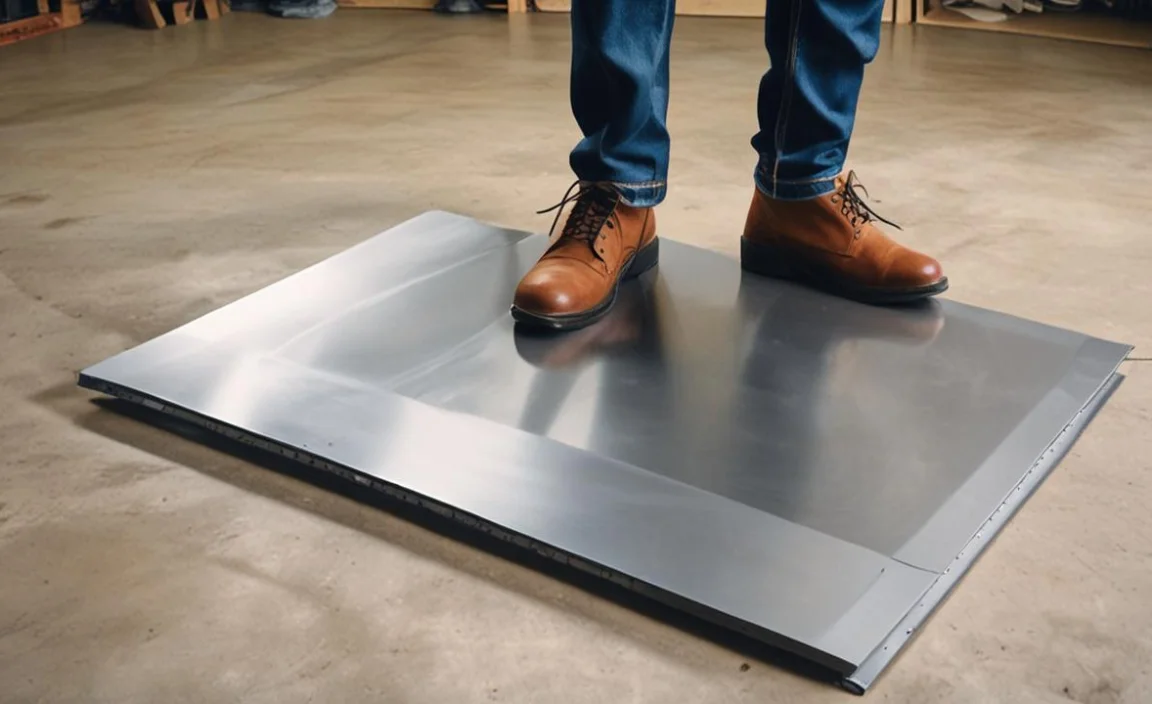
Step-02: Cut Out The Alternative Sheets Or Pans To Replace The Old One
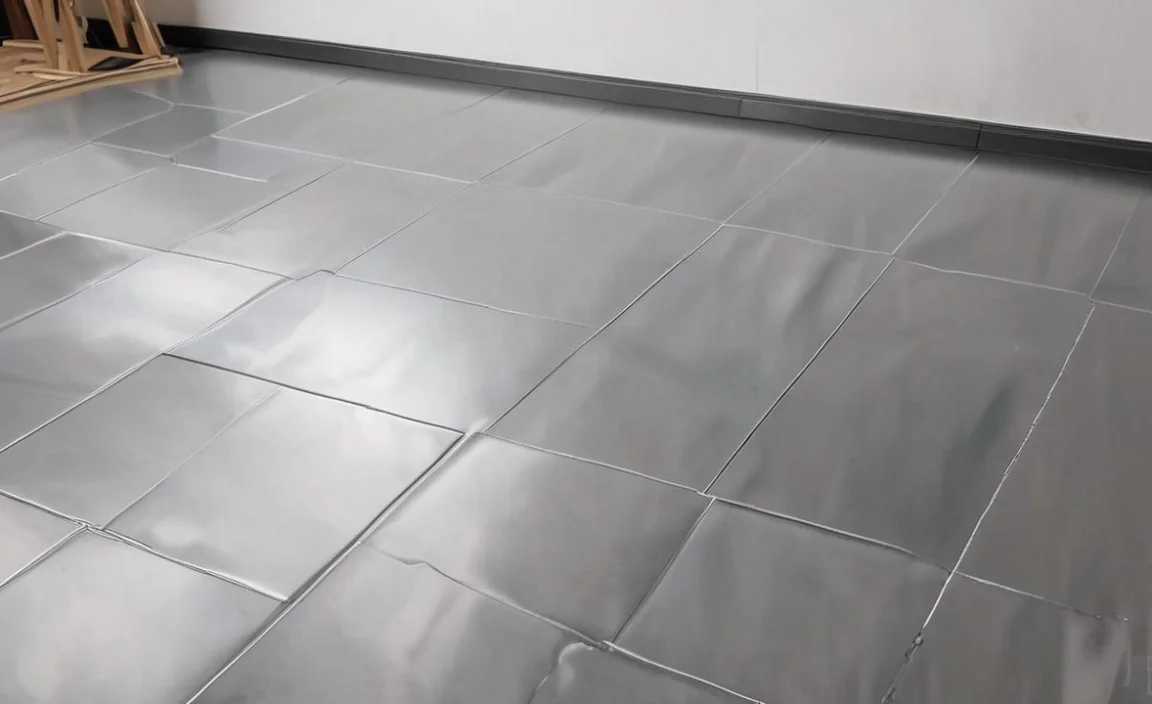
Now, the time has come to cut the sheet or scrap metal to replace the old sheet. You have to cut new pieces of sheet or clean metals to replace the old sheet. You have to cut the sheet 1-2″ inches wider than the old one. Use the sheet or metals that last long and use glue to join them properly to the car’s surface.
Step-03: Prepare The Rust Bullet And Fiberglass
When embarking on the task of installing floor pans without welding, it is essential to properly prepare the Rust Bullet and fibreglass materials to ensure a successful and durable outcome. The first step in this process is to thoroughly clean the surface where the floor pans will be installed.
This can be done by removing any debris, grease, or old adhesive using a suitable cleaning agent. Once the surface is free from contaminants, the Rust Bullet, a high-performance rust inhibitor, should be applied according to the manufacturer’s instructions. This will not only prevent further rusting but also provide a strong base for the fibreglass to adhere to.
Step-04: Use Parchment Paper And Duct Tape
After making a mould below the duct tape, you have to put the parchment paper on the duct tape. Then, cover all the areas of rusty pans. Then, cut the fibreglass cloth according to the size of the cutting pans.
Cut out the rusty pans and place the fibreglass on the floor of the car. After that, use metal blast glue for wetting the material. Then, please keep it for some time to dry. After doing all things, you need to do the same things again for a second layer.
Step-05: Using A Surface Wax
Take a fibreglass site to add surface wax. As a base for your floor, you will have to use surface wax and polyester resin. To order your mixing, follow the table mixture formula below.
8oz is recommended per layer and for a total use of 32 oz. For the right mixture, you can have a cup or mug. So, the right amount of polyester resin with surface mix is too good.
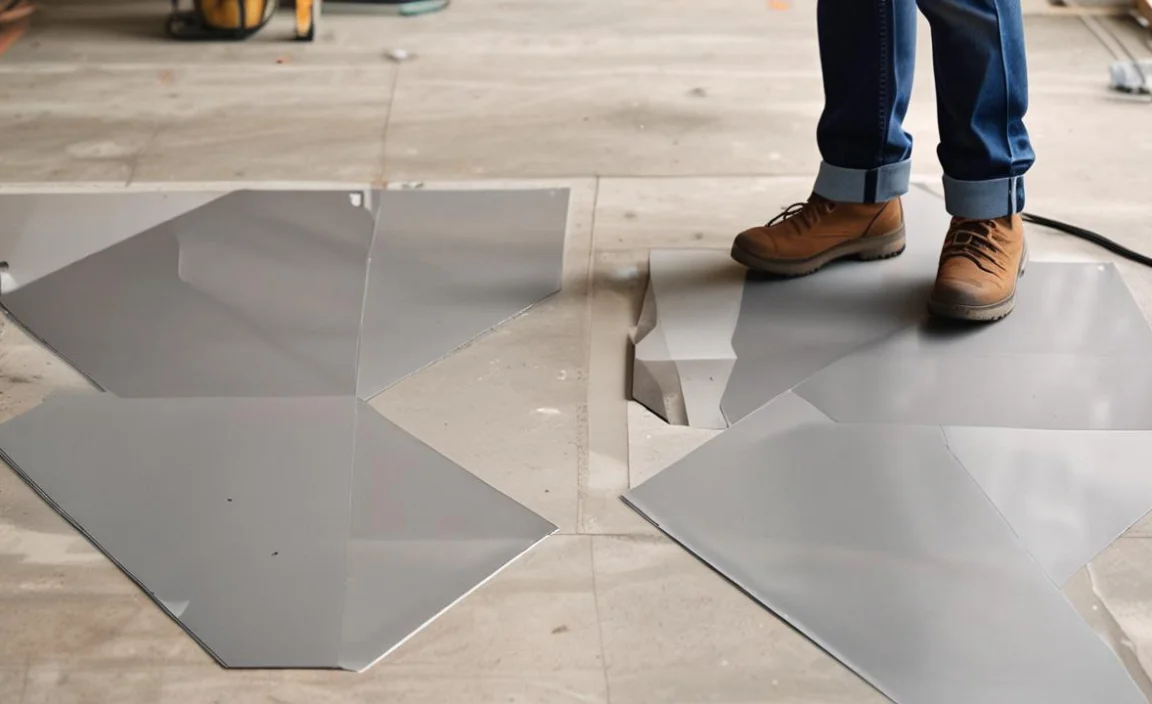
Step-06: Carefully Position The Replacement Floor Pan

Regarding installing floor pans without welding, one crucial step is to carefully position the replacement floor pan. This involves ensuring that the pan aligns properly with the existing structure of the vehicle and fits snugly into place. It may be helpful to use clamps or other tools to hold the pan in position while securing it.
Additionally, taking measurements and double-checking the fit before proceeding can help prevent any issues down the line. By being meticulous in this step, you can ensure a successful installation of your floor pans without the need for welding.
Step-07: Use Clamps Or Heavy Objects To Hold
Installing floor pans without welding can be a feasible option for those who don’t have access to welding equipment or prefer not to weld. One method to secure the floor pans in place is by using clamps or heavy objects.
By placing clamps or heavy objects on top of the floor pan, you can hold it securely in place while you work on attaching it to the surrounding structure. This method allows for flexibility and ease of installation, as it doesn’t require any specialized tools or skills. However, it is important to ensure that the clamps or heavy objects are properly positioned and secured to prevent any movement during the installation process.
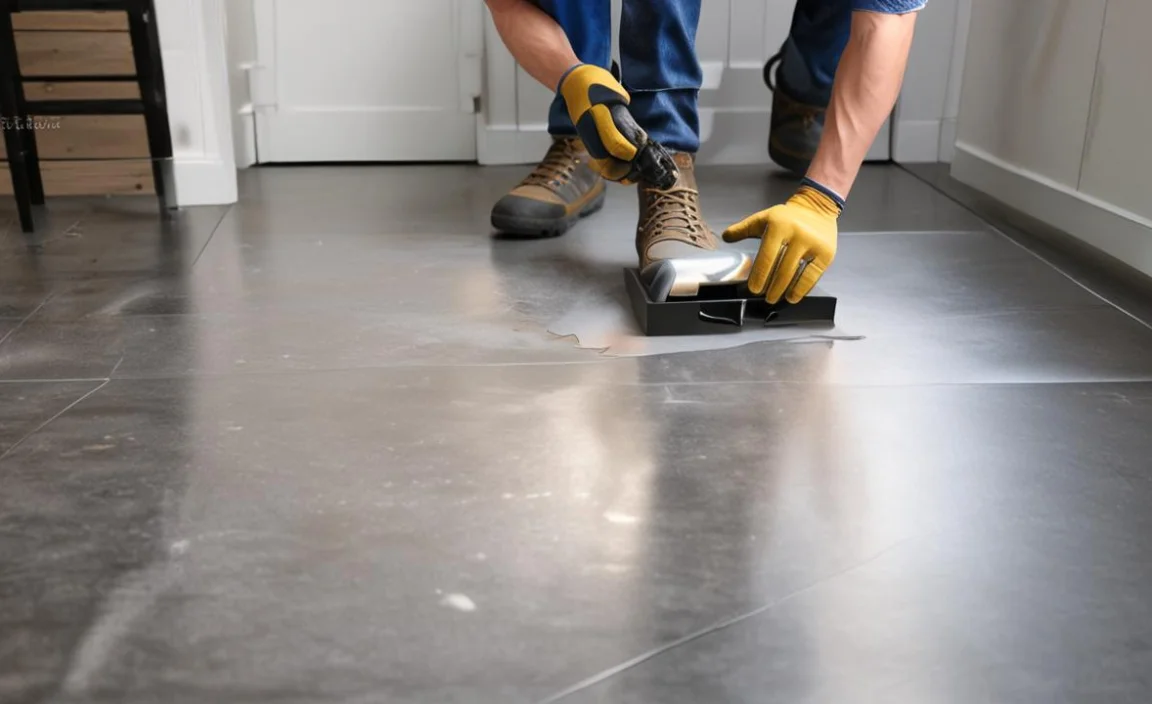
Step-08: Last, Apply A Seam Sealer
After installing the floor pans in your vehicle without welding, it is important to apply a seam sealer to ensure a secure and watertight seal. Seam sealer is a flexible adhesive that helps to fill in any gaps or seams between the floor pans and the surrounding metal.
To apply the seam sealer, start by cleaning the area with a degreaser or solvent to remove any dirt or debris. Then, using a caulk gun, apply a thin bead of seam sealer along the edges of the floor pans and any other areas that need sealing.
Smooth out the seam sealer with a putty knife or your finger to create an even and uniform seal. Allow the seam sealer to dry completely before moving on to the next step in your floor pan installation process.
Floor Pan Welding Cost
Without labour it costs about $1,000, including the welder, the safety gear and materials. However, by opting for non-welding methods, such as using adhesive patches or bolt-in floor pans, you can save on labour costs and potentially complete the installation yourself. It is important to carefully assess your skills and resources before deciding which method is best for your specific situation.
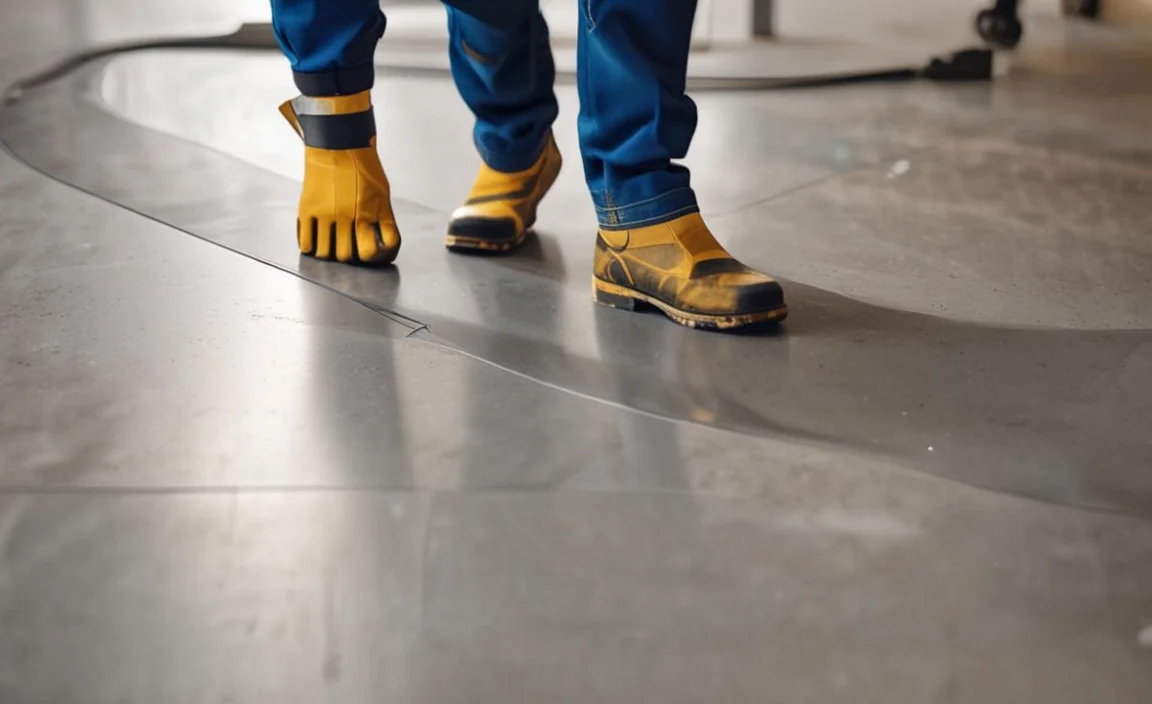
Safety Tips To Install Floor Pans Without Welding
Regarding the installation of floor pans without welding, knowing the necessary safety tips is of utmost importance. Safety should always be a top priority in any task or project, especially those involving potentially hazardous materials or techniques.
By understanding and implementing the proper safety measures, one can minimize the risk of accidents, injuries, and damage during the floor pan installation process.
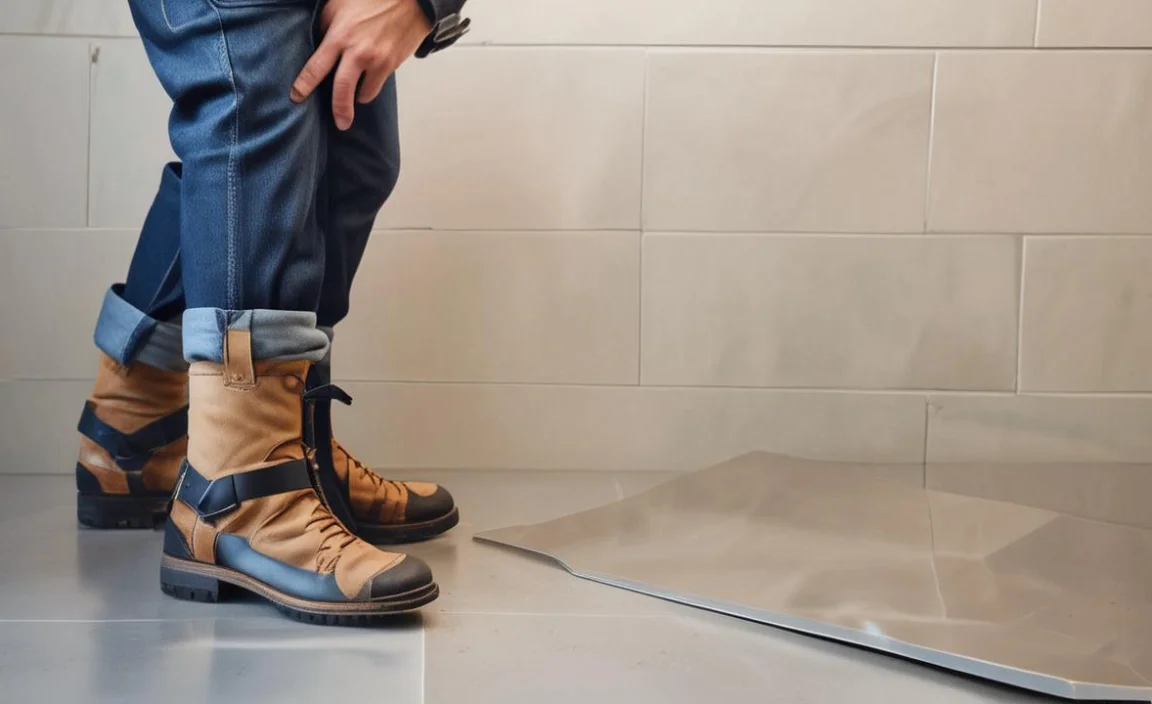
- Wear appropriate safety gear such as gloves, safety glasses, and closed-toe shoes to protect yourself from any potential injuries.
- Ensure that the work area is well-ventilated to avoid inhaling any harmful fumes or chemicals.
- Carefully read and follow the instructions provided by the manufacturer of the floor pans.
- Double-check the compatibility of the floor pans with your specific vehicle model to ensure proper fitment.
- Use proper lifting techniques when handling the floor pans to avoid straining your back or causing any muscle injuries.
- Take your time during the installation process and avoid rushing to prevent any mistakes or accidents.
- Keep all tools and equipment organized and within reach to minimize the risk of tripping or falling.
- If using adhesive or sealant, make sure to apply it in a well-controlled manner, following the recommended guidelines.
- Regularly inspect the floor pans for any signs of damage or wear, and address any issues promptly to maintain safety and longevity.
- If you encounter any difficulties or feel uncertain about the installation process, it is recommended to seek professional assistance.
How Do You Prevent Rust From Forming On Non-Welded Floor Pans?
Knowing how to prevent rust from forming on non-welded floor pans is of the utmost importance in maintaining the longevity and structural integrity of vehicles. Rust is a pervasive problem that can lead to extensive damage and costly repairs if left unchecked. Here are the prevention tips:
- Keep the floor pans clean and free from debris, as dirt and moisture can contribute to rust formation.
- Regularly inspect the floor pans for any signs of damage or corrosion.
- Apply a rust inhibitor or protective coating to the surface of the floor pans.
- Use rubber or plastic floor mats to create a barrier between the floor pans and any potential sources of moisture.
- Avoid driving in areas with high salt content on the roads, as salt can accelerate rust formation.
- Keep the interior of the vehicle well-ventilated to reduce humidity levels that can promote rust.
- If any rust spots are found, address them immediately by removing the rust and applying a rust converter or primer followed by a paint or sealant to prevent further corrosion.
Conclusion
Learning how to install floor pans without welding is a valuable skill for any car enthusiast or mechanic. Not only does it save time and money, but it also allows for a more precise and seamless installation. By following the steps on installing floor pans without welding and utilizing the proper tools and techniques, you can successfully install floor pans without welding and give your vehicle a sturdy and durable foundation.
Remember always to take proper safety precautions and consult a professional if needed. With patience and attention to detail, you can successfully install floor pans without welding and give your vehicle a fresh new look. If you read the above outline properly, we hope you now understand.
