Laminate flooring is a popular choice for homeowners due to its durability, affordability, and easy maintenance. However, installing laminate flooring can be a challenging task, especially when it comes to changing the direction of the planks.
Changing the direction of the planks can create a unique design element and add visual interest to your space. It requires careful planning and execution to achieve a flawless finish. We will discuss the essential techniques for a successful laminate flooring direction change installation. From planning and preparing the subfloor to cutting and fitting the planks, we will guide you through each step of the process. We will also provide tips on avoiding common mistakes and troubleshooting any issues that may arise during the installation.
Installation Process Of Laminate Flooring Direction Change

To start the installation process of laminate flooring direction change, you need to determine the layout and direction of the planks. Ensure the subfloor is clean, level, and free from debris. Following the manufacturer’s instructions, begin laying the laminate flooring in the chosen direction.
Use transition pieces or T-molding to create a seamless transition between different areas when changing direction. It is important to properly measure and cut the laminate planks to fit around corners or obstacles. Use spacers to maintain a consistent gap between flooring and the walls.
Planning The Direction Change
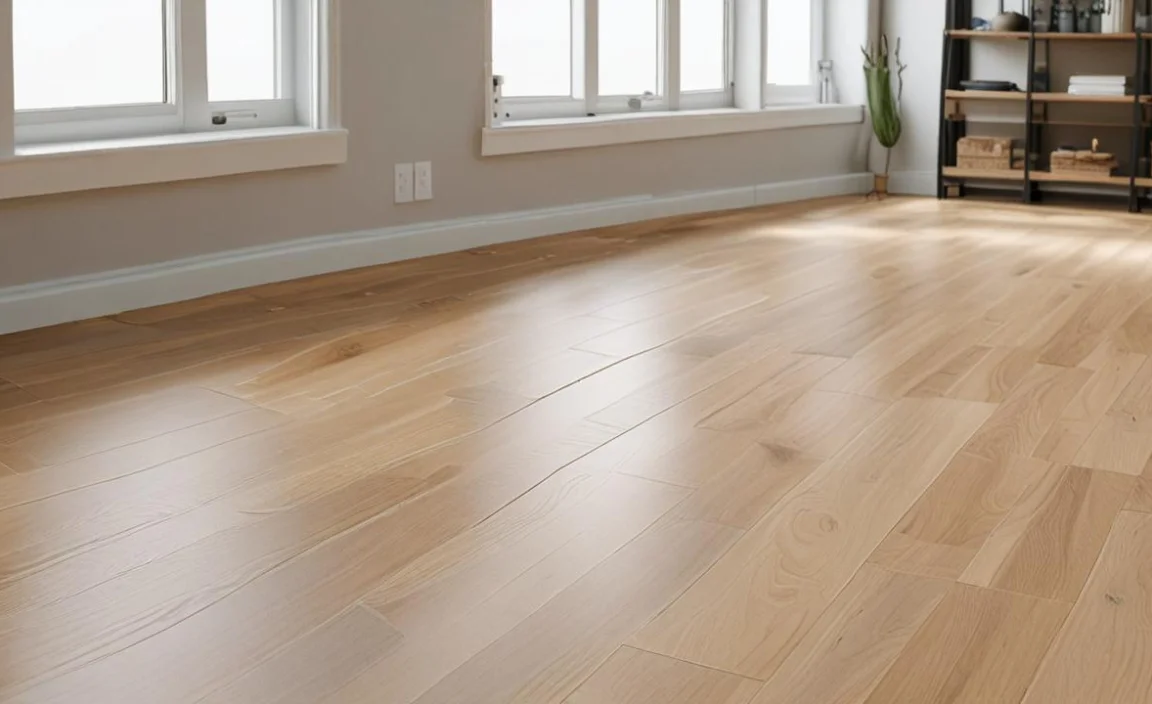
When installing laminate flooring, planning the direction change is essential for achieving a professional and visually appealing result. Consider the layout and flow of the space to determine where to make the direction change. It is common to change the direction of the laminate flooring at doorways or transitions between rooms.
To create a seamless transition, use transition strips or T-moldings. Accurate measurements and marking the starting point for each section of flooring ensure proper alignment during installation. Always follow the manufacturer’s instructions, including specific guidelines for direction changes.
Choosing The Right Laminate Flooring
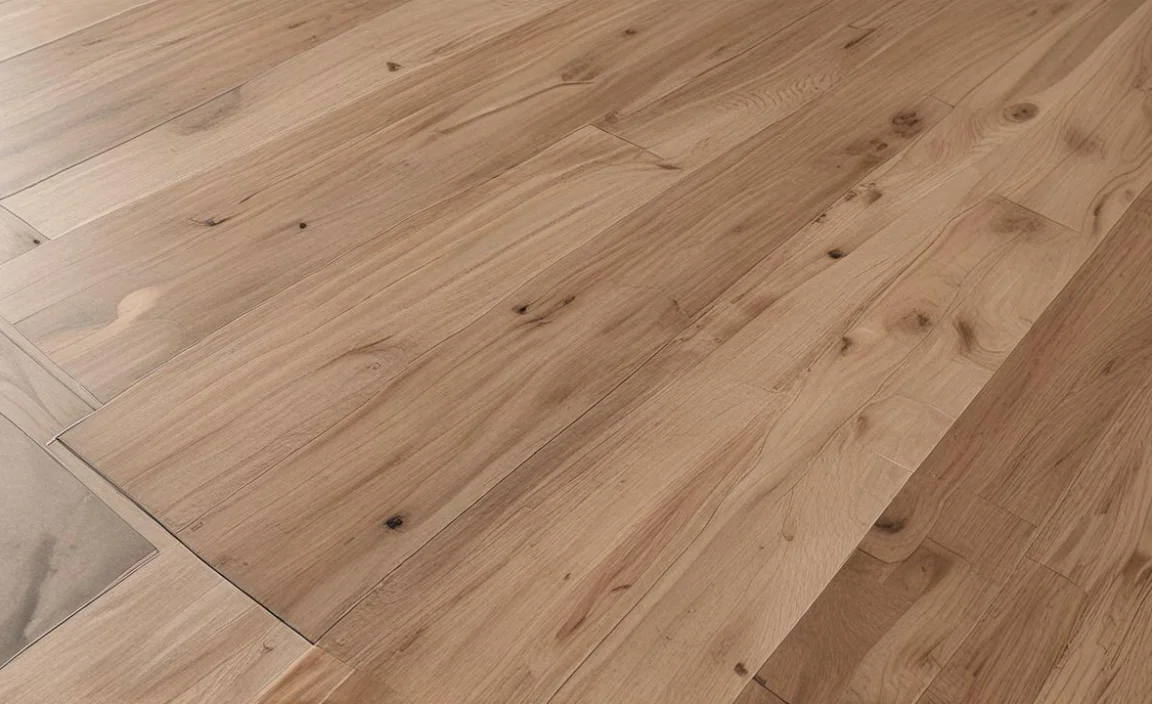
When selecting the perfect laminate flooring for your space, it’s essential to consider the style and colour that will best complement your overall aesthetic. Opting for a durable, durable laminate resistant to scratches and moisture will ensure its longevity.
Also, choosing the direction in which you want the laminate flooring to run can create visual interest and highlight different room areas. Before installation, ensure the subfloor is clean, level, and free of debris or unevenness. Following the manufacturer’s instructions, including any guidelines for changing the direction of the flooring, is crucial for a seamless installation.
Tools And Materials Required For Installation

Before you begin the installation process, ensure you have all the necessary tools and materials. These include a tape measure, pencil, flooring spacers, tapping block, pull bar, circular saw or laminate cutter, and safety equipment like goggles and knee pads.
Measure the room to determine the amount of laminate flooring needed, ensuring you purchase extra material for any mistakes or future repairs. Prepare the subfloor by cleaning, drying, and levelling it. Remove any existing flooring and repair damaged areas.
Start the installation in a corner, laying the first row of laminate planks perpendicular to the longest wall, using spacers to maintain an expansion gap. Stagger the seams by at least 12 inches as you continue laying subsequent rows for aesthetic appeal and stability. When encountering doorways or obstacles, carefully measure and cut planks using a circular saw or laminate cutter.
Preparing The Subfloor
Properly preparing the subfloor is essential before beginning the laminate flooring installation process. Start by removing existing flooring and ensuring the subfloor is clean, dry, and level. Take the time to repair or fill in any uneven areas or cracks in the subfloor.
It’s also crucial to check for moisture issues, as laminate flooring can be sensitive to moisture. Use a moisture barrier to protect the laminate flooring from potential damage if necessary. Once the subfloor is properly prepared, you can confidently install the laminate flooring in the desired direction.
Installing The First Rows Of Laminate Flooring

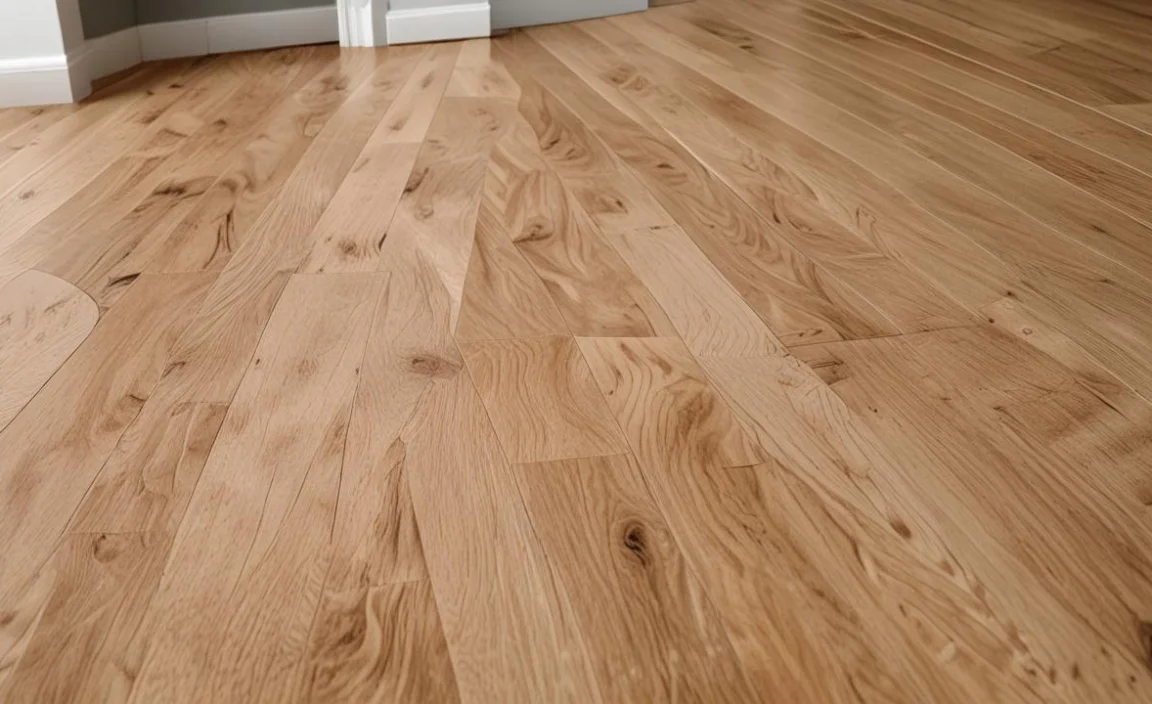
When beginning the installation of laminate flooring, it’s crucial to select the direction in which the planks will be laid. The most common approach is to install them parallel to the longest wall in the room, creating a more spacious and visually appealing look. However, changing the direction can add visual interest or highlight specific areas.
To change the direction, start by laying out a row of planks in the new direction before attaching them to the floor. Ensure a seamless transition by staggering the joints and using spacers for an even gap between planks. A tapping block and rubber mallet are used to secure each plank tightly, preventing gaps or buckling.
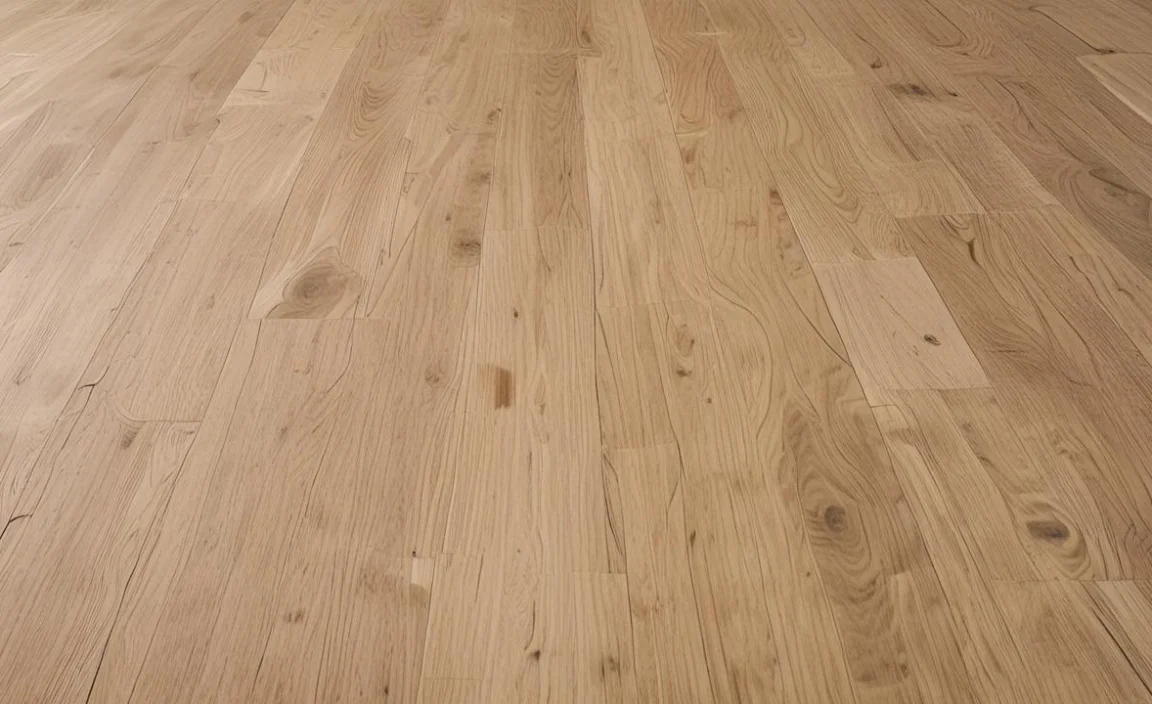
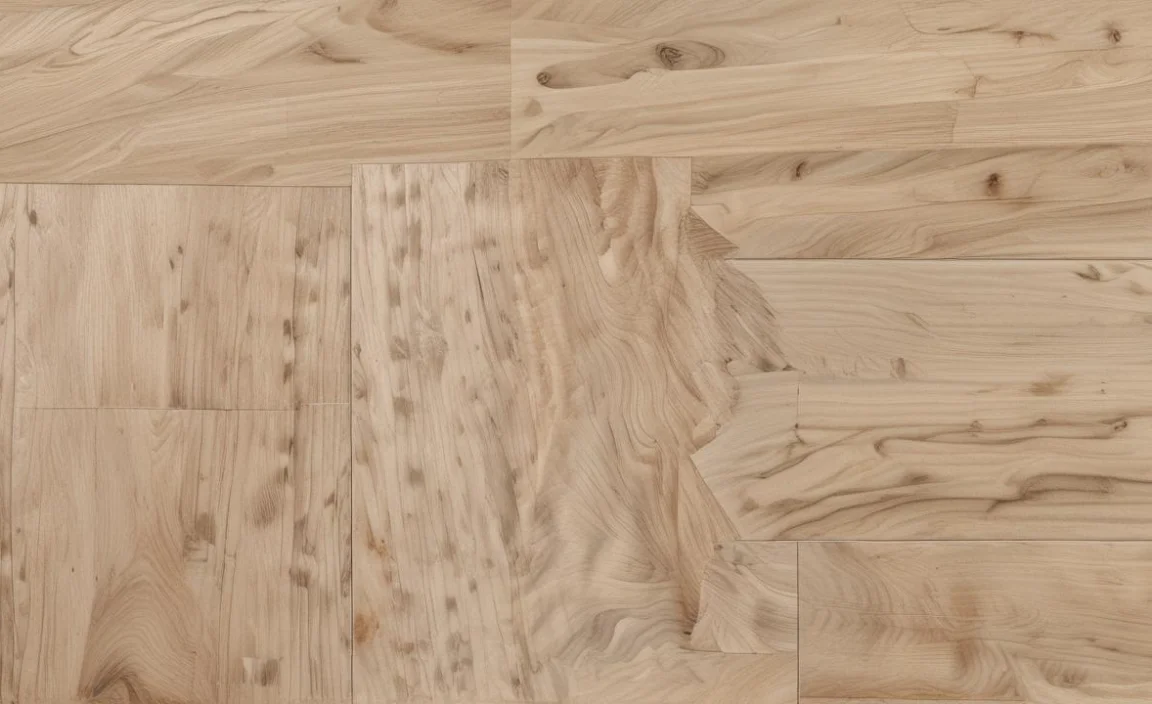
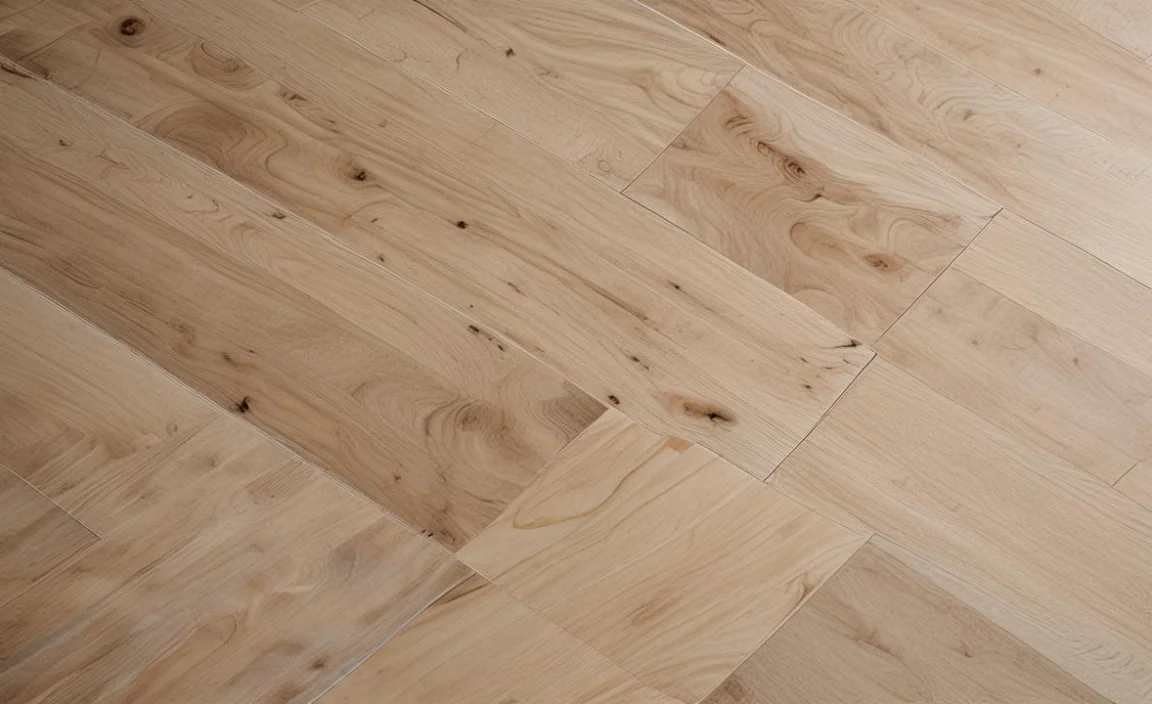
Installing Laminate Flooring In A Different Direction

Changing the direction of laminate flooring can bring visual interest to a space and help define different areas. To install laminate flooring in a different direction, it is important to plan ahead. Start by measuring the width of the room and determining the centre point.
Lay out a row of laminate planks in the desired direction to ensure they fit properly and make any necessary adjustments. When transitioning from one direction to another, use transition pieces or T-moldings for a smooth and seamless transition. Before installation, ensure the subfloor is clean, level, and debris-free.
Cutting Laminate Flooring For Direction Change
When changing the direction of laminate flooring, careful planning and measurement are essential. Start by marking the centerline of the room and determining the direction of the first row of flooring. Use a straightedge to draw a cutting line on the laminate flooring where it will change direction.
Measure and cut the laminate planks accordingly, ensuring an expansion gap along all walls. Install the cut pieces with their tongues facing away from the direction change, using a tapping block and mallet for a tight fit. Continue installing the rest of the laminate flooring in the new direction, staggering the end joints for stability.
Joining Laminate Flooring For Direction Change

When changing the laminate flooring direction, it is crucial to ensure a seamless transition by properly joining the pieces together. To achieve this, start by measuring and marking the area where the direction change will occur.
Next, use a mitre or circular saw to make precise 45-degree angle cuts on each piece of laminate flooring that will be joined. Before joining them together, apply a high-quality adhesive or wood glue to the cut edges.
Press the pieces firmly together and use clamps or heavy objects to hold them while the adhesive dries. Once the adhesive is dry, you can continue installing the laminate flooring in the new direction as usual.
Trimming And Finishing The Edges
Properly trimming and finishing the edges is crucial when changing the laminate flooring direction for a clean and professional look. To begin, measure and mark the area where the flooring will change direction. Then, use a straight edge and utility knife to score along the marked line, ensuring a clean cut.
Carefully remove the excess flooring material, ensuring not to damage the surrounding planks. Next, install transition strips or moulding to cover the edges and create a seamless transition between the different directions of flooring. For a perfect fit, use a mitre or coping saw to cut the transition strips or moulding at 45-degree angles.
Maintenance And Care Of Laminate Flooring
Proper maintenance and care are essential for ensuring the longevity and appearance of your laminate flooring. One crucial aspect to consider is the direction change during installation. This refers to changing the orientation of the laminate planks for visual appeal or to accommodate specific room dimensions.
Careful planning and measurement are necessary to achieve a seamless and professional-looking installation. Consider using transition strips or T-mouldings to create a smooth transition between different floor areas.
Additionally, it is important to acclimate the laminate flooring before installation to prevent warping or buckling. Regular sweeping or vacuuming and appropriate cleaning products will help maintain the lifespan and appearance of your laminate floor.
Conclusion
To achieve a professional and aesthetically pleasing laminate flooring installation, paying attention to every detail, including the direction change, is essential. By following the proper techniques and guidelines, you can ensure a seamless transition and a visually appealing result.
Remember to plan the direction change carefully, choose the right laminate flooring, and use the necessary tools and materials for installation. Additionally, be mindful of preparing the subfloor properly, installing the first rows accurately, cutting and joining laminate flooring for the direction change, and trimming and finishing the edges meticulously.
Lastly, maintain and care for your laminate flooring to prolong its lifespan. We have provided bulk information for the laminate flooring direction change and hope our information was helpful from your perspective.
