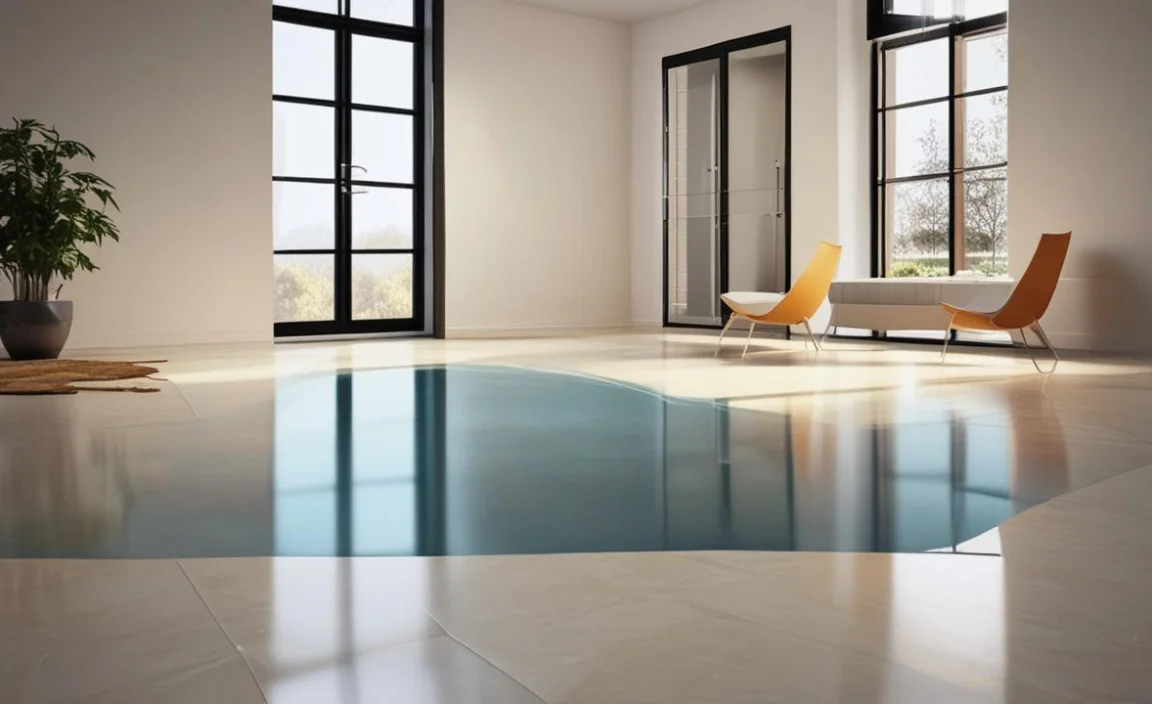
Flooring installation can be a daunting task, especially when floating a floor. Floating floors are popular for homeowners due to their ease of installation and cost-effectiveness.
However, improper installation can lead to many problems, such as warping, buckling, and unevenness. To avoid these issues, it is imperative to master the technique of floating a floor successfully.
Here we will provide a step-by-step guide on how to float a floor like a pro. We’ll review the tools and materials you’ll need, how to prepare the subfloor, and the proper installation techniques to ensure your floating floor stays flat, level, and gorgeous for years. With our expert advice, you can confidently take on this project and turn your space into a beautiful and functional oasis.
Technical Steps On How To Float A Floor Successfully

It is important to follow these technical steps to ensure a successful floating floor installation. Begin by preparing the subfloor, ensuring it is clean and level. Enhance adhesion by applying a primer. Next, mix the self-leveling compound according to the manufacturer’s instructions.
Floating a floor is a popular installation method for laminate, engineered hardwood, and luxury vinyl plank flooring. Here are the technical steps on how to float a floor successfully,
Types Of Floating Floors

Floating floors, known for their easy installation and versatility, come in various types. Laminate floating floors are made of synthetic materials that replicate the look of wood or stone. Vinyl floating floors, constructed with PVC or other synthetics, offer durability and resistance to moisture.
Engineered hardwood floating floors consist of multiple layers of wood with a top layer of authentic hardwood. Before installing any floating floor, it is crucial to prepare the subfloor by ensuring it is clean, level, and dry. This creates a solid foundation for a successful flooring installation.
Pre-Installation Preparation

Before installing your floating floor, it is crucial to prepare the subfloor properly. Begin by ensuring that the subfloor is clean, dry, and level. Remove any existing flooring, and inspect the subfloor for cracks or imperfections. Repair any damaged areas to create a smooth surface. Depending on the subfloor’s condition, you might need a self-levelling compound to even out any unevenness.
Additionally, applying a moisture barrier is essential to prevent moisture from seeping into the floorboards and causing damage. Allow the moisture barrier to dry completely before proceeding with the installation process.
Materials Required For Floating A Floor

When floating a floor, you’ll need a few essential materials. This installation involves having the flooring material float over an underlayment rather than being nailed or glued down to the subfloor. The materials required include the flooring (such as laminate, engineered wood, or luxury vinyl planks), underlayment, spacers, a tape measure, a utility knife, and a tapping block.
Before getting started, thoroughly clean and level the subfloor, ensuring it is free from any imperfections. Roll out the underlayment across the entire floor area, overlapping seams and securing them with tape for sound absorption and moisture protection.
Begin laying the flooring along one wall, using spacers to create expansion gaps around the room’s perimeter. As you progress, gently tap each piece of flooring into place with a tapping block and rubber mallet, ensuring a tight fit between the planks.
Measuring And Marking The Floor
Accurately measuring and marking the floor is essential before installing a floating floor. Using a tape measure, determine the length and width of the room to calculate the square footage. Mark the midpoint of each wall using a chalk line or laser level.
Create a guideline for laying the first row of flooring by snapping a chalk line between opposite midpoints. Repeat this process for all four walls, creating a grid-like pattern on the floor. This grid will serve as a reference point for installing the floating floor planks in a straight and even manner.
Laying The Underlayment
To begin floating a floor, the underlayment must be carefully laid down. This crucial step provides a smooth surface for the flooring material to rest upon. Following the manufacturer’s instructions when installing the underlayment is essential, ensuring it is properly secured and free from any wrinkles or tears.
Choosing the appropriate type of underlayment for your specific flooring material and subfloor conditions is also important. Before laying the underlayment, ensure the subfloor is clean, dry, and level. Address any imperfections or debris present before proceeding with the installation.
Once the underlayment is in place, follow the manufacturer’s instructions to install the floating floor, which may involve clicking or locking the planks together or using adhesive if necessary. Ensure proper spacing around walls and other fixed objects to allow the flooring material to expand naturally.
Installing The Floating Floorboards

To ensure a successful installation of your floating floor, start by preparing the clean, level, and dry subfloor. Protect the floor from moisture damage by laying down a moisture barrier. Begin installing the floorboards in one corner of the room, using spacers along the edges to create expansion gaps.
Connect the floorboards together using the appropriate click-lock or tongue-and-groove system. Make sure to stagger the joints for both stability and aesthetic appeal. Continue the installation row by row, following the manufacturer’s instructions.
Finishing And Sealing The Floor
Once you have successfully installed your floating floor, the next step is to finish and seal the floor. This is an important step to ensure your floor is protected from moisture, stains, and everyday wear and tear. Several options for finishing and sealing a floating floor are available, including polyurethane, oil-based finishes, or wax.
Before applying any finish or sealer, clean the floor to remove any dust or debris thoroughly. Then, follow the manufacturer’s instructions for applying the chosen finish or sealer. It is recommended to apply multiple coats for maximum protection. Allow each coat to dry completely before applying the next one.
Once you have finished applying the finish or sealer, allow it to cure according to the manufacturer’s instructions before placing furniture or walking on the floor. With proper finishing and sealing, your floating floor will look great and be more durable and resistant to damage.
Maintenance And Care Of Floating Floors

Maintaining and caring for a floating floor is essential to ensure its longevity and appearance. Here are some tips on how to properly care for your floating floor:
- Regular cleaning: Sweep or vacuum your floating floor regularly to remove debris and dust. Use a soft-bristle broom or a vacuum cleaner with a brush attachment to avoid scratching the surface.
- Avoid excessive moisture: Floating floors are susceptible to water damage, so cleaning up spills immediately is important and avoiding using excessive water when mopping. Instead, use a damp mop or microfiber cloth with a recommended cleaning solution.
- Protect against scratches: Place felt pads on the bottom of furniture legs to prevent scratches when moving them across the floor. Avoid dragging heavy objects across the floor, which can also cause damage.
- Use protective mats: Place doormats at entryways to trap dirt and moisture from shoes before it reaches the floor. Additionally, use protective mats or rugs in high-traffic areas to minimize wear and tear.
- Avoid harsh chemicals: When cleaning your floating floor, avoid using harsh chemicals or abrasive cleaners that can damage the surface. Stick to manufacturer-recommended cleaning products or mild soap diluted in water.
Following these maintenance and care tips can keep your floating floor looking its best for years.
Conclusion
Floating floors can add a touch of elegance and sophistication to any space. Following the proper technique can successfully float a floor and achieve outstanding results. From choosing the right type of floating floor to preparing the installation area, measuring and marking the floor, laying the underlayment, installing the floating floorboards, and finishing and sealing the floor – every step is crucial for a flawless outcome.
To master this technique and ensure a successful floating floor installation, follow our comprehensive guide. And don’t forget to take care of your newly floated floor by following our maintenance tips. We have provided bulk information on how to float a floor and hope our information was helpful from your perspective.
