Ron always gets it so tough to find his stuff while working. It makes him so irritated, and he gets so angry quickly. Sometimes while working with others, Ron lost his tools.
Such things create a problem for him. Observing his problem, a friend asked Ron, “Don’t you know how to mark your tools? I can make your tasks easier.” Are you facing the same problem as Ron and thinking about how to mark tools? Don’t worry; we are here today to give you the solution. It’s not a tough task to mark tools. You can do it in some simple steps with some common things.
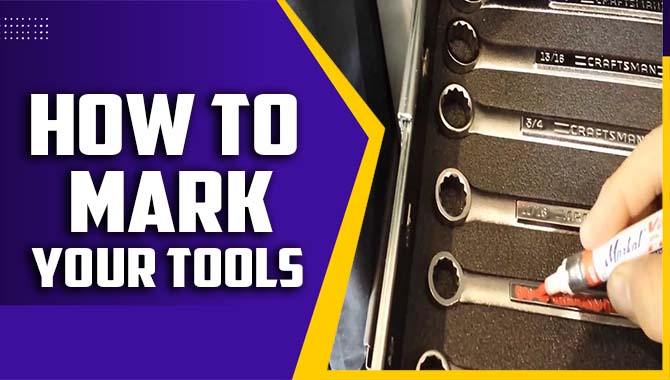
How To Mark Your Tools – Proper Guide
If you used to work with different tools regularly, it is so important to mark them. Thus, you will find an individual one easily. Also, when working in a team, your tools won’t match with others.
You can mark your tools in different ways. We have chosen the six easiest and straightforward ways to describe here. So, let’s see what’s the ways to reduce the hassle with tools.
Method 1: Using Electrical Tape
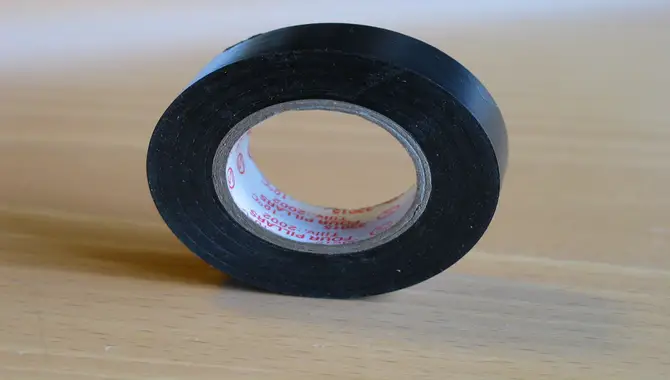
The first meet we will describe is using electrical tape on your tools. Many people prefer electrical tape for marking tools. However, this process is the simplest one but not a permanent one.
- Step 1: Take your favorite color of electrical tape.
- Step 2: Cut the strips into thinner pieces. If you want, you can use a different color of tapes to make your tools looks excellent. Using more than one color of tape will help to last it long.
- Step 3: Select the space of the tool where you wanted to mark. Exclude areas where using the tool will interfere with its use.
- Step 4: Placed the use in the selected area as perfectly as possible.
Method 2: Permanent Marker Pen
This method is a decent way to personalize your tools. Though it can give you a permanent solution, it may not be so unique.
Using a permanent marker to mark tools will make it last more than the first method. Therefore, it would be best to use a pen that does not rub off easily with use.
- Step 1: First, you have to clean the dust from the tools. It would be best if you do this when the tools are brand new.
- Step 2: Choose a marker pen that must be permanent. You must test the pigmentation before using it.
- Step 3: Then, draw on your tools with the marker pen as you like. In this case, you must choose some unique words or any symbol. We will suggest writing your full name.
- Step 4: Ensure you write on a recessed area. Once you are done, let it dry for a while.
Method 3: Using Spray Paint
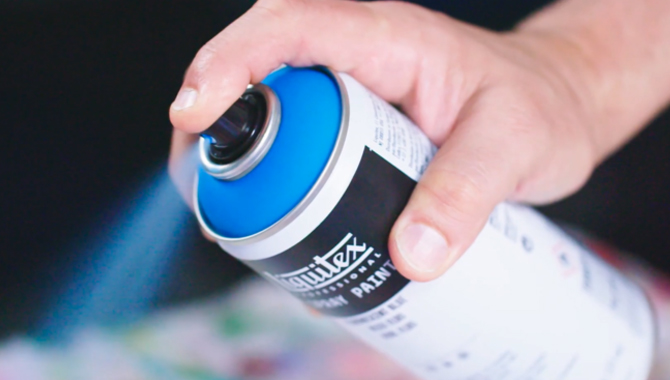
Using spray paint in your tools is fun. It is an identifiable idea to mark the tool as yours. Paint sprays are more permanent than markers. You can go for it as a better option. Here is the way you can use it.
- Step 1: Before applying the spray paint, examine your tools well.
- Step 2: Take the tool apart if possible. Make sure it would be done without too much trouble.
- Step 3: For more even coverage, apply paint from a different direction.
- Step 4: It would be more flawless if you paint them inside a cardboard box.
- Step 5: To make the task better, you can wipe the tip with a paper towel.
Method 4: Using Nail Polish
It will hear so childish tough it works excellent to mark something. However, it is a very temporary solution for protecting your tools. When you are in a hurry and don’t find anything else, you can go for it.
- Step 1: Take the best quality nail polish, which lasts long.
- Step 2: Try to take an obvious color like white, yellow, or orange.
- Step 3: Select the most highlighted area of your tools; thus, you can recognize your tool easily.
- Step 4: First, clean the area properly where you wanted to mark. Ensure the tools is super clean if you want a flawless finishing.
- Step 5: Draw anything unique you like with nail polish.
Method 5: Use Stamps
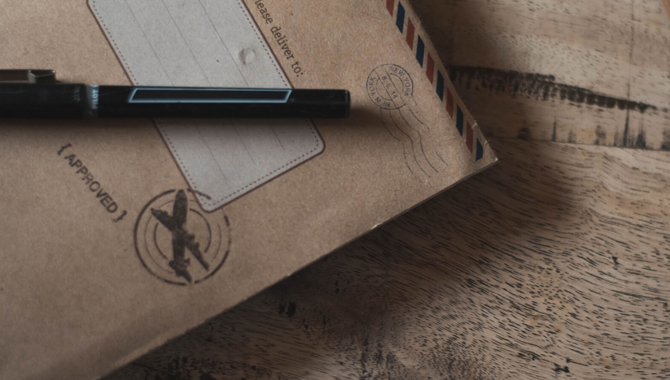
Using a stamp can be a long-lasting solution. The use of metal stamps to brandish tools with the Company name is widespread. You can also follow this method to personalize your tools. This will be a permanent solution for you.
- Step 1: First, you should clean the tool.
- Step 2: Select the place you want to apply for stamps. As stamps create a permanent mark in the tool, be wise when applying.
- Step 3: Try to keep your mark small and as simple as possible. The size should be under 17 mm.
- Step 4: for getting the best mark, press as much as possible
- Step 5: release the stamps carefully when you are done.
Method 6: Using Engraving
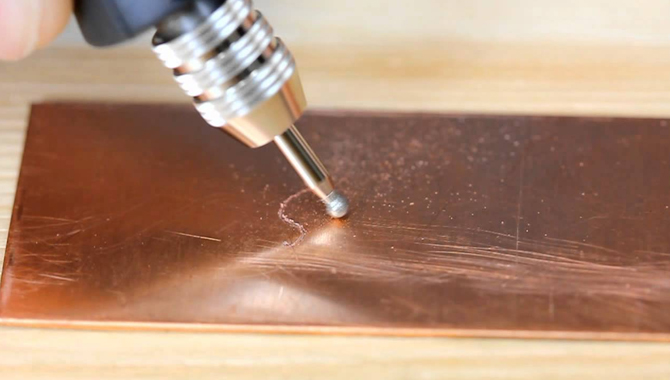
Engraving is the most popular and permanent solution for tool marking. The process is also easy and straightforward. You just have to engrave a couple of unique numbers.
- Step 1
- For engraving your tools, you should apply pressure. When it is a metal tool, use your elbow and press for a better mark.
- Step 2
- You can mark your tools with your name. In that case, print your name out on an appropriate scale. Then use that printout as your guide when doing the engraving.
- Step 3
- If it’s your first time applying to engrave, you should practice once before applying on tools.
- Step 4
- Make the tools clean with soap and water. Never overheat the engraving for done the task fast.
- Step 5
- Outline the area you want to mark for an even ending. Try to do the task in the daylight.
What Do You Use To Mark Your Tools?
Yes – absolutely! When it comes to painting hand tools, it is important to use the correct paint and techniques in order to achieve a high-quality finish. Follow these tips to get started:
- Start by prepping your tools – Before you start painting, make sure all of your tools are clean and ready to go. This includes your brushes, rollers, and other painting equipment.
- Choose the right paint – When it comes to choosing the right paint for painting hand tools, there are a few factors that you need to take into account. These include the type of wood that your tool is made from, the finish that you want to achieve, and the weather conditions in which you will be painting.
- Apply the paint correctly – When painting hand tools, it is important to use a light touch and apply the paint evenly across the surface. You should also avoid excessive drying time or excessive brushstrokes – this will result in a poor finish.
- Finish off with a sealant – Once you have finished painting your tools, it is important to seal them with a protective sealant to prevent water and other elements from damaging them over time. There are many different types of sealants available on the market, so choose one that is specifically designed for hand tools.
Hopefully, these tips will help you get started on painting hand tools with confidence and achieve a high-quality finish!
Easy Identification
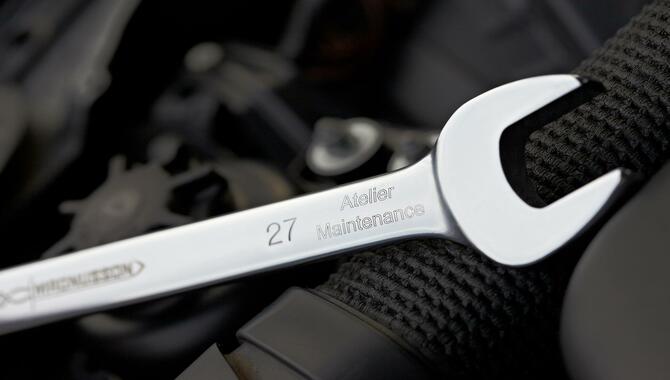
There are many different types of tools, and it can be tough to know which one is right for you. That’s where marking your tools comes in – it’s a simple and easy way to identify which tools are appropriate for your project. Here are some tips on how to mark your tools:
- Use a sharpie or other permanent marker – This is the most basic method of marking your tools, and it works well for most projects.
- Use a tag or label system – This is great for projects that have multiple tools or pieces that need to be identified quickly. You can use a tag system like Dymo or Avery labels to make labeling quick and easy.
- Use a tool belt or bag – This is a great way to keep all your tools organized and within reach. You can also use a tool belt to store other small items, like screws or nails.
- Mark your tools with something that won’t fade or wear off – If you’re going to be working with your tools often, you might want to consider marking them with something more durable, like paint or stickers.
Theft Prevention And Recovery
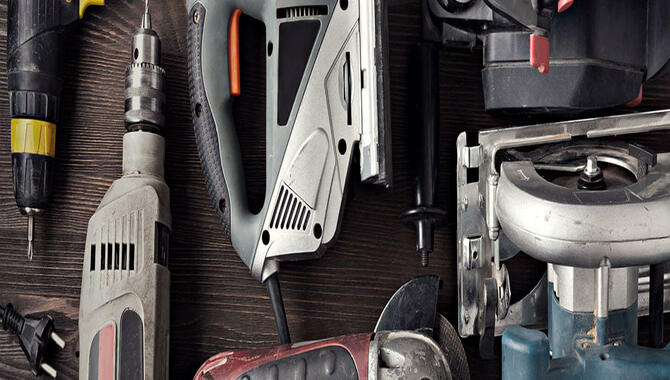
Tools are an important part of any tradesperson’s arsenal. Without them, the work they do would be much more difficult and time-consuming. However, as with anything else, theft of tools can be a major problem. Here are some tips to help you protect your tools and recover them if they’re stolen:
- Lock your tools – This is probably the most obvious tip, but it’s still one of the most effective. Make sure your tools are always locked up when you’re not using them, and keep a key with you in case of emergencies.
- Use a tracking system – If you’re using a tracking system like GPS or RFID tags, make sure to activate it whenever you take your tools out of the workshop. This way, if they’re stolen, you’ll be able to quickly track their whereabouts. Register your tools – If you own expensive or valuable tools, it’s important to register them with your local police department or the government agency responsible for property theft. This will help increase the chances of recovering them if they’re lost or stolen.
- Keep an eye on your security cameras – If possible, set up security cameras in and around your workshop so that you can monitor what’s going on at all times. This way, you can be sure that nothing is getting stolen while you’re not around to catch it!
Hopefully these tips will help you protect your tools and recover them if they’re stolen. As always, if you have any additional questions, don’t hesitate to contact us!
Final Words
Here, we are going to end up our article. We hope you are clear about how to mark your tools. In this context, you get to know six simple methods. Any of the methods are not time-consuming. You just need to choose the method you wanna follow then collect the material. It will take no time to personalize your tools.
We will recommend you apply engraving as a permanent way of marking tools. For a regular worker, tools are important things. Besides, you may not get much time to search tools while working. Marking tools will make your task easy. Most importantly, it will reduce the risk of losing tools or being stolen.
Frequently Asked Questions
[rank_math_rich_snippet id=”s-b29d1a7e-2b17-4dca-9c7d-39f31e7e0029″]

I am passionate about home engineering. I specialize in designing, installing, and maintaining heating, ventilation, and air conditioning systems. My goal is to help people stay comfortable in their homes all year long.


