Garage floor seals are an important component of maintaining the longevity and functionality of your garage. By sealing your garage floor, you can protect it from damage caused by moisture, chemicals, and oil stains.
A sealed garage floor is also easier to clean and maintain, making it a more attractive and functional space overall. Whether you use your garage for storage, as a workshop, or simply to park your car, investing in a garage floor seal can help ensure that it remains in great condition for years. We will walk you through the step-by-step process of installing a garage seals floor.
We’ve covered you, from preparing the surface and choosing the right flooring material to measuring, cleaning, and sealing the floor. We will also provide valuable tips on maintenance and care to ensure your garage floor stays in top-notch condition for years. Let’s get started.
7 Steps To Install Garage Seals Floor
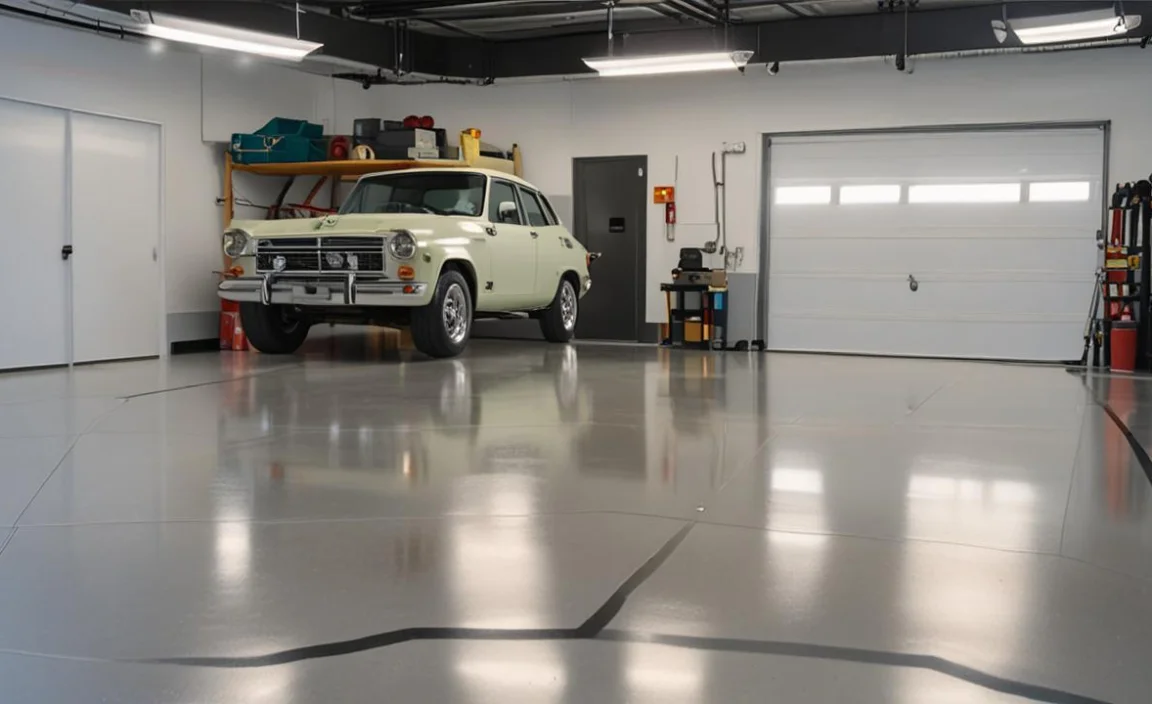
Having a sealed floor can make a world of difference. A garage seals floor not only looks cleaner and more polished, but it also provides a number of practical benefits. First and foremost, sealing your garage floor helps to protect it from stains, spills, and damage caused by chemicals or oils. This is especially important if you use your garage as a workshop or for storage.
Installing a garage sales floor can be a great way to protect your garage and give it a clean look. Here are 7 steps to help you install a garage sales floor. By following these steps, you can install a garage floor seal that will help keep your space clean, protected, and looking great for years to come.
Step 1 – Preparing The Surface
To start preparing the garage floor, clear any items and debris from the space. Use a broom or vacuum to remove loose dirt and dust. Repair any cracks or uneven areas in the concrete with a patching compound. Clean the floor thoroughly with a degreaser to eliminate oil and grease stains. Next, etch the concrete surface using an acid solution for better epoxy coating adhesion. Rinse the floor and ensure it is completely dry before moving forward.
Step 2 – Choosing The Right Flooring Material
You have several options when choosing the right flooring material for your garage. Among these are epoxy, rubber, vinyl, and interlocking tiles. Epoxy is popular for its durability and resistance to stains, chemicals, and heavy traffic. Rubber flooring offers cushioning and is resistant to impact and moisture.
Vinyl flooring is easy to install and maintain, with a variety of styles and colors to choose from. Interlocking tiles provide a DIY-friendly option that doesn’t require adhesive or professional help. It’s important to consider budget, desired aesthetics, durability, ease of installation, and maintenance when selecting the best flooring material for your garage.
Step 3 – Measuring The Garage Floor

Accurately measure the dimensions of the garage floor before installing the garage sales floor. Use a tape measure to measure the length and width. Take note of any irregularities or obstacles, like columns or stairs, and mark their dimensions on the floor. Add 10% to account for mistakes. For tiles or interlocking floor mats, measure each section separately.
Step 4 – Cleaning The Garage Floor

To prepare for installing the garage sales floor, thoroughly clean the existing garage floor. Start by removing loose dirt or dust with a broom or vacuum cleaner. Use a degreaser or concrete cleaner to remove oil stains or spills. Scrub the floor with a brush or power washer. Rinse with water and allow it to dry completely before proceeding.
Step 5 – Applying The Primer
Before applying the primer, ensure a clean concrete surface, free of dust or debris. Apply a thin coat of primer using a brush or roller. Let it dry completely as per the manufacturer’s instructions. The primer creates a strong bond between the concrete and the garage floor coating, ensuring proper adhesion. Remember to work in a well-ventilated area and follow safety precautions. Once dry, proceed with applying the garage floor coating.
Step 6 – Installing The Flooring Material

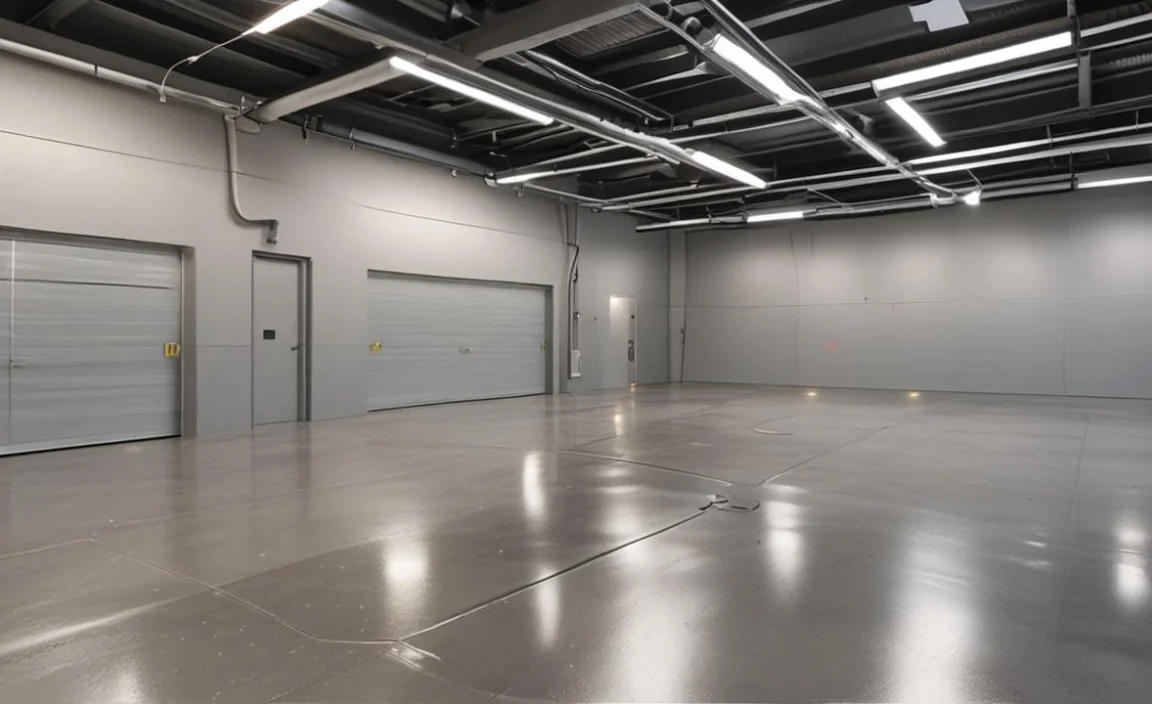
Installing the flooring material is a crucial step in sealing your garage floor. Several options include epoxy coatings, concrete sealers, and interlocking tiles. Epoxy coatings are a popular choice as they provide a durable and long-lasting finish that can withstand heavy traffic and resist stains.
Concrete sealers are another option, offering protection against moisture and oil stains. Interlocking tiles provide a quick and easy solution for easy installation and customization. Whichever flooring material you choose, properly prepare the surface by cleaning it thoroughly and repairing any cracks or damage before application. This will ensure a smooth, seamless finish protecting your garage floor for years.
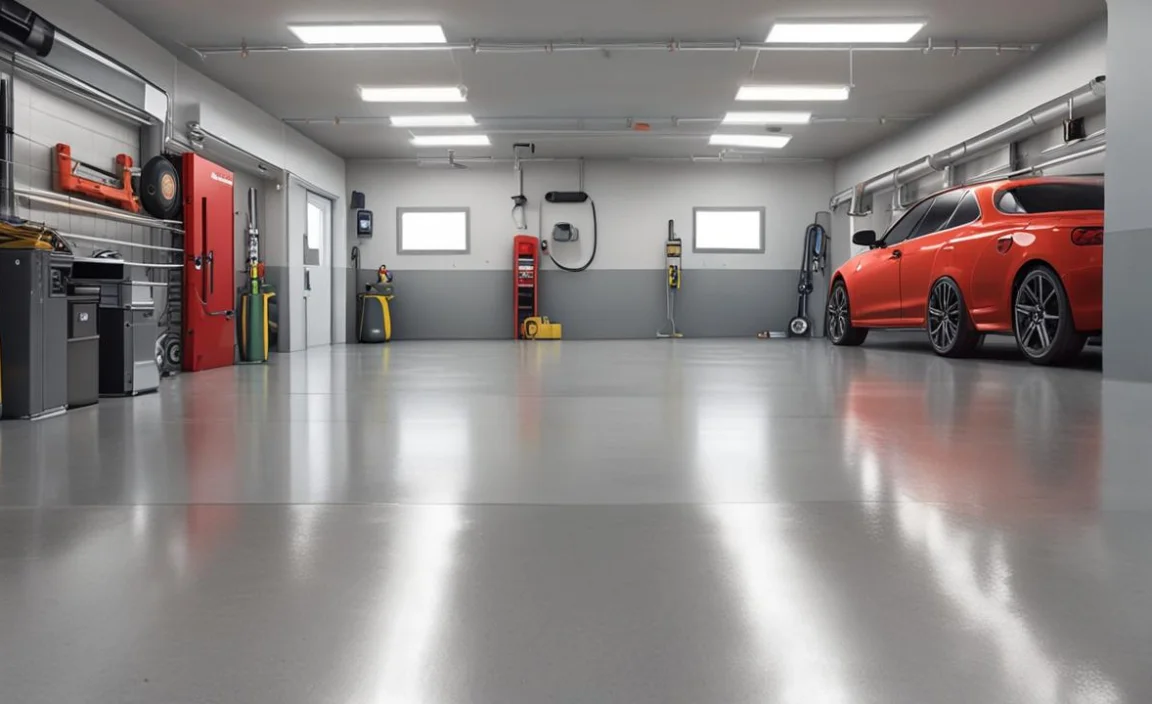
Step 7 – Sealing The Garage Floor

Sealing the garage floor is important in protecting it from stains, spills, and damage. Garage floors are often subjected to heavy use and can be exposed to chemicals, oil, and other substances that can cause permanent stains. Applying a sealant to the garage floor can create a protective barrier that prevents these substances from penetrating the concrete and causing damage.
Sealing the garage floor can also make cleaning easier, as spills and stains will be less likely to absorb into the surface. Various types of sealants are available, including epoxy coatings and concrete sealers, so you can choose the option that best suits your needs and budget.
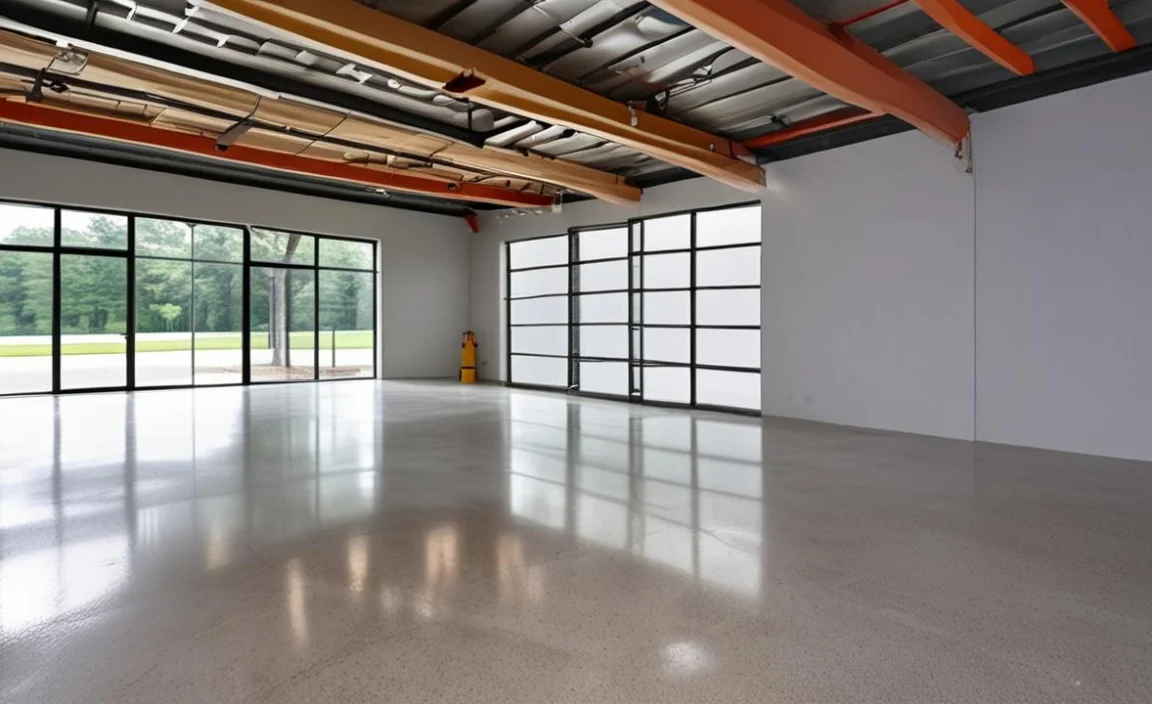
Maintenance And Care Of Garage Flooring

Proper maintenance and care of your garage flooring can help extend its lifespan and keep it looking its best. One important aspect of garage floor maintenance is ensuring the seals are intact. Garage floor seals help to protect the concrete from moisture, stains, and other damage. Over time, these seals may wear down or become damaged, so it’s important to inspect them regularly and make any necessary repairs.
This can involve reapplying sealant or patching up any cracks or chips in the surface. Additionally, it’s important to clean your garage floor regularly to prevent dirt, oil, and other substances from building up and causing damage. By taking these steps, you can ensure that your garage flooring stays in top condition for years.
Common Mistakes To Avoid During Garage Floor Installation

To install garage floor seals, there are some common mistakes that you should avoid. First, ensure you properly prepare the surface before applying the sealant. This includes thoroughly cleaning and drying the floor to ensure proper adhesion. Additionally, be mindful of the temperature and humidity during installation, as extreme temperatures or moisture can affect the sealant’s performance.
Another mistake to avoid is applying too much or too little sealant. Follow the manufacturer’s instructions for proper application, and consider using a roller or brush for even coverage. Finally, allow ample time for the sealant to dry and cure before subjecting it to heavy use or traffic. By avoiding these common mistakes, you can ensure a successful garage floor seal installation that will protect your floor for years.
Conclusion
Installing a garage sales floor requires careful preparation, measurement, and selecting the right flooring material. It is also important to follow the necessary steps, such as cleaning the surface, applying primer, and sealing the floor for long-lasting results. Proper maintenance and care are also essential to keep your garage floor looking its best.
You can ensure a smooth and successful process by avoiding common mistakes during installation. Additionally, a garage seals floor creates a more attractive and clean appearance, making it easier to keep the space tidy. It also helps to prevent dust and debris from entering the home through cracks in the garage floor. Overall, investing in a quality garage floor sealant is a wise decision that can improve your garage’s functionality and aesthetics.
