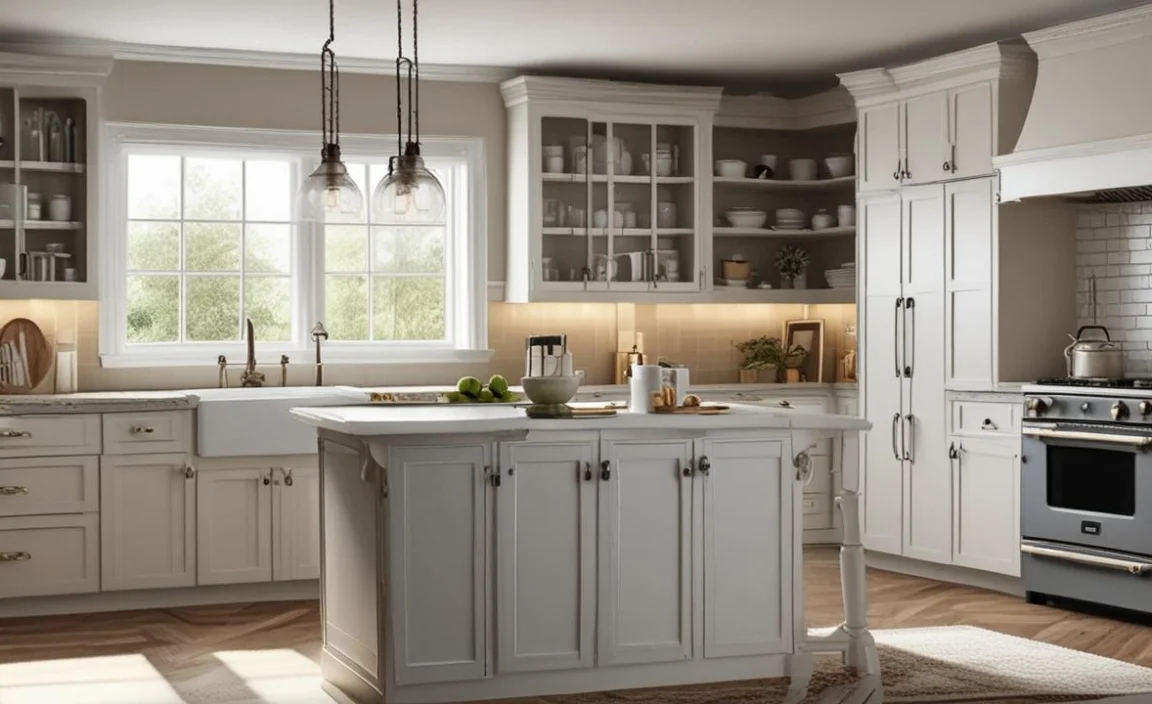
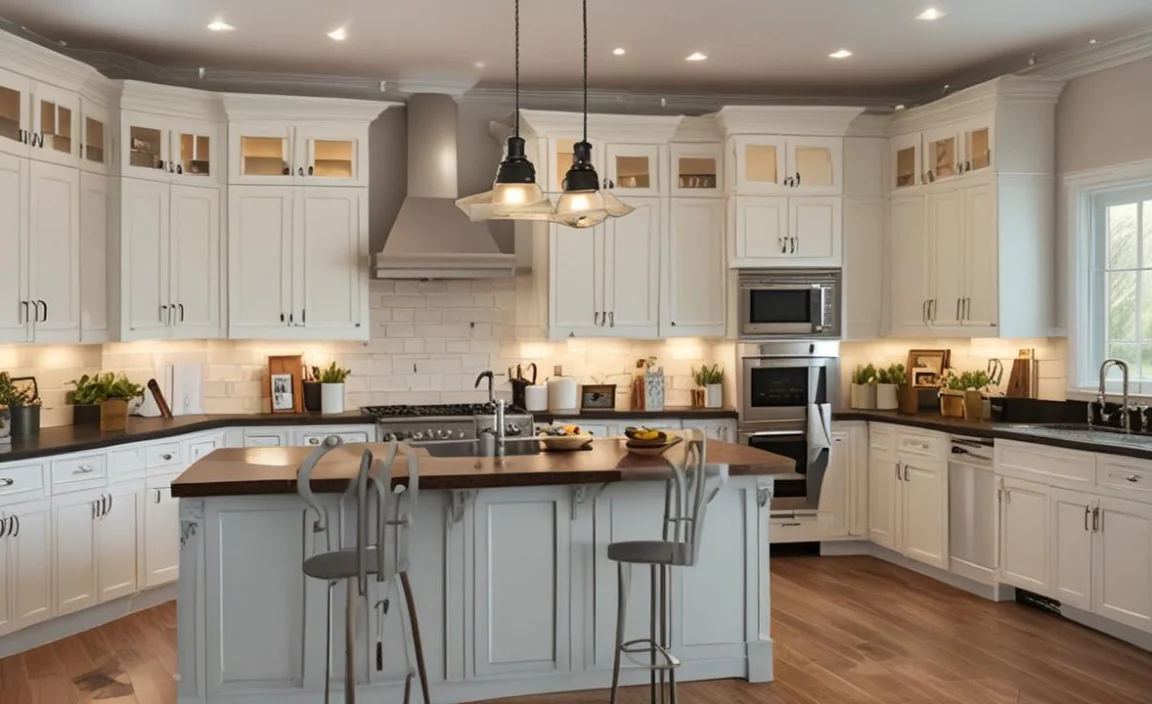
As the kitchen is often considered the heart of the home, it’s important to create a space that is not only functional but also aesthetically pleasing. One way to achieve this is by painting your kitchen cabinets.
This can give your kitchen a fresh, updated look and save you money compared to the cost of a complete kitchen remodel. However, painting kitchen cabinets is not simple and requires careful planning and execution to ensure a professional-looking finish.
We will guide you through the steps on how to paint kitchen cabinets, from preparation to finishing touches. We will cover best practices for sanding and priming, the importance of selecting the right paint and tools, and tips for achieving a smooth, even finish.
Additionally, we’ll discuss common mistakes to avoid and offer troubleshooting advice for any unexpected issues that may arise. Following these guidelines, you can transform your kitchen cabinets into a stunning focal point of your home.

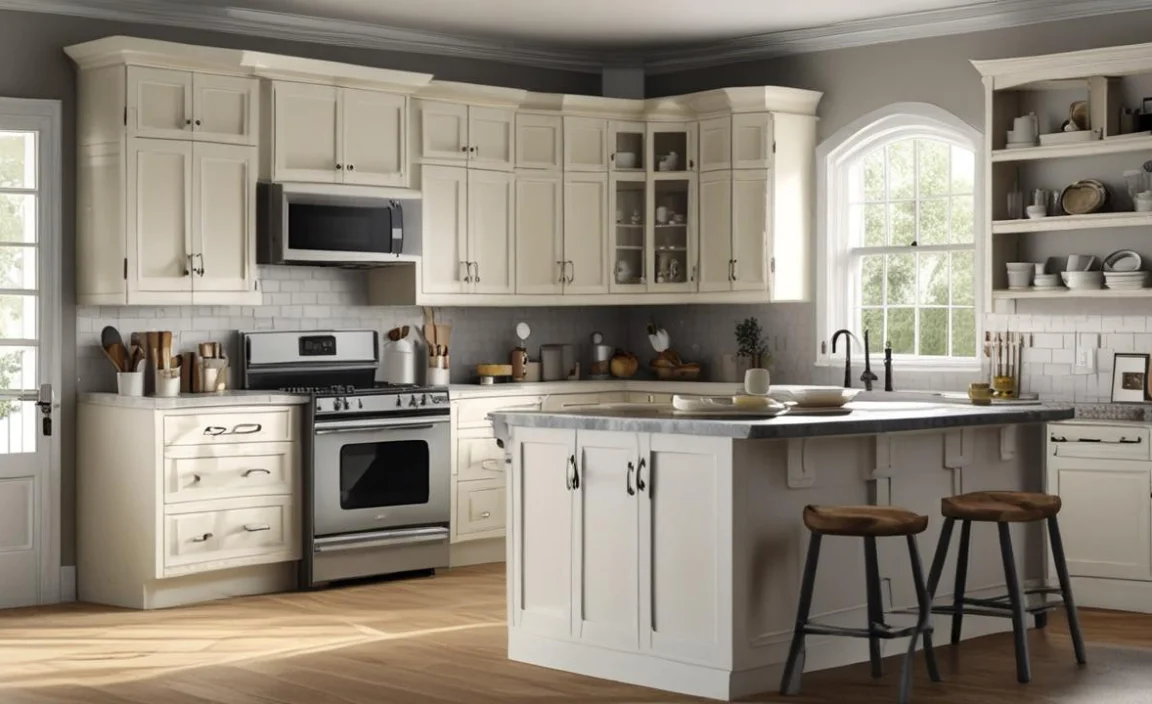
What Is A Kitchen Cabinet?
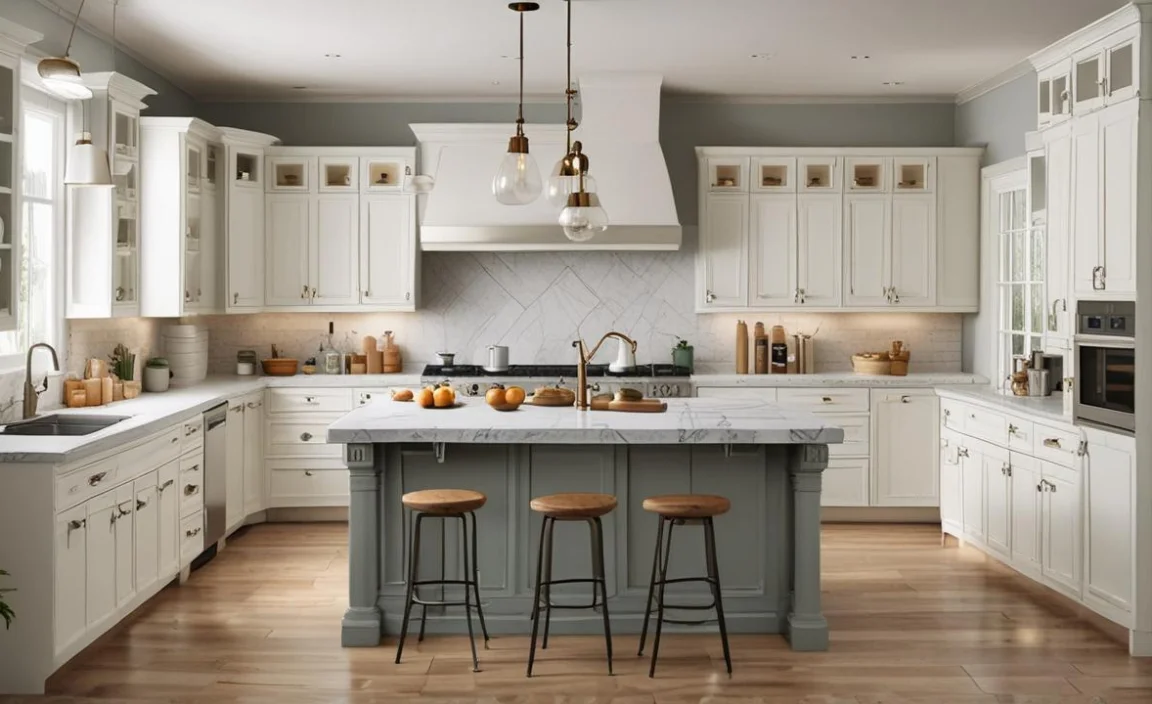
A kitchen cabinet is a piece of furniture used to store food, dishes, and other kitchen items. It typically consists of shelves, drawers, and doors that can be opened or closed to access the contents. Kitchen cabinets come in various sizes and styles to fit different kitchen layouts and design preferences.
They can be made from various materials, including wood, metal, and plastic. A well-designed kitchen cabinet can provide functional storage space and add aesthetic value to the kitchen’s overall look.
Essential Tools And Supplies
Achieving a smooth finish when painting kitchen cabinets requires proper preparation and using the right tools and supplies. Start by preparing your cabinets for painting by sanding them down with grit sandpaper or a sander to remove old paint or varnish, followed by wiping them down with TSP and a tack cloth to remove any grease and dirt.
Fill any scratches or imperfections in your cabinetry frames with wood filler before priming them with high-quality primer for better adhesion of new paint. The next step would be painting using high-quality brushes and rollers for even coverage. Use of foam rollers aid in avoiding brush strokes while giving an impeccable finish.
How To Paint Kitchen Cabinets – 7 Easy Steps
Painting kitchen cabinets can be a great way to give your kitchen a fresh, updated look. Before you start, you must gather some supplies, including sandpaper, primer, paint, and brushes or rollers. Here are 8 easy steps on how to paint kitchen cabinets:
- Remove cabinet doors and hardware: Before painting, remove the cabinet doors and hardware to easily access all cabinet areas.
- Clean the surfaces: Clean all surfaces thoroughly with soap and water to remove dirt or grime.
- Sand the surfaces: Sand all surfaces lightly with fine-grit sandpaper to create a smooth surface for the paint to adhere to.
- Apply primer: Apply a coat of primer to all surfaces using a brush or roller. This will help the paint adhere better and provide better coverage.
- Paint the cabinets: Once the primer has dried, apply two coats of paint in your desired color, allowing each coat to dry completely before applying the next.
- Reattach hardware: Once the paint is dry, reattach all hardware to the cabinet doors.
- Rehang cabinet doors: Carefully rehang each door, ensuring the edit is aligned and levelled.
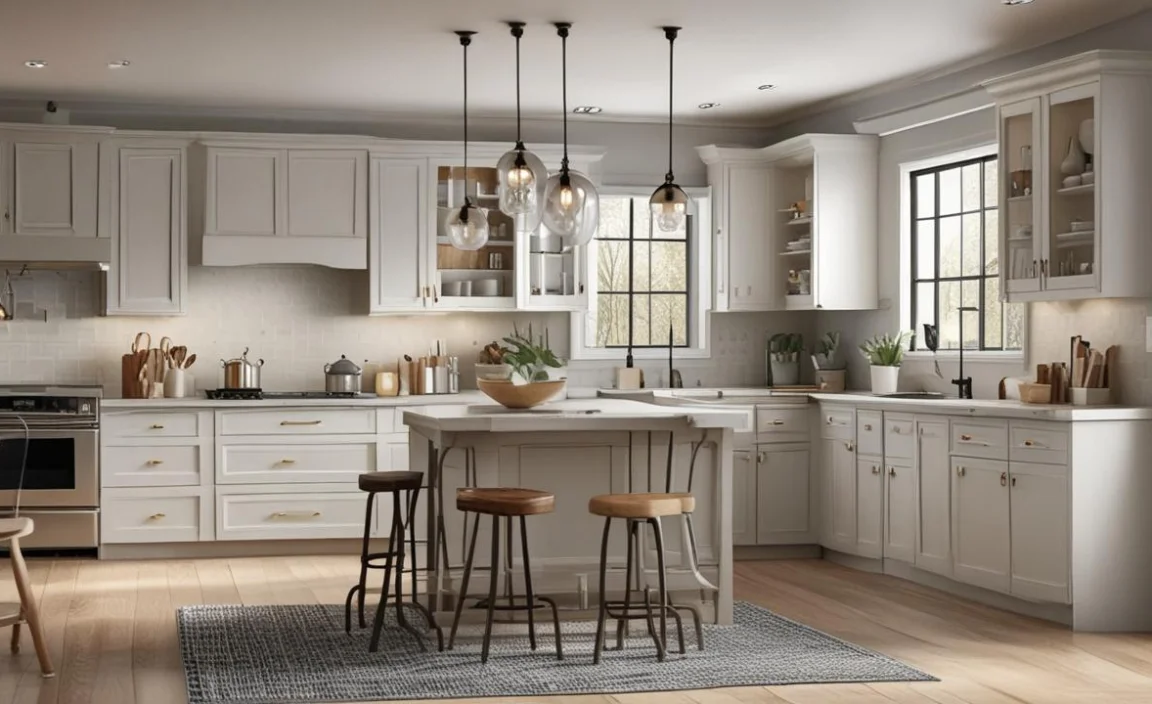
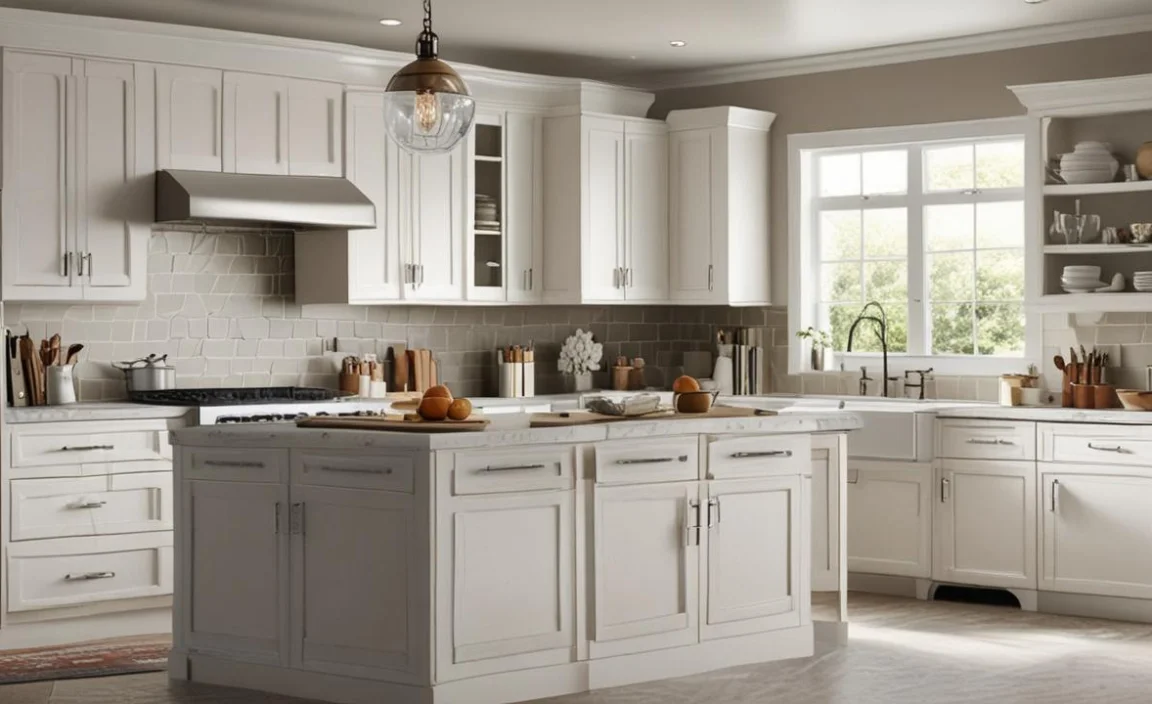
Selecting The Right Paint For Kitchen Cabinets
To get the best results when painting your kitchen cabinets, selecting the correct type of paint is essential. You’ll want to choose a paint designed explicitly for cabinetry with a durable finish. Consider colour and finish options when selecting your paint to ensure it matches your kitchen’s style.
It’s also essential to decide between oil-based or water-based paint, considering their advantages and disadvantages. When searching for the perfect paint, look for one that is easy to clean and maintain in high-traffic areas like the kitchen. Keep these tips in mind for a successful cabinet painting project.
Safety Tips When Painting Kitchen Cabinets
Painting kitchen cabinets can be a great way to update the look of your kitchen without breaking the bank. However, taking safety precautions when tackling this DIY project is essential. Here are some safety tips to keep in mind when painting kitchen cabinets:
- Wear protective gear. Painting can create fumes and particles that can be harmful if inhaled or come in contact with skin. Wear gloves, a mask, and goggles to protect yourself.
- Use a well-ventilated area. Make sure the space where you are painting is well-ventilated to prevent the buildup of fumes.
- Keep paint away from heat sources. Paint is flammable, so keeping it away from heat sources like stoves or ovens is essential.
- Follow instructions carefully. Read and follow all instructions on the paint can carefully, including drying times and cleanup instructions.
By following these safety tips, you can ensure that your kitchen cabinet painting project is successful and safe for you and your family.
Troubleshooting Tips For Painting Cabinets
Painting cabinets can be tricky, but with the right tips and tricks, it can be a rewarding DIY project. Here are some common issues you may encounter when painting cabinets and how to troubleshoot them:
- Streaky or uneven finish: Make sure to sand the cabinets properly before painting and apply a primer coat to ensure an even finish. Apply thin coats of paint, allowing each layer to dry completely before applying the next.
- Paint peeling off: This could be due to improper surface preparation or using low-quality paint. Clean and sand the cabinets thoroughly before painting, and use high-quality paint formulated explicitly for cabinets.
- Paint bleeding through tape: Paint can bleed through tape if it is not applied properly or if the tape is not removed soon enough. Apply the tape carefully and remove it as soon as possible after painting.
- Brush marks or bubbles: Use a high-quality brush or roller and apply thin coats of paint. Avoid overworking the paint, which can lead to brush marks or bubbles. If you notice bubbles forming, lightly sand them down and apply another coat of paint.
Following these troubleshooting tips can achieve a professional-looking finish on your painted cabinets.
Things To Avoid While Painting Kitchen Cabinets
When painting kitchen cabinets, there are certain things that you should avoid to ensure a successful and long-lasting finish. Firstly, avoid rushing the process. Painting kitchen cabinets can be time-consuming, but taking shortcuts or rushing through the process can lead to a sloppy and uneven finish.
Secondly, don’t skip cleaning and sanding the cabinets beforehand. Proper preparation is essential for the paint to adhere correctly and prevent chipping or peeling. Thirdly, avoid using low-quality paint or tools. Investing in high-quality materials will ensure a smoother application and a more durable finish.
Lastly, avoid painting over hardware or hinges without proper preparation or removal. This can lead to difficulty opening and closing doors or drawers and may damage the hardware. By avoiding these common mistakes, you can achieve a professional-looking finish on your kitchen cabinets that will last years.
How To Remove Old Paint From Kitchen Cabinets
Removing old paint from kitchen cabinets can be time-consuming and messy, but updating your kitchen with a fresh coat of paint or a new finish is necessary. Here are some steps to help you remove old paint from kitchen cabinets:
- Prepare the work area: Cover the floor with drop cloths or newspaper to protect it from dust or debris. Open windows or turn on a fan for ventilation.
- Remove hardware: Remove all cabinet hardware, such as knobs, handles, and hinges, before starting work on the cabinets.
- Strip the paint: Apply a paint stripper to the cabinet surfaces and let it sit according to manufacturer instructions. Use a scraper to remove the loosened paint and repeat these several times
- Sand the surface: Use sandpaper to smooth out rough spots after stripping the old paint.
- Clean up: Wipe down the cabinets with a damp cloth and allow them to dry completely before applying any new finish or painting.
By following these steps, you can successfully remove old paint from kitchen cabinets and create a clean slate for your next finishing project.
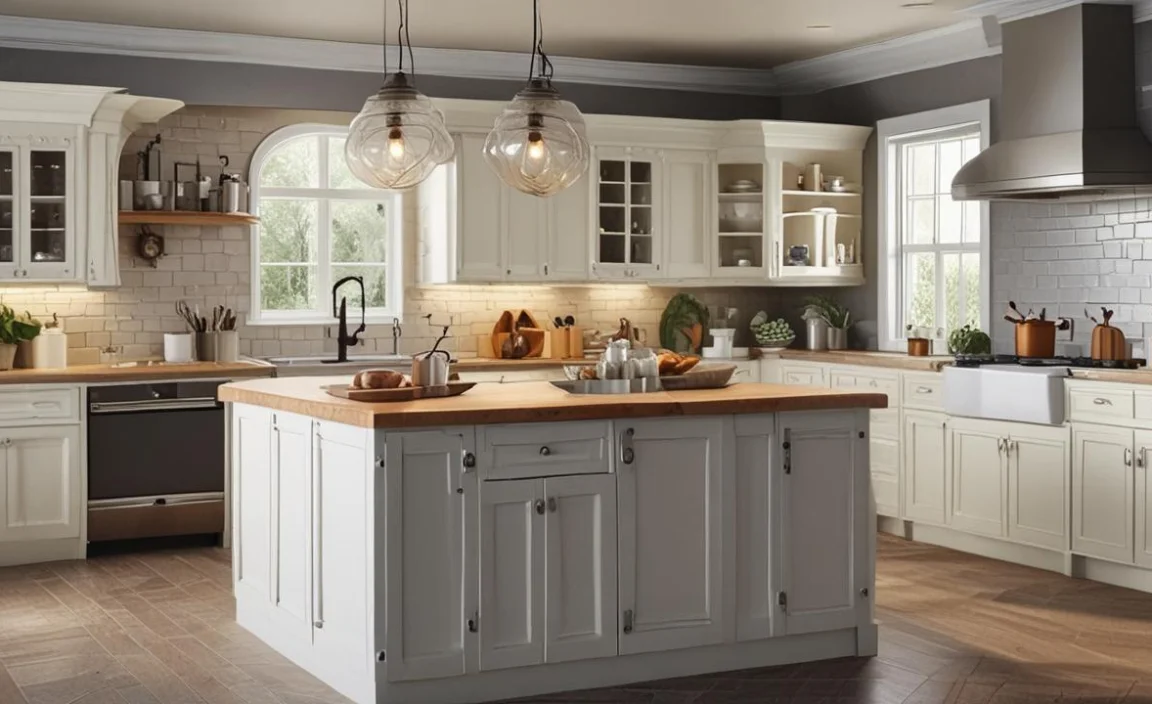
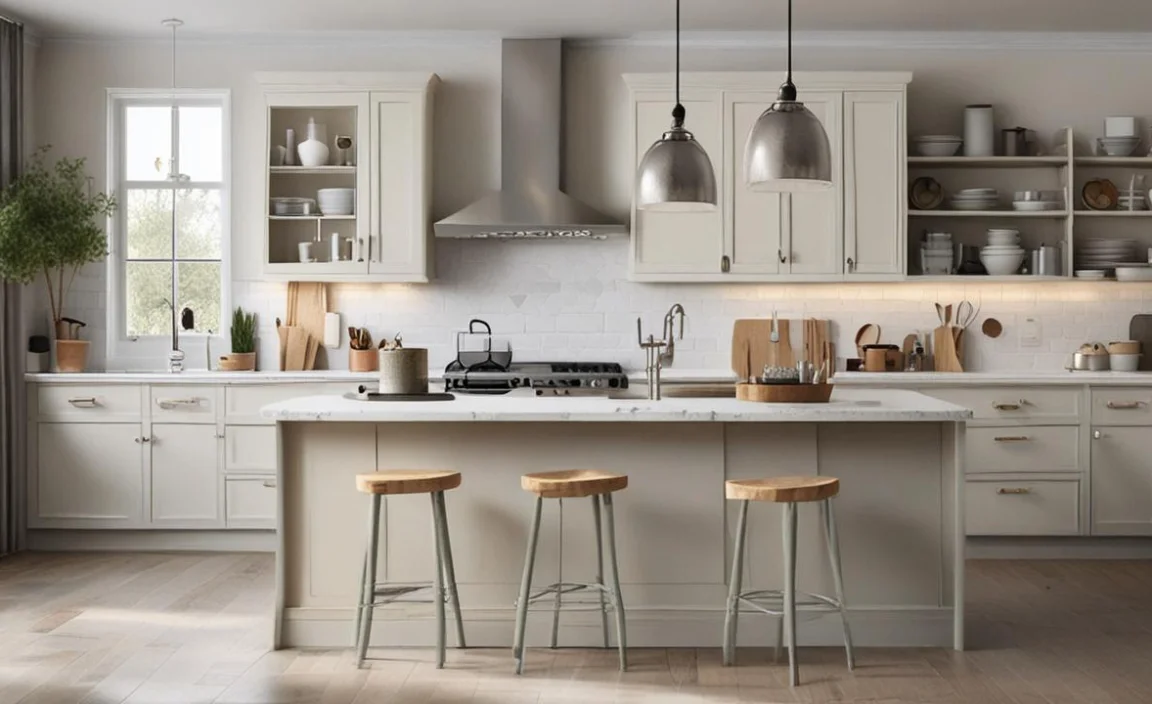
Conclusion
Knowing how to paint kitchen cabinets can give your entire kitchen a fresh and updated look. To ensure you achieve the best results, having the right tools and supplies is essential; selecting the right paint and following safety guidelines is essential. Preparation is vital when it comes to painting kitchen cabinets.
Be sure to remove all hardware, sand and clean the surface thoroughly, and use painter’s tape to protect areas you don’t want to be painted. If you encounter any issues while painting, such as drips or brush marks, refer to our troubleshooting tips for solutions. Remember to plan, take your time, and invest in high-quality materials to ensure a successful cabinet painting project.
