Bathroom exhaust fans are essential for maintaining good air quality and preventing moisture buildup in your bathroom. In addition, they can help prevent mould and mildew from developing, which can cause health problems and damage to your home.
However, installing a bathroom exhaust fan can seem daunting, especially if you have no experience with electrical wiring or home improvement projects. We will provide a step guide to installing a bathroom exhaust fan in your home. However, we will cover the necessary tools required to know how to install a bathroom exhaust fan.
We will also discuss the different types of bathroom exhaust fans available, such as ceiling-mounted and wall-mounted options. Our guide will walk you through the installation process, including cutting a hole in the ceiling or wall, connecting the electrical wiring, and mounting the fan. We will also provide tips for troubleshooting common problems during installation.

What Is An Exhaust Fan?
An exhaust fan is a ventilation system that removes stale air and odours from a room or building. It works by drawing in fresh air from outside and pushing out the old stand, creating a flow of air that helps to improve indoor air quality. Exhaust fans are commonly found in bathrooms and kitchens, where they are used to remove moisture, smoke, and cooking fumes.
They can also be used in other areas of the home or workplace where there is poor ventilation or a need for improved air quality. Some exhaust fans may be mounted on walls or ceilings, while others may be integrated into larger HVAC systems. Regardless of the type, an exhaust fan is an important component of any ventilation system and can help to promote a healthier living or working environment.
Types Of Bathroom Exhaust Fans
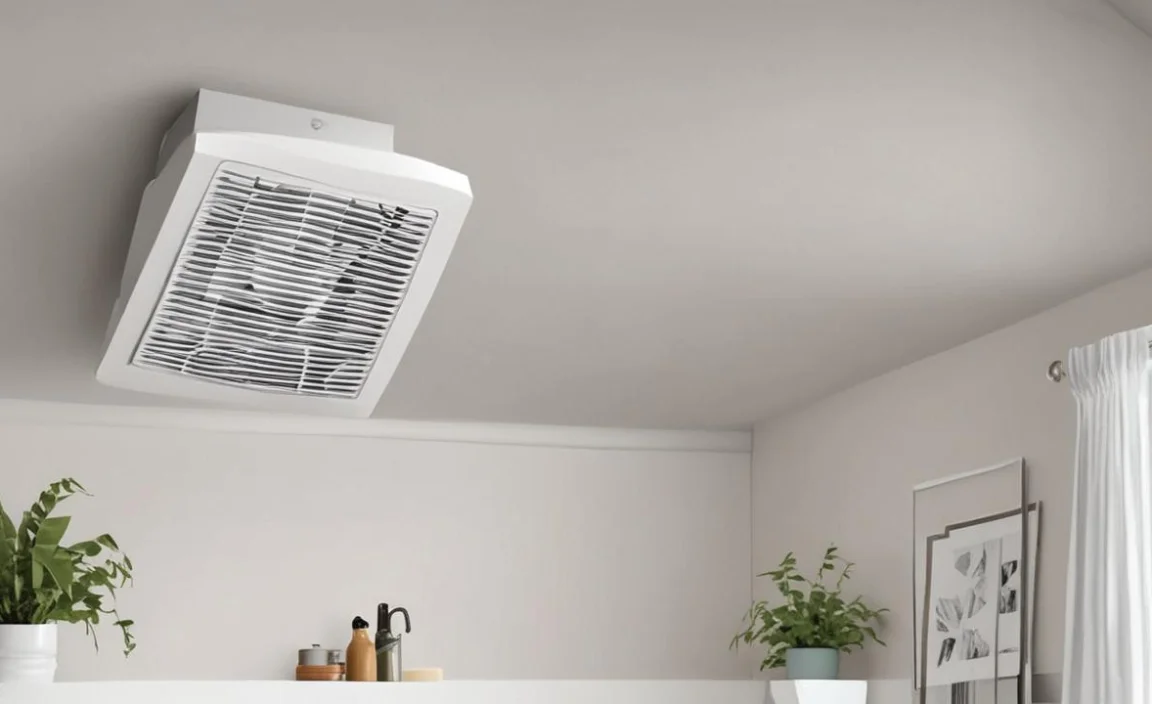
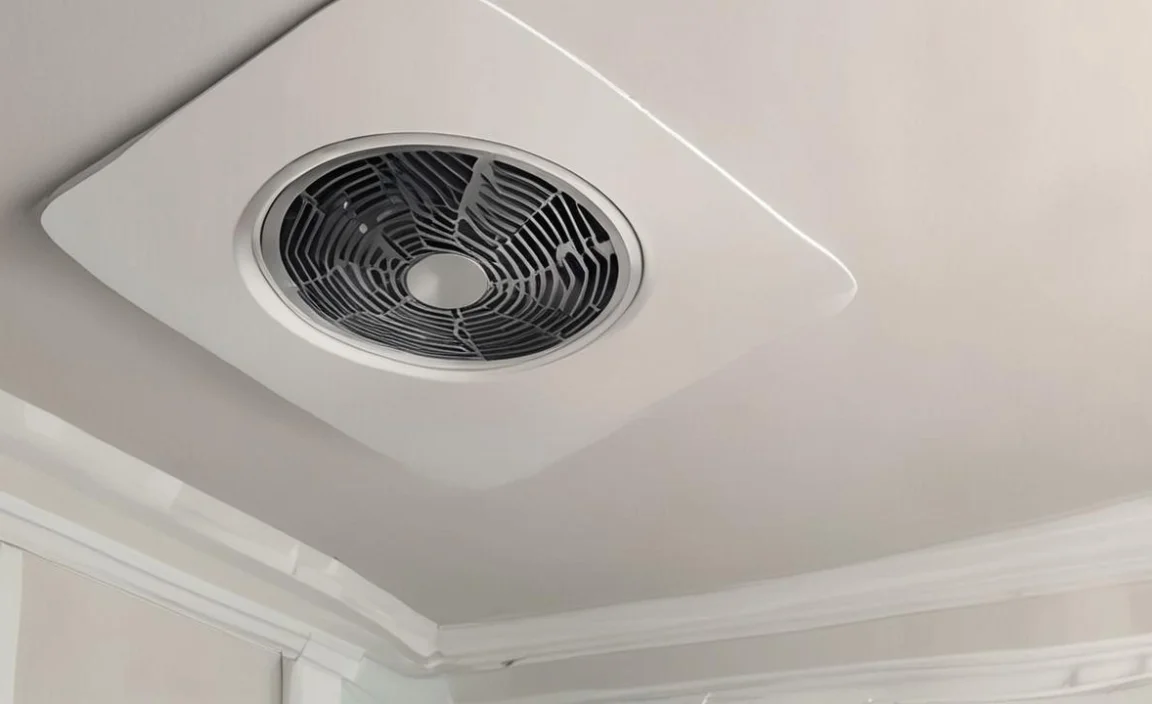
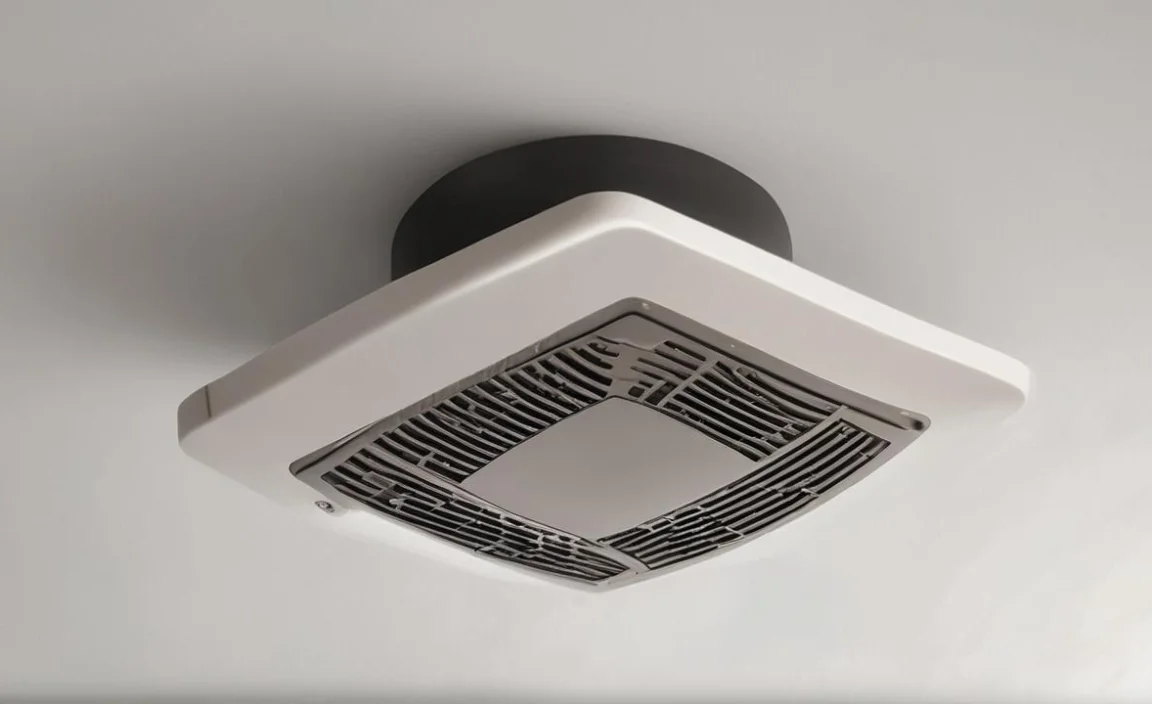
Several types of bathroom exhaust fans are available on the market, each with unique features and benefits. The most common type is the ceiling-mounted fan installed directly above the shower or bathtub. These fans work by drawing moisture and odours up through the ductwork and out of the house, helping to prevent mould and mildew growth.
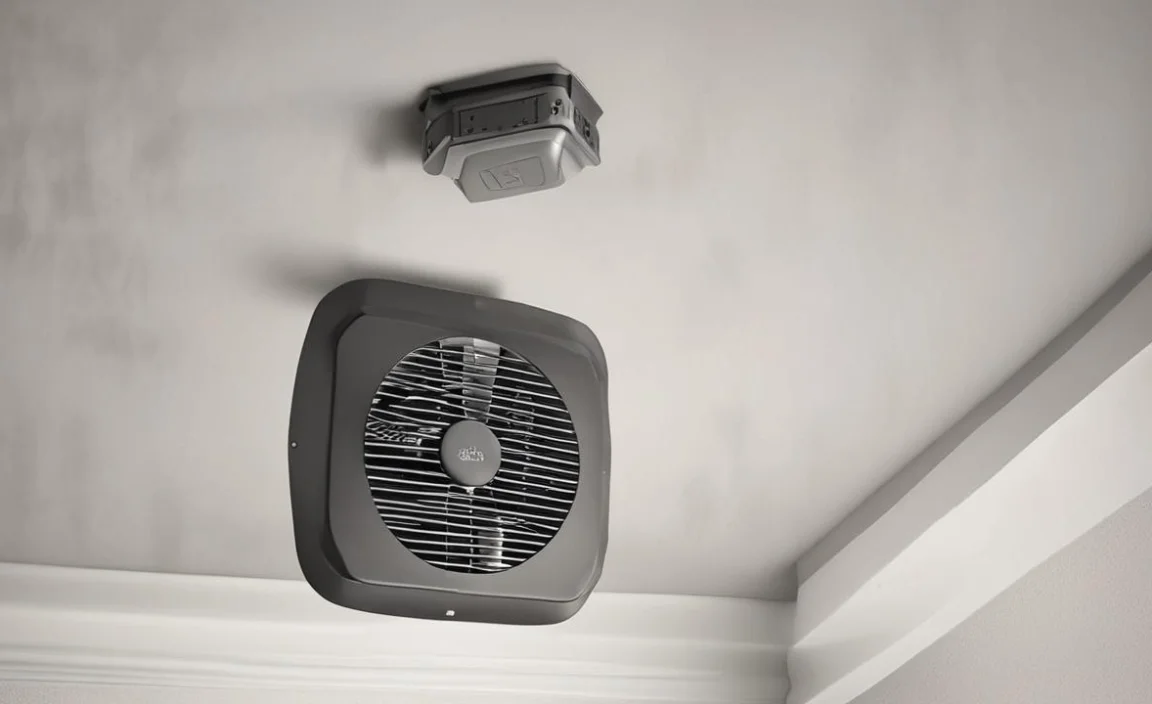
Another type of bathroom exhaust fan is the inline fan, installed in the attic or another location outside the bathroom. These fans are typically more powerful than ceiling-mounted fans and can ventilate multiple bathrooms simultaneously.
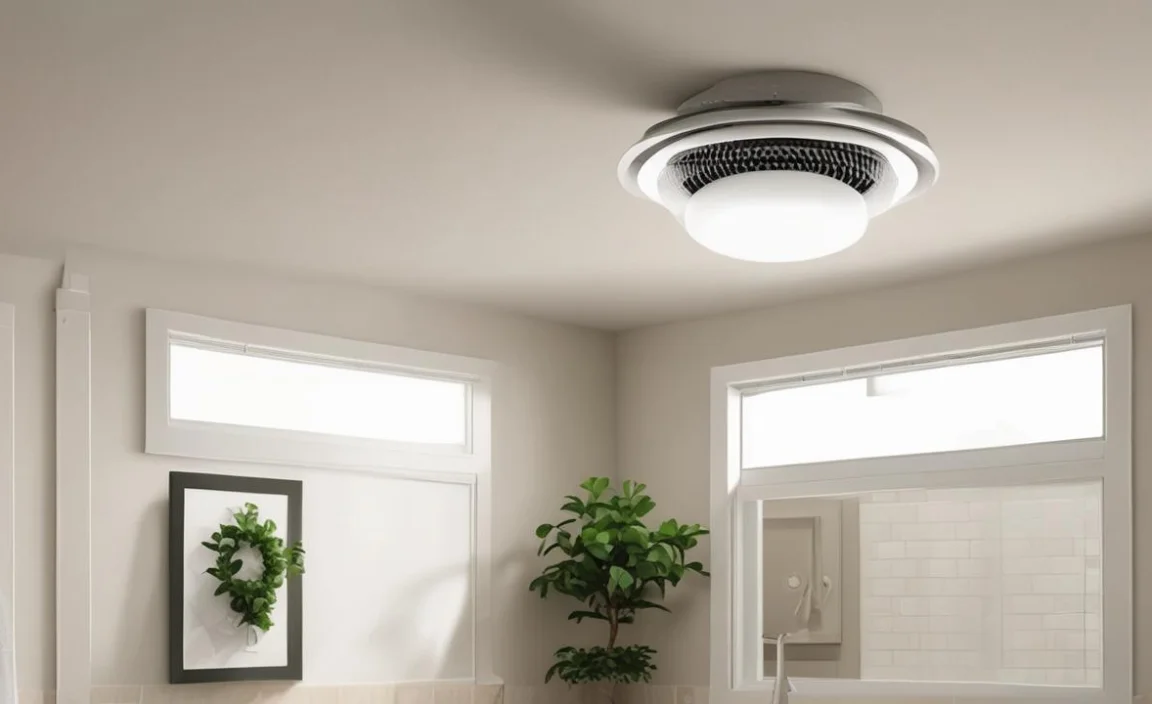
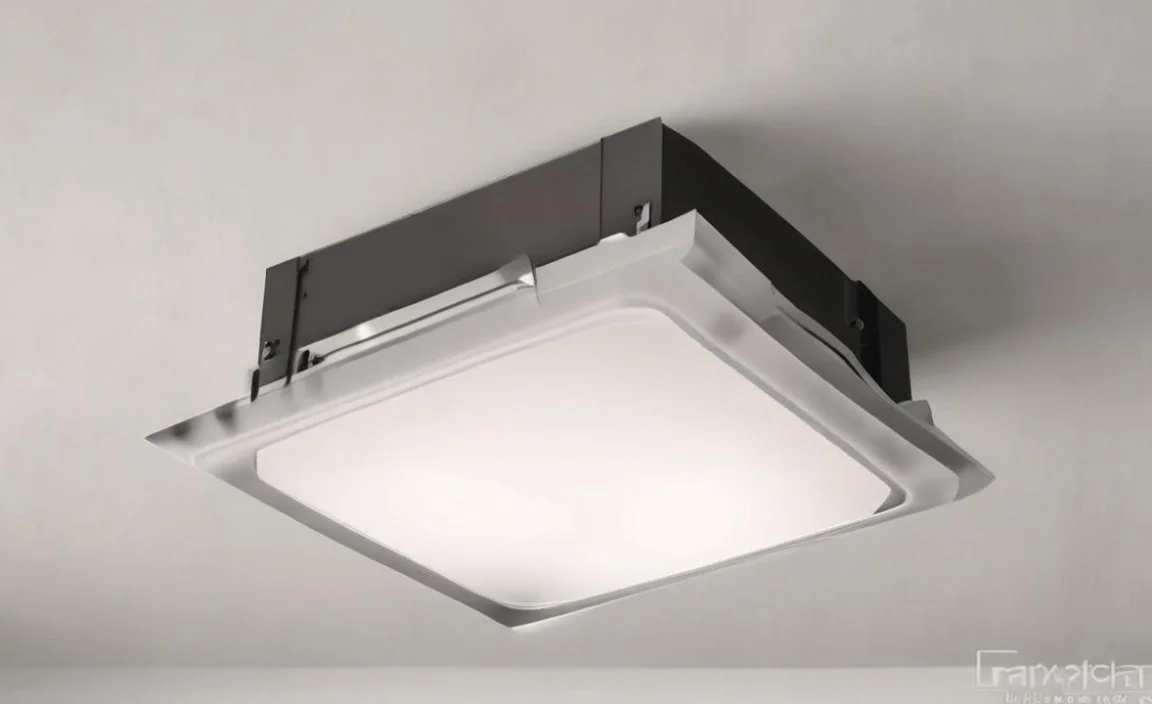
Some bathroom exhaust fans have additional features, such as built-in lights or heaters. These can be especially useful in colder climates or bathrooms lacking natural light.
When choosing a bathroom exhaust fan, it’s important to consider factors such as the size of your bathroom, your ventilation needs, and your budget. With so many options available, you will find a fan that meets your requirements and helps keep your bathroom fresh and clean.
How Do Bathroom Exhaust Fans Work?
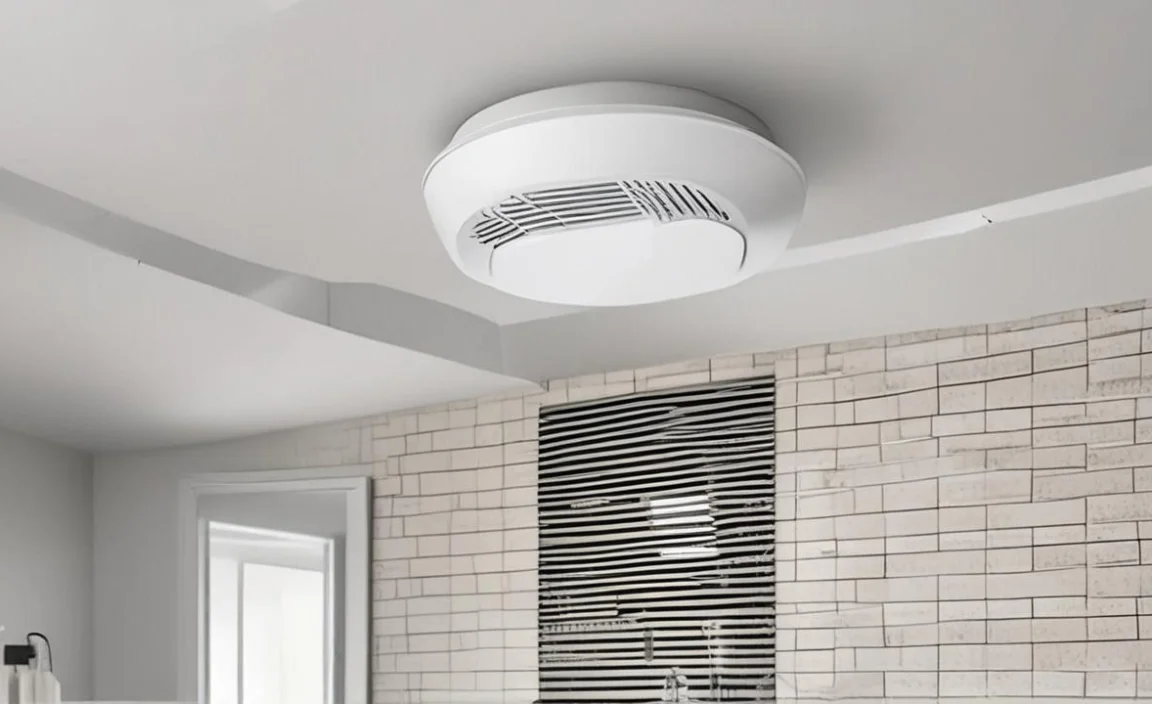
Bathroom exhaust fans are an important component of any home’s ventilation system. They remove moisture and odours from the bathroom, which can help prevent mould and mildew growth and improve indoor air quality. The fan draws moist air from the toilet through a ceiling or wall vent, then expels it outside.
This process is facilitated by the fan’s motor, which creates negative pressure that pulls the air through the ductwork and out of the room. Some newer models also come equipped with motion or humidity sensors, which can automatically turn on the fan when needed. Overall, bathroom exhaust fans are a simple yet effective way to improve your home’s air quality and keep your bathroom fresh and dry.
How To Install A Bathroom Exhaust Fan – 6 Easy Ways
Installing a bathroom exhaust fan is important in maintaining good indoor air quality and preventing moisture buildup in your home. To install a bathroom exhaust fan, choose the right size and type of fan for your bathroom. This will depend on the size of your bathroom and any other factors that may affect ventilation, such as high humidity or poor airflow. Here are six easy steps on how to install a bathroom exhaust fan:
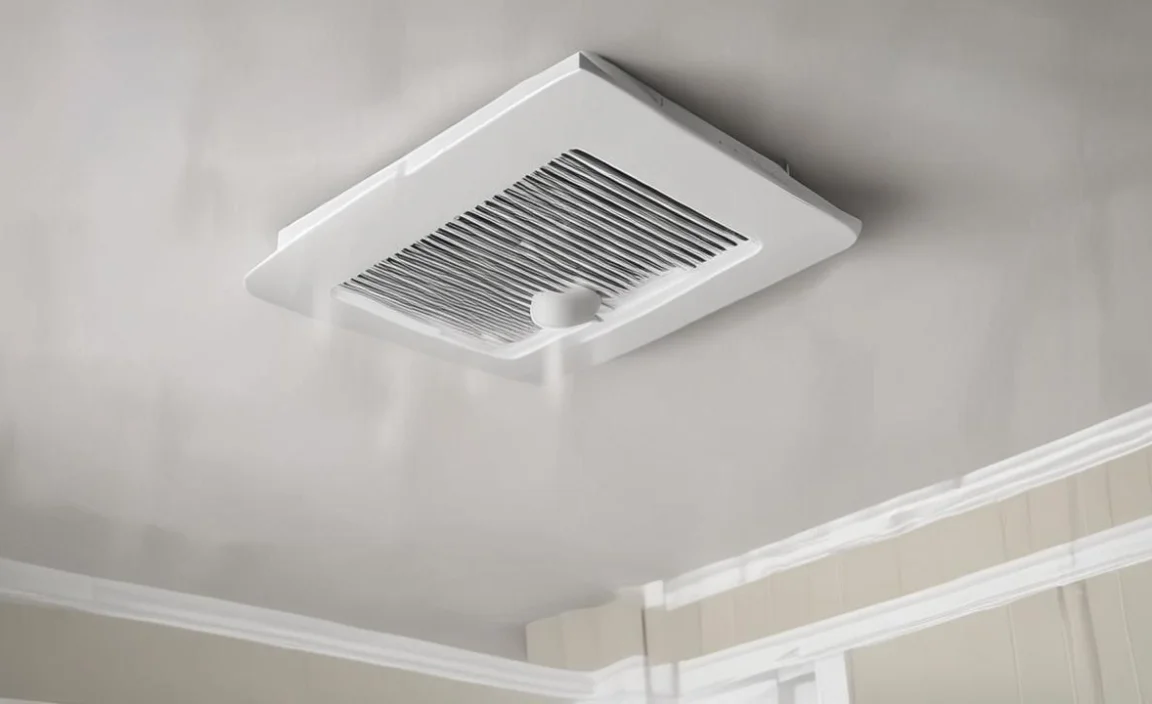
- Choose the right location. The ideal location for the exhaust fan is near the shower or bathtub, where moisture tends to accumulate.
- Turn off the power to the bathroom. Before beginning any electrical work, turn off the power supply to the toilet to avoid accidents.
- Cut a hole in the ceiling or wall. Use a template to mark where you want to cut the hole for the fan and use a saw to cut out the opening carefully.
- Install the ductwork. Connect the ductwork from the fan to the exterior vent, ensuring it is securely fastened.
- Mount the fan housing. Attach the fan housing to the ceiling or wall using screws, ensuring it is level and flush with the surface.
- Connect wiring and test operation. Finally, connect all wiring according to manufacturer instructions and test that your new exhaust fan is operating effectively by turning on the power to your bathroom again.
Things To Keep In Mind While Installing An Exhaust Fan In A Bathroom
When installing an exhaust fan in a bathroom, remember a few important things. Firstly, it’s important to choose the right fan size based on your bathroom size. A too-small fan won’t be able to effectively remove moisture and odours, while a too-big fan can be noisy and inefficient. Additionally, you’ll need to make sure that the fan is properly vented to the outside of your home to prevent moisture buildup and potential mould growth.
It’s also important to consider the placement of the fan for optimal airflow and noise reduction. Lastly, it’s always recommended to have a licensed professional install your exhaust fan to ensure proper installation and safety. By keeping these factors in mind; you can ensure that your bathroom stays fresh, dry, and free from harmful moisture buildup.
Troubleshooting Common Issues With Bathroom Exhaust Fans
Bathroom exhaust fans are crucial in maintaining good indoor air quality and preventing moisture buildup, but they can sometimes experience issues. Here are some common problems with bathroom exhaust fans and how to troubleshoot them:
- Fan not working: If the fan is not turning on, check the circuit breaker or fuse box to ensure power reaches the unit. If the power goes to the fan, the motor may be faulty and require replacement.
- Weak airflow: If the fan seems to be running but isn’t producing enough airflow, it may be clogged with dust or debris. Clean the fan blades and housing thoroughly to improve airflow.
- Excessive noise: A noisy fan can be caused by loose parts or a worn-out motor. Tighten any loose screws or bolts and lubricate the motor bearings if needed.
- Moisture buildup: If moisture is still building up in your bathroom despite having a functioning exhaust fan, it may not be powerful enough for the size of your bathroom. Consider upgrading to a larger fan or installing additional ventilation options.
By troubleshooting these common issues, you can ensure that your bathroom exhaust fan functions properly and effectively removes moisture and pollutants from your home.
Why Install An Exhaust Fan In A Bathroom?
Installing an exhaust fan in a bathroom can have numerous benefits for your health and home. Bathrooms are often damp, and when moisture builds up, it can lead to the growth of mould and mildew. This can damage your walls and ceiling and cause health problems such as respiratory issues.
An exhaust fan helps to remove excess moisture from the air, reducing the risk of mould and maintaining a healthier environment. An exhaust fan can also help eliminate unpleasant odours that may linger after using the bathroom.
Finally, an exhaust fan can also help reduce energy costs by improving air circulation and preventing excess humidity, making air conditioning less effective. Installing an exhaust fan is a smart investment in your health and your home’s longevity.
Benefits Of Installing A Bathroom Exhaust Fan
Installing a bathroom exhaust fan can bring numerous benefits to your home. Firstly, it helps to remove excess moisture from the air, which can lead to mould and mildew growth over time. This can help prevent damage to your bathroom walls and ceilings and promote a healthier living environment. An exhaust fan can also help eliminate unpleasant odours that may linger in the bathroom after use.
It also helps to improve indoor air quality by circulating fresh air throughout the space. Lastly, installing a bathroom exhaust fan can add value to your home by providing a desirable feature many buyers look for when shopping for a new property. Overall, the benefits of installing a bathroom exhaust fan make it a worthwhile investment for any homeowner looking to improve their living space.
Tips For Installing An Exhaust Fan In A Bathroom
When installing a bathroom exhaust fan, proper planning and execution are necessary. The first step is to choose the right size fan for your bathroom based on its square footage. Installing an exhaust fan in your bathroom can help to keep the air fresh and prevent mildew and mould growth. Here are some tips for installing an exhaust fan in a bathroom:
- Choose the right size fan. The size of the fan will depend on the size of your bathroom. A general rule of thumb is to choose a fan that can move at least 1 cubic foot per minute (CFM) per square foot of bathroom space.
- Select the right location. The best site for the fan is usually near the shower or tub, where moisture tends to accumulate. Make sure that there is enough clearance for the fan to fit properly and that there are no obstructions in the way.
- Follow manufacturer instructions carefully. Read and follow the manufacturer’s instructions carefully when installing your exhaust fan. This will ensure that it functions properly and safely.
- Consider hiring a professional. If you are uncomfortable with electrical work or have a complicated installation, it may be best to hire a professional to install your exhaust fan.
Conclusion
knowing how to install a bathroom exhaust fan is essential to maintaining good indoor air quality. And this help preventing mold and mildew growth. It may seem daunting, but you can easily install one with the right tools and materials. Remember to choose the right type of fan for your bathroom size and ventilation needs. Following the installation process step is also important to avoid any mistakes.
A properly installed bathroom exhaust fan helps improve air quality and reduces moisture, and adds value to your home. If you are uncomfortable with DIY projects, it’s always best to consult a professional to ensure the job is done correctly and safely.
