Repotting is a common practice for gardeners and plant enthusiasts, particularly for those who want to promote growth and improve the overall health of their plants. However, it is not uncommon for plant dying after repotting, and this can be a frustrating experience for many.
There are several reasons why plants may die after repotting, including damage to the root system, inadequate watering, and improper soil conditions. Transplanting plants from their original pot to a new container can damage or disturb their root system. This can prevent the plant from absorbing water and nutrients properly, leading to a decline in health and eventual death.
Additionally, improper watering and soil conditions can further stress the plant, making it more susceptible to disease and other issues. Understanding the factors that contribute to plant death after repotting can help gardeners take steps to prevent this from happening and ensure the continued health and vitality of their plants.

Why Your Plant Dying After Repotting: A Guide To Avoiding Mistakes
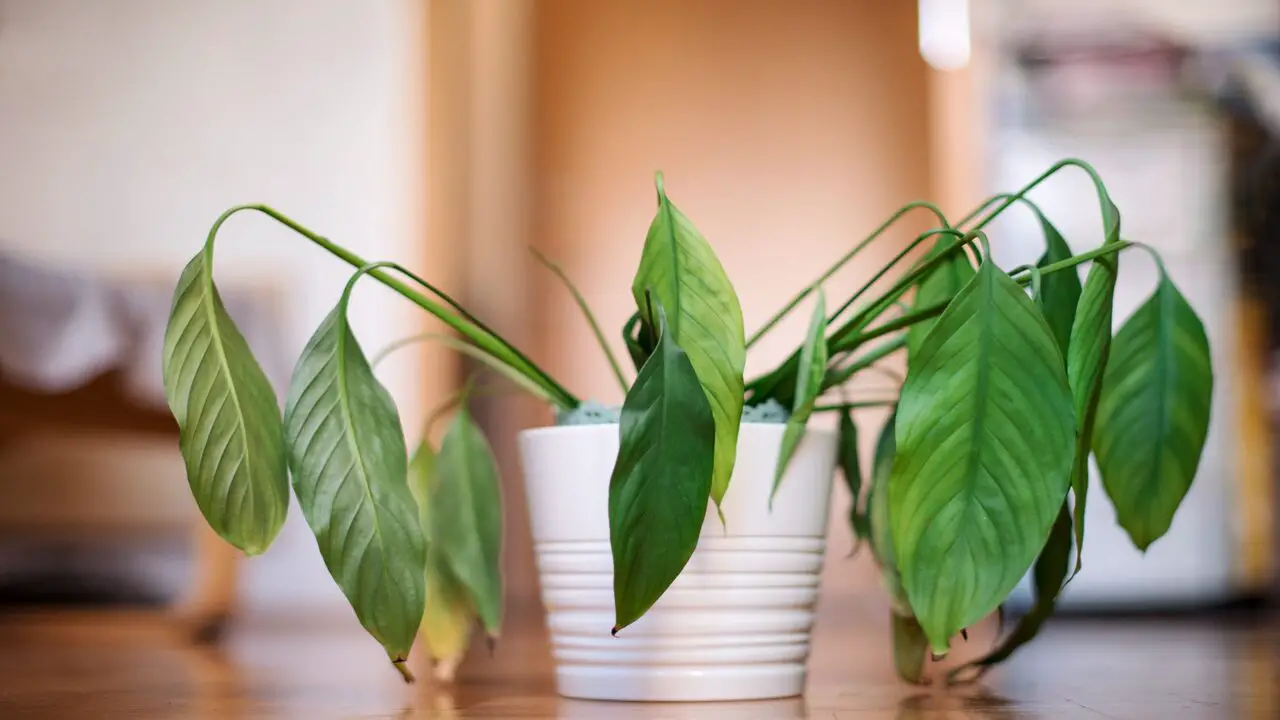
When a plant dies after repotting, it could be due to several reasons. It is important to research the plant’s specific needs and ensure proper care during the transition to a new pot. In some cases, the plant may have gone too far and not recovered from the shock.
Keeping a close eye on the plant and providing appropriate care can help prevent it from dying after repotting in the future. Here are explained why plant dying after repotting.
Improper Watering After Repotting
Watering is one of the most important factors for plant survival after repotting. After repotting, you need to water your plant thoroughly to help the roots settle in the new soil and pot. However, you must also avoid overwatering or underwatering your plant, which can cause root rot or dehydration.
You should check the soil moisture level regularly and water your plant when the top inch of the soil feels dry. You should also use a pot with drainage holes and a saucer to prevent waterlogging or leakage.
Shock From Transplanting
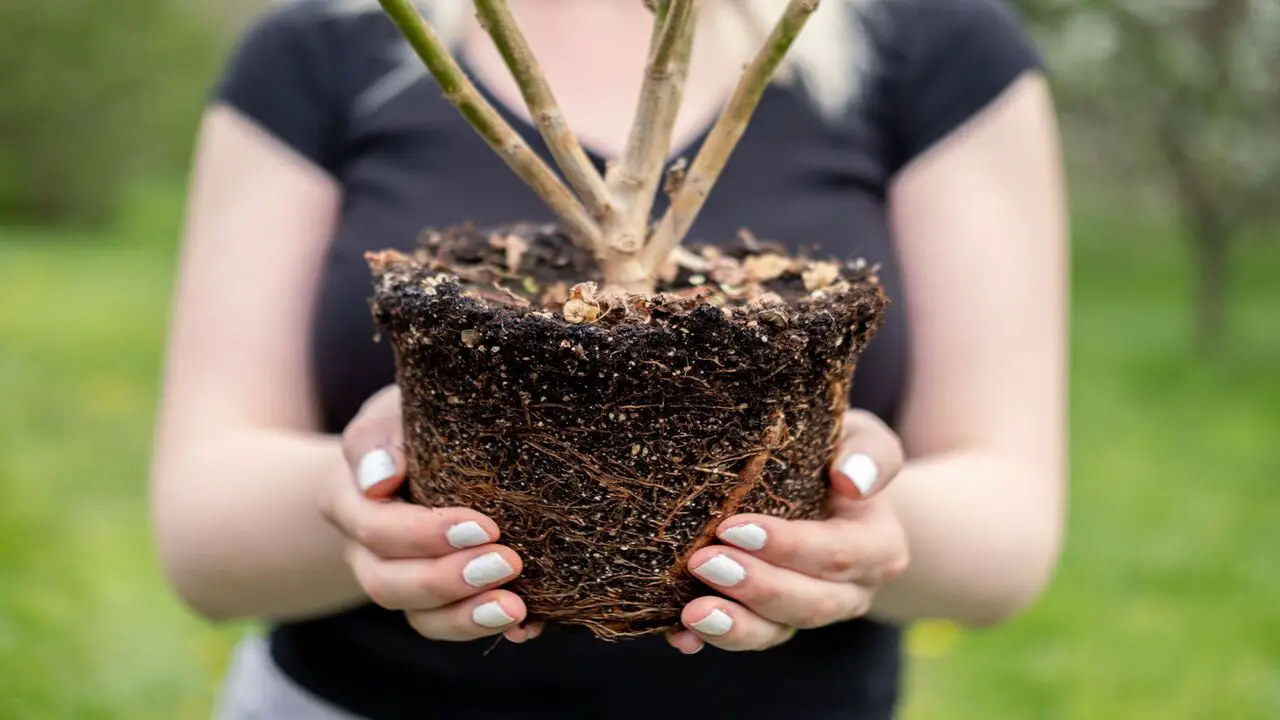
Transplanting is a traumatic experience for plants, as it disrupts their normal growth and development. It can cause symptoms such as wilting, drooping, yellowing, or dropping leaves; stunted or distorted growth; or reduced flowering or fruiting.
To minimize transplant shock, you should choose the right time and method for repotting. You should repot your plant when it is dormant or not actively growing, such as in early spring or fall. Also, you should use a pot slightly larger than the previous one and soil similar to the original one. You should also handle your plant gently and carefully during the repotting process.
Damage To Roots During Repotting Process
Roots are the lifeline of plants, as they absorb water and nutrients from the soil and anchor them in place. Any damage to the roots during the repotting process can impair the plant’s ability to survive and thrive.
To avoid root damage, gently loosen the root ball and remove any excess or dead roots before placing it in the new pot. You should also fill the pot with enough soil to cover the roots completely and press it lightly to eliminate any air pockets. You should also avoid pruning or cutting the roots excessively, as this can cause more stress and shock to the plant.
Soil That Doesn’t Drain Properly
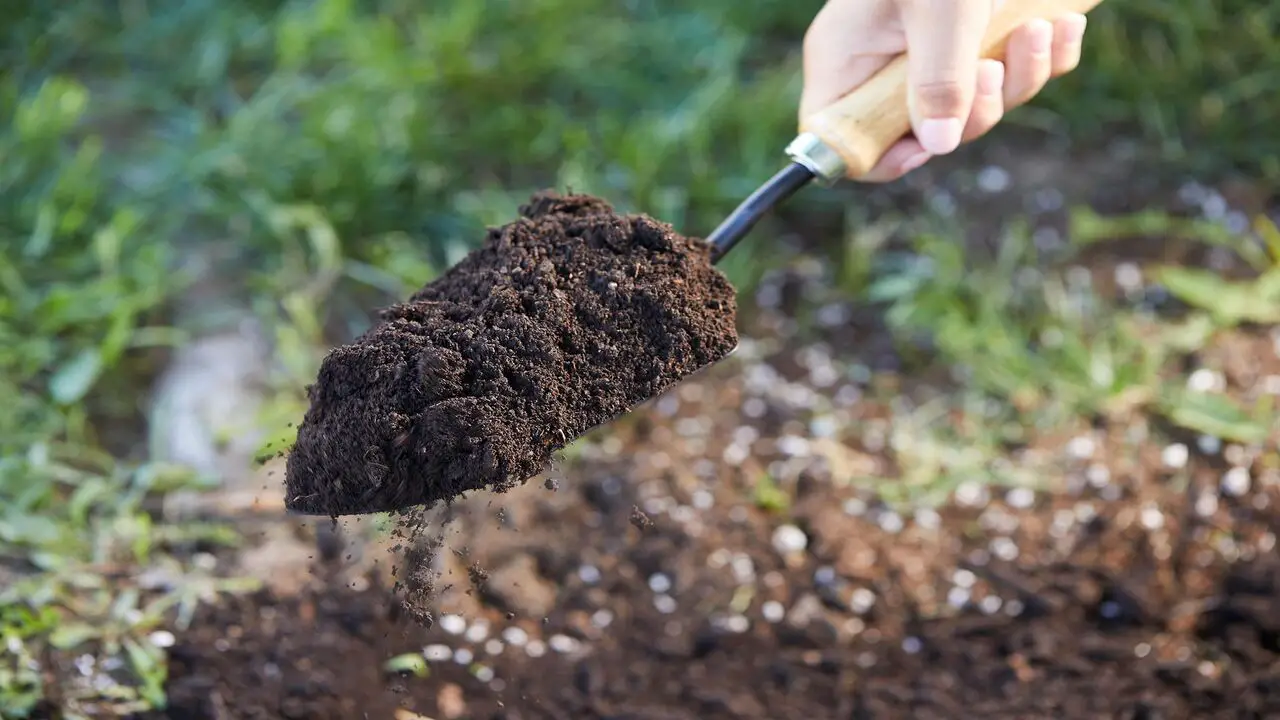
Well, Soil drainage is another crucial factor for plant health after repotting. Soil drainage refers to how well the soil allows water to flow through and out of the pot. If the soil drains too slowly or quickly, it can cause problems such as waterlogging, nutrient leaching, salt accumulation, or root suffocation.
To ensure proper soil drainage, you should use a well-drained potting mix that contains organic matter, such as compost or peat moss, and inorganic matter, such as perlite or vermiculite. You should also avoid using garden or clay soil, as they are heavy and compacted.
The Pot That Is Too Big Or Too Small
The size of the pot is another important factor for plant growth after repotting. The pot size affects how much space, water, and nutrients are available for the plants’ roots and shoots. If the pot is too big, it can cause problems such as overwatering, under-fertilizing, root rot, or fungal diseases.
If the pot is too small, it can cause problems such as underwatering, overfertilizing, root-bound, or stunted growth. To choose the right size of the pot, you should follow these guidelines:
- The pot should be about 1 to 2 inches larger in diameter than the previous one.
- The pot should be about 1 to 2 inches deeper than the root ball.
- The pot should have enough room for future growth without being too spacious.
Lack Of Sunlight Or Too Much Direct Sunlight
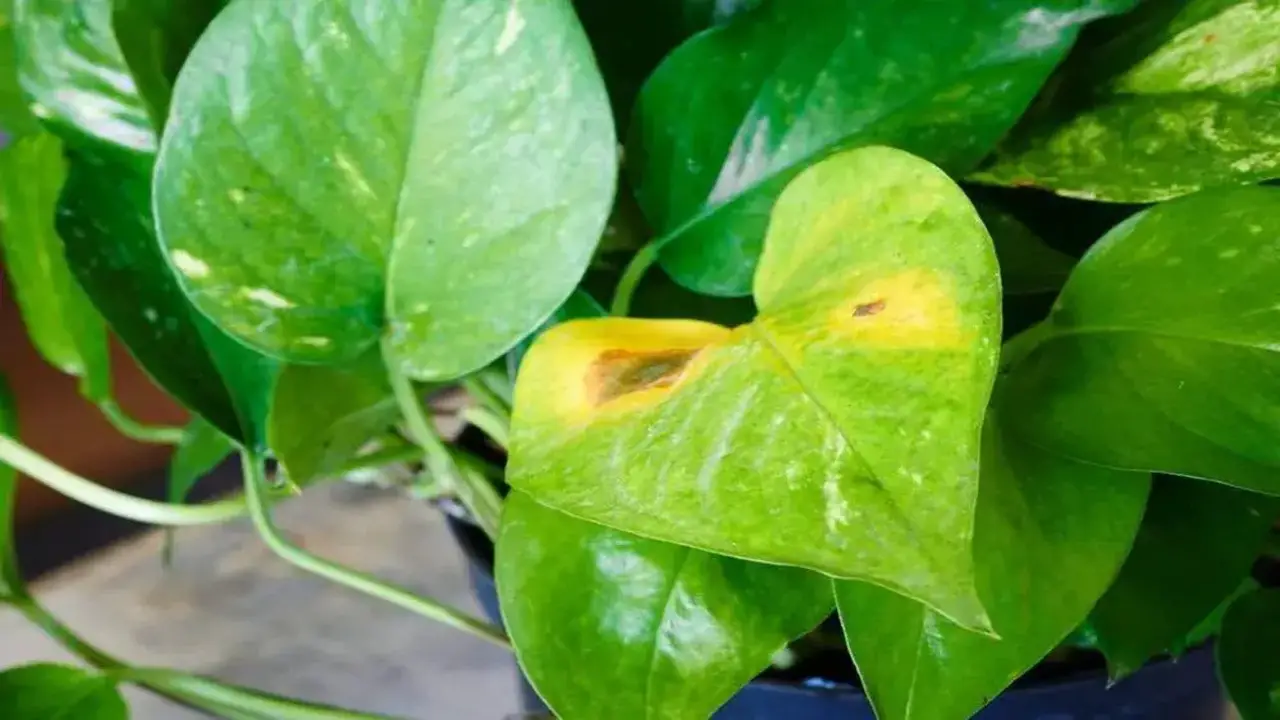
Sunlight is essential for plant photosynthesis and metabolism but can also be harmful if not provided in moderation. Different plants have different light requirements, depending on their habitat and adaptation. If your plant receives too little sunlight after repotting, it can cause problems such as legginess, paleness, leaf drop, or reduced flowering or fruiting.
If your plant receives too much direct sunlight after repotting, it can cause problems such as scorching, bleaching, wilting, or sunburn. To provide adequate sunlight for your plant after repotting, you should follow these tips:
- Know your plant’s light preference and choose a suitable location for it.
- Avoid placing your plant near windows that face south or west, as they receive intense sunlight during midday or afternoon.
- Use curtains, blinds, shades, or screens to filter or diffuse the sunlight if it is too strong for your plant.
- Move your plant gradually from a low-light to a high-light area or vice versa to acclimate it to the new light level.
Exposure To Extreme Temperatures
Temperature is another environmental factor that affects plant growth and survival after repotting. Temperature affects the rate of plant respiration, transpiration, and enzyme activity.
If your plant is exposed to extreme temperatures after repotting, it can cause problems such as wilting, curling, browning, or dropping of leaves; cracking or splitting of stems or fruits; or reduced growth or vigor. To protect your plant from extreme temperatures after repotting, you should follow these steps:
- Know your plant’s temperature tolerance and choose a suitable location for it.
- Avoid placing your plant near heat or cold sources, such as radiators, air conditioners, fireplaces, or vents.
- Use insulation, covers, or cloches to shield your plant from frost, wind, or hail.
- Move your plant indoors or outdoors depending on the season and the weather.
Pests Or Diseases That Were Present In The New Soil Or Pot
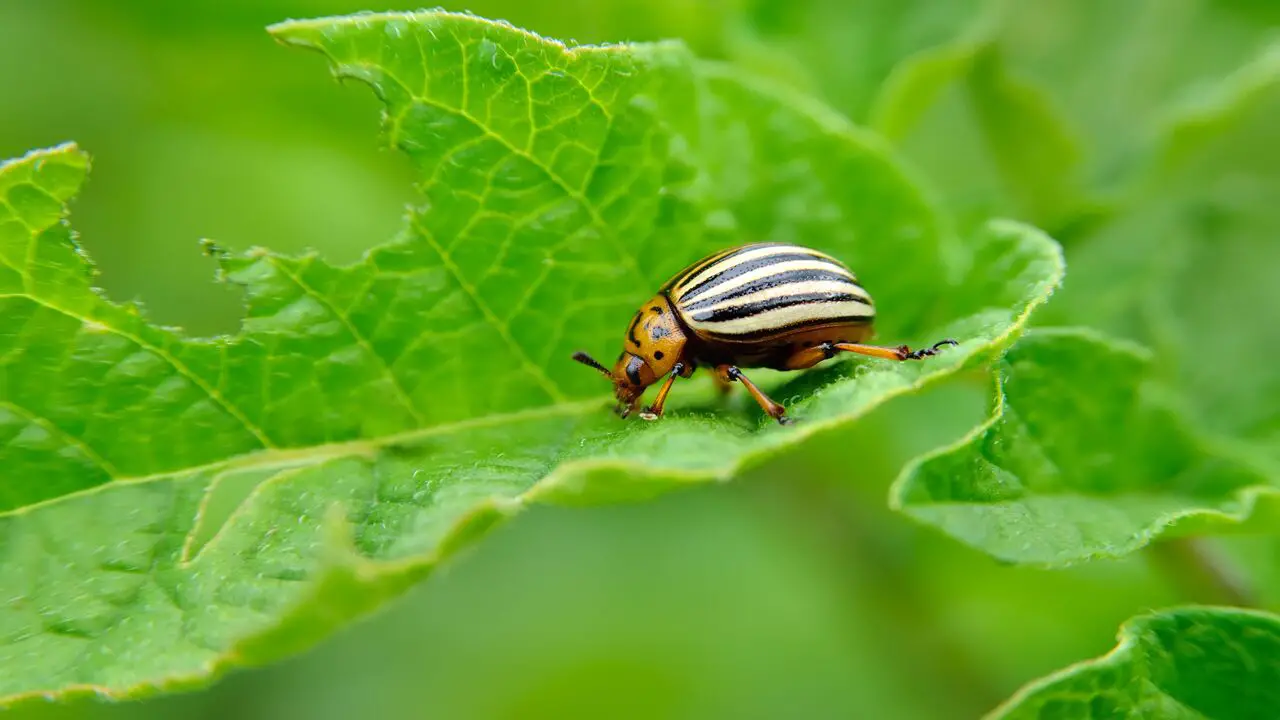
Pests and diseases are common enemies of plants and can be introduced or transferred during the repotting process. It can cause symptoms such as holes, spots, webs, galls, or chew marks on leaves; sap oozing from wounds; dieback of branches; or rotting of roots or trunk. To prevent pests and diseases from infecting your plant after repotting, you should follow these precautions:
- Use clean and sterile soil and pot for repotting. You can sterilize the soil by baking it in an oven at 180°F for 30 minutes or microwaving it for 10 minutes. You can sterilize the pot with hot water and soap or soak it in a bleach solution for 10 minutes.
- Inspect your plant for signs of pests or diseases before and after repotting. You can use a magnifying glass or a flashlight to check for insects, eggs, webs, or fungi on the leaves, stems, or roots.
- Treat any pests or diseases promptly and effectively. You can use mechanical methods, such as picking off, washing off, or pruning off the affected parts; biological methods, such as introducing beneficial insects or microorganisms that can control the pests or diseases; or chemical methods, such as applying pesticides or fungicides that are safe and suitable for your plant.
Chemicals Or Fertilizers Used During Repotting
Chemicals and fertilizers can enhance or inhibit plant growth and health after repotting. It can provide nutrients, hormones, or antibiotics to stimulate or regulate plant functions. However, they can also cause problems such as toxicity, deficiency, imbalance, or burn if used improperly or excessively. To use chemicals and fertilizers safely and effectively after repotting, you should follow these rules:
- Use only chemicals and fertilizers labeled and approved for your plant type and purpose. You should read and follow the label instructions carefully and accurately.
- Use only chemicals and fertilizers that are fresh and unexpired. You should store them in a cool, dry, dark place away from children and pets.
- Use only chemicals and fertilizers that are diluted and measured correctly. You should use a measuring cup, spoon, syringe, dropper, or scale to measure the chemicals or fertilizers needed. You should also use clean water to dilute them according to the label instructions.
Conclusion
It is not uncommon for a plant to experience stress or shock after being repotted. This can manifest in various ways, including yellowing leaves, wilting, and even death. While it can be disappointing to lose a plant dying after repotting, it is important to remember that sometimes these things happen despite our best efforts.
It is possible that the plant simply could not handle the disruption to its root system or that there were underlying issues that were not immediately apparent.
Whatever the case, it is important to take these experiences as opportunities to learn and grow as a gardener. Moving forward, it may be helpful to research different plants’ needs before repotting and take extra care to ensure they are given the best possible chance to thrive.
FAQ’s
[rank_math_rich_snippet id=”s-bbd5ae33-7dd1-4ffd-9108-f4fcd2d525fe”]

I am passionate about home engineering. I specialize in designing, installing, and maintaining heating, ventilation, and air conditioning systems. My goal is to help people stay comfortable in their homes all year long.
