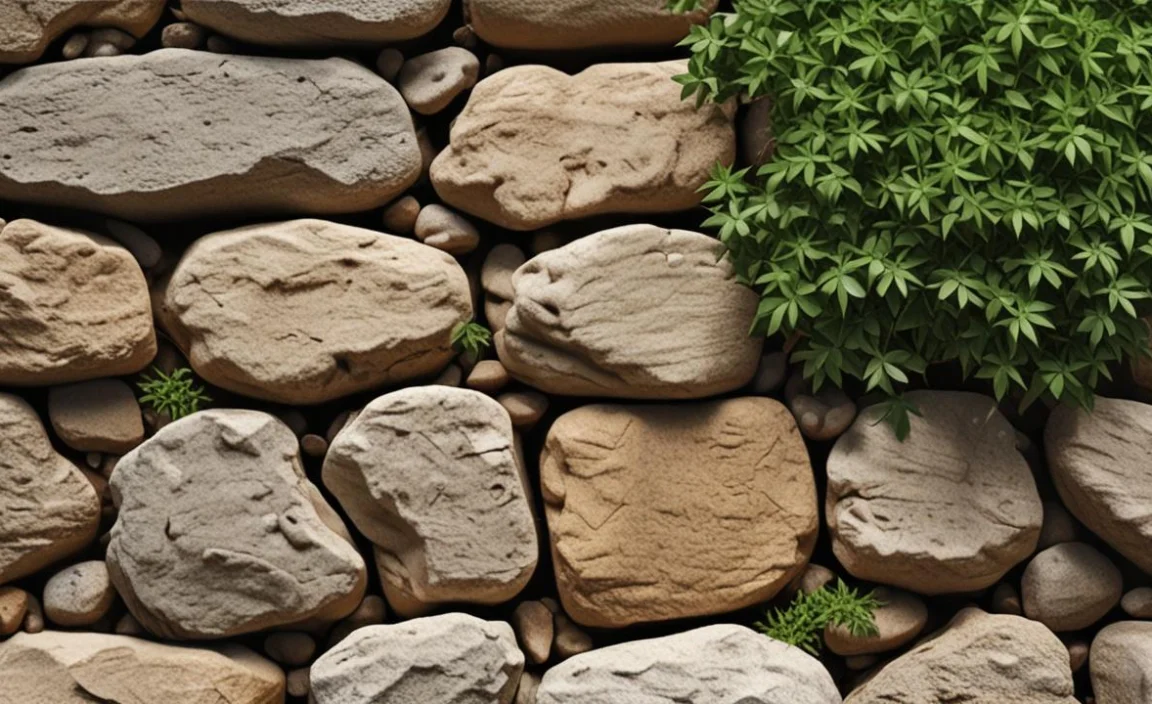
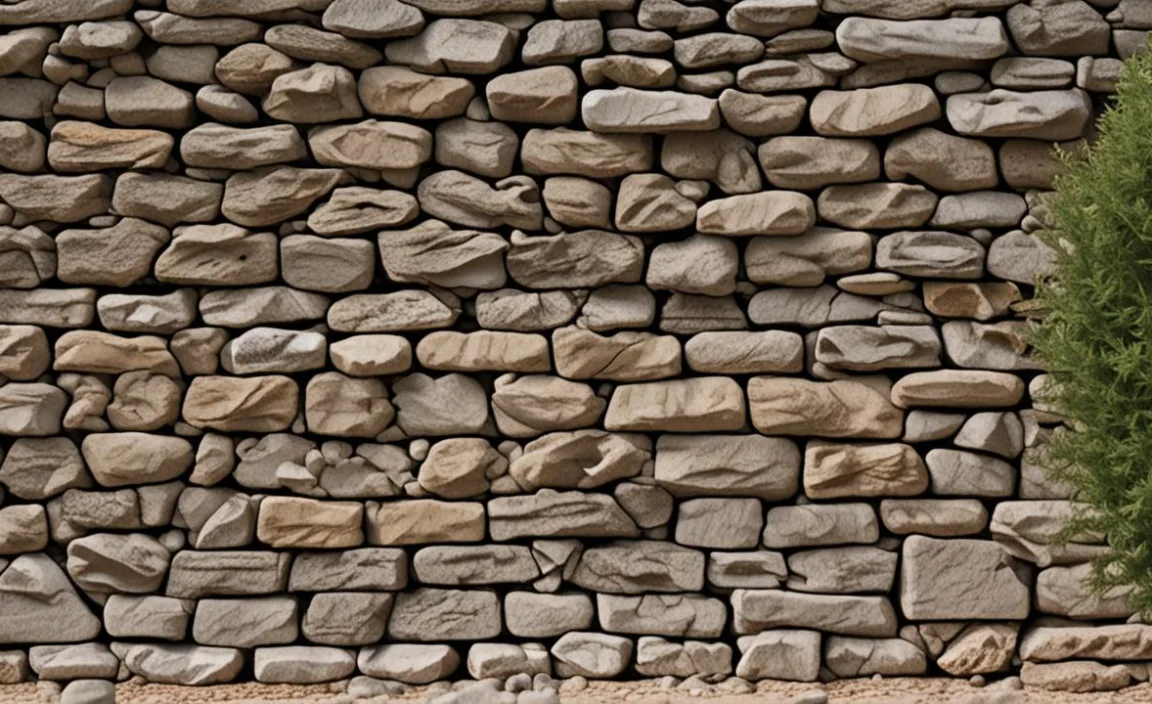
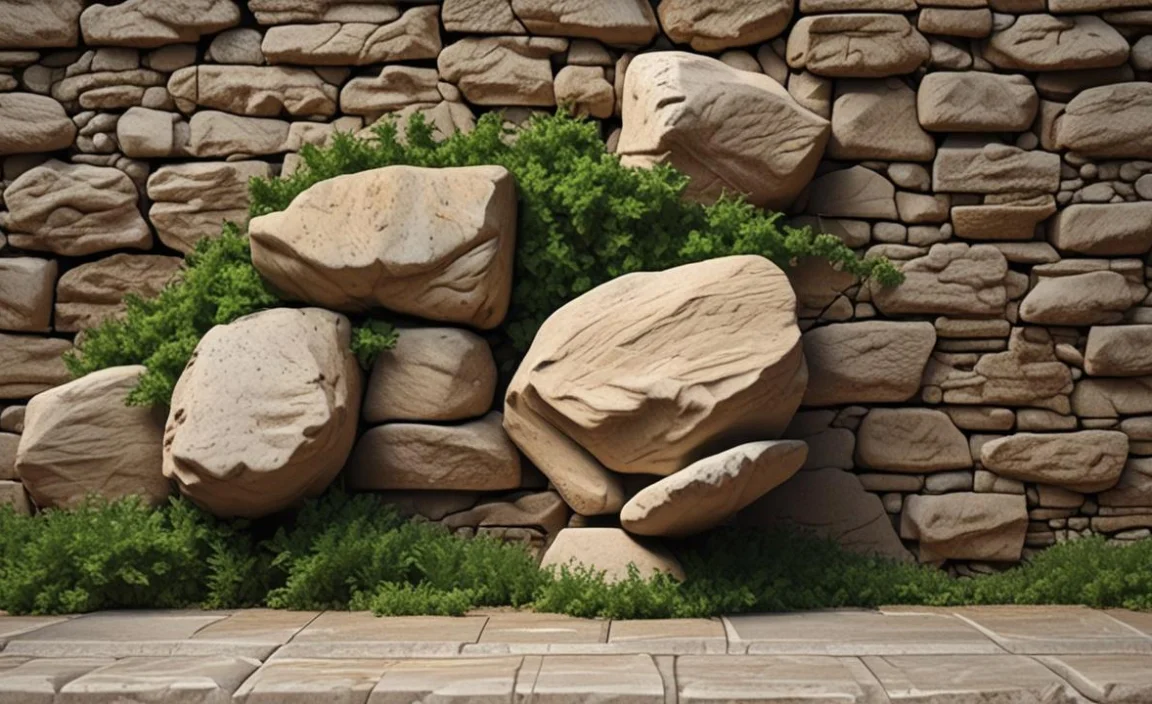
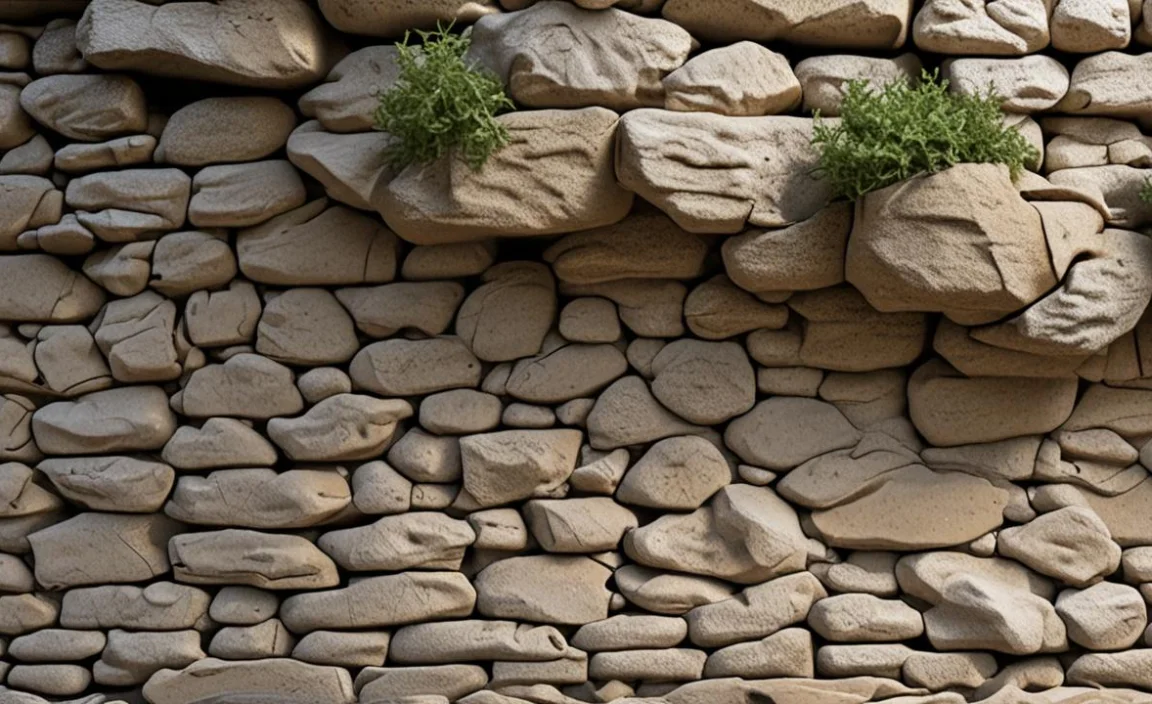
Rock walls can add a charming and rustic touch to any garden or outdoor space. However, planting into the crevices and gaps of an existing rock wall can seem daunting to even the most experienced gardener.
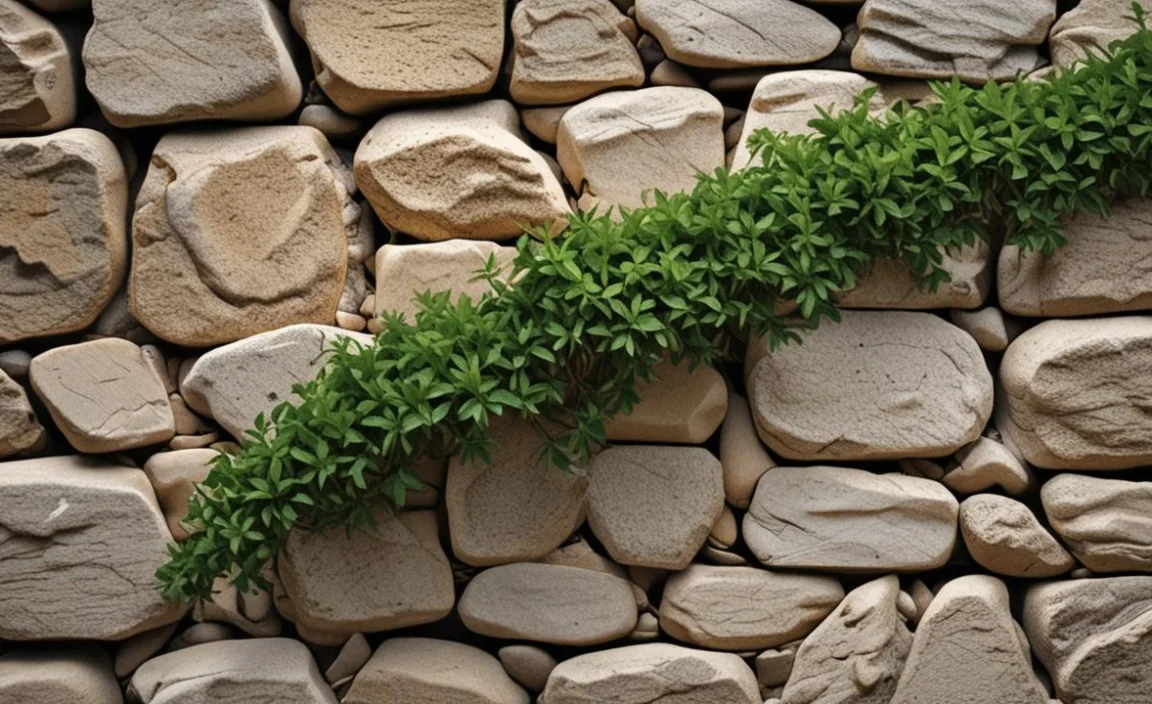
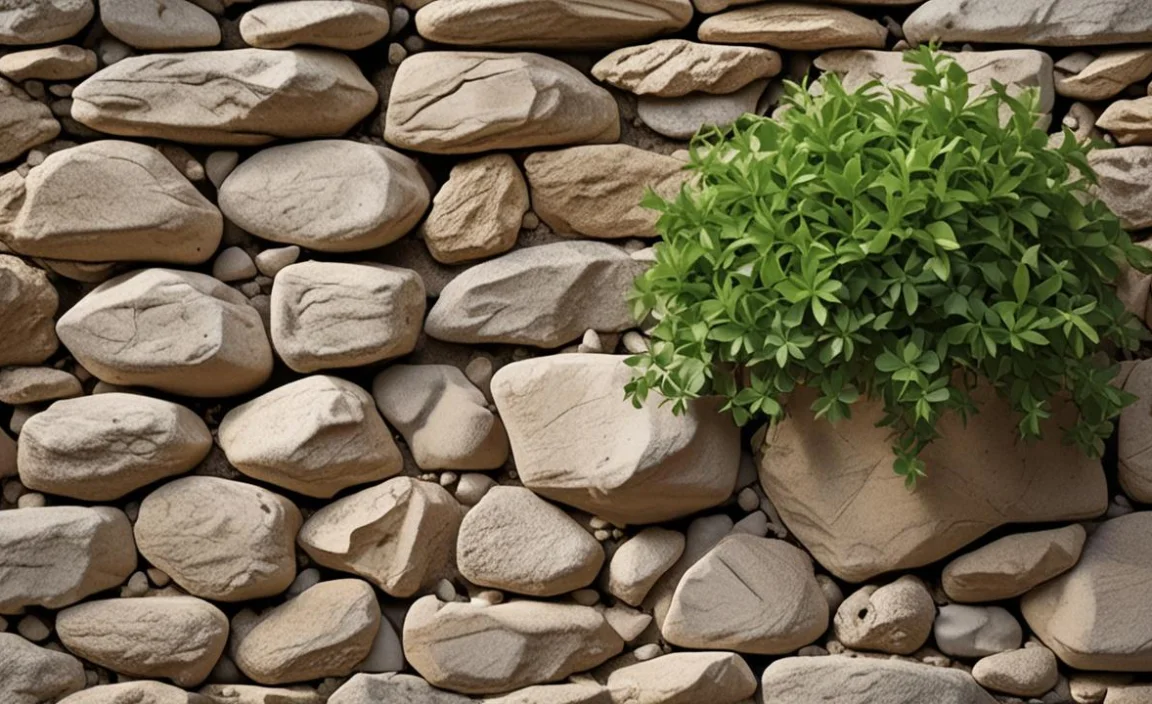
Planting into an existing rock wall can add a beautiful touch to your outdoor space. Finding the right plants that will thrive in this environment can be challenging. One option is to choose plants adapted to growing in rocky soil, such as succulents or alpine plants.
These types of plants have evolved to grow in harsh conditions and can often withstand strong winds and limited water supply. Another important factor to consider is the amount of sunlight the area receives.
If the wall is mostly shaded, you may want to choose shade-loving plants like ferns or hostas. Before getting started, make sure to do your research to find the right balance between plant selection and environmental factors for successful planting into an existing rock wall.
15 Steps To Plant Into An Existing Rock Wall
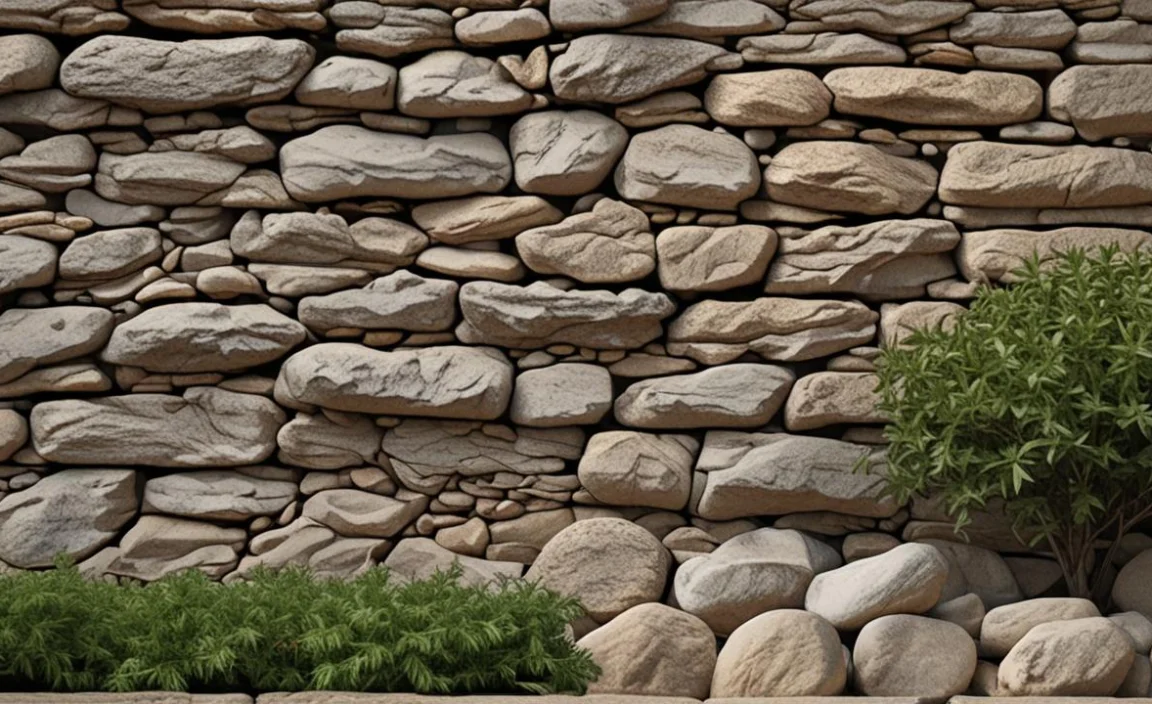
Rock walls can add a natural and rustic charm to any landscape, but their uneven surfaces and hard textures can make it difficult to plant into them. However, with the right techniques and tools, it is possible to transform an existing rock wall into a beautiful garden feature. When it comes to landscaping, adding plants to an existing rock wall can be a charming and unique approach.
It may seem daunting at first, but with careful planning and consideration, it can be a great addition to your outdoor space. The first step is to assess the wall’s condition and determine if it can support the weight of additional plants.
From there, you can choose plants suitable for the area’s lighting and moisture conditions. It’s essential to select plants that can thrive in the limited soil space available in the rock wall. Consider selecting plants with shallow roots, such as succulents or creeping vines, to prevent damage to the wall’s structure. Scroll down for detailed steps.
1. Preparation And Safety
Once you have determined that it is safe to work on the wall, you will need to prepare the area for planting. This may involve removing vegetation or debris from the area and adding soil or compost to improve drainage and nutrient levels.
When planting into the rock wall, using appropriate tools and equipment, such as gloves and safety glasses, is important to protect yourself from potential hazards. You may also want to consider using a harness or other safety equipment if you are working at heights.
Overall, by taking the necessary precautions and following proper safety procedures, you can safely plant into an existing rock wall and create a beautiful, natural backdrop for your garden.
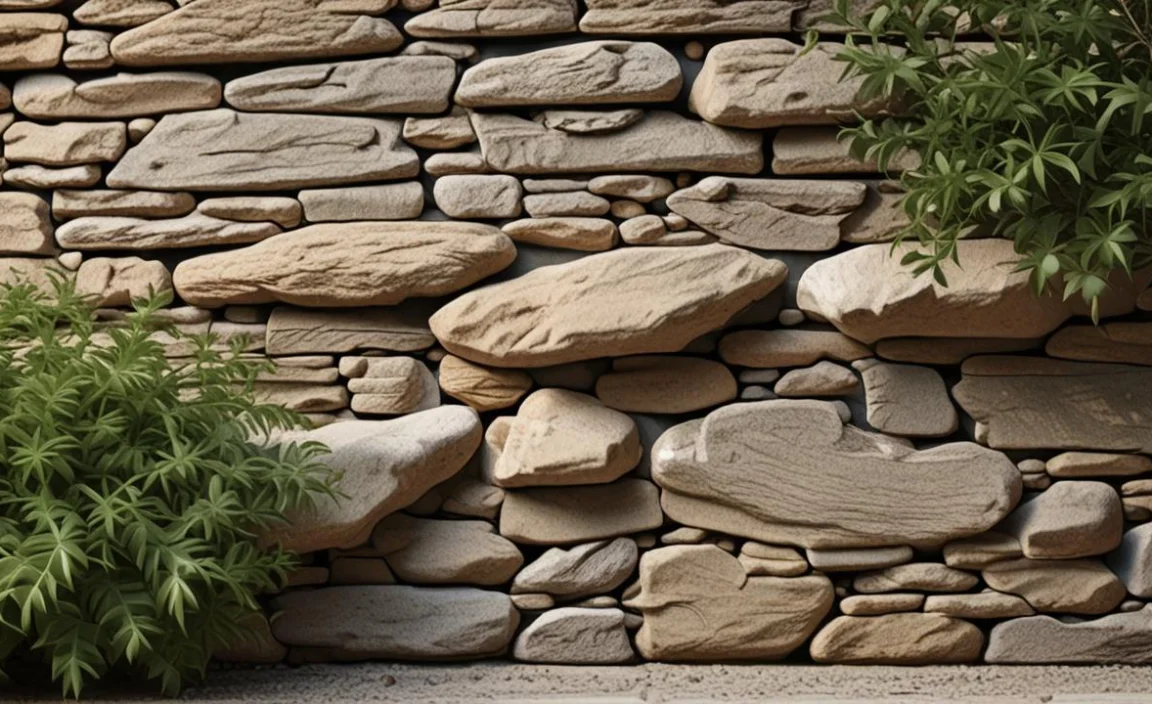
2. Check The Condition Of The Wall

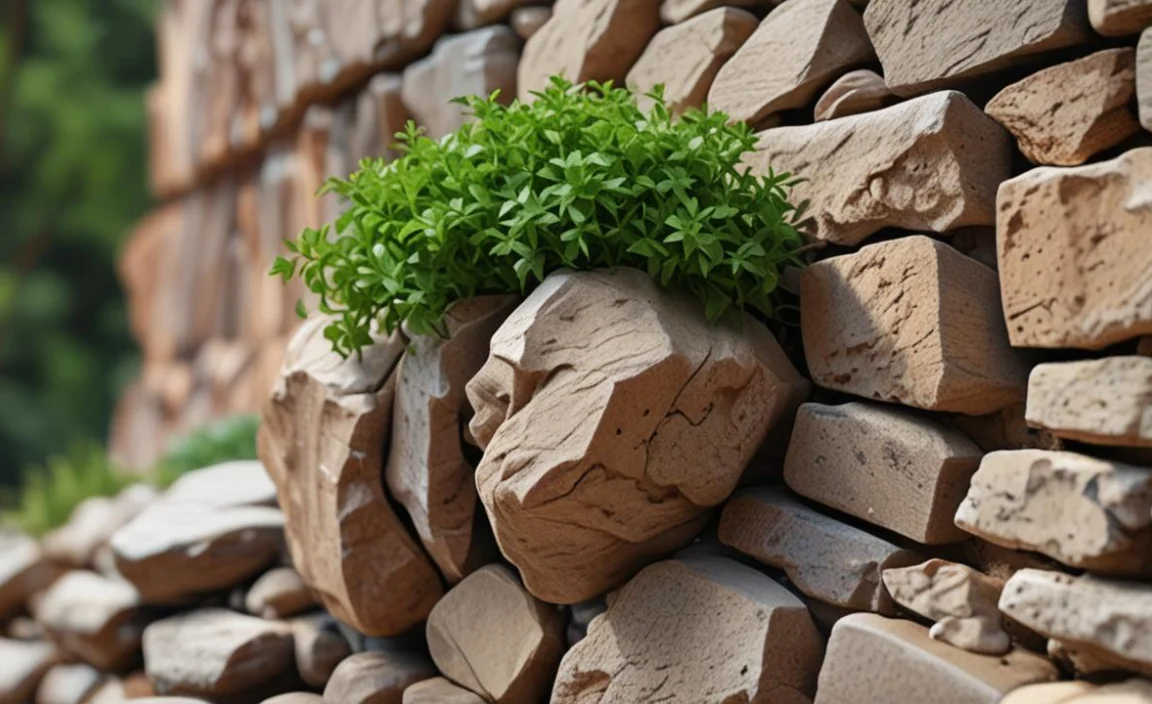
Before attempting to plant into an existing rock wall, it is important to check the condition of the wall. If the wall is unstable or crumbling, it may not be safe to plant anything in it, especially if it is made of a porous material such as sandstone.
It may not be suitable for planting as water can seep through and cause further damage. On the other hand, if the wall is sturdy and in good condition, you can begin to plan your planting strategy. Consider using plants that have shallow root systems and can grow in small crevices, such as succulents or mosses.
It is also important to use a soil mix that is appropriate for the type of plants you are using, and that provides good drainage. With proper planning and consideration for the condition of the wall, you can create a beautiful and unique garden feature that will last for years to come.
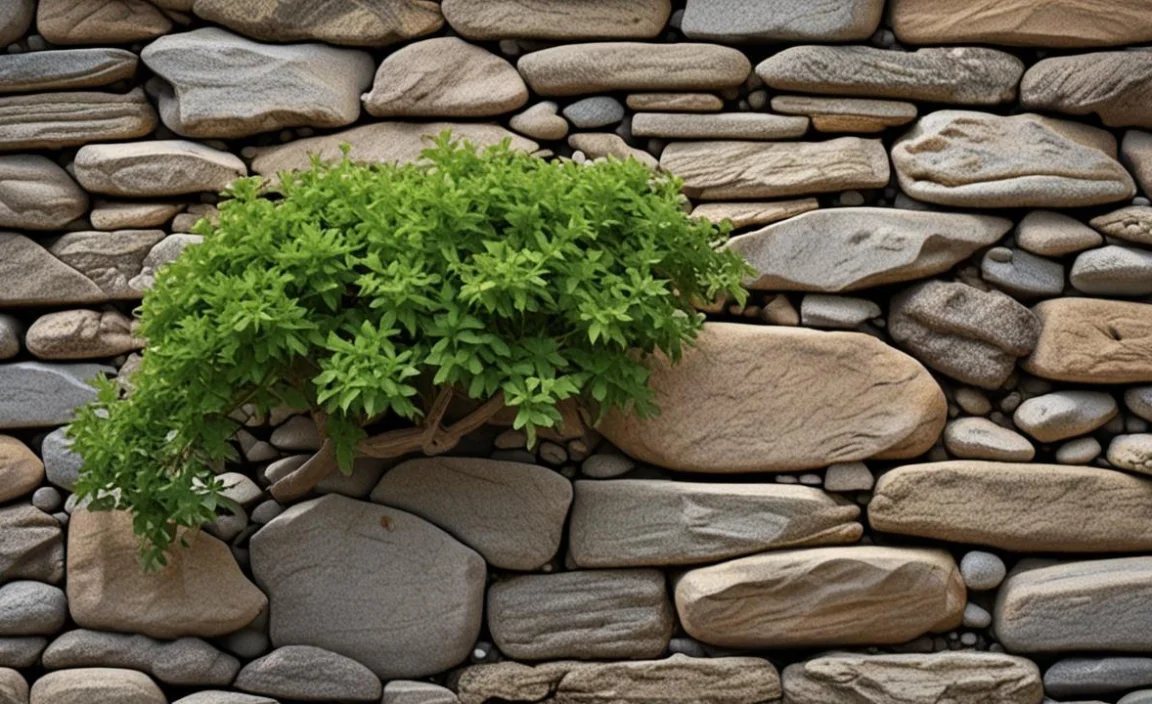
3. Dig A Planting Depth Into The Rock
Planting into an existing rock wall can be challenging, but with the right technique and tools, it is possible to create a beautiful and thriving garden. One important step is to dig a planting depth into the rock wall. This involves using a hammer drill or chisels to create holes in the rock that are deep enough for the plant’s roots to take hold.
Once you have created the planting depth, you can fill it with soil and compost to provide a nutrient-rich environment for your plants. Choosing plants that are suited to growing in rocky environments and can tolerate any potential water runoff from the wall is important. You can turn your rocky wall into a vibrant garden oasis with patience and careful planning for soil mixes
4. Mark Out A Hole For Your Planting

Planting into an existing rock wall can be a challenging but rewarding task. One important step in this process is marking out a hole for planting. Before you begin, make sure to choose plants suitable for your wall’s conditions, including their exposure to sunlight and moisture levels.
Once you have selected your plants, and planting nooks, use a marker or chalk to outline the shape of the hole where you will be planting. It’s important to ensure the hole is deep enough to accommodate the plant’s roots but not so deep that it will become waterlogged. With careful planning and attention to detail, you can successfully plant into an existing rock wall and create a beautiful and unique garden feature.
5. Clear Away Any Debris From Around The Hole
When planting into an existing rock wall, it is important to clear away any debris from around the hole. This will ensure that there is enough space for the plant’s roots to grow and establish themselves in the soil. Use a small garden trowel or hand shovel to remove any rocks, dirt, or other materials that may obstruct the hole planting pockets.
Once the area is cleared, you can begin to add soil and compost to create a suitable growing environment for your plant. Choosing plants that are well-suited for growing in rocky environments is also important, as they will be better able to thrive in these conditions.
By taking these steps and choosing the right plants, you can successfully plant into an existing rock wall and add beauty and life to your landscape.
6. Plant Your Seedlings
Now that you’ve prepared your rock wall for planting, it’s time to get those seedlings in the ground! First, dig a hole large enough to accommodate your plant’s roots. Gently remove the seedling from its container and place it in the hole.
Make sure that the top of the root ball is level with the surrounding soil. Fill in any gaps with soil and press down firmly to ensure good root-to-soil contact.
If you’re planting multiple seedlings, make sure to space them out properly to give each one enough room to grow. Thoroughly water your newly planted seedlings and continue watering them regularly until they establish themselves. You can transform your rock wall into a thriving garden oasis with a little patience and care.
7. Level And Tamp Down Soil In The Trench
When planting into an existing rock wall, preparing the area where you plan to plant properly is important. One crucial step is to level and tamp down the soil in the trench where the plant will be placed. This will ensure the plant has a stable foundation and will not shift or become uprooted over time.
To do this, use a garden hoe or rake to remove rocks or debris from the trench and create a smooth surface. Then, use a tamper or flat tool to compact the soil and create a firm base for the plant roots.
Repeat this process several times until the soil is level and tightly packed. By taking these steps to prepare your planting area, you can help ensure the success of your new plants in your existing rock wall.
8. Planting The Tree
When it comes to landscaping, adding plants to an existing rock wall can be a charming and unique approach. It may seem daunting at first, but with careful planning and consideration, it can be a great addition to your outdoor space.
The first step is to assess the wall’s condition and determine if it can support the weight of additional plants. From there, you can choose plants suitable for the area’s lighting and moisture conditions. It’s essential to select plants that can thrive in the limited soil space available in the rock wall.
Consider selecting plants that have shallow roots, such as succulents or creeping vines, to prevent damage to the wall’s structure. Once you have selected the appropriate plants, it’s time to start planting.
- First, ensure that you make the wall sturdy and make it so that the tree won’t be pulled out easily.
- Second, the angle you plant the tree at is essential – the trunk should be planted at a 45-degree angle, so the tree doesn’t touch the wall.
- And lastly, ensure the tree is positioned so the roots can reach the rock wall. Pat down soil and tamp before planting.
Work slowly and carefully, being mindful of the wall’s stability and the plants’ delicate roots. Adding plants to your rock wall can create an eye-catching and natural focal point in your outdoor space. It can also help soften the rock wall’s hard lines, creating a more inviting atmosphere.
9. Fertilizing The Tree
Planting a tree into an existing rock wall can be daunting, but it will be a breeze with the right guidance. First and foremost, fertilizing the tree is important to help it grow and thrive. Pour the fertilizer around the tree’s base before planting to avoid root damage.
Water well after fertilizing to help soak into the ground and reach your tree’s roots. Finally, choose a fertilizer specifically for fruit trees, as this will provide the best results. Congratulations on planting your fruit tree – now all you have to do is wait for the harvest.
10. How Much Fertilizer To Use
When planting into an existing rock wall. Using the right amount of fertilizer is important to help your plants thrive. However, the amount of fertilizer needed will depend on a variety of factors, including the type of plants you are growing and the soil conditions in your area.
As a general rule, we recommend using a slow-release fertilizer that will provide nutrients over time rather than a quick-release fertilizer that can cause damage to your plants. You should also consider using organic fertilizers, which are better for the environment and can help improve soil health.
Be sure to follow the manufacturer’s instructions carefully when applying fertilizer. Monitor your plants closely to ensure they get the nutrients they need to grow strong and healthy in your rock wall.
11. Where To Apply Fertilizer
When planting into an existing rock wall, knowing where to apply fertilizer is important. Since the soil in a rock wall may not be as nutrient-rich as other planting areas, adding fertilizer can help your plants thrive. However, it is important to avoid applying fertilizer directly onto the rocks themselves. This can cause damage and discolouration over time.
Instead, focus on applying the fertilizer to the soil around the plants, being careful not to disturb any roots or other delicate structures. You may also want to consider using a slow-release fertilizer or compost. It’ll provide long-lasting nutrients without the risk of burning or damaging the plants or rock walls.
12. Fertilizing Trees In The Winter

Fertilizing trees in the winter is a great way to keep them healthy and thriving during the cold months. By providing them with the proper nutrients, you will help ensure that they grow strong and tall.
Consider your tree’s growth rate and individual needs to ensure you apply the correct fertiliser. You can use several different fertilizers – depending on what type of tree you are feeding! – so there is something for everyone. Just follow the instructions carefully and avoid any adverse effects on your tree’s health.
13. When To Fertilize
When to fertilize a fruit tree is an important question that many homeowners and gardeners struggle with. There are various factors to consider, such as the type of fruit tree and the planting location. And the amount of sunlight exposure the plant receives.
To help make things easier for you, we’ve put together some helpful tips on when to fertilize your fruit tree. We recommend using a high nitrogen fertilizer specifically designed for fruit trees.
Consistency will ensure good growth and healthy fruits.
14. Benefits Of Fertilizing
Fertilizing a tree is important in ensuring its long-term health and growth. By providing the right type of fertilizer, you can help the tree to grow strong and healthy roots and leaves.
You can also fertilize your tree between waterings if needed. The different types of fertilizers on the market come with different benefits for trees – some are good for stimulating plant growth.
Finding the right fertilizer for your tree is important, so read the label carefully before using it.
15. Caring For The Tree During Construction
Planting a tree into an existing rock wall can be daunting. But with some planning and care, the tree will be safe, and the wall will look great. Before beginning the planting process, ensure the tree is at a height that will allow it to remain above the ground during construction.
Water the tree regularly and make sure its roots are well-aerated. During construction, protect the tree from rain and direct sunlight. Once construction is complete, thoroughly water the newly planted tree.
Planting a tree into an existing rock wall is a great way to add greenery and character to a dull space. And it’s also a great way to show appreciation for the property owner.
Conclusion
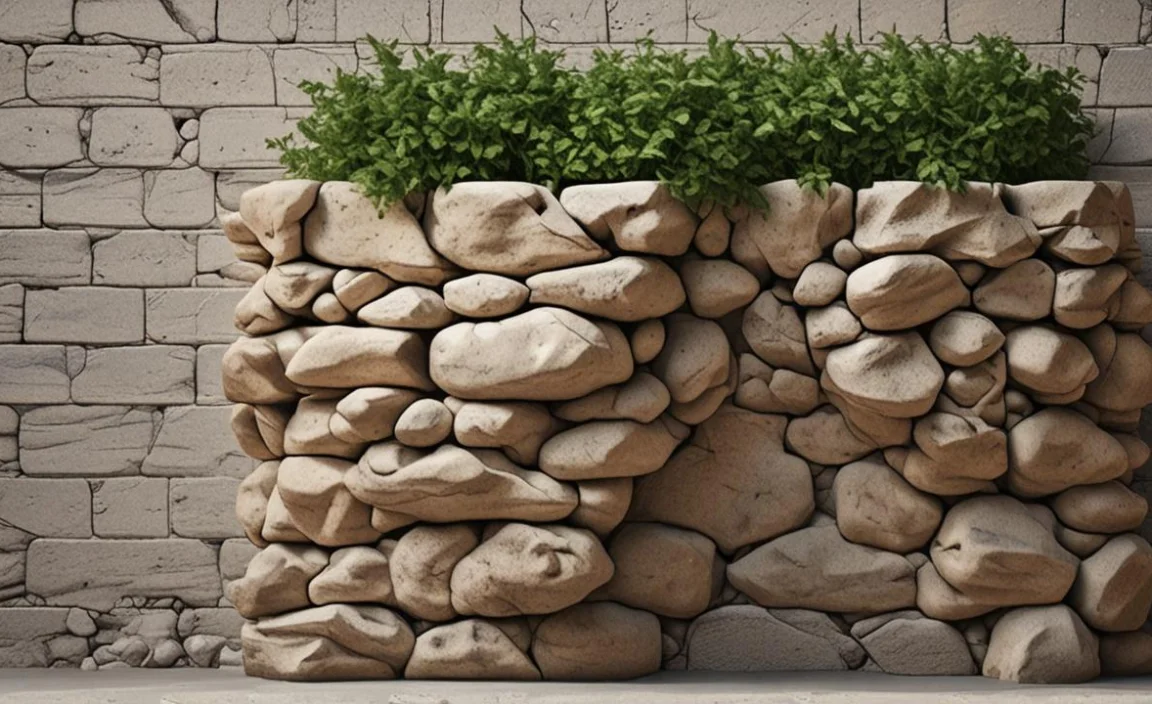
Planting into an existing rock wall can be challenging, but with the right approach and tools, creating a beautiful and thriving garden is possible. Remember to prepare the soil, choose the right plants for the conditions, and be patient as the plants take hold and grow.
With some care and attention, you can transform a barren rock wall into a lush and vibrant garden space. For the most attractive results, it’s important to take your time and choose the right plants for your wall.
Consider the amount of light and water the plants will receive and the soil conditions when selecting what type of plants you want to use. Remember, different plants thrive in different types of environments, so it’s important to choose wisely. Additionally, avoid crowding the plants together, as this will impact their growth and the overall appearance of your wall.
