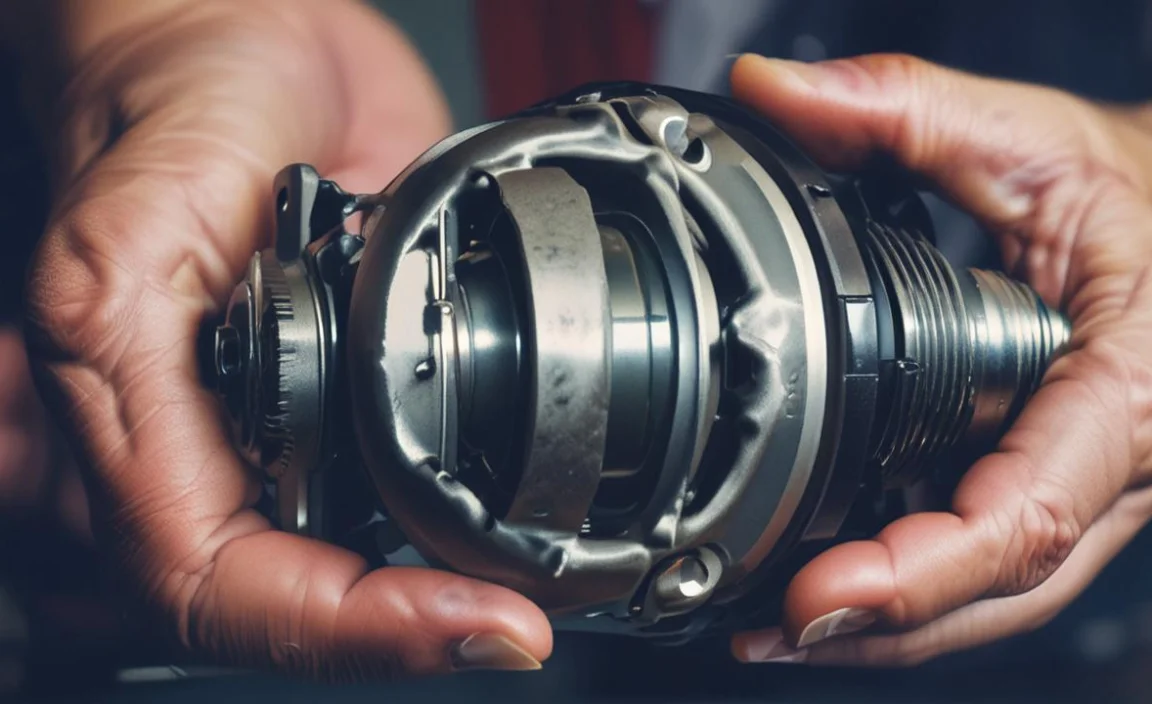
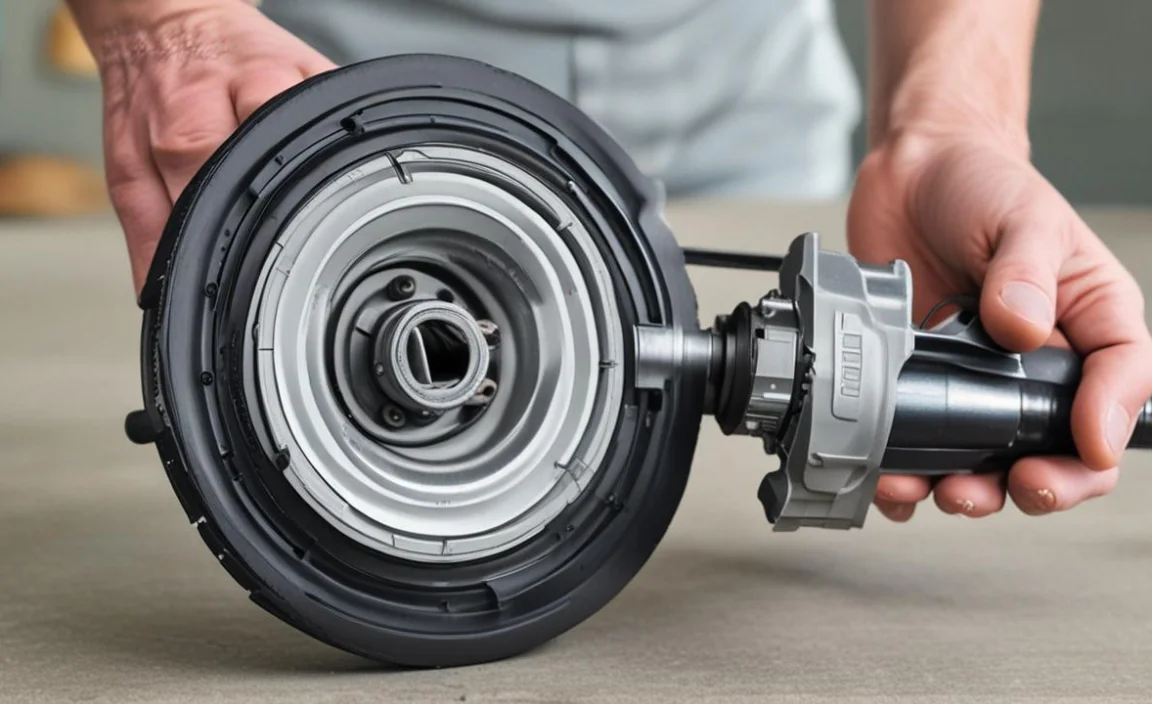
A PTO clutch bolt is a type of bolt handy in Perkins engines and other similar engines. Its design lets the engine quickly shift from one gear to another without disengaging the clutch. PTO clutch bolts are vital to the functioning of your machinery. Without these bolts, your machine would be rendered useless.
They prevent vibrations and wear in the transmission shaft and gearbox. They also keep the engine running smoothly, thereby ensuring constant power output. Removing a PTO clutch bolt is a complex task. It requires the removal of several parts, making it time-consuming as well. Below we guide you on how to remove pto clutch bolt. So without further ado, let’s dive into the details.
Tools And Equipment Needed For The Job
Having the right tools and equipment is essential for removing a PTO clutch assembly. Always follow proper safety precautions and refer to your vehicle’s manual for additional instructions or guidelines. Here are the items you will need for the job:
- Socket Wrench: A socket wrench with the correct size socket is necessary for loosening and tightening the bolt.
- Breaker Bar: If the bolt is particularly stubborn, a breaker bar can provide additional leverage to help loosen it.
- Torque Wrench: Once the PTO clutch bolt is removed, a torque wrench is needed to ensure proper tightening when reassembling.
- Safety Goggles: It’s important to protect your eyes from any debris that may be released during the removal process.
- Gloves: Wearing gloves can help improve grip and protect your hands from sharp edges or hot surfaces.
6 Easy Ways To Remove PTO Clutch Bolt

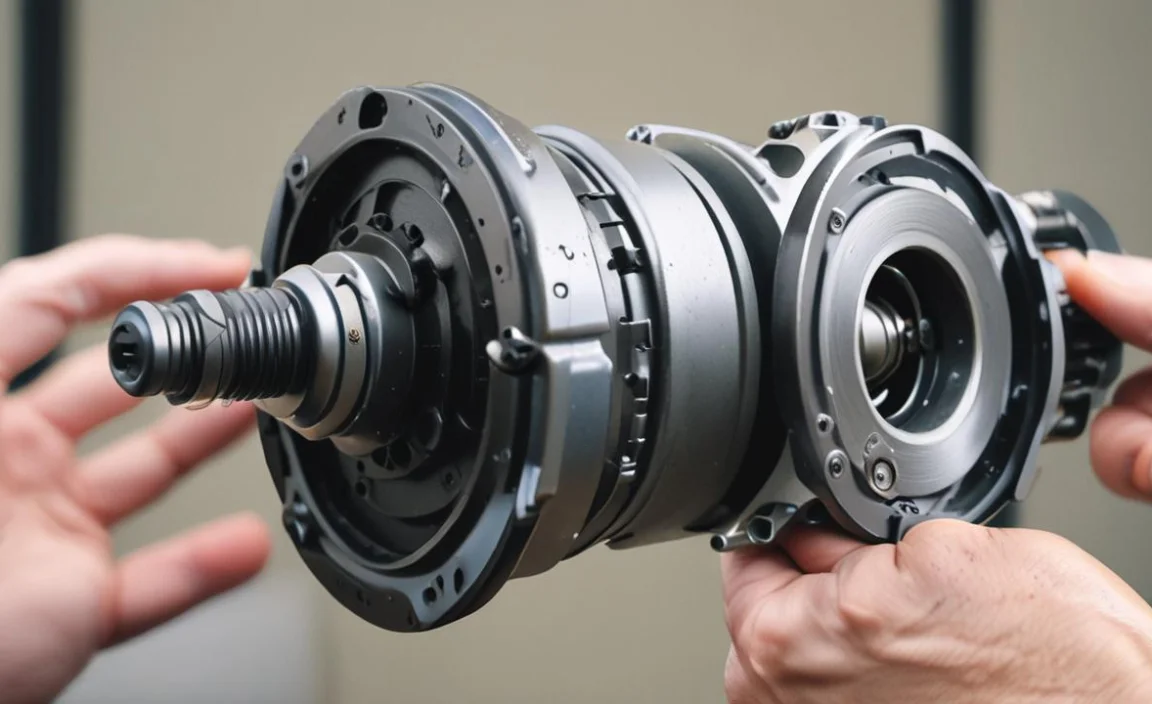
Removing a PTO clutch bolt can be frustrating, but it can be done easily with the right tools and techniques. The PTO clutch bolt is a crucial component in the operation of power take-off systems. Designed to fasten the PTO clutch assembly to the engine securely, this bolt ensures that power is effectively transferred from the engine to auxiliary equipment such as mowers, generators, or pumps.
Safety should always be a priority when working with machinery or tools. Wear appropriate protective gear and take necessary precautions to prevent accidents or injuries while attempting to remove the center of pto clutch. Here are six easy ways to remove pto clutch bolt.
Step1: Disconnect The Power Source
It is crucial to disconnect the power source before attempting to remove the PTO clutch bolt. This step is essential for ensuring safety and preventing accidental clutch engagement during the removal process. To disconnect the power source, first, locate the main power switch or lever and turn it off.
Next, if applicable, unplug or disconnect any electrical connections that supply power to the PTO clutch. It is also advisable to consult the equipment’s manual or seek guidance from a professional to ensure proper disconnection of the power source. By taking this precautionary step, you can minimize the risk of injury and safely remove the PTO clutch bolt.
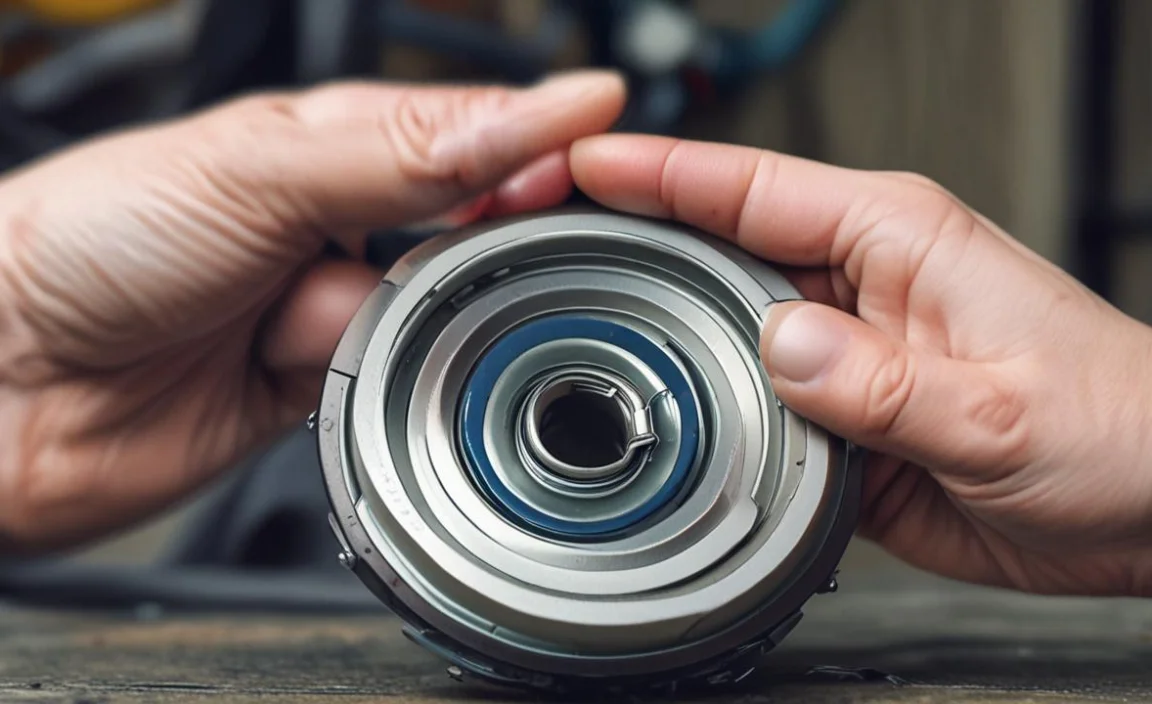
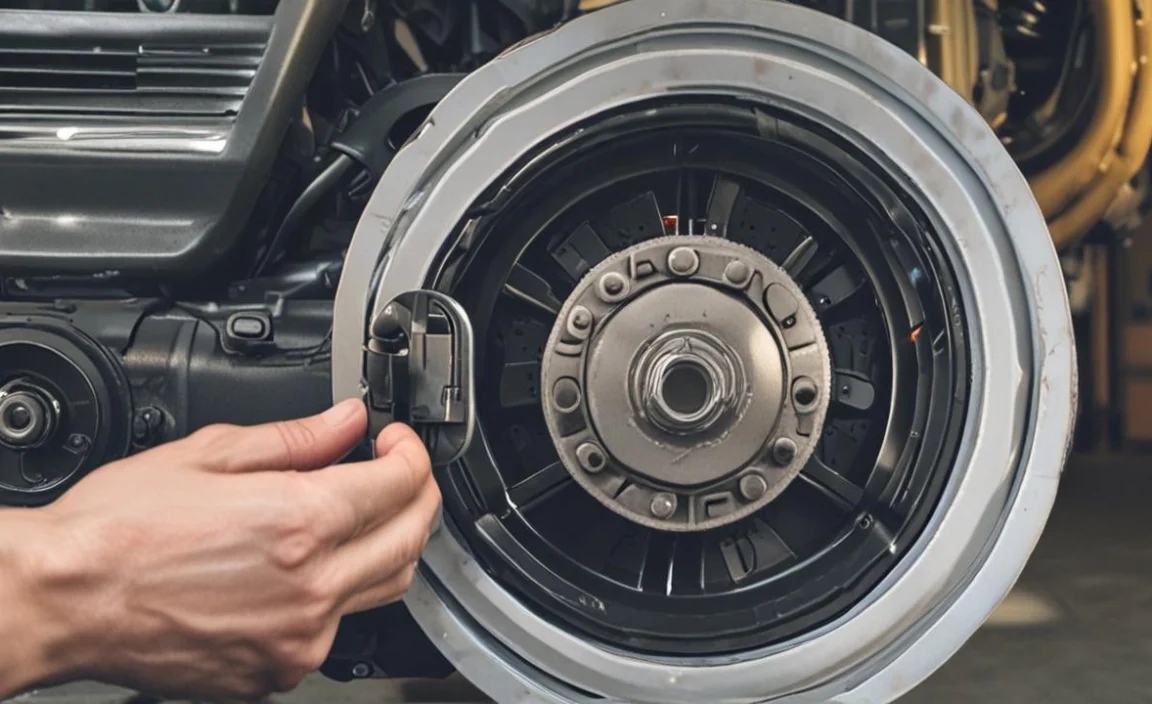
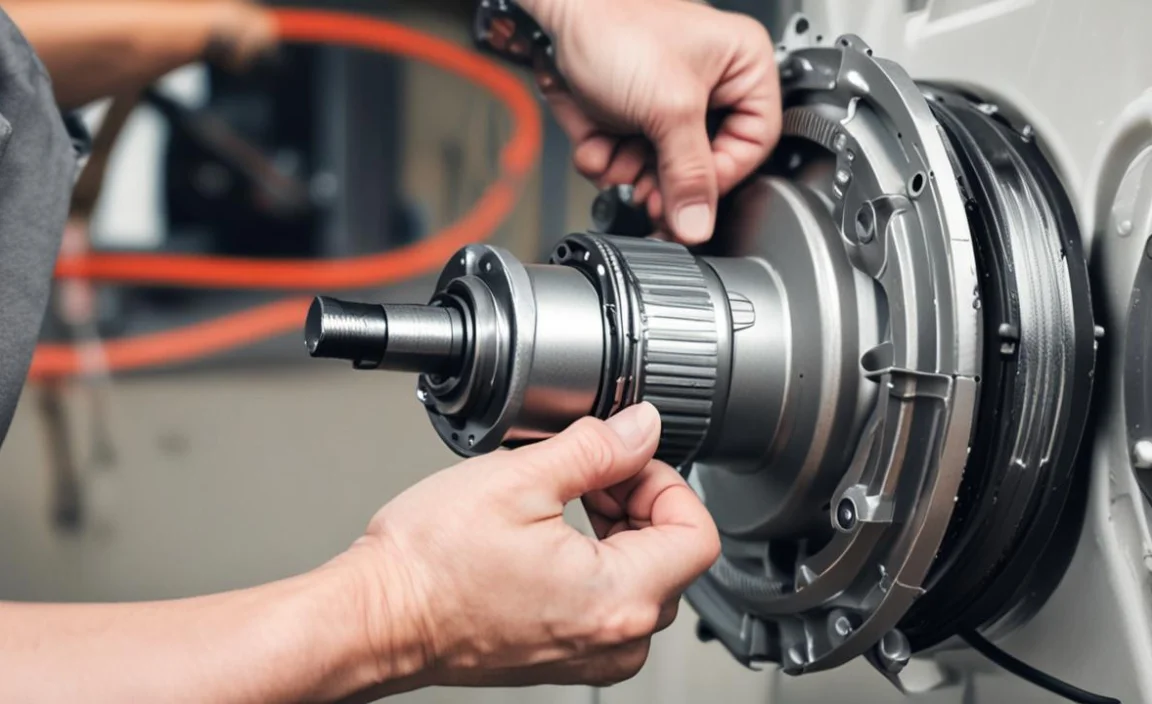
Step2: Locate The PTO Clutch Bolt
The PTO clutch is typically located on the engine crank shaft and is responsible for engaging and disengaging power to the PTO shaft. To find the bolt, you may need to refer to your equipment’s manual or consult a professional for guidance.
Once you have located the bolt, you can remove it using the appropriate tools and follow any specific instructions provided by the manufacturer. To avoid injury, it is important to exercise caution and follow proper safety protocols when working with machinery.
Step3: Spray Penetrating Oil
Using penetrating oil can be a game-changer when removing a stubborn PTO clutch bolt. Before loosening the bolt, it’s crucial to spray penetrating oil directly on it and let it sit for a few minutes. The oil works by seeping into the tight spaces and breaking down any rust or corrosion that may be causing the bolt to stick.
This allows for easier removal and reduces the risk of damaging surrounding components during the repair process. So, remember to grab your trusty can of penetrating oil before tackling that PTO clutch bolt. Your future self will thank you for it!
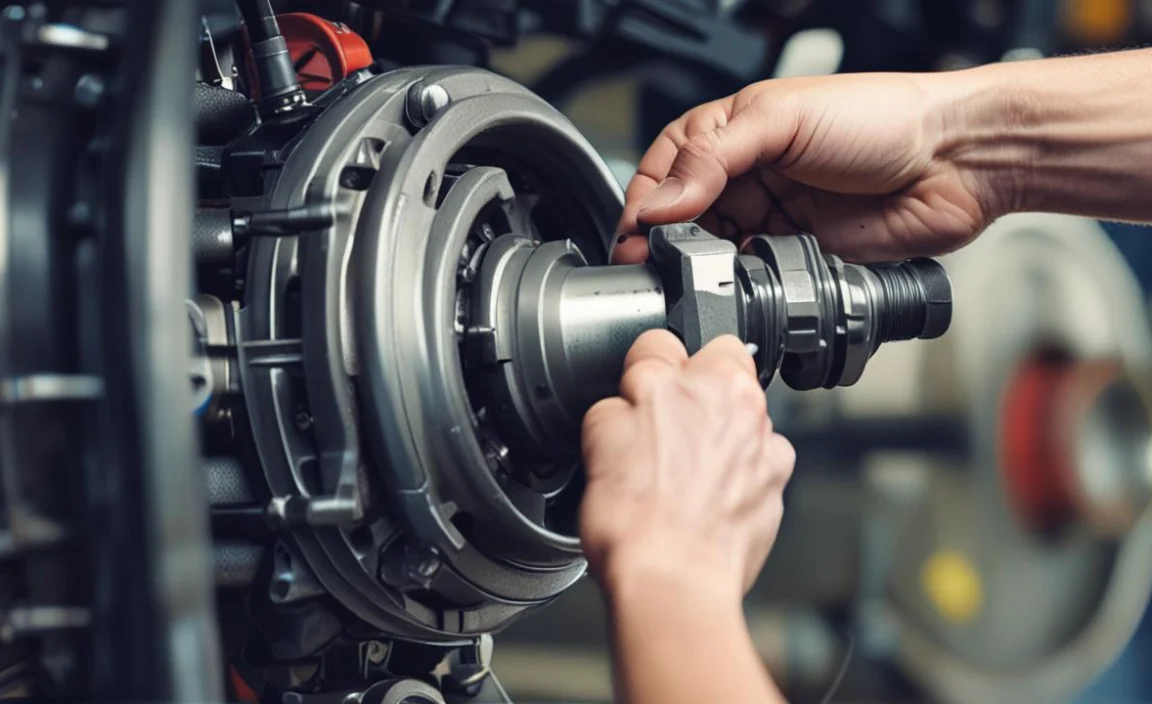
Step4: Use The Breaker Bar
A breaker bar can be a valuable tool for removing the PTO clutch bolt. This long-handled wrench provides extra leverage, making it easier to loosen stubborn bolts. To use a breaker bar, attach the appropriate socket size to the end of the bar and apply force in the opposite direction of tightening.
The additional leverage the breaker bar provides can help you overcome resistance and easily remove the PTO clutch bolt. Remember to exercise caution and follow safety guidelines when working with power tools or heavy machinery.
Step5: Switch To An Impact Wrench
Switching to an impact wrench can be a game-changer when removing a stubborn PTO clutch bolt from your garden equipment. An impact wrench is a powerful tool that delivers high torque with minimal effort, making it ideal for tackling tough bolts and nuts.
Unlike traditional wrenches or sockets, an impact wrench uses rotational force combined with quick bursts of hammering action to loosen even the most tightly secured bolts. Using an impact wrench, you can save time and energy by effortlessly removing the PTO clutch bolt, allowing you to get back to work quickly.
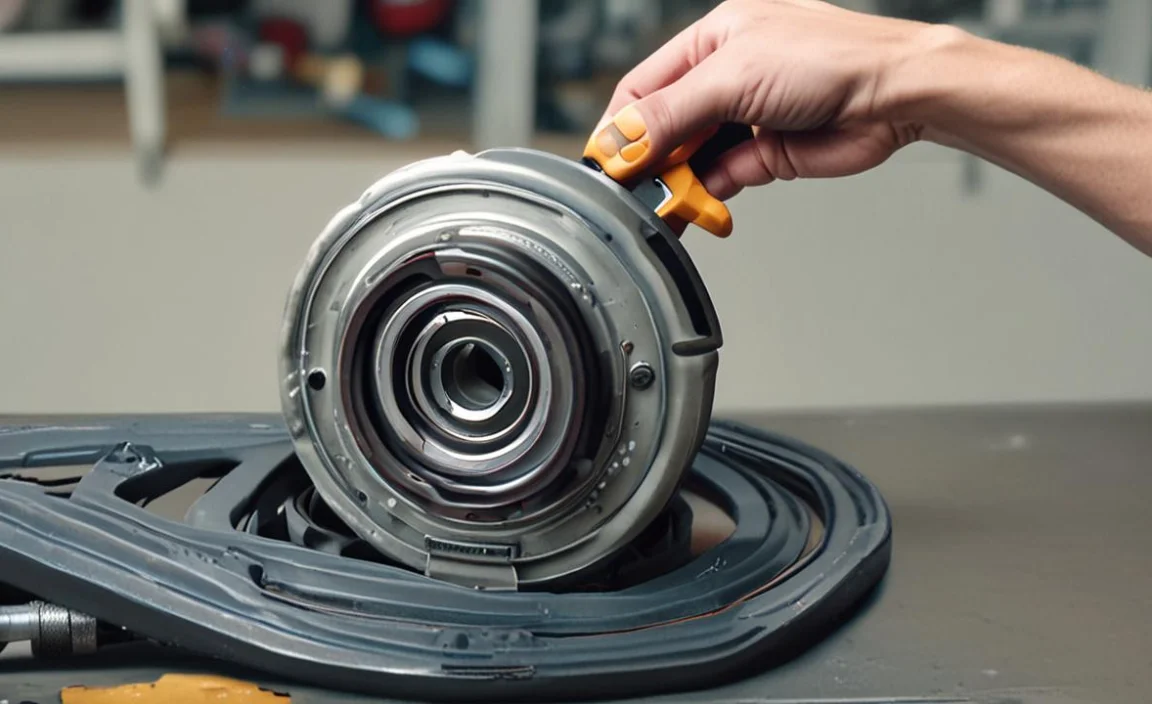
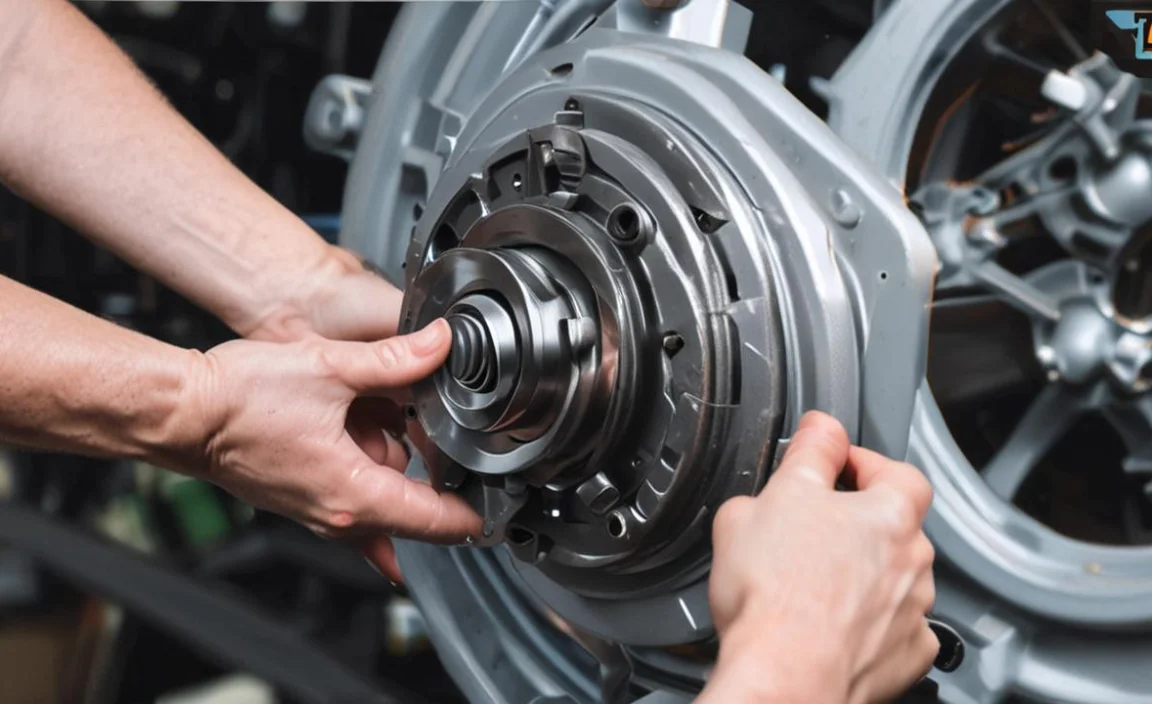
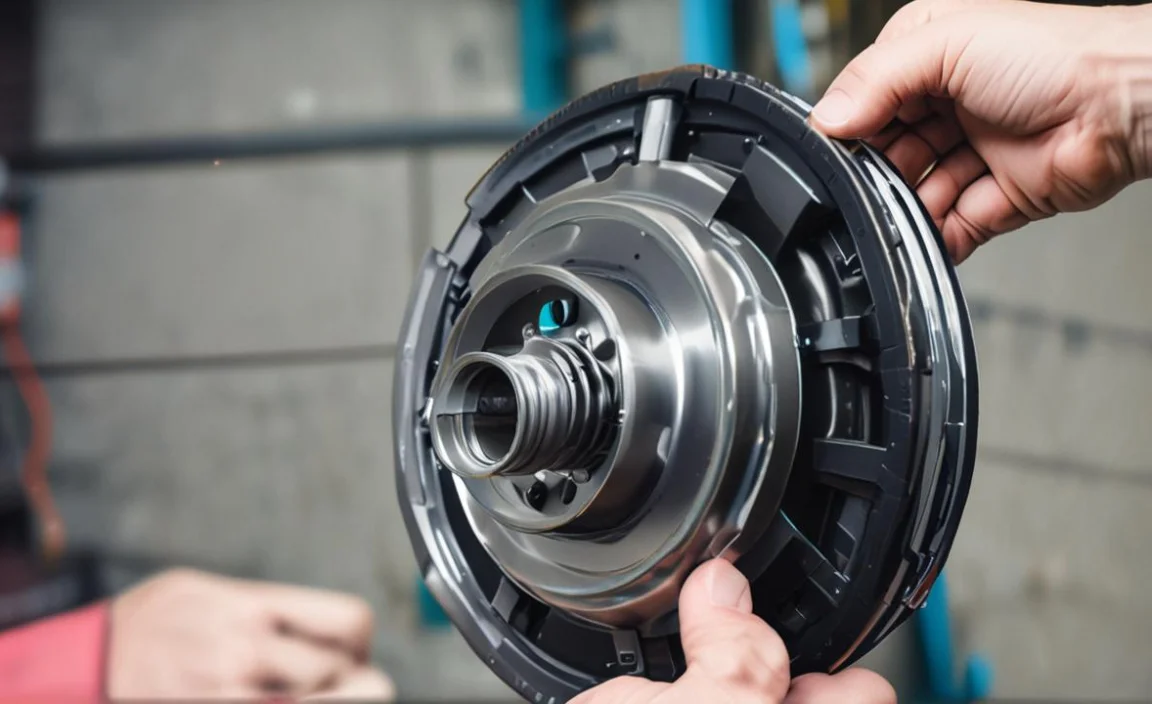
Step6: Remove The Pto Clutch Bolt
Removing a broken PTO clutch bolt can be challenging, but it can be done with the right tools and techniques. Remember to exercise caution when using power tools and wear appropriate safety gear.
If you are unsure about your ability to remove a broken PTO clutch bolt, it may be best to consult a professional for assistance. Here are some steps to help you remove a broken PTO clutch bolt:
- Start by applying penetrating oil to the broken bolt. This will help loosen any rust or debris causing it to stick.
- Use a wrench or socket set to try and turn the bolt counterclockwise. It may be enough to loosen and remove if it is still intact enough to grip onto.
- If the bolt is stripped or too damaged to turn with a wrench, you may need a drill and an easy-out tool. Drill a small hole into the centre of the broken bolt and then insert the easy-out. Turn it counterclockwise using a wrench or pliers to back out the bolt.
- If all else fails, you may need to use a cutting tool such as an angle grinder or hacksaw to carefully cut away the surrounding material until you can access the broken bolt. Once you have enough clearance, you can use one of the previous methods to remove it.
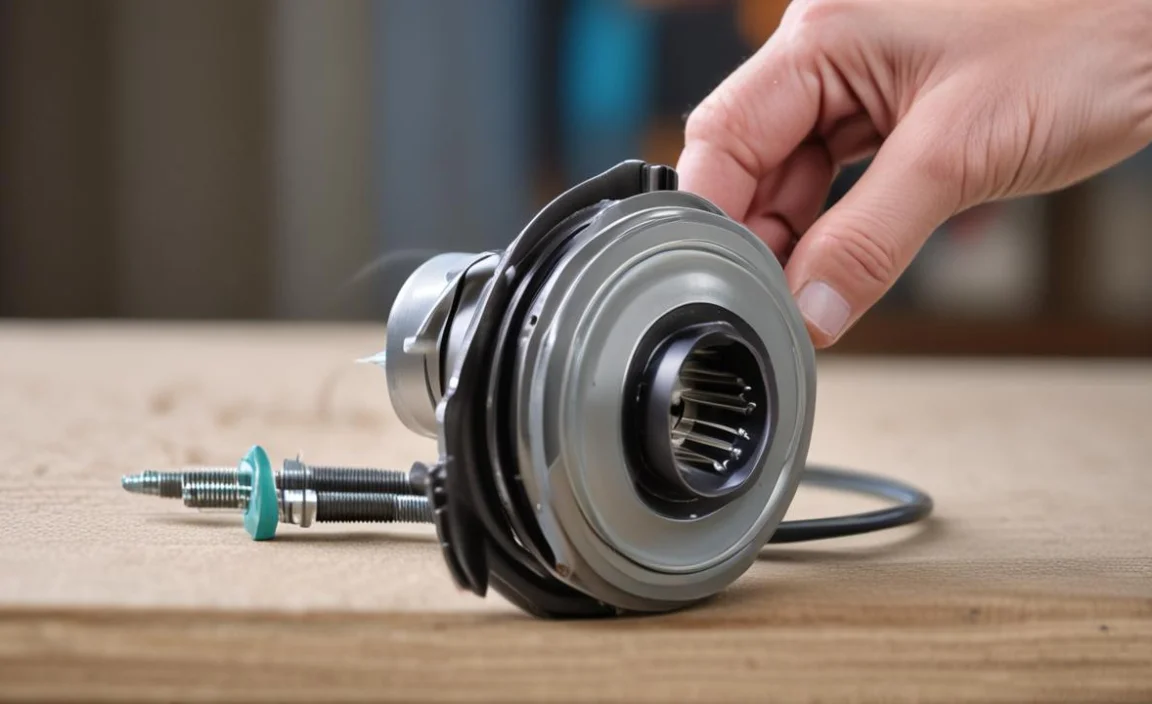
Precautions To Take During The Removal Process
When removing a PTO clutch bolt, it is important to take certain precautions to ensure a safe and successful removal process. By taking these precautions and following proper procedures, you can safely remove a PTO clutch bolt without causing damage to your equipment or risking personal injury. Here are some tips to keep in mind:
- Use The Right Tools: Make sure you have the necessary tools for the job, including a clutch removal tool specifically designed to remove PTO clutches. Using the wrong tools can lead to damage or injury.
- Disconnect Power: Disconnect the power to the equipment before attempting to remove the PTO clutch bolt. This will prevent any accidental engagement of the clutch during the removal process.
- Follow Manufacturer Instructions: Consult the manufacturer’s instructions or service manual for specific guidance on removing the PTO clutch bolt. Different models may have different procedures, so it is important to follow the correct steps.
- Take Note Of Any Special Considerations: Some PTO clutches may have additional components or features that need to be taken into account during removal, such as electric clutches or clutch head screws. Be sure to understand these considerations before proceeding.
- Work In A Well-Ventilated Area: Removing a PTO clutch bolt can generate heat and potentially release fumes or debris. Working in a well-ventilated area or wearing appropriate protective gear, such as gloves and goggles, is advisable.
Common Challenges And Troubleshooting Tips
One common challenge is that the bolt may be stuck due to rust or corrosion. Applying penetrating oil to the bolt and letting it sit for a few hours can help loosen it. Another challenge is ensuring that you have the proper tools, such as a torque wrench, to remove the bolt without causing damage to the surrounding components.
Additionally, it’s important to disconnect the spark plug and immobilize the flywheel before attempting to remove the PTO clutch bolt. Suppose you’re unsure about any step of the process. In that case, consulting your owner’s manual or seeking assistance from a professional can provide you with the answers you need to successfully remove the PTO clutch bolt on your Cub Cadet or John Deere mower.
Safety Measures To Follow While Working With Pto Clutch Bolt
Regarding removing a PTO clutch bolt, it is important to prioritize safety. Working with heavy machinery and under high pressure can be dangerous if not done correctly. Here are some safety measures to follow when working with a PTO clutch bolt:
- Familiarize yourself with the specific engine model and PTO clutch system you are working with. Different engines may have different procedures or requirements for removing the bolt.
- Use proper tools and equipment. A strap wrench is often recommended for loosening or tightening the PTO clutch bolt. Make sure you have the correct size of wrench for your particular bolt.
- Read the owners manual or consult the manufacturer’s instructions for guidance on safely removing the PTO clutch bolt. Following the recommended procedure will help prevent accidents or damage to the equipment.
- Take your time and work methodically. Rushing or applying excessive force can lead to accidents or striped threads.
- If you are unsure about any step of the process, it is best to consult a professional mechanic who has experience working with PTO clutches.
Safety should always be the top priority when working with heavy machinery and potentially hazardous situations like removing a PTO clutch bolt.
When To Seek Expert Professional Help Or Guidance
It’s important to know when to seek professional help or guidance when removing a PTO clutch bolt. While some DIY enthusiasts may feel confident in tackling this task themselves, there are certain situations where it’s best to leave it to the professionals. One such situation is if your clutch is already showing signs of being bad.
A worn or malfunctioning clutch can make the removal process more complex and require specialized tools or knowledge. Consulting a tech manual specific to your vehicle can provide valuable insights and step-by-step instructions. Ultimately, suppose you’re unsure about your ability to safely and effectively remove the PTO clutch bolt. In that case, it’s always better to err on the side of caution and consult with a qualified mechanic who can ensure the job is done correctly.
Tips For Maintaining And Preventing Future Issues With Pto Clutch Bolt
Maintaining and preventing future issues with the PTO clutch bolt is essential for the smooth operation of your equipment. By following these tips, you can effectively remove and maintain the PTO clutch bolt, reducing the risk of future issues and ensuring optimal equipment performance. Here are some tips to help you with removing and maintaining the PTO clutch bolt:
- Use The Right Tools: You will need a socket wrench or an impact wrench to remove the centre bolt. Use the correct size socket or wrench that fits snugly on the bolt.
- Apply Penetrating Oil: Before attempting to remove the bolt, spray some penetrating oil on it and let it sit for a few minutes. This will help loosen any rust or debris that may have accumulated.
- Secure The Washer: Avoid losing the washer between the bolt head and crankshaft when removing the centre bolt. If it falls off, retrieve it and reinstall it correctly during reassembly.
- Loosen In A Controlled Manner: Start by loosening the centre bolt in a controlled manner, using steady downward pressure. Avoid jerking or applying excessive force, which can damage the threads or other components.
- Clean And Inspect: Once you have removed the bolt, take the time to clean any dirt or debris from both the bolt and crankshaft threads. Inspect them for any wear or damage that may indicate future issues.
- Apply Thread Locker: Before reinstalling the bolt, consider applying a thread-locking compound to prevent it from loosening over time due to vibration.
What Are The Symptoms Of A Pto Clutch Bolt Not Being Removed?
A few potential symptoms of a PTO clutch bolt not being removed exist. If the clutch bolt is not removed, it can cause the engine to overheat and eventually fail. Additionally, it can cause excessive friction and wear on the gears, decreasing their lifespan and reducing the engine’s efficiency. In extreme cases, it could even cause an engine fire.
If you notice any of these symptoms in your vehicle, you must take action and remove the clutch bolt. You can use a socket wrench or crowbar to break it off at the base. Once you have done this, you should replace the clutch bolt with a new one and reattach it using screws or bolts.
Conclusion
There are several ways to remove the PTO clutch bolt. You can use a wrench or a socket, or you can use an impact clutch head screwdriver. However, using an impact deck drive belt with a PTO clutch bolt removal tool is the most common way. This tool has two chisels that grip the bolt and pull it out easily. Above are instructions on removing the PTO clutch bolts correctly and easily.
This can be difficult if not done correctly, but here are the steps to remove PTO clutch bolt. From using tools that won’t damage the engine to checking a few things first, we’ll explain every step under the sun so you can safely remove this clutch bolt without any problems.
