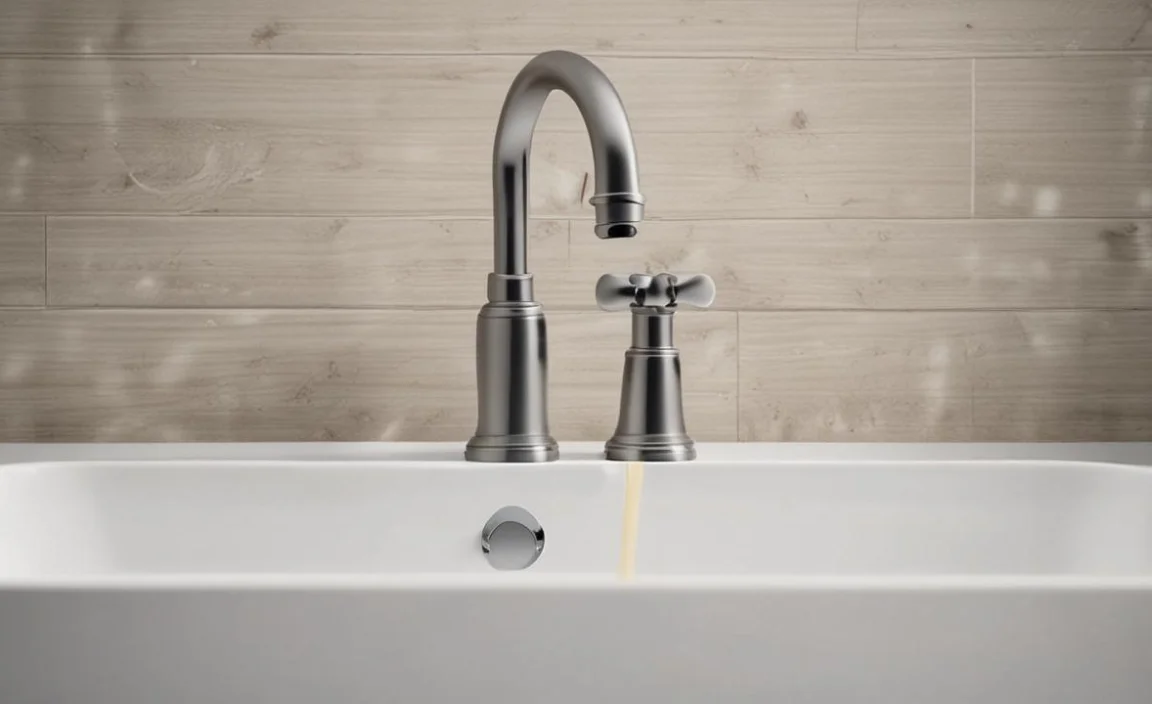
Drip, drip, drip. The sound of a leaky faucet can be incredibly annoying, and the constant wastage of water can also add to your bills. Did you know a leaky faucet could waste thousands of gallons of water in just one year?
Here we will discuss the common causes of leaky faucets and provide expert tips on how to repair a leaky faucet in just a few minutes. We’ll cover everything from shutting off the water supply to disassembling the faucet handles and sanitizing the valves.
Additionally, we’ll share some tips on preventing future leaks so you don’t have to deal with this issue again. Say goodbye to those sleepless nights caused by that pesky, dripping sound.

What Causes To Drip?

Faucets can drip for various reasons, but the most common cause is a worn-out washer or O-ring. Over time, these small components can become damaged or deteriorate, causing water to leak and create that annoying drip. High water pressure can also strain the faucet and cause dripping. Regular maintenance and repairs are crucial to prevent dripping. Here are some common causes for faucets to drip.
Corroded Seals
A dripping faucet is a common problem caused by corroded seals due to worn-out washers, damaged valve seats, or corroded parts in the assembly. To fix it, shut off the water supply and disassemble the faucet handles using pliers or an adjustable wrench. Replace the defective parts with new ones available at any hardware store. No need to call a professional plumber anymore.
Loose Fittings
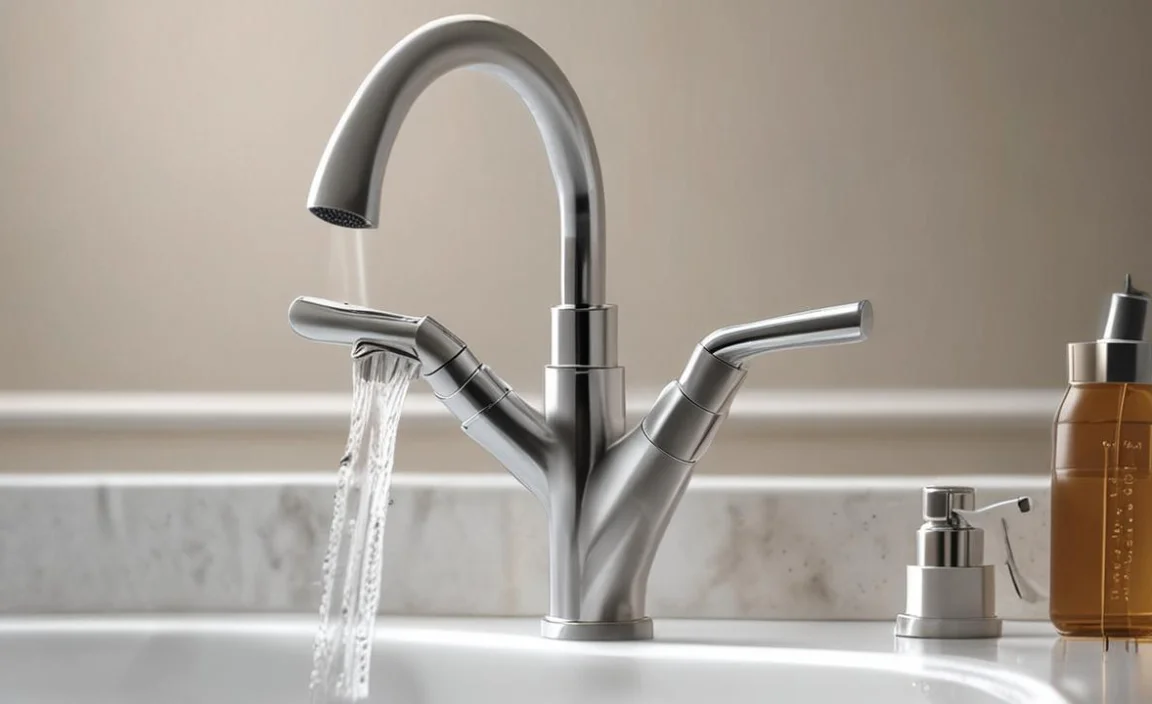
Leaky faucets can be caused for various reasons; however, loose fittings are the most common culprit. This occurs when washers, o-rings, or gaskets become worn out with time. Hard water buildup can lead to corrosion and damage to the faucet components, causing leaks, while high water pressure can put unnecessary strain on the fixture leading to drips. Regular maintenance by a homeowner or professional plumber can prevent these issues.
Broken Handles

Leaky faucets are a common household issue that nobody wants to deal with. Broken handles are often the root cause of faucet leaks and could be caused by several factors, such as worn-out washers, O-rings, or valve seats.
Corrosion buildup or high water pressure in the faucet can also contribute to dripping faucets. Regular maintenance and replacement of faulty parts using new parts from a hardware store could save homeowners gallons of water and money on their water bills.
Clogged Aerators
Various reasons can cause leaky faucets, and one of them is a clogged aerator. When this happens in your kitchen faucet, it’s usually due to a worn-out washer that has been damaged due to constant friction with the valve seat.
Corrosion buildup and mineral deposits can also cause damage to the valve seat or other components inside the fixture, resulting in annoying drips. To prevent further damage and save on your water bill, promptly address any dripping faucets by replacing faulty parts using a wrench, pliers, screwdriver or any other hardware store tool.
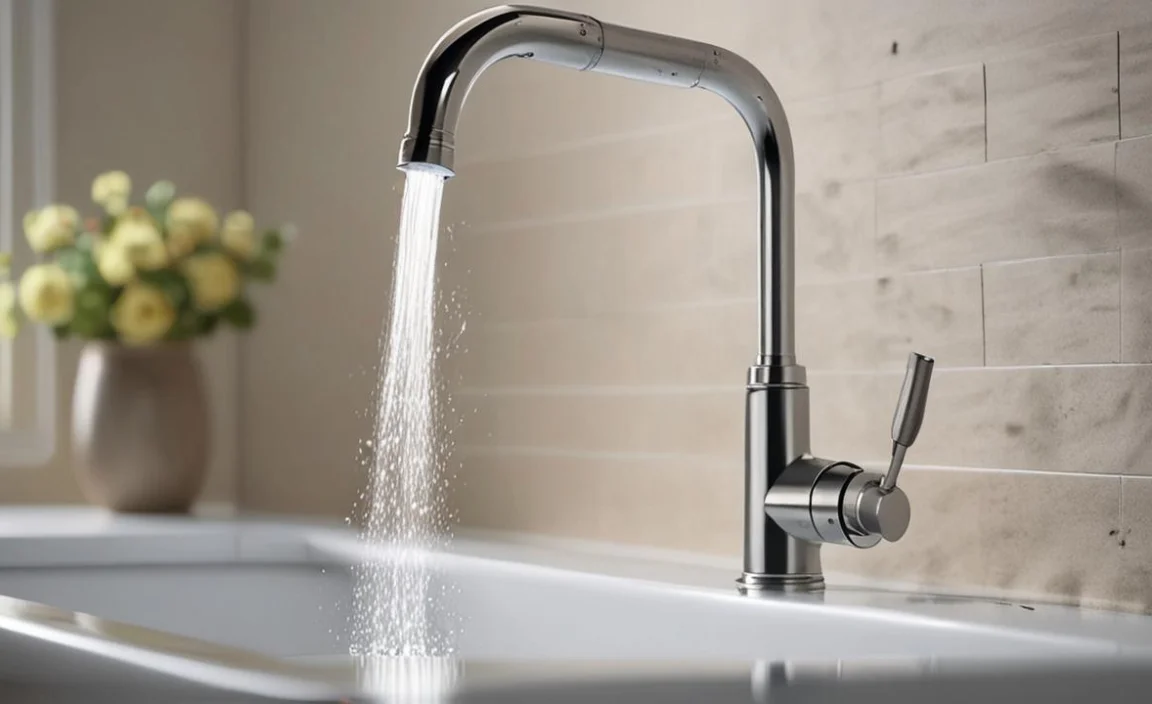
High Water Pressure
To stop a dripping kitchen faucet due to high water pressure, start by shutting off the main water supply. Dele the decorative cap and knob covering the leaking faucet handle using pliers or a screwdriver. Detach the faucet stem and examine the inside for signs of corrosion or damaged rubber washers. Replace worn-out components with new parts from a hardware store before reassembling everything in reverse order.
Expert Tips On How To Repair A Leaky Faucet
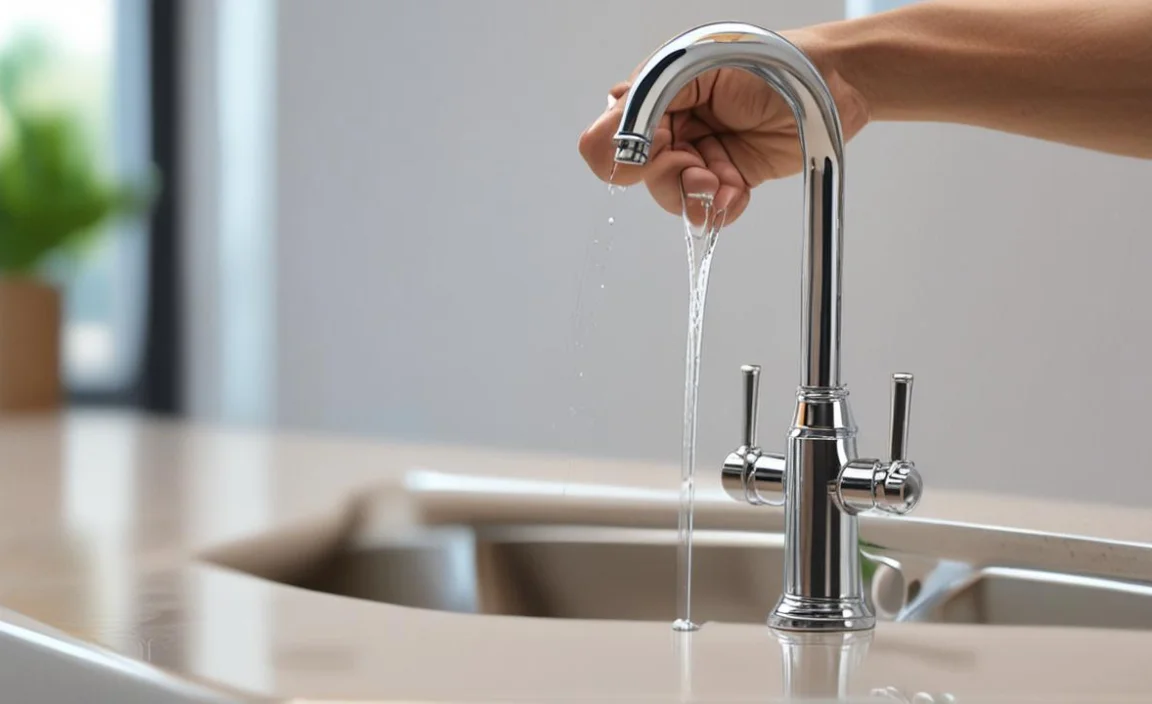
If your kitchen faucet is dripping and you don’t want to call a plumber or pay high water bills every month, fixing it yourself is easy with these simple steps. First, turn off the main water supply. Then identify the type of faucet and source of the leak (it could be due to a worn-out washer or valve).
Ensure you have the tools like a screwdriver or wrenches and replacement parts like an O-ring or cartridge. Follow step-by-step instructions carefully to avoid mistakes. Here are some expert tips on how to repair a leaky faucet.
1. Shut Off The Water Supply
Before starting any repair work on a leaky (ball faucet or compression faucet), turn off the water supply using the shut-off valve behind or under your sink. Be sure to release any pressure in the faucet by turning it on and allowing any remaining water to drain out before beginning repairs.
2. Check For Loose Parts
To fix a dripping faucet, start by shutting off the water supply. Tighten loose parts with a wrench or pliers and check if the leak stops. If it persists, replace worn-out seals and gaskets to stop the drip. Keep your faucet clean to prevent corrosion buildup. Regular plumbing maintenance can save gallons on your water bill and avoid costly repairs from a professional plumber.
3. Replace The Faucet Cartridge
If your kitchen faucet is dripping constantly, one culprit could be a faulty faucet cartridge. To replace it yourself in a few simple steps without unnecessarily calling in a plumber or spending gallons of water, start by turning off the water supply, then unscrew and remove the decorative cap and handle using an adjustable wrench. Use pliers to remove the retaining clip and pull out the old cartridge; then insert a new one and reassemble everything.
4. Replace The Faucet Seat Washer
Turn off the main water supply to fix a dripping faucet caused by a faulty seat washer. Remove the decorative cap on the faucet handle and use an adjustable wrench or pliers to unscrew and remove it. Take out the retainer and packing nut with a hex wrench or pliers to access the faulty washer. Replace it with a new one coated with the plumber’s grease before reassembling and testing for leaks.
5. Replace The Faucet O-Ring

Replacing a faulty O-ring in your kitchen or bathroom faucet is easy if you follow these simple steps without causing leaky problems. Turn off the water supply and disassemble your faucet to locate the culprit. Remove the old O-ring and replace it with a new one from your local hardware store. Reassemble your fixture by following our guide carefully, and test it for leaks before using it again.
6. Replace The Valve Seat
When fixing a dripping faucet, replacing the valve seat is crucial. Before beginning this simple DIY project, turn off your main water supply. Use pliers or an adjustable wrench to remove the old valve seat. Ensure you clean its surrounding area well and apply the plumber’s grease when installing the new one. Reassemble the faucet carefully and test for leaks. These easy steps will save gallons of water and money on your water bill.
7. Disassemble The Faucet Handles
First, shut off your main water supply to take apart your faucet handles and fix that pesky dripping problem at home without calling a plumber. Using pliers or a flathead screwdriver, pry off those stubborn decorative caps and gently unscrew the set screws to remove the handles.
Be sure to have penetrating oil on hand if they’re stuck. Remove the packing nut and stem to expose corrosion or worn-out parts like washers or o-rings. After replacing these small parts with new ones from your local hardware store, be sure to put everything back together as it was before tightening all screws securely.
8. Detach The Valve Stem
It’s crucial to detach the valve stem from the fixture to fix a dripping faucet without calling a plumber. After shutting off the main water supply and using pliers or a wrench to remove the valve stem from inside of the faucet body, carefully check for corrosion or other signs of wear and tear. Replace washers and O-rings before reassembling the hardware with new parts and restoring water flow if necessary.
9. Sanitize The Valves
Clean your valves to sanitize them effectively. Turn off the main water supply and detach the valve from the fixture. Use penetrating oil to loosen stubborn parts before cleaning them with white vinegar and water or an antibacterial cleaner. Rinse everything thoroughly with clean water before reassembling it all. Regular sanitizing can prevent harmful bacteria buildup and extend your plumbing’s lifespan.
10. Put The Faucet Together
After completing the repair work on your leaking faucet, it must be back together correctly. Ensure you have thoroughly cleaned all the faucet parts and are in good condition before reassembly. Follow the instructions provided by the manufacturer carefully for proper assembly. Use an adjustable wrench to securely tighten all screws and connections while being cautious against over-tightening.
Tips For Preventing Future Leaks
Preventing future leaks in your home is important to avoid costly repairs and potential damage to your property. Regularly inspecting and maintaining your plumbing system is one tip for preventing future leaks.
This includes checking for any signs of corrosion or wear and tear on pipes and ensuring that all connections are tight and secure. Another tip is properly sealing areas where water could seep through, such as around windows, doors, and the roof. Using waterproof materials like silicone caulk can help prevent water from infiltrating these areas.
Additionally, it’s important to keep gutters and downspouts free of debris to ensure proper drainage away from your home’s foundation. Following these tips and staying vigilant about potential leak hazards can help protect your home from future water damage.
Conclusion
A leaky faucet can be a frustrating and wasteful plumbing issue, but luckily, fixing it is a simple task that only takes a few minutes. Whether it’s corroded seals, loose fittings, or clogged aerators causing the leak, our expert tips will help you repair your faucet quickly.
Remember to shut off the water supply before starting any repairs and follow the step-by-step instructions carefully. Once you have fixed the leak, consider taking some preventative measures to avoid future leaks, like regular maintenance checks, reducing high water pressure, and replacing worn-out parts promptly. We hope you now understand how to repair a leaky faucet.
