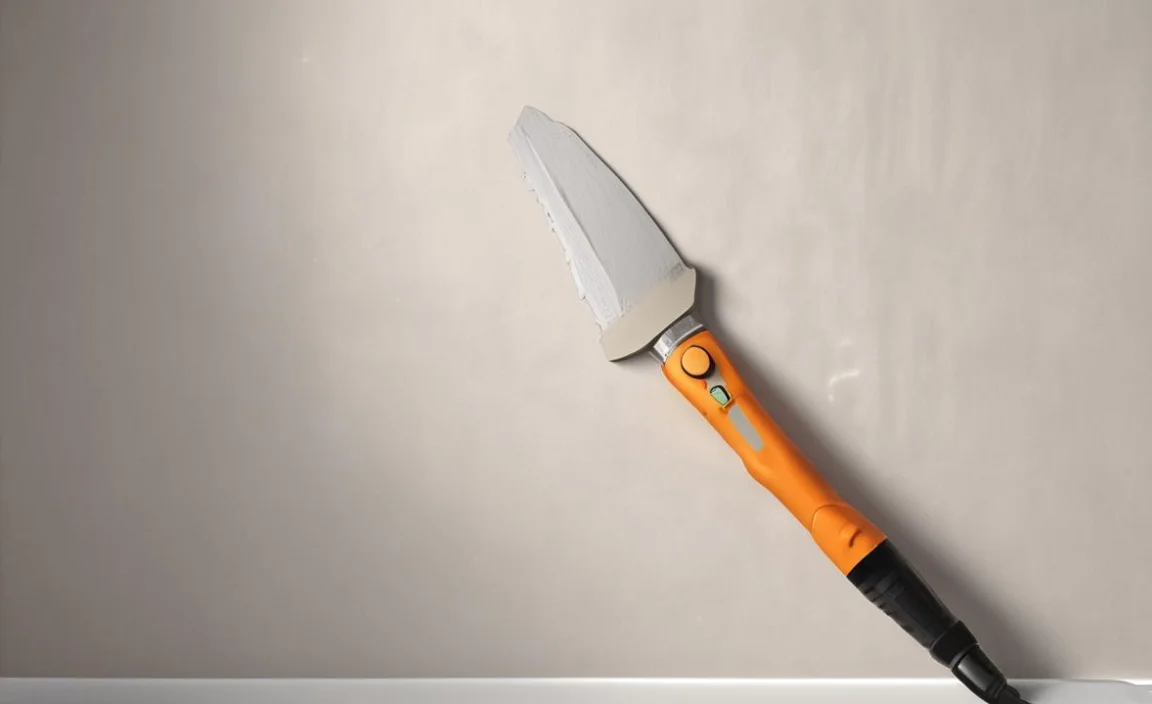
Repairing damaged drywall is an essential DIY skill. With the right tools, such as a utility knife, sanding sponge or sandpaper, mesh tape or joint tape, drywall screws or fasteners, drywall patch kit or scrap pieces of the drywall along with joint compound or spackle and a putty knife, one can repair small to large-size holes or dents.
Damaged drywall can be an eyesore in any room of your house. Whether it’s a small hole or an entire section that needs replacing, repairing drywall can seem daunting. But fear not! With some simple steps, you can repair drywall and make your walls look as good as new.
Here we will go over everything you need to know about how to repair drywall. We’ve covered you, from gathering the necessary tools and materials to assessing the damage and preparing the wall. So grab your tools, and let’s get started.
How To Repair Drywall – With Some Simple Steps
Before starting any repairs on damaged drywall in your home improvement project on ‘how to Repair Drywall’, you must gather all the necessary tools and materials. Essential tools required are a utility knife for cutting out the damaged area of the wall; a putty knife to apply spackle or mesh; sandpaper or a sanding sponge to smooth out rough edges of the patch; drill to secure the furring strip or new piece of corner bead; and a drywall screw to attach a scrap of wood securely to the wall stud. Safety equipment like dust masks and gloves are also important during this process. Here are some simple steps to repair drywall.
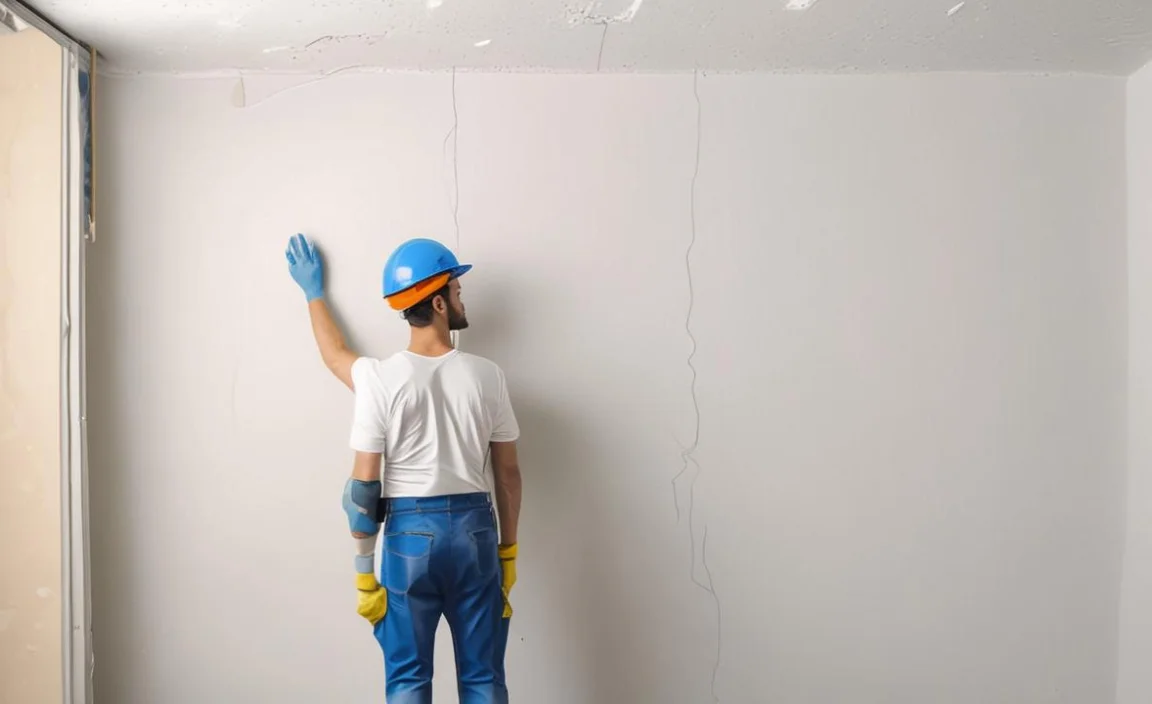
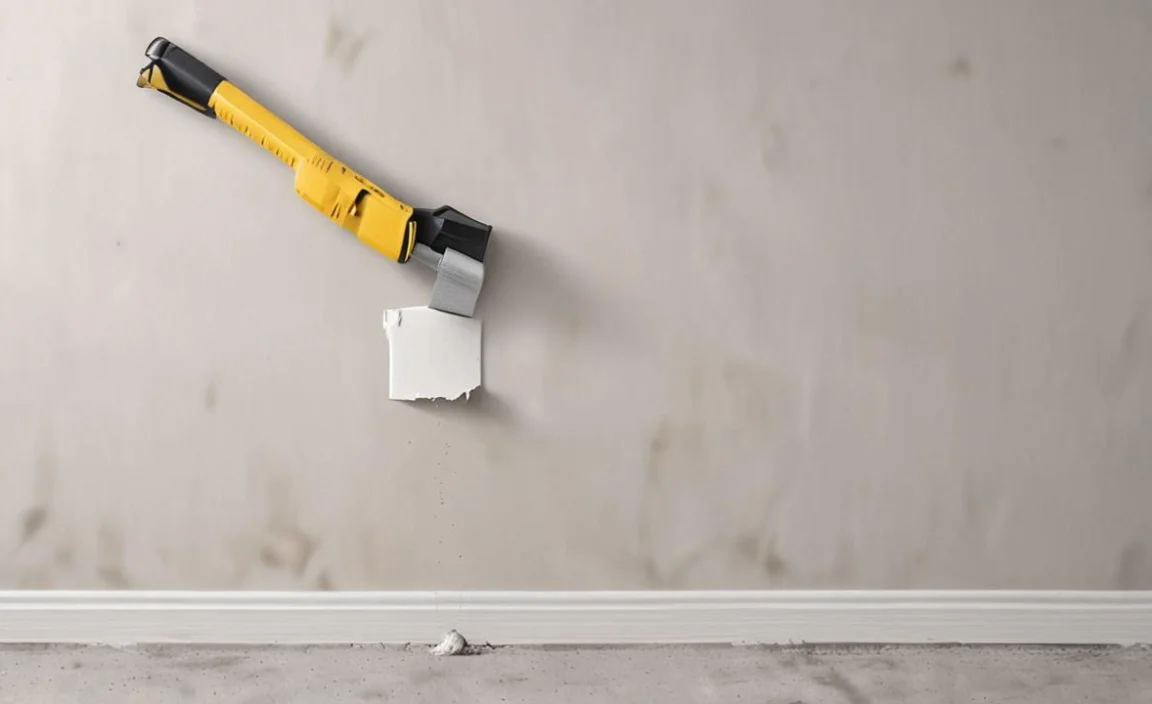
1. Assess The Damage
Before starting any repair work on damaged drywall, assess the extent of the damage. Small holes or cracks can be patched with spackle or joint compound, while larger holes may require a patch made from drywall or mesh tape and joint compound. Properly sand and prime the repaired area before painting for a seamless finish.
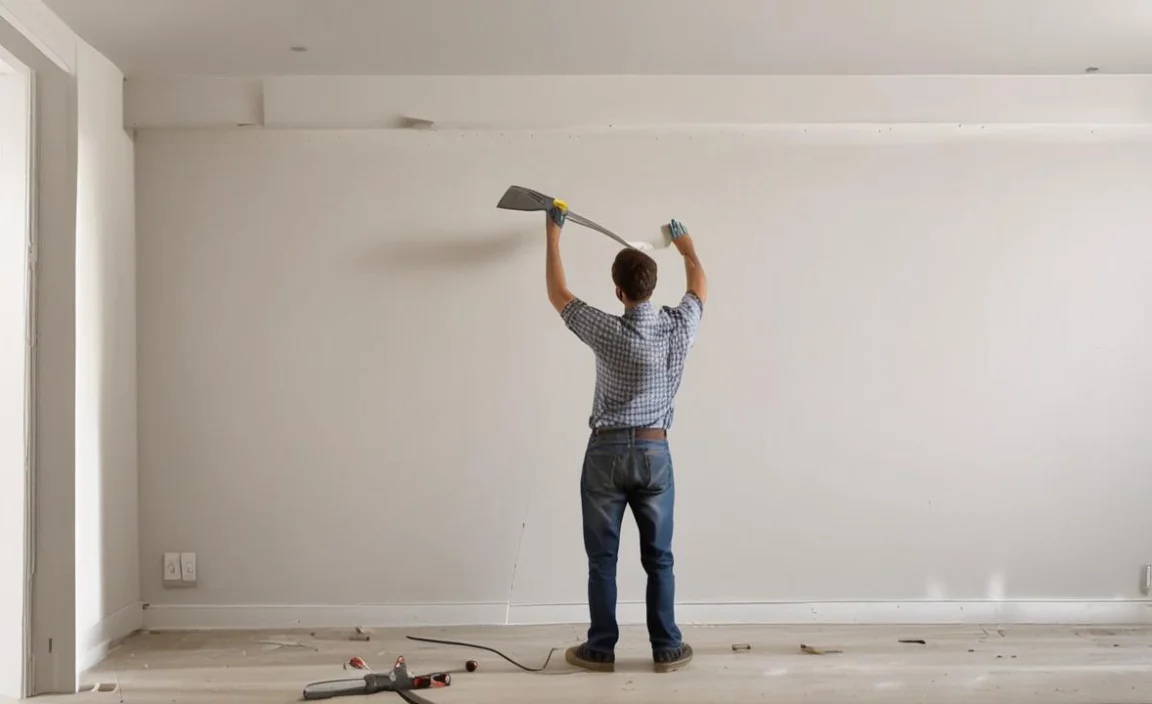
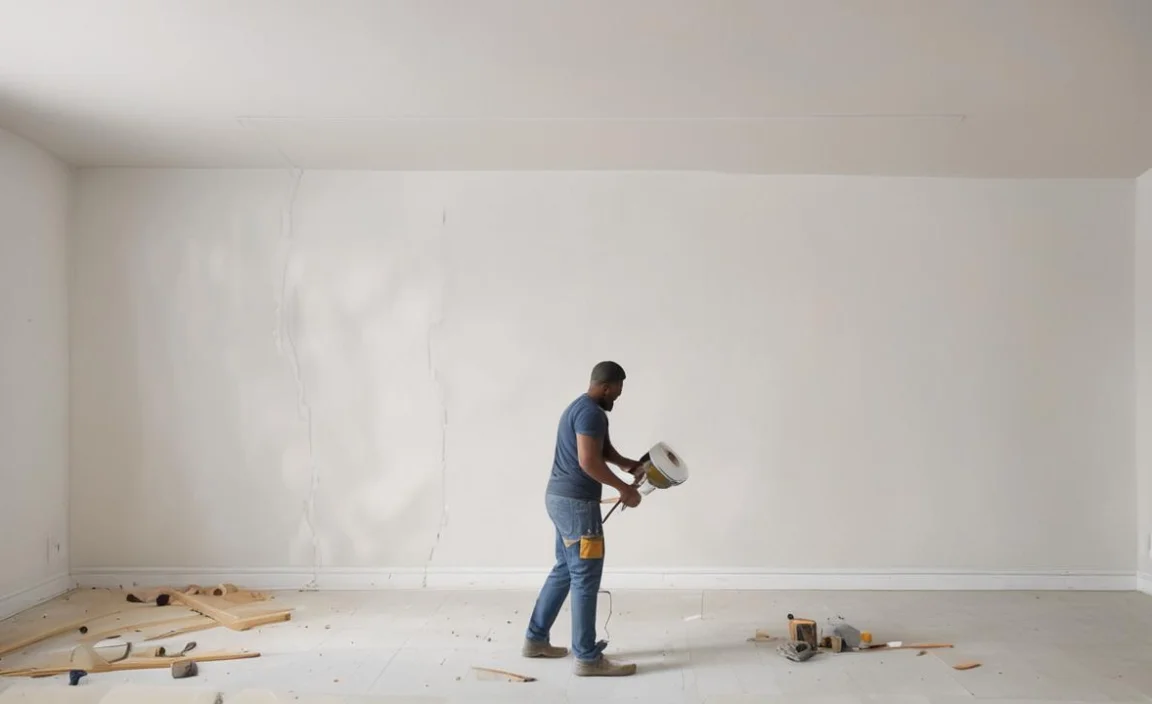
2. Prepare The Wall
Before repairing drywall, it’s important to properly prepare the wall by removing any loose or damaged material and filling holes or gaps with joint compound. After letting the compound dry completely and smoothing it with sanding, apply primer to the repaired area for added protection. Incorporating these steps will ensure a seamless finish on your newly repaired drywall.
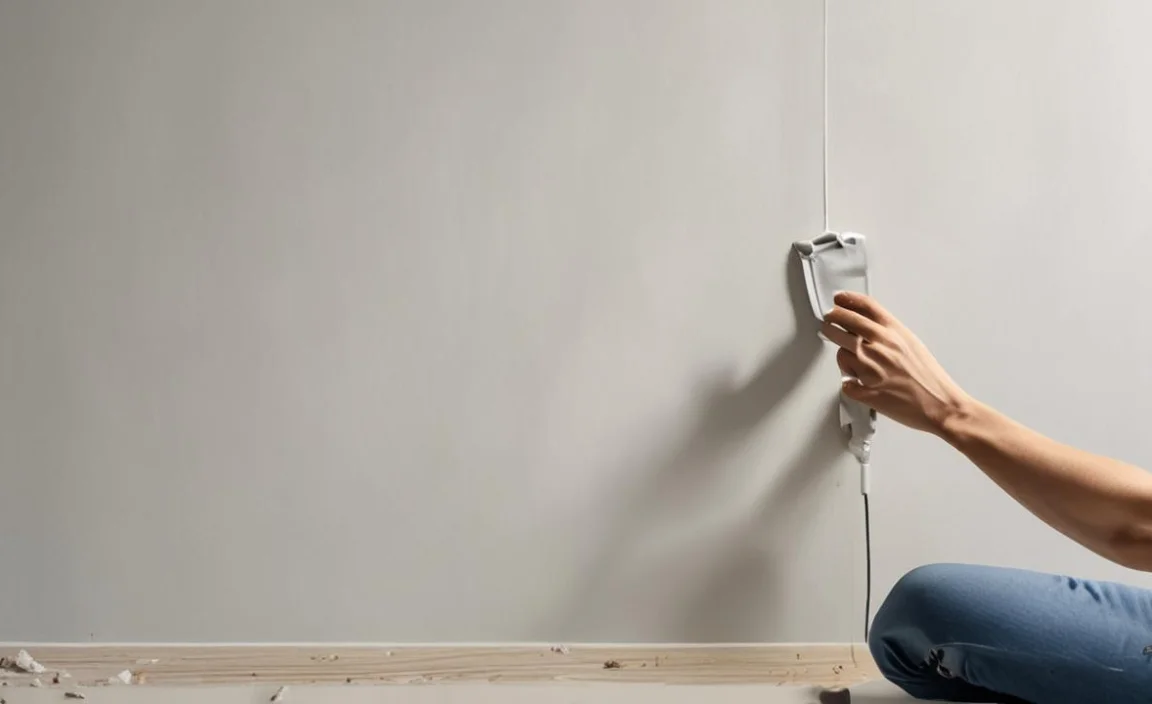
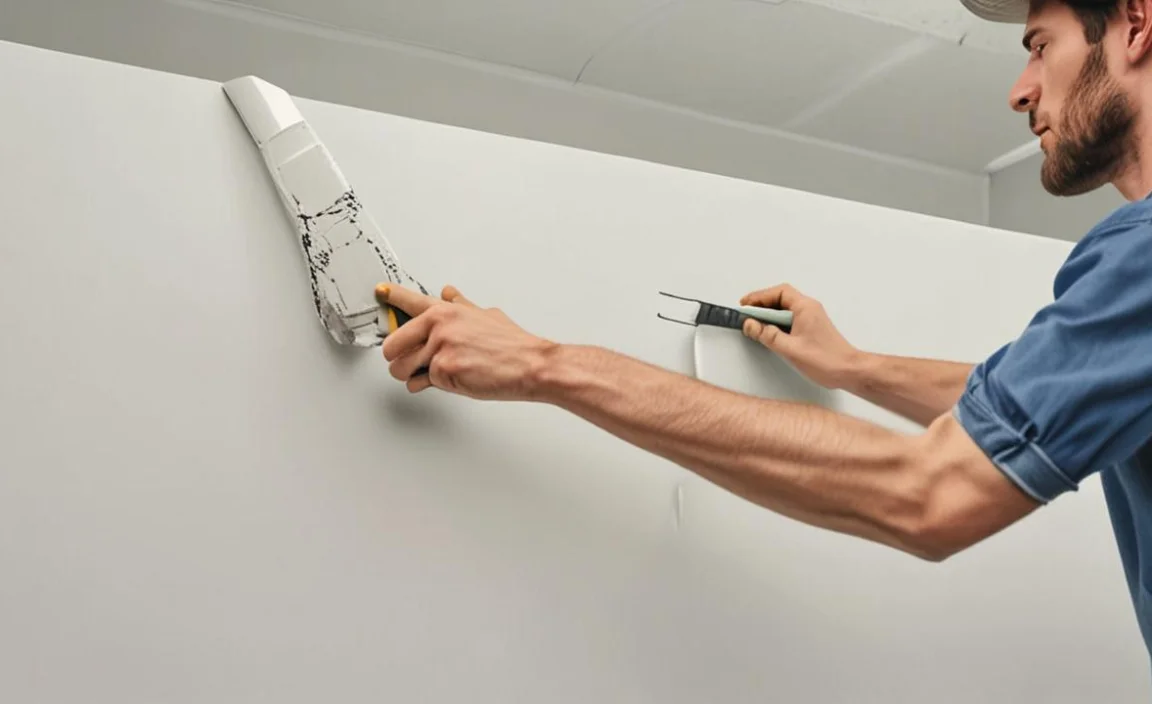
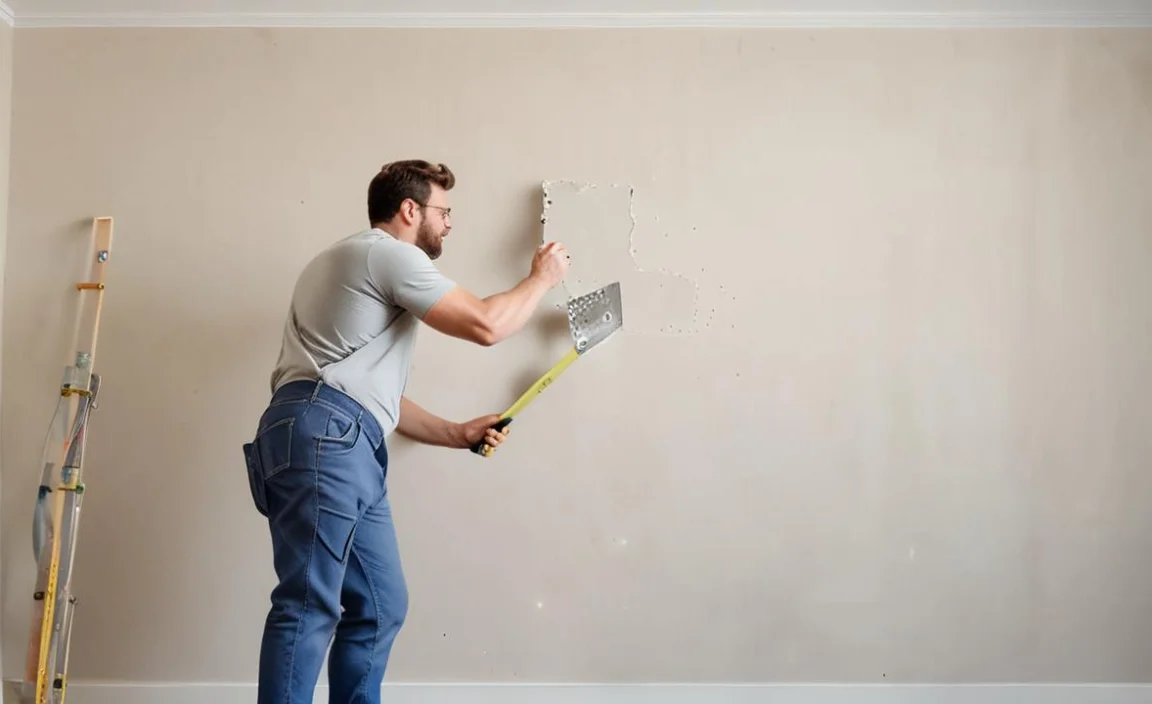
3. Patch Small Holes
Follow these steps to fix a small hole in damaged drywall without professional help. First, use a utility knife to clean the edges of the damaged area. Then, hold a scrap piece of drywall against the wall where you need to patch it up. Using a pencil or marker, trace the dimensions of this piece of drywall onto your damaged surface.
Then take your utility knife and cut along this line to remove excess material. Now you can insert your new piece of drywall into the hole you created earlier. To secure it in place, use drywall screws that are long enough to go through both pieces of drywall but not so long that they penetrate any plumbing or electrical wiring behind your wall.
Cover any seams around your new drywall with mesh tape, and then cover that tape with joint compound. Let it all dry before proceeding further. Sand everything smooth, and if necessary, repeat with a second layer of joint compound before painting over the entire patch.
4. Patch Medium-Sized Holes
To repair damaged pieces of drywall of any size – whether large holes left behind by plumbing work or small nail pops – visit your local hardware store for supplies like gypsum and self-adhesive mesh patches. First, assess the size of the hole and prepare a new piece of drywall if necessary.
Secure the patch over the hole with fasteners like screws or furring strips before applying two layers of joint compound using a putty knife to fix medium-sized holes. Smooth out any excess compound with sandpaper or a sanding sponge until it is flush with the surface of the damaged area. Finish by painting over the surface and admire your smooth finish.
5. Patch Large Holes
When repairing drywall that has suffered large holes or damage, it is essential to follow these steps. First and foremost, always cut a piece of drywall slightly larger than the hole and attach it securely with screws or adhesive.
Next, apply joint compound over the patch while feathering its edges to blend with the surrounding wall. Allow enough time for the compound to dry before sanding, and repeat until you obtain a smooth surface. Lastly, prime and paint over the repaired area for an impeccable finish.
6. Fill The Holes
Apply it evenly when repairing damaged drywall using spackle or joint compound for small or medium-sized dents or holes. Once dried completely, use sandpaper to obtain a smooth finish. However, for repairing larger holes, scrap away the damaged piece and use a utility knife to cut a new piece of drywall matching the size of the hole.
Then secure this new piece on top of furring strips with screws and cover it with mesh tape before applying drywall mud to create seams and add extra thickness. Smooth out this layer using your putty knife, after which you can add subsequent layers depending on the hole size. Once all layers are applied, take your sanding sponge to obtain a smooth finish before wiping away any excess dust using your dust mask. Lastly, apply primer before painting over your patch.
7. Sand The Repairs Smooth
After ensuring that the joint compound is fully dried out after you have patched the damaged area of drywall by using a utility knife and self-adhesive mesh patch or a new piece of drywall secured with screws on furring strips or wall studs.
To create a seamless repair finish without dents or divots on the surface of the drywall, use fine-grit sandpaper or a sanding sponge while wearing protective gear like goggles and a dust mask. Afterwards, thoroughly wipe excess dust off with a damp cloth before painting over the repaired area.
8. Clean Up The Dust
After patching the damaged drywall using spackle or joint compound and sandpaper, cleaning up the excess dust is crucial. Use a vacuum or broom to remove debris without creating new bumps on the wall surface.
Wipe surfaces with a damp cloth to remove any remaining fine-grit dust, and wear a dust mask to prevent inhalation. Consider covering nearby furniture/flooring with a drop cloth to avoid damage from the dust particles. Proper disposal of drywall scraps/debris is important for safety reasons.
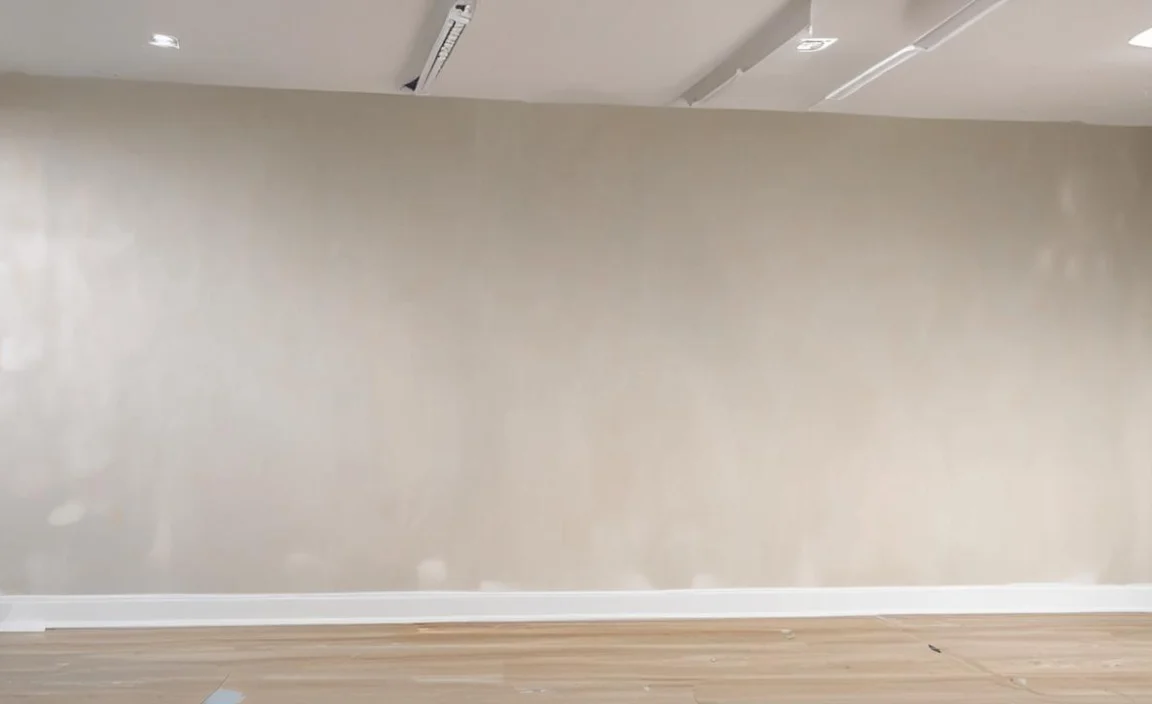
9. Painting/Finishing The Repairs
To achieve a professional-looking result when painting/finishing the repairs of damaged drywall after following steps such as assessing the damage, gathering tools and materials, patching holes with mesh tape and joint compound, and sanding them smooth with fine-grit sandpaper or sanding sponge, using texture spray to match surrounding wall texture.
Wear a dust mask and goggles while sanding down bumps or dents on drywall surfaces. Allow sufficient drying time between touch-ups or coats of primer/paint.
How Much Will It Cost To Repair Drywall? – A Budget Breakdown
Drywall repair costs can vary depending on a number of factors, including the extent of the damage, the type of drywall used, and the location of the repair. On average, homeowners can expect to pay between $200 and $1,000 for a professional drywall repair job. Minor repairs, such as small holes or cracks, can be inexpensive, ranging from $50 to $200.
More extensive repairs, such as water damage or large holes, may cost more, with estimates ranging from $400 to $1,000. It is important to consult with a professional contractor for an accurate estimate based on your specific needs. Remember that repairing drywall is an investment in the value and safety of your home, and it is always better to address any issues sooner rather than later to avoid more costly repairs down the line.
What To Avoid When Repairing Drywall
To avoid poor repairs when fixing damaged drywall, it’s crucial to take your time and be methodical. Common mistakes to avoid include using too much joint compound or low-quality materials, skipping the sanding process or neglecting to prime the surface before painting.
Instead, carefully apply joint tape and compound over small holes or damaged areas with a putty knife or drywall knife. Use mesh tape for larger holes and cover them with self-adhesive mesh patches before applying a coat of joint compound. Be sure to smooth out any bumps or excess material before sanding with a fine-grit sandpaper or sponge for an even finish.
Conclusion
Repairing drywall is a task that might seem daunting, but it’s easier than you think. You can complete it in a few simple steps without any professional help. Remember to carefully assess the damage, gather your tools and materials, and follow our step-by-step guide on repairing drywall. It’s important to avoid common mistakes that could negatively impact the repair process.
With patience and attention to detail, you can make your drywall look as good as new. Remember to take your time and be patient with the process, as rushing can lead to mistakes and unsatisfactory results. With the right tools and techniques, anyone can learn how to repair drywall like a pro. So don’t hesitate to start your repairs today and enjoy a beautifully restored wall in no time.
