Replacing a safety switch on a table saw can seem tricky. Have you ever thought about what makes your tools safe? A safety switch is very important. It helps keep you safe while you work. If it doesn’t work, your saw can be dangerous. Learning how to replace it is a smart skill to have.
When you use a table saw, safety should always come first. Did you know many accidents happen because of faulty safety switches? It’s true! Knowing how to replace a safety switch on a table saw can prevent accidents. It also helps you work more confidently.
Let’s explore the important things about replacing a safety switch on a table saw.
Key Takeaways
- Replacing safety switch on a table saw is essential for safety.
- Always unplug the saw before starting repairs.
- Follow the manufacturer’s instructions for replacement.
- Regularly check your safety switch for proper function.
- Ask for help if you feel unsure about replacing it.
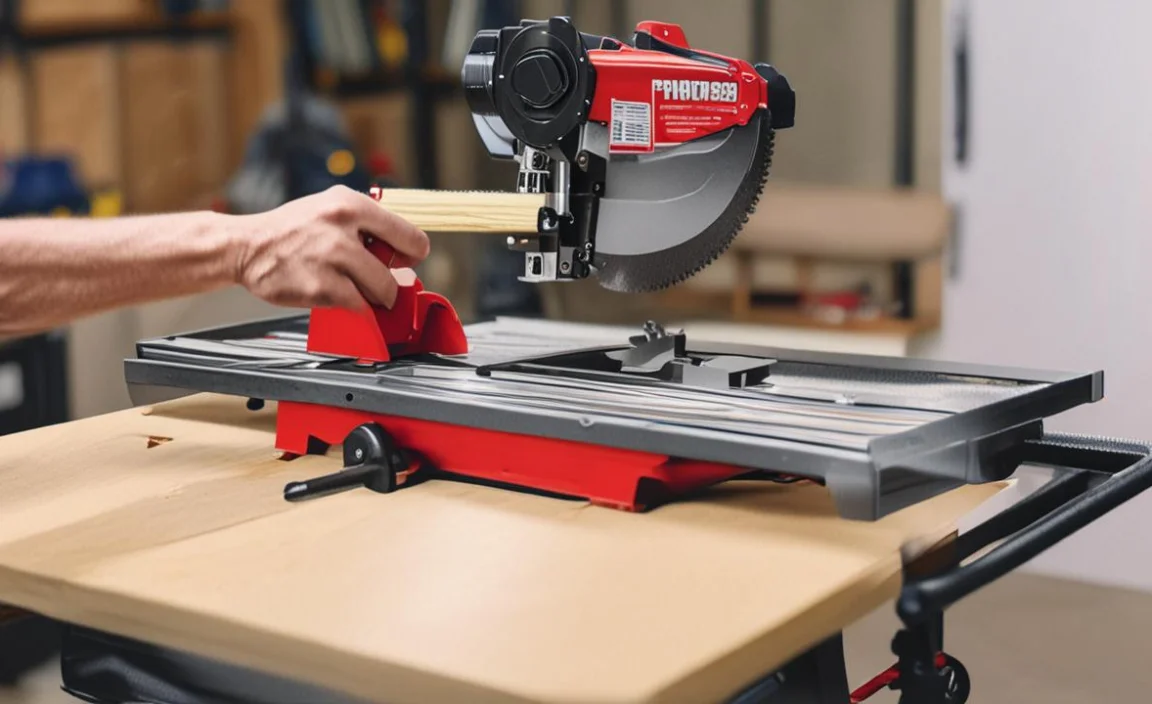
Understanding the Safety Switch on a Table Saw
A safety switch is a key part of your table saw. It helps stop the saw when needed. If the switch is broken, the saw can turn on by itself. This can lead to accidents. Understanding how this switch works is important.
The safety switch often has a simple design. It usually has a button that you can push or pull. Some switches have a key you must turn. These designs help prevent accidental starts. Knowing how to recognize a faulty switch is also important.
- Safety switches can be simple or complex.
- They usually have a push-button or a key.
- Always check the switch before using the saw.
- Look for signs of damage or wear.
- Ensure the switch clicks when pressed.
If you notice your safety switch is not working well, replacing it is the best choice. Taking the time to look after your tools keeps you safe. It also helps your tools last longer. Remember, safety is always worth the extra effort.
Fun Fact or Stat: Many table saw accidents could be prevented with a working safety switch!
Signs Your Safety Switch Needs Replacement
Have you ever wondered when to replace your safety switch? There are some clear signs to look for. If the switch feels loose or wobbly, it might be time for a change. Also, if the switch does not respond right away, that’s a problem.
Sometimes, the switch may not click when pressed. This is another warning sign. If you have to press it many times for it to work, you need a new one. Safety switches should work smoothly every time.
Always trust your instincts. If something feels off with your saw, check the switch. It’s better to replace it than to take a risk.
How to Test Your Safety Switch
Testing your safety switch is easy. First, make sure the saw is unplugged. Safety always comes first! Next, you can try pushing the switch to see how it responds.
If you notice any delay or no response, it could be faulty. Also, listen for a click sound when you press it. If you don’t hear it, it might need replacing.
You can also visually inspect the switch. Look for cracks or damage. If you see anything wrong, it’s time for a new switch.
What Happens If You Ignore Safety Switch Issues?
Ignoring problems with your safety switch can lead to trouble. If it fails, the saw might start unexpectedly. This can cause serious injuries. Imagine working on a project, and suddenly the saw turns on!
Many people have suffered accidents because of faulty switches. It’s not just your fingers at risk; your tools can also be damaged. It’s best to replace the switch as soon as you notice a problem.
Always remember, safety comes first in the workshop. Never compromise on it.
Fun Fact or Stat: Over 30% of table saw accidents are due to faulty safety switches!
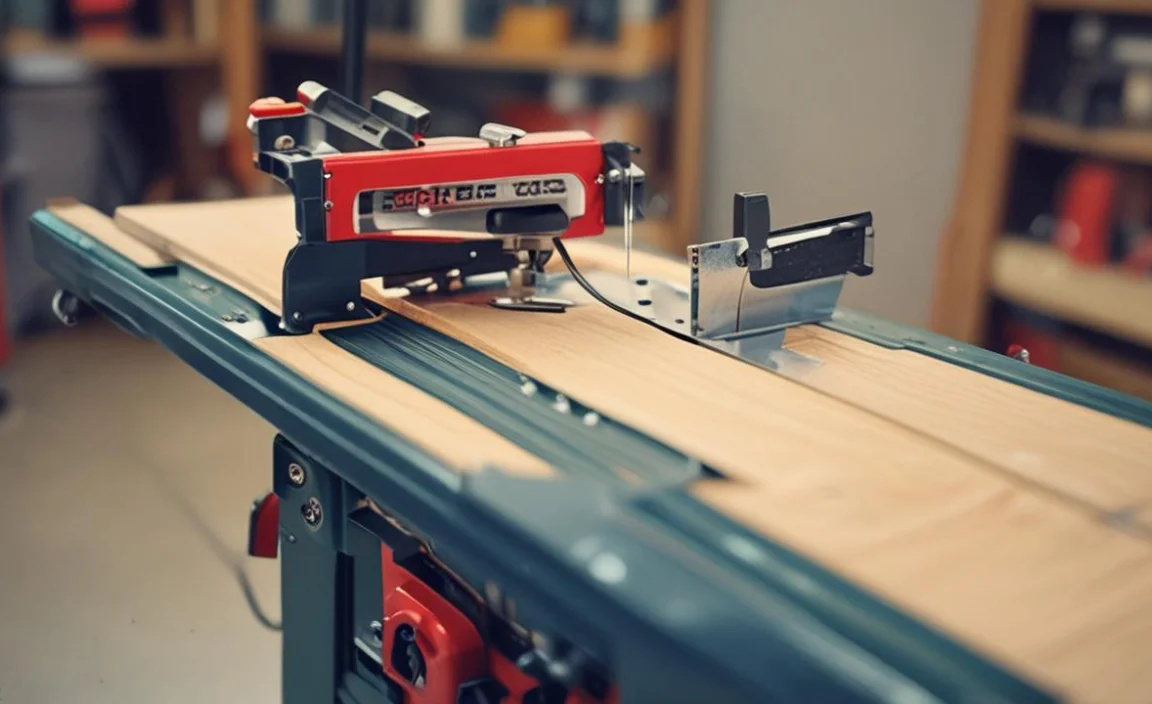
Steps for Replacing Safety Switch on a Table Saw
Replacing a safety switch on a table saw is not too difficult. First, gather your tools. You will need a screwdriver and a replacement switch. Always make sure the saw is unplugged first. This keeps you safe from accidents.
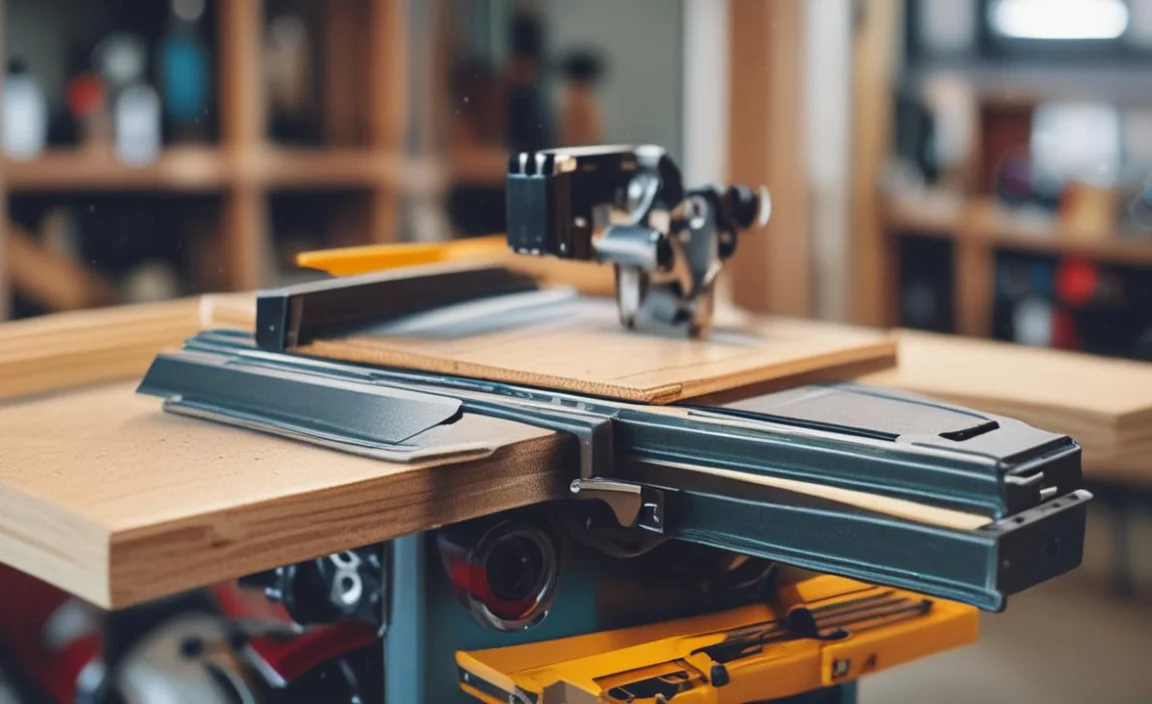
Next, locate the switch on your saw. Once you find it, remove the screws that hold it in place. Carefully take out the old switch. Now, you can install the new switch by reversing the steps.
Make sure to test the new switch before using the saw. It should click and work smoothly.
- Gather required tools: screwdriver and replacement switch.
- Unplug the table saw before starting.
- Locate the safety switch and remove screws.
- Carefully take out the old safety switch.
- Install the new switch and secure it properly.
Replacing the safety switch may seem hard at first. However, with practice, you will get better. It is an important skill to have. You can save time and keep yourself safe by doing it yourself.
Fun Fact or Stat: Most DIYers can replace a safety switch in under 30 minutes!
Choosing the Right Replacement Switch
Choosing the right replacement switch is key. Always look for one that matches your table saw model. Using the wrong switch can cause bigger problems.
Check the specifications on your old switch. They should match the new one. If you are unsure, ask someone at the store for help.
You can also find replacement switches online. Make sure to read reviews to get the best one. A good switch will keep you safe for a long time.
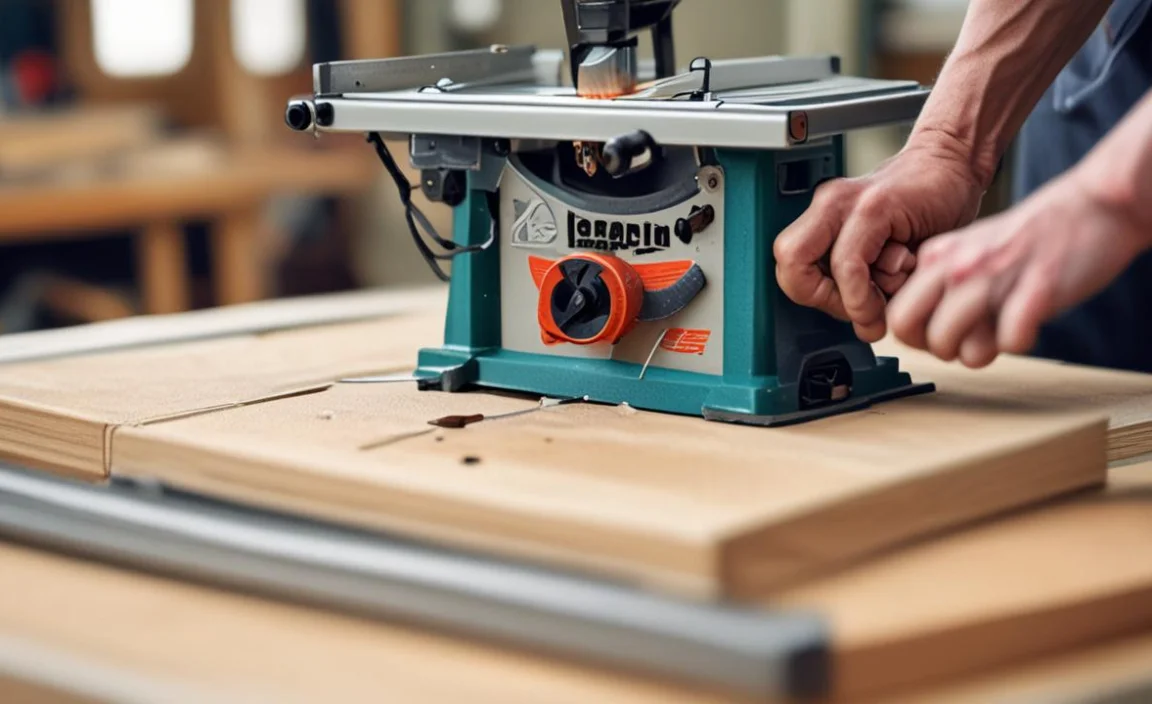
Tools Needed for Replacement
You will need some simple tools to replace your safety switch. A screwdriver is the most important one. You may also need pliers if the wires are tight.
Make sure to have a clean workspace. Keeping things organized helps you work faster.
You might want to wear safety glasses to protect your eyes. This is especially important when working with tools. Always remember to prioritize safety during the replacement process.
Common Mistakes When Replacing the Safety Switch
Many people make mistakes when replacing their safety switch. One common mistake is not unplugging the saw first. This can lead to dangerous accidents.
Another mistake is not checking for the right switch type. Always confirm that the new switch matches your saw model. You don’t want to face issues later.
Some people rush through the process. Take your time. Double-check your work to ensure everything is secure. A small oversight can lead to big problems.
Fun Fact or Stat: Rushing repairs increases the chance of dangerous accidents!
Maintaining Your Table Saw’s Safety Features
Maintaining your table saw is very important. Regular checks can prevent accidents. One essential part is the safety switch. You should test it often to ensure it works well.
Cleaning your saw is also important. Dust can build up and affect its performance. Make it a habit to clean your table saw after each use. This will help it last longer.
Check for any loose parts or damaged items. If you notice anything wrong, fix it right away.
- Regularly test the safety switch to ensure it works.
- Clean your saw after each use to prevent dust buildup.
- Inspect for loose parts or damages regularly.
- Lubricate moving parts for smooth operation.
- Store your saw in a safe, dry place.
Taking care of your table saw is essential. The better you maintain it, the safer it will be. Always prioritize safety and keep your tools in good shape. Remember, your safety matters most when working with power tools.
Fun Fact or Stat: Regular maintenance can increase tool lifespan by 50%!
Regularly Checking the Safety Switch
Regular checks on the safety switch are crucial. You should test it before every use. Press the switch to check if it clicks properly. If it feels loose, consider replacing it.
Checking the switch can save you from accidents. Always pay attention to how it responds. A simple test can keep you safe while working.
It’s also a good idea to keep track of when you last replaced it. If you use your table saw often, check the switch every few months.
Keeping Your Workspace Safe
A clean workspace is essential for safety. Make sure there are no tools lying around. Keep the area dry and well-lit. This helps you see what you’re doing.
Always wear safety gear when using the table saw. This includes glasses and gloves. Safety first should always be your motto.
Also, let others know when you’re using the saw. Having a buddy nearby can help in case of an emergency.
Understanding Other Safety Features
Your table saw has other safety features besides the switch. Many saws have blade guards to protect your hands. This is an important feature to use.
Some saws also have riving knives that help prevent kickback. Kickback can be very dangerous and lead to accidents.
Understanding how these features work can help you stay safe. Always read your saw’s manual to learn more about it.
Fun Fact or Stat: Table saws with safety features reduce accidents by 60%!
Comparing Safety Switches for Table Saws
When choosing a safety switch, you have options. Different switches have different features. Here’s a simple comparison of some common types:
| Switch Type | Design | Price | Installation |
|---|---|---|---|
| Push Button | Simple design, easy to use | $10 – $20 | Easy to install |
| Keyed Switch | More secure, prevents misuse | $15 – $30 | Easy to install |
| Toggle Switch | Simple, not very secure | $5 – $15 | Very easy to install |
| Remote Switch | Allows distance operation | $25 – $50 | Moderately easy to install |
When choosing a safety switch, think about your needs. Consider the price and how easy it is to install.
Remember, having the right switch can make your work easier. Always prioritize your safety while making your choice.
Fun Fact or Stat: The right safety switch can enhance your table saw experience!
Factors to Consider When Choosing a Switch
What factors should you think about? First, consider how often you use your saw. If you use it a lot, choose a durable switch.
Next, think about your budget. Some switches are more expensive but offer better features.
You should also consider your comfort level with installation. Some switches are easier to install than others.
Always remember, safety comes first. Choose a switch that keeps you secure while you work.
Pros and Cons of Different Safety Switches
Each type of safety switch has its pros and cons. Keyed switches are secure but can be lost. Push-button switches are easy to use but might be less secure.
Remote switches allow for greater safety but cost more. Toggle switches are affordable but less secure.
Think about what matters most to you. Write down the pros and cons of each type to help your decision.
Where to Purchase Safety Switches
You can find safety switches in many places. Local hardware stores usually carry them. They can help you find the right match for your saw.
Online stores also have a wide range of options. You can read reviews before buying. This helps you make an informed choice.
Always check the return policy. In case the switch does not fit, you want to be able to return it.
Fun Fact or Stat: Shopping online can save you time and help you compare prices!
Final Thoughts on Replacing Safety Switch on a Table Saw
Replacing the safety switch on a table saw is important. Regular checks and maintenance keep you safe. Understanding how to replace this switch is a valuable skill.
Always prioritize safety when using power tools. A simple repair can prevent accidents and keep you secure. Never take shortcuts when it comes to your safety.
With the right knowledge, you can work confidently. You can enjoy using your table saw without worries.
Fun Fact or Stat: Proper maintenance can extend the life of your saw by years!
Summary
Replacing the safety switch on a table saw is crucial for safety. A faulty switch can lead to accidents. Regular maintenance and checks can help prevent issues. Always prioritize safety in your workshop. Knowing how to replace the switch is a valuable skill.
Taking the time to learn about your tools keeps you safe. Your safety should always come first, so don’t hesitate to act.
Conclusion
In conclusion, replacing the safety switch on a table saw is essential. Always check your tools for safety. A simple replacement can save you from accidents. Take time to learn about your table saw. Your safety is the most important part of woodworking.
Frequently Asked Questions
Question No 1: Why do I need to replace the safety switch?
Answer: Replacing the safety switch is crucial for your protection. A faulty switch can lead to accidents. If the switch does not work properly, the saw can turn on unexpectedly. This can cause serious injuries. Always check your switch and replace it if there are issues.
Question No 2: How often should I check my safety switch?
Answer: It’s a good idea to check your safety switch before every use. Make sure it clicks and responds properly. If you use your table saw regularly, check it every few months. Regular checks can prevent many accidents.
Question No 3: Can I replace the safety switch myself?
Answer: Yes, you can replace the safety switch yourself! With basic tools and some instructions, it is a simple task. Always unplug the saw first. Follow the manufacturer’s guidelines for the best results. If you feel unsure, ask for help.
Question No 4: What tools do I need for replacement?
Answer: For replacing the safety switch, you need a screwdriver and a replacement switch. You may also require pliers if wires are tight. Make sure to have a clean workspace to help with the installation. Don’t forget to wear safety glasses!
Question No 5: How do I know which safety switch to buy?
Answer: Check your current safety switch’s specifications. Look for a replacement that matches your table saw model. If needed, you can ask for help at the store or online. Reading reviews can also help you choose the best switch.
Question No 6: What happens if I ignore a faulty safety switch?
Answer: Ignoring a faulty safety switch can lead to accidents. If the switch fails, the saw might turn on by itself. This can cause serious injuries. Always address any issues with your safety switch quickly to avoid dangerous situations.
