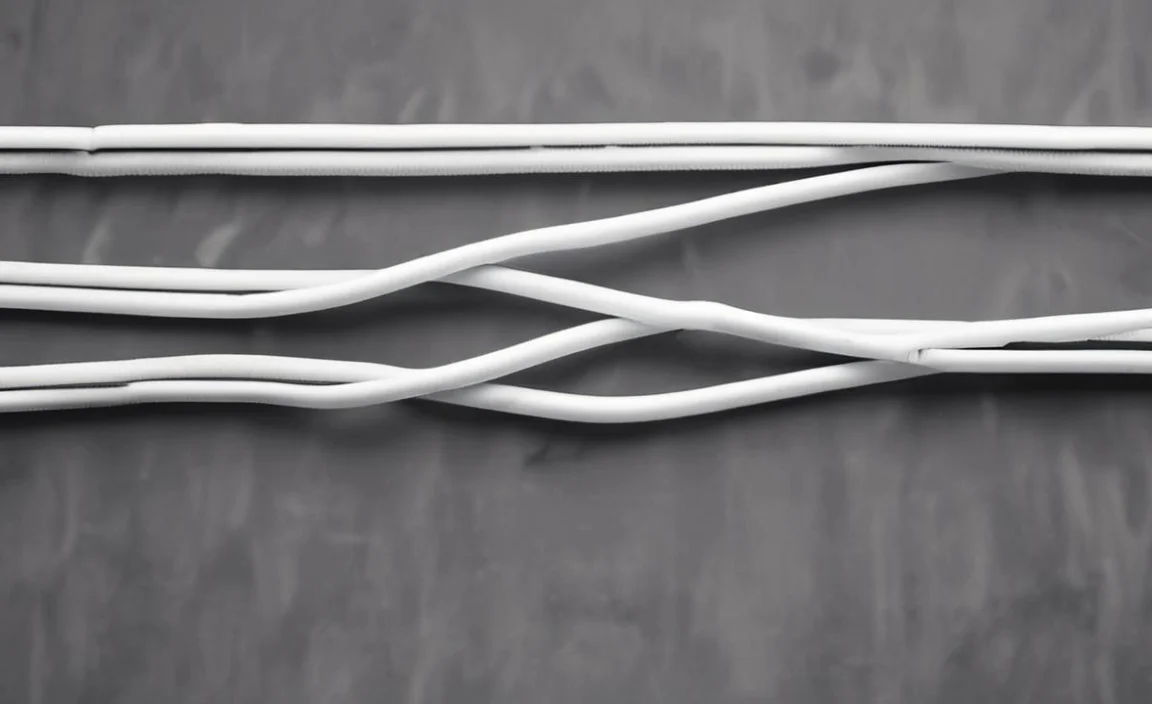
In electrical wiring, understanding how to splice wires properly is an essential skill for any homeowner or DIY enthusiast. While various sizes of wires are used in different electrical applications, 6 gauge wire is a common choice for heavier-duty tasks such as powering appliances, lighting fixtures, and larger electrical systems.
However, working with this thicker wire can be intimidating for those with limited experience. Here we provide a guide on how to splice 6 gauge wire.
Whether you are tackling a new electrical project or need repairs, this guide will provide you with the knowledge and techniques to confidently splice 6 gauge wire. So, if you are ready to expand your electrical skills and ensure safe and efficient wire connections, read our full guidelines on how to splice 6-gauge wire.
What Is 6 Gauge Wire?
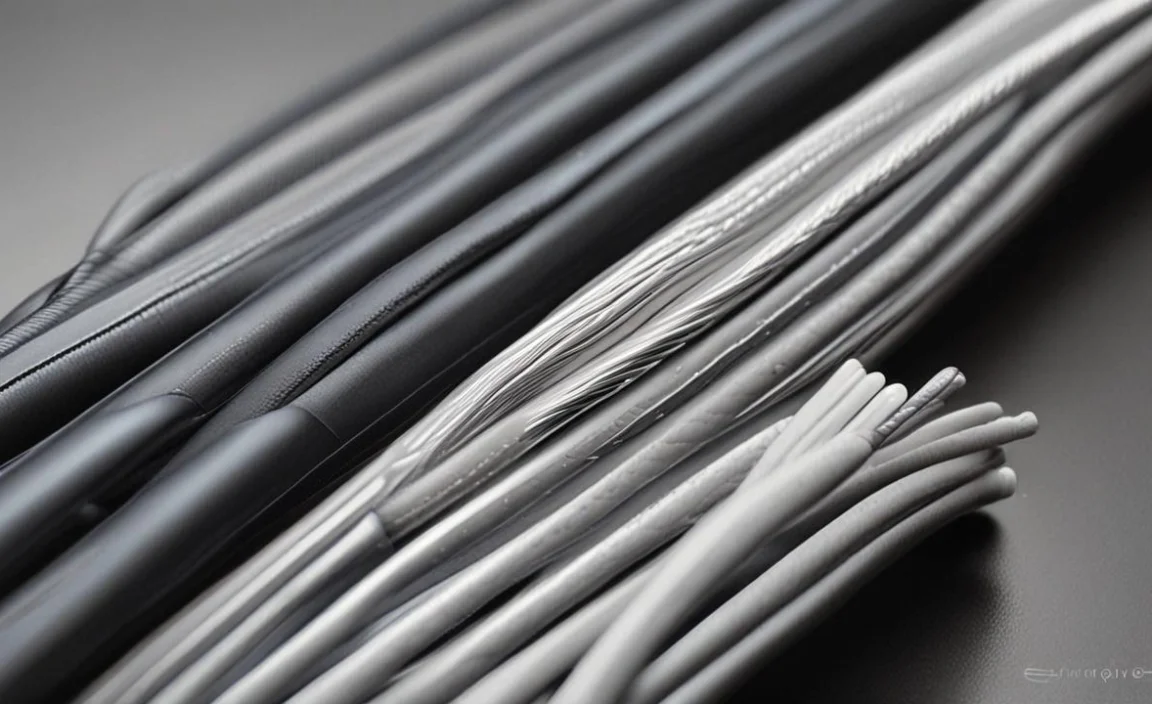
A 6 gauge wire, also known as 6 AWG (American Wire Gauge), is an electrical wire with a diameter of approximately 0.162 inches or 4.11 millimetres. It is commonly used for heavy-duty applications requiring high electrical currents, such as large appliances, industrial equipment, and power distribution systems.
The larger gauge number indicates a smaller wire size, so the 6 gauge wire is thicker and can handle more current than higher gauge wires. Choosing the appropriate 10-gauge wire for your specific application is important to ensure safe and efficient electrical conductivity.
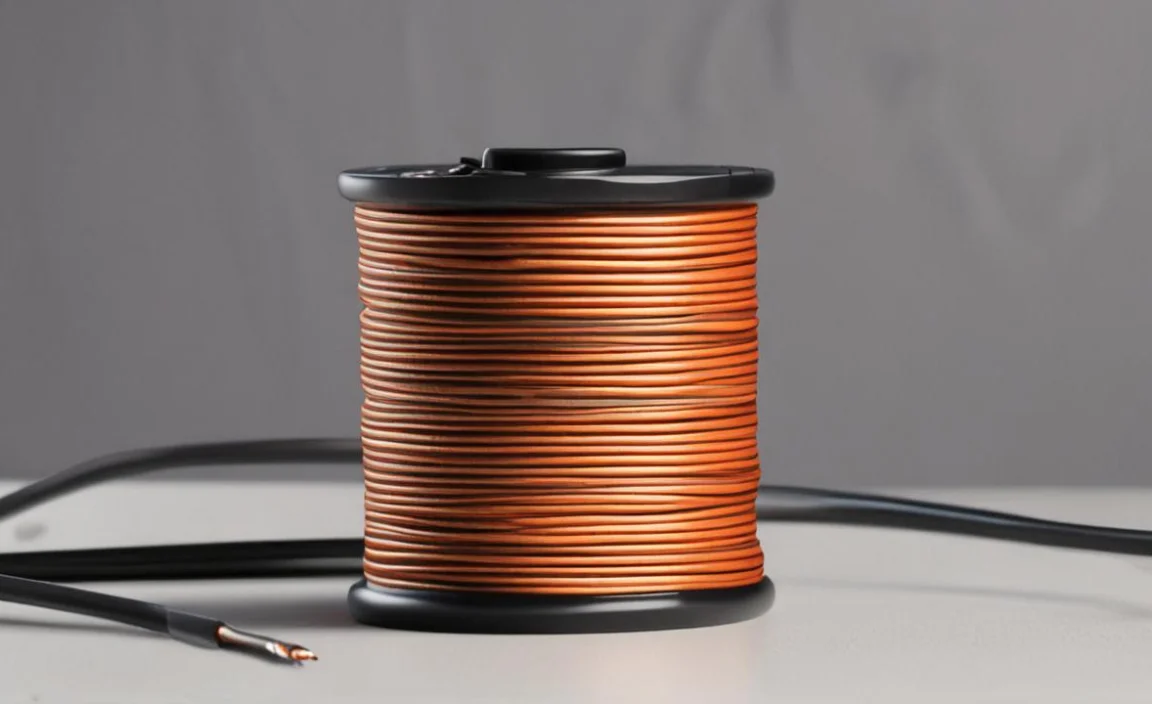
Materials Required To Splice 6 Gauge Wire
A service panel is a home’s main distribution point for electrical circuits. It contains circuit breakers, which protect the home’s wiring from overloads and short circuits.
If you want to splice a 6 gauge wire, you must do so within the confines of your service panel. Splicing 6 gauge electrical wire can be tricky, but it can be done safely and effectively with the right materials and techniques. To splice 6 gauge electrical wire, you’ll need the following: junction boxes.
- Crimping tool
- Wire stripper
- Twisted loops of
- six gauge wire (about 18 inches in length)
- Stud finder or a cable Tester if needed -Protective gloves
Safety Tips When Splicing 6 Gauge Electrical Wire Always use protective gear while splicing 6 gauge electrical wire. This includes wearing gloves, working in an open space free from hazardous materials, and using a stud finder to space your wiring correctly.
Gather the appropriate materials: a 30-amp amp breaker fuse panel, two 6 gauge wires made of copper wires, wire strippers, and a screwdriver. OP should also make sure to have all necessary materials before beginning the splicing process.
How To Splice 6 Gauge Wire – In 6 Steps
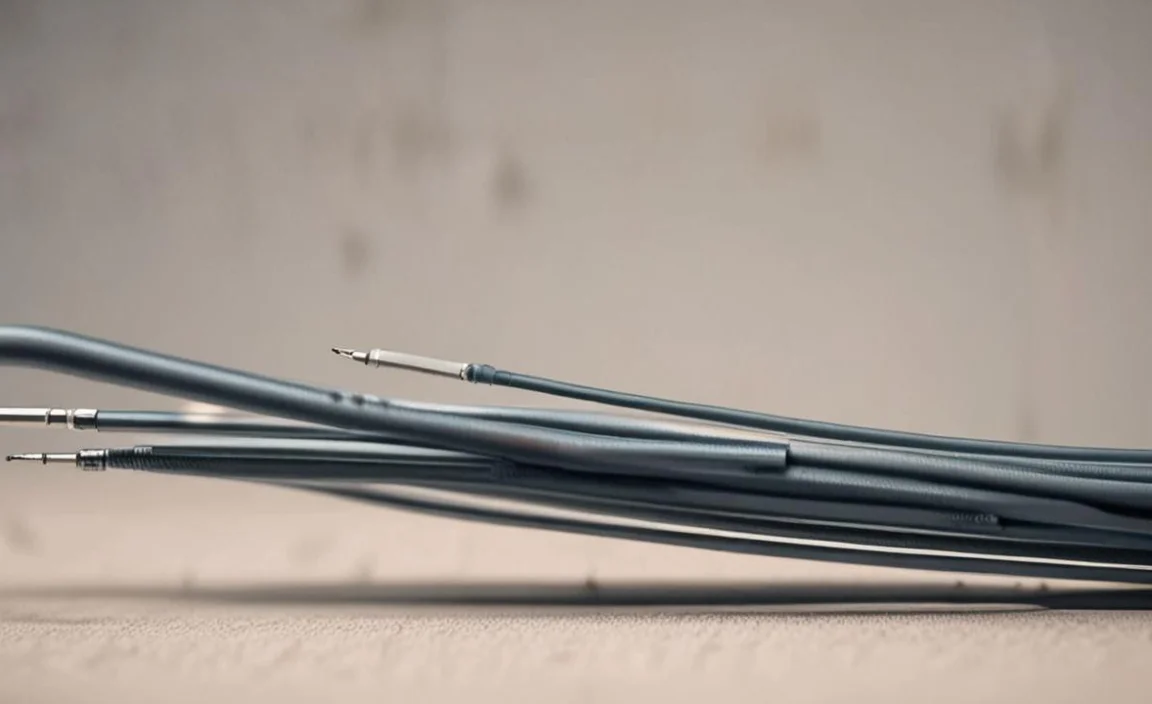
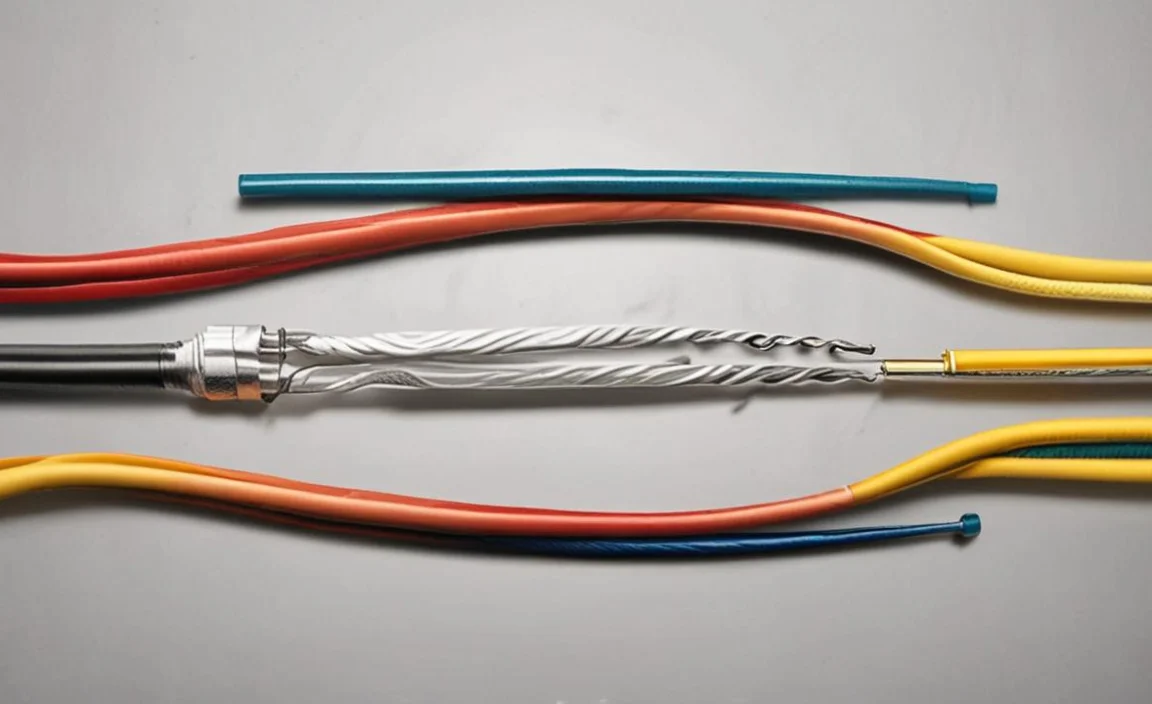
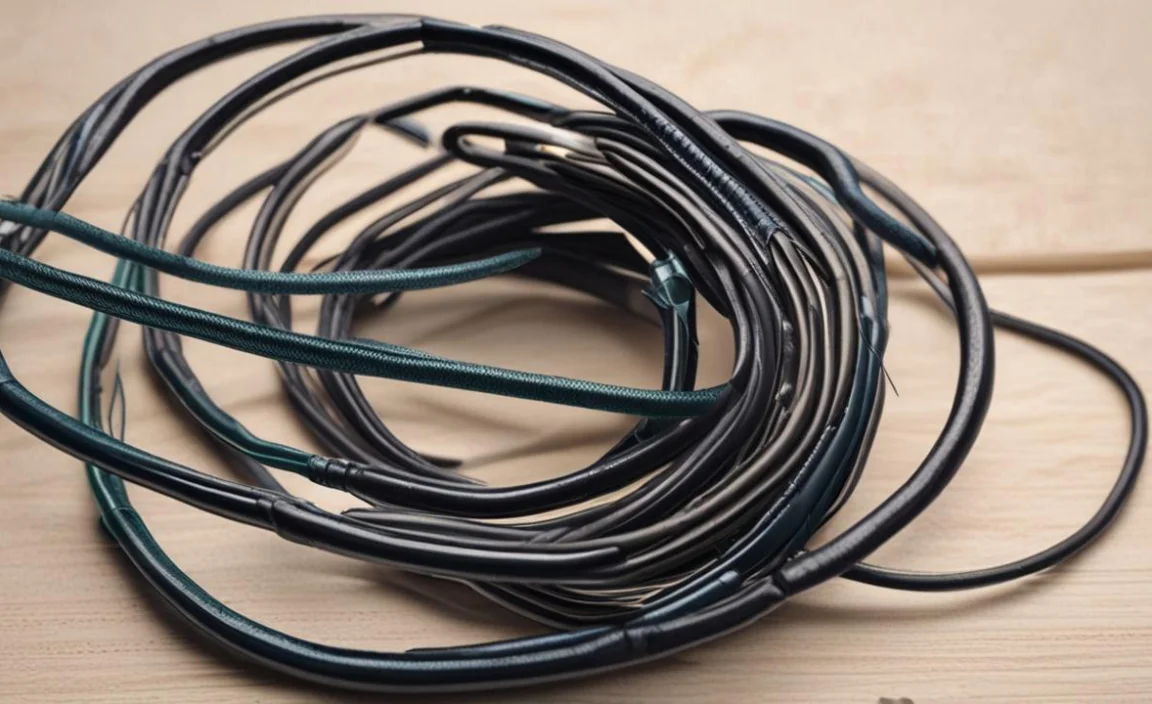
Splicing involves joining two or more wires to create a continuous electrical conductor. For 6 gauge wire, it is important to use the appropriate wire connectors and crimping tools to ensure a secure connection. Ensuring the spliced wires have the same gauge and voltage rating is also important.
This ensures that the spliced circuit can handle the amount of electricity passing through it. Additionally, it is important to follow all safety precautions when working with electrical stranded wires, such as turning off the power source and using insulated tools.
With practice and attention to detail, splicing 6 gauge electrical wire can be a manageable task for those who need to add or repair electrical circuits in their homes or businesses. There are a few steps to splice the 6 gauge wire.
1.Strip The Wire
Before splicing the 6 gauge wire, it is important to strip the wire properly. Stripping the wire involves removing a small portion of the insulation from the end of the wire to expose the bare conductor. This can be done using a wire stripper tool with different size of wire notches to match the wire gauge.
Care should be taken only to remove enough insulation to expose the bare conductor without damaging or nicking the aluminium wires. Once you strip the wire, you can splice it or connect it to another wire or terminal.
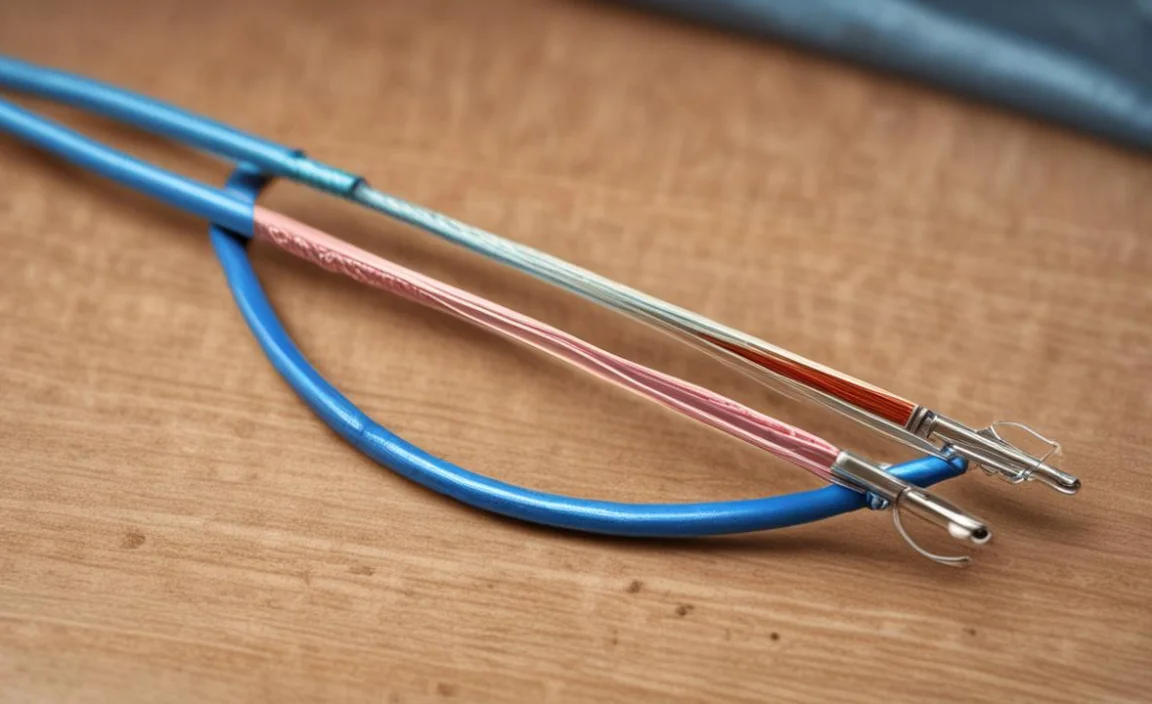
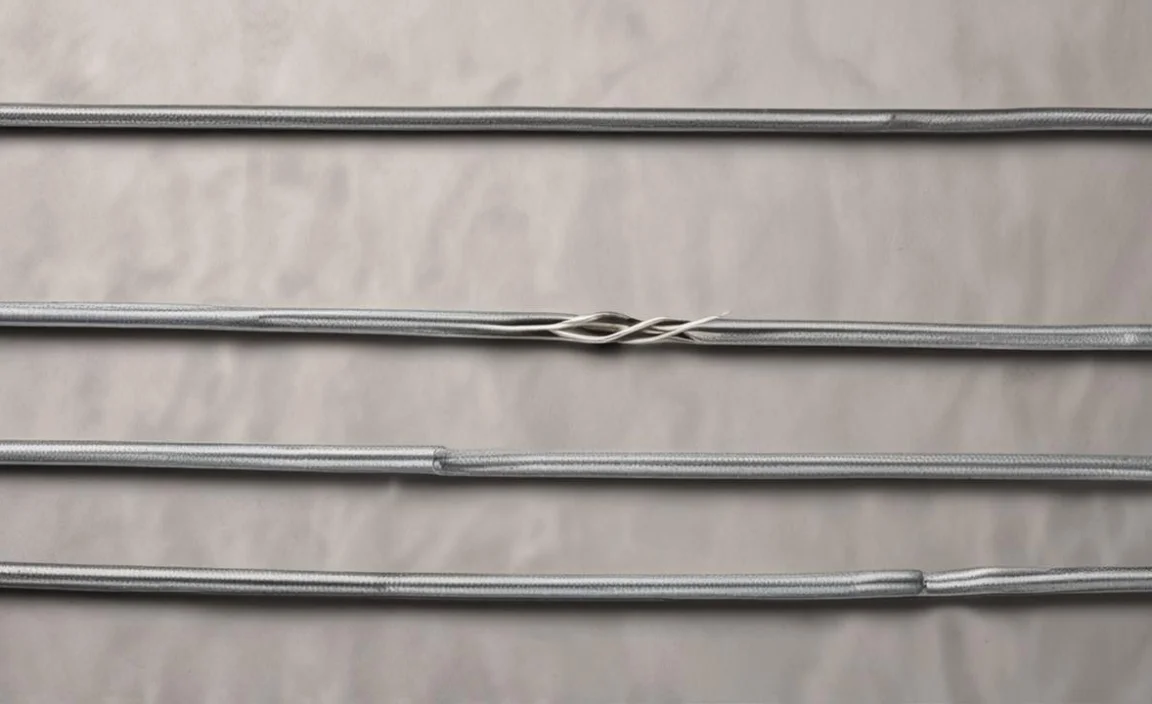
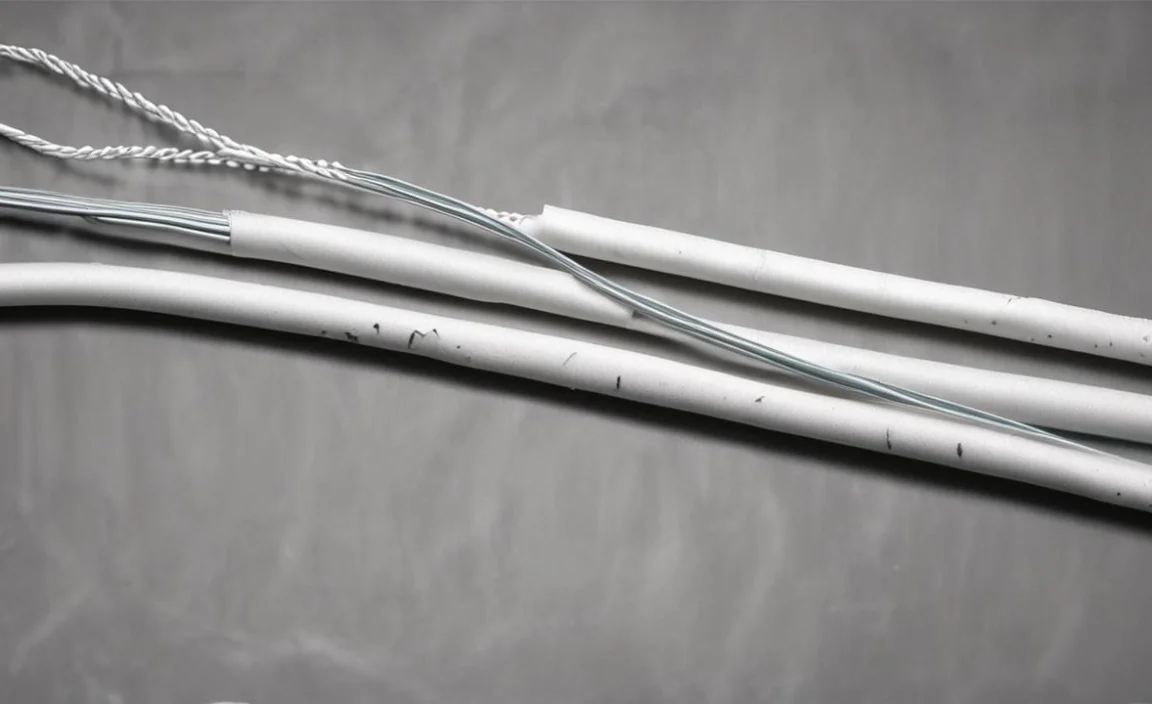
2.Twist The Ends Of The Striped Wires Together

One of the key steps in this process is to twist the ends of the stripped wires together. This helps to create a strong mechanical connection between the wires, which can help prevent them from coming loose over time.
To do this, strip about an inch of insulation off each wire using wire strippers. Then, hold the stripped ends of the wires together and twist them tightly using pliers or wire-twisting tools. Ensure no loose strands or gaps in the twisted section before proceeding with the splice. These simple steps allow you to create a secure and reliable splice for your 6 gauge wire.
3.Insert The Wires Into The Connector
To begin, strip the insulation from the ends of the wires to expose a sufficient amount of bare wire. Next, insert the stripped ends of the wires into the connector, ensuring they are fully inserted and making contact with the metal inside. Use a crimping tool to firmly crimp the connector onto the wires, ensuring a tight and secure connection. Finally, perform a pull test on the wires to ensure they are securely attached.
Double-check your work to ensure no loose or exposed wires before using the spliced wire in any electrical applications. Remember, safety comes first when working with electricity.
4.Make Sure Each Wire Is Tightly Wrapped Around The Conductor
When wiring your home or business, it is essential to use quality electrical insulation material. This will help reduce the risk of electrical fires and ensure proper cable protection. Use a wire nut to tighten the wire around the conductor; ensure you splice wires correctly.
By tightly wrapping each wire around the conductor, ensure not leave any strands hanging off. Doing so will prevent any interference and improve your wiring’s performance. Finally, always test welding cable before completing any installation for continuity purposes.
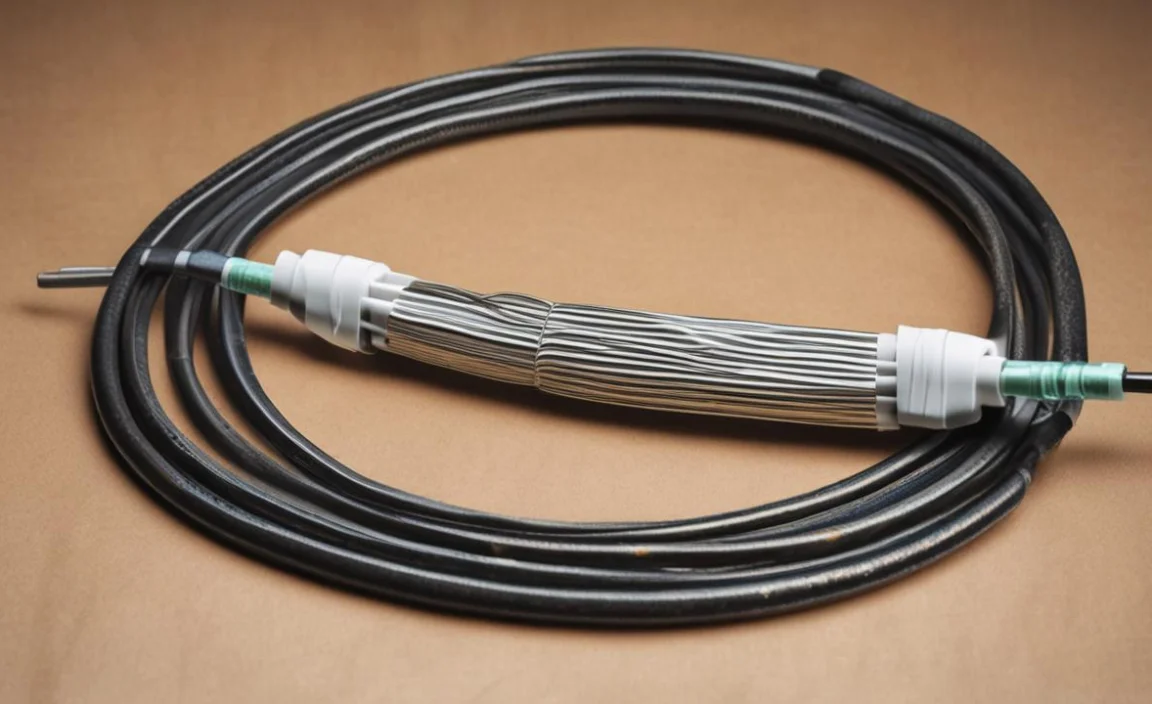
5.Twist Joints And Terminals
When splicing 6 gauge wire, it is important to properly twist the joints and terminals to ensure a secure and reliable connection. Start by stripping about 3/4 inch of insulation from each end of the wires that you want to splice.
Then, hold the stripped ends of the wires together and twist them tightly in a clockwise direction using pliers or wire strippers. This will create a strong mechanical connection between the wires. Once the wires are twisted together, you can use split bolt connectors such as McMaster Carr #6921K57 to secure the connection further and protect it from moisture and corrosion.
6.Make A Cross Connection
When splicing a 6 gauge wire, one common method is to create a cross connection. This involves connecting two wires by twisting their ends and wrapping them with electrical tape or heat shrink tubing. To create a secure connection, it is important to use wire strippers to remove about an inch of insulation from each end of the wires.
It is essential to make a cross-connection when wiring your light fixture. This will ensure that the electricity flows smoothly through the bulbs and does not create sparks or heat. To test your connection:
- Turn on the power to the circuit and switch on each bulb.
- Ensure you securely connect all three wires with no visible spark or heat.
- Once you’re satisfied with your connections, turn off power to the circuit and store away your light fixture.
Solder The Ends Of The Twisted Wires To Each Other
When splicing 6 gauge wire, it is important to properly solder the ends of the twisted wiring to each other. This will ensure a strong and secure connection that can withstand the demands of electrical applications. Congratulations on completing your first electrical wiring project. This tutorial will show you how to solder the ends of twisted wires together.
- Twist each wire once more to secure it in locations.
- Hold the two loops together and use your soldering iron to melt the solder onto both ends of the loops.
- Make a small loop with one wire, then twist it around the other wire a few times.
- Make another loop and do the same thing.”
Common Mistakes To Avoid When Splicing 6 Gauge Wire
When splicing 6 gauge wire, it is important to avoid common mistakes that can compromise the integrity of the connection. One common mistake is not properly stripping the wire insulation from the wires before making the splice. Stripping off the appropriate insulation is essential to ensure a secure and reliable connection.
Another mistake to avoid is not using the correct size bundle of wire connectors or crimping tools for 6 gauge wire. Using too small connectors can result in a weak connection while using too large can lead to improper contact and potential electrical hazards.
Additionally, ensure that you properly align and securely fasten the wires within the connector before crimping. Taking these precautions will help ensure a successful splice of 6 gauge wire without any issues or safety concerns.
Safety Precautions To Follow During The Splicing Process
When splicing 6 gauge wire, you must follow certain safety precautions to ensure you can do the process safely and effectively. Here are some key precautions to keep in mind. By following these safety precautions during the splicing process, you can ensure that your work is done safely and minimize any risks joint with electrical wires.
1.Turn Off The Power: Before beginning any work on electrical wires, always turn off the power at the main circuit breaker panel. This will help prevent any accidents or electrical shocks.
2.Wear Protective Gear: When working with wires, it is crucial to wear proper protective gear, such as insulated gloves and safety glasses. This can help protect you from any potential injuries.
3.Use The Right Tools: Make sure you have the appropriate tools for splicing 6 gauge wire, such as wire strippers, AWG wire nut, and pliers. Using the correct tools can make the job easier and safer.
4.Properly Strip The Wire: When stripping the insulation from the wire ends, be careful not to cut into or damage the actual wire strands. Use a wire stripper tool to remove a small section of insulation carefully.
5.Secure Connections With Wire Nuts: After stripping them, twist them together securely and then cover the connection with a blue wire nut. Ensure the connection is tight and secure to prevent any loose connections or potential hazards.
Is It Safe To Splice Electrical Wires?
Regarding electrical work, safety should always be the top priority. You can safely splice electrical wires, but following proper procedures and guidelines is important to ensure that you do the work correctly. If you are not an expert or knowledgeable in electrical work, we recommend hiring a licensed electrician to handle any splicing of electrical wires.
They have the expertise and understanding of electrical systems to ensure that the job is done safely and complies with local building codes. Attempting to splice electrical wire code without proper training and knowledge can lead to serious safety hazards, including electrocution, fires, and damage to your home’s electrical system. It is always better to prioritize safety and seek professional assistance with electrical work.
When To Call An Electrician?
It is important to read the instructions for any electrical product carefully and ensure you understand them before starting a new project. Before beginning your wire splicing project, you must ensure that you have the correct materials for the job and a good understanding of how to work with electricity safely.
Ensure you use the right wire cutters and electrical tape, as these items are essential for successful splicing. If you are unsure how to splice 6 gauge wire, it is best to consult a licensed electrician.
An electrician can guide and ensure the job is done safely and correctly. Additionally, if you are working on a project requiring more than splicing 6 gauge wires, it may be best to call an electrician, who will have the necessary tools and skills to get the job done properly.
Conclusion
We have discussed how to splice 6 gauge electrical wire. By following the simple steps on how to splice 6 gauge wire, you can safely and efficiently splice 6 gauge wire. Ensure you have the correct wire size for your project, and start by cutting the required length of wire.
Splice the wire together using the crimp connector once you cut the wire to the right length. Don’t forget to use a heat gun or propane torch to properly seal the heat shrink tubing for a secure connection.
Splice connectors come in various shapes and sizes, so ensure you get the right one for your splice. Review: Splice connectors are also handy for making electrical connections in tight spaces. So, next time facing a tricky splice, don’t hesitate to reach for a splice connector. Make sure to read through to understand every step of the process.
