Air compressors are a vital tool in many industries and households. However, like any other mechanical device, they undergo wear and tear over time and may require some repair or replacement.
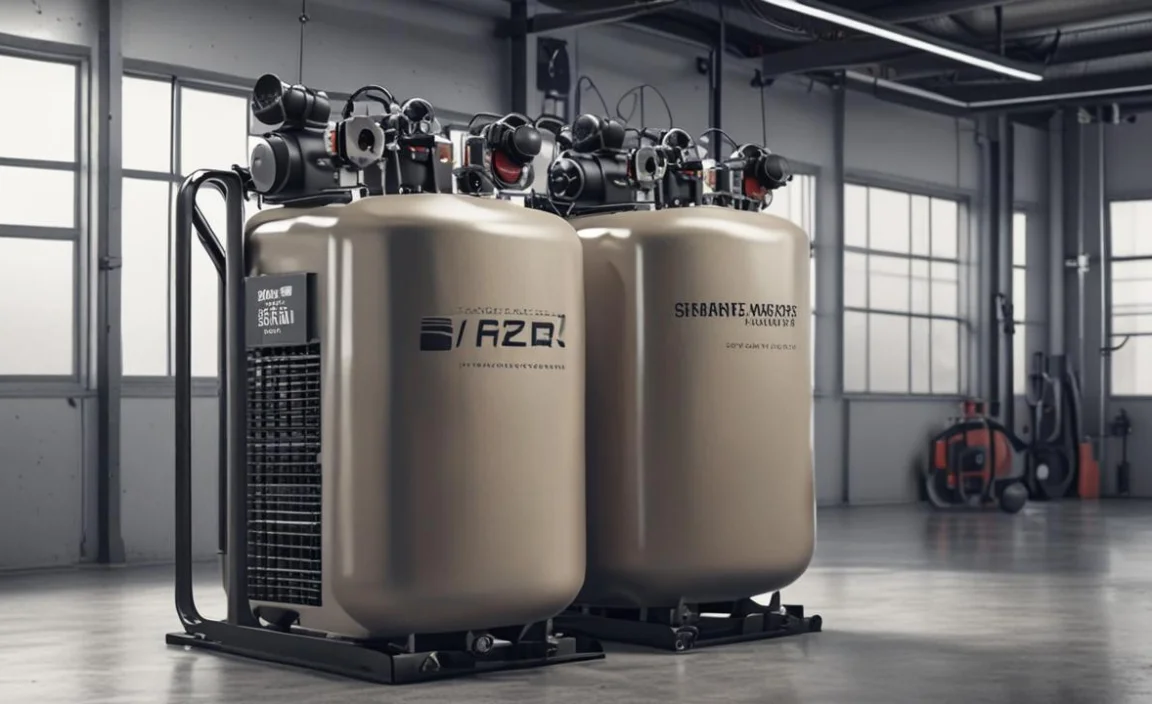
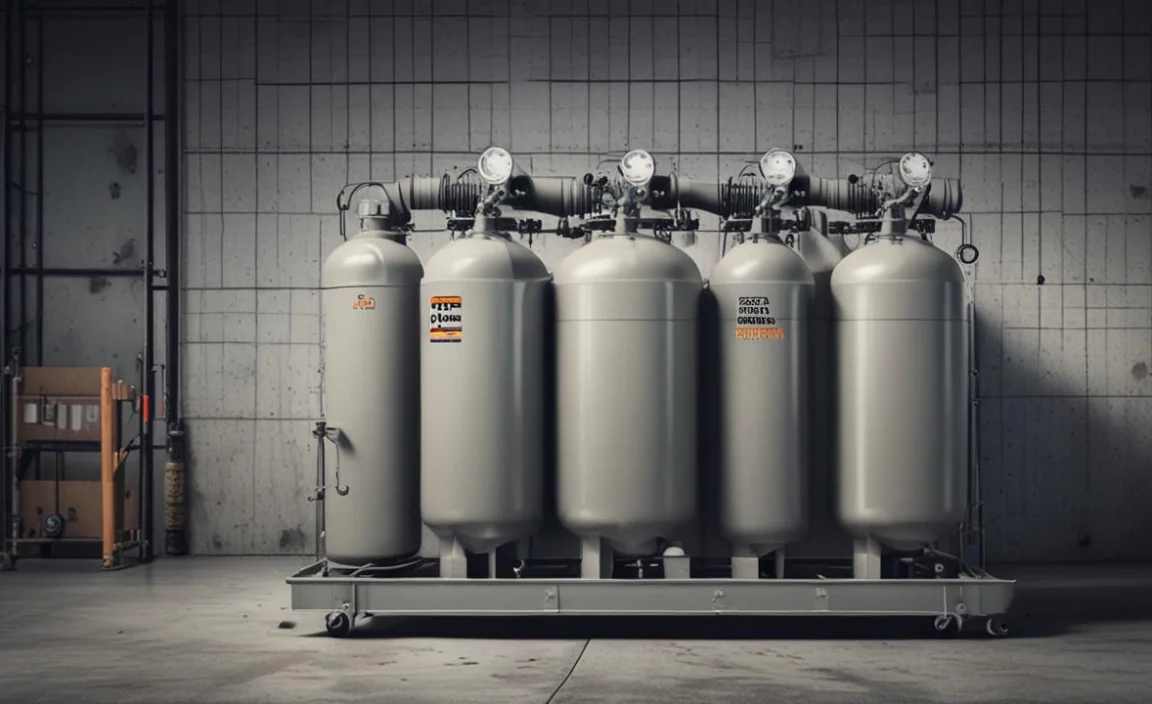
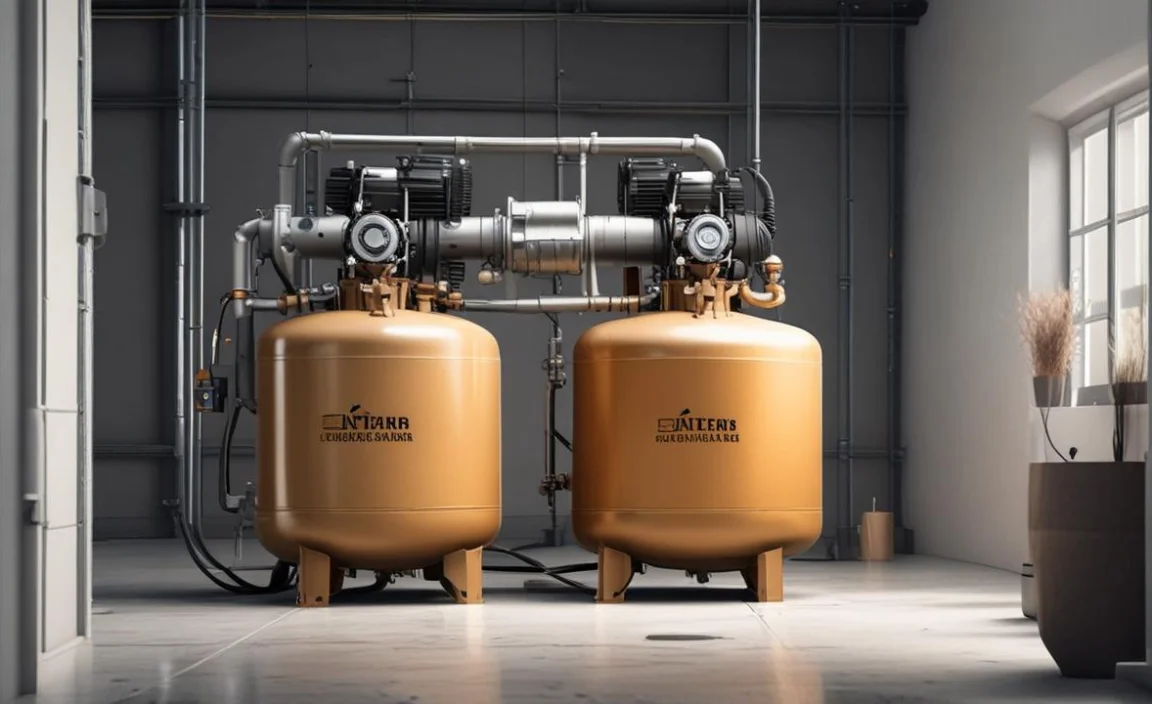
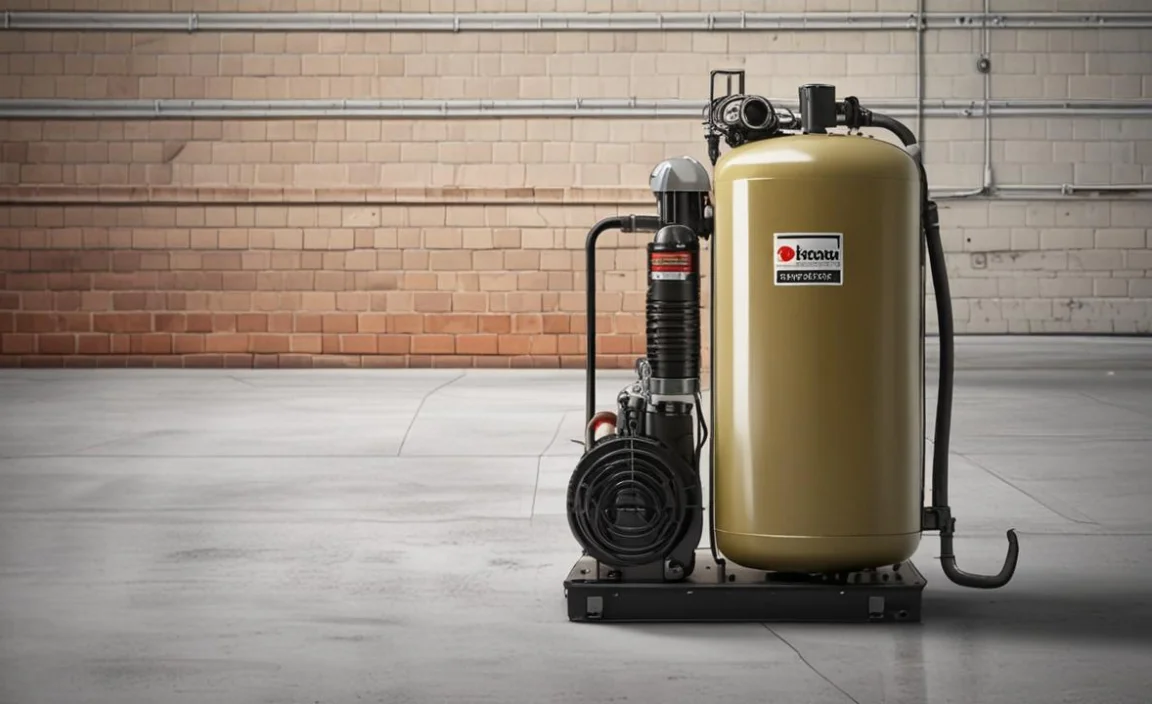
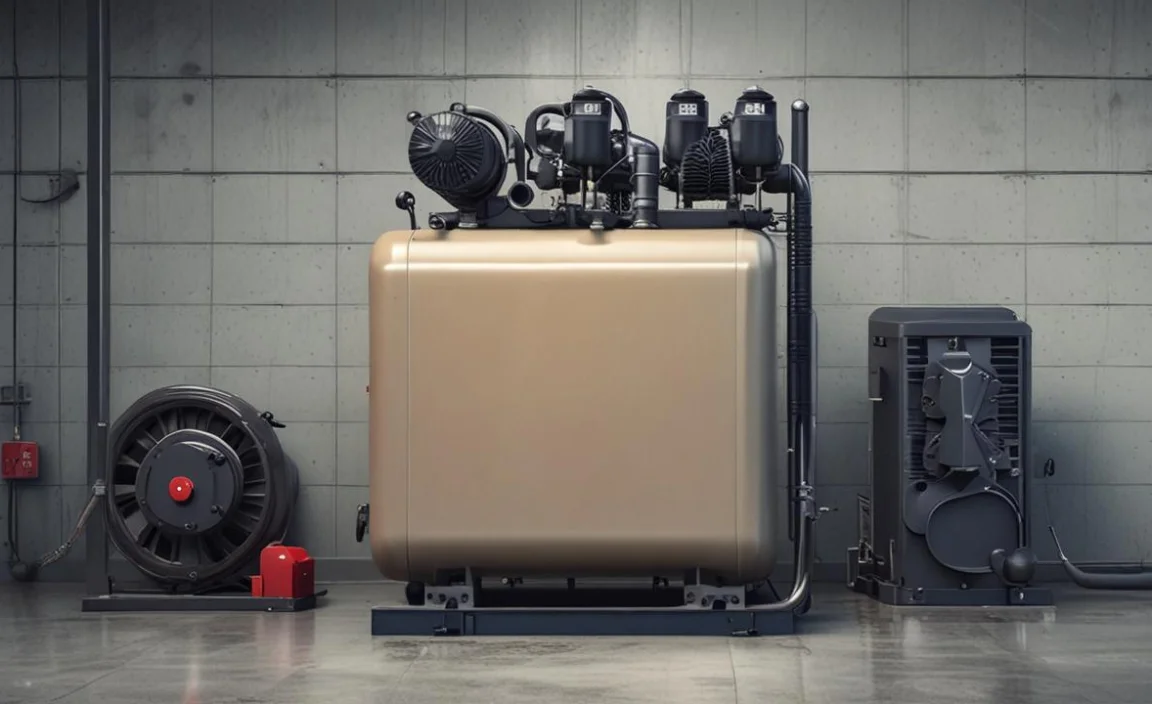
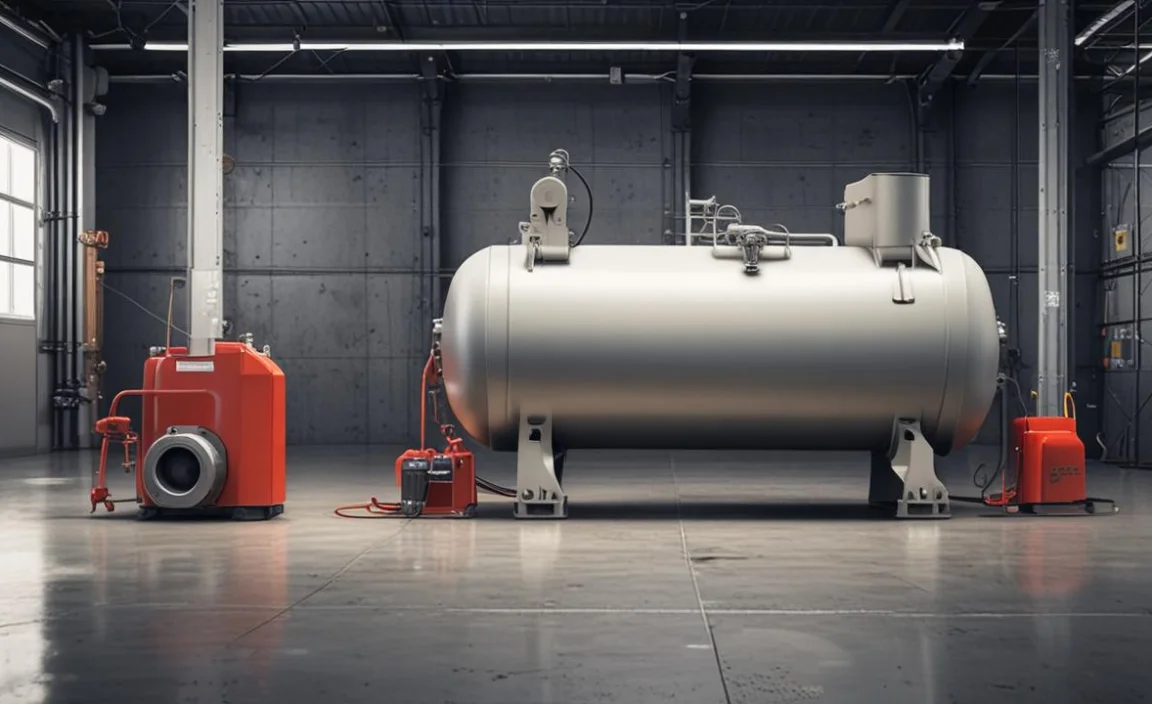
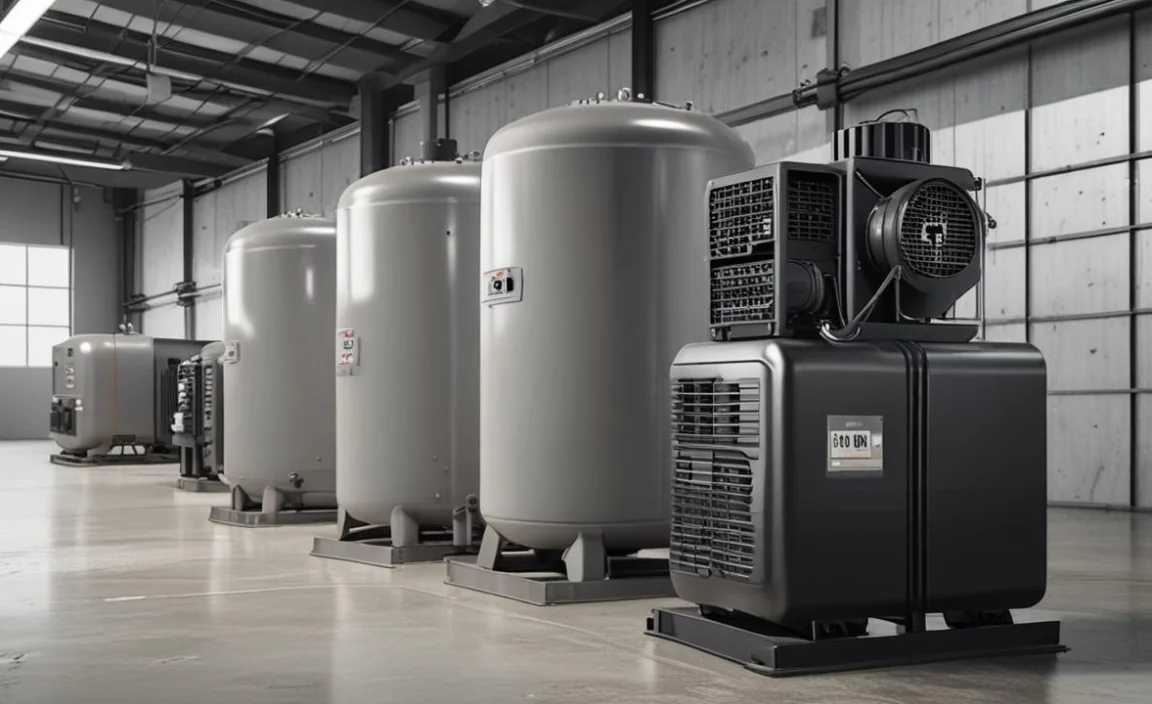
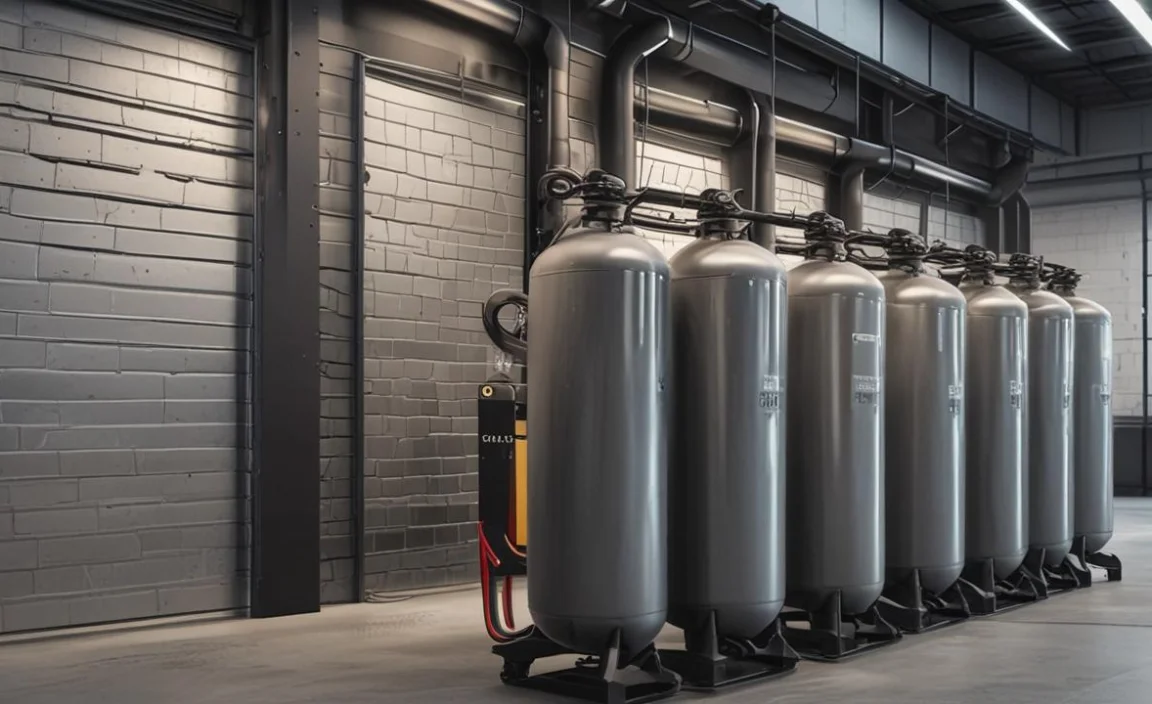
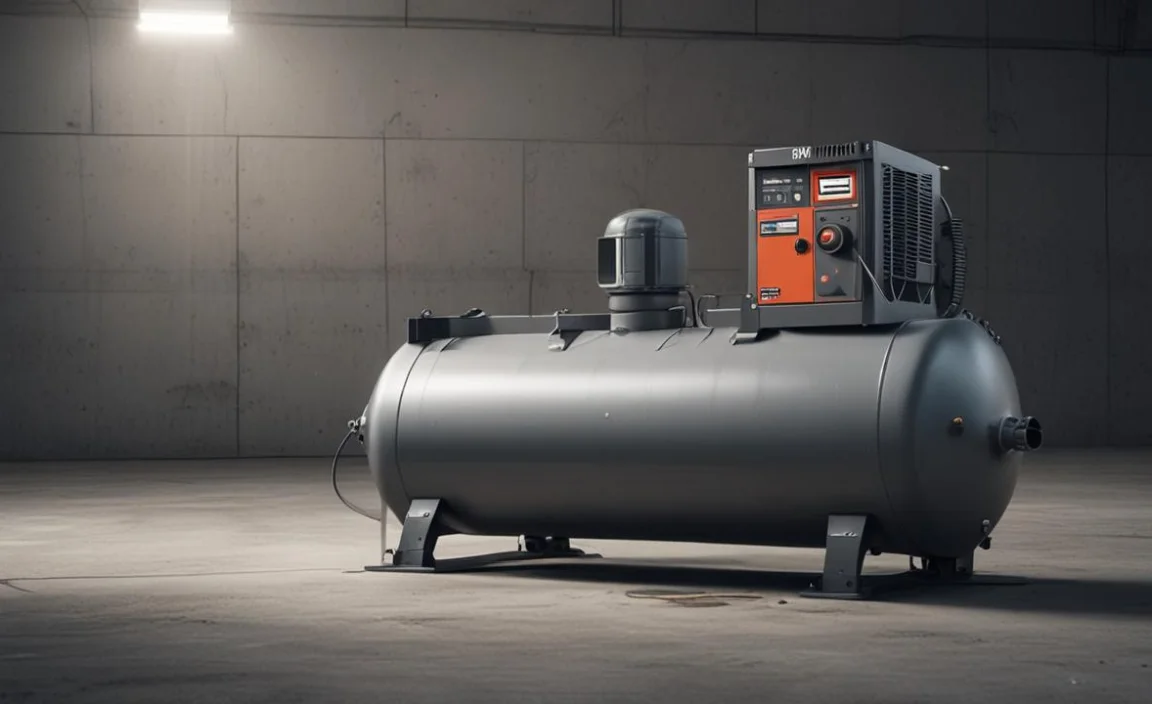
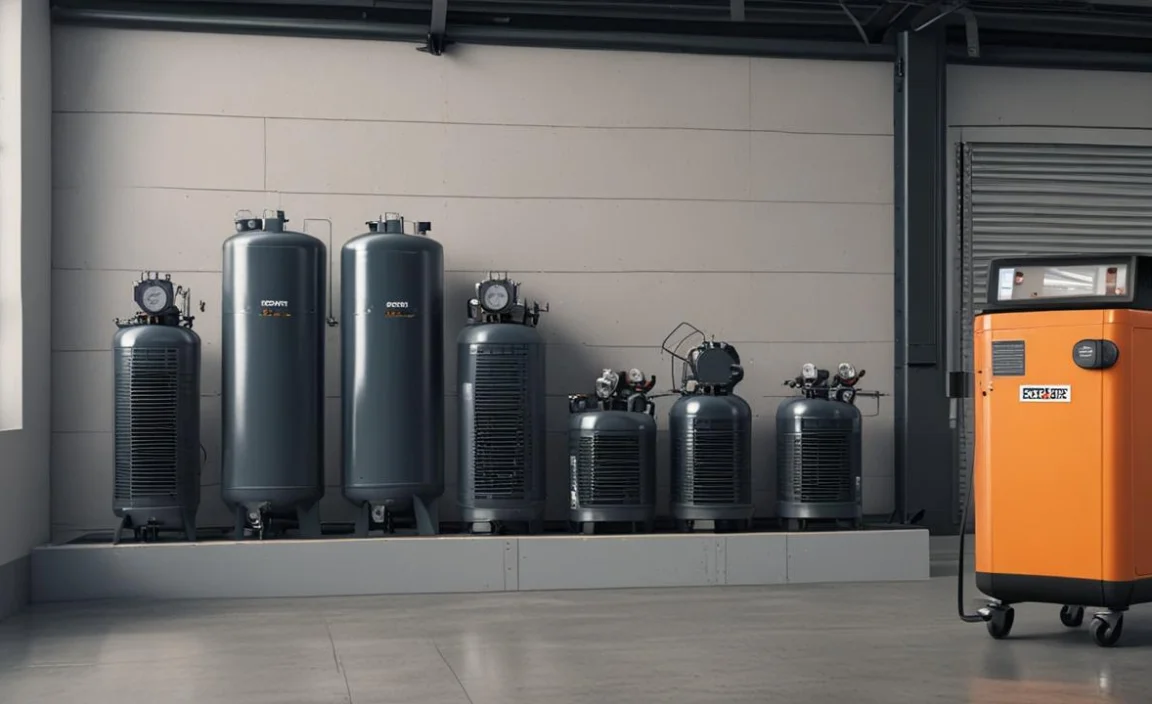
Maintaining an air compressor is crucial to ensuring it operates efficiently and safely. One crucial component of an air compressor is the tank. The tank holds compressed air and plays a significant role in the overall functioning of the compressor.
A damaged or worn-out tank can lead to poor performance or dangerous situations. Therefore, replacing air compressor tank is essential for proper functioning. Replacing an air compressor tank may seem daunting, but it is a relatively simple job that can be done with a few tools and some basic knowledge. We will provide the necessary information and steps to replace an air compressor tank efficiently.
Tools And Materials Required For Replacing An Air Compressor Tank
Here is the list of Replacing an Air Compressor Tank tools and materials. New air compressor tank: Ensure you have a compatible replacement tank that matches the specifications of your air compressor.
Adjustable wrench or socket set: These tools will be necessary to disconnect and reconnect bolts or screws securing the tank to the compressor unit. Screwdriver: Depending on the type of screws or clamps used, a screwdriver may be needed to loosen or tighten them during the tank replacement process.
Pliers: Pliers can be useful for disconnecting and reconnecting any hose clamps or fittings attached to the tank. Teflon tape or thread sealant: Use Teflon tape or thread sealant to ensure proper sealing of threaded connections and prevent air leaks. Soapy water solution: A mixture of water and dish soap will help you test for any air leaks once the replacement is complete.
Safety gloves and goggles: It’s always a good idea to wear them to protect yourself during tank replacement. Safety precautions: Ensure a safe working environment, including a stable work surface and good lighting. Always follow safety guidelines and refer to your air compressor’s manual for specific safety instructions.
9 Steps On Replacing Air Compressor Tank For Optimal Results
Replacing air compressor tank is important for several reasons. First, tanks can develop leaks or rust over time, compromising their integrity and safety. Second, a new tank ensures optimal performance, providing sufficient air pressure for various applications. Lastly, a replacement tank extends the compressor’s lifespan, reducing downtime and maintenance costs.
1. Safety First
Safety should always be a top priority when replacing an air compressor tank. Before beginning the process, ensure the compressor is powered off and disconnected from any power sources. Wear appropriate safety gear such as gloves and eye protection. Follow the manufacturer’s instructions and use caution when handling heavy equipment to avoid injury.
2. Empty The Tank
Emptying the tank is necessary when replacing an air compressor tank. This process involves releasing all the compressed air stored within the tank to ensure safe and effective removal. To empty the tank, locate the tank drain valve, typically found at the bottom of the tank, and open it. By doing so, the air pressure will gradually decrease as the tank empties. It is crucial to follow proper safety procedures and wear protective gear while performing this task to prevent any accidents or injuries.
3. Disconnect The Tank
To disconnect the tank when replacing an air compressor tank, ensure the compressor is powered off and disconnected from the power source. Release any remaining air pressure by opening the drain valve. Locate the fittings connecting the tank to the compressor and use appropriate tools to loosen and disconnect them.
Carefully remove any bolts or brackets securing the tank in place. Once the tank is free, it can be safely removed and replaced with a new tank by following the reverse procedure. Always refer to the manufacturer’s instructions for specific guidance.
4. Remove Additional Components
Follow these steps to remove additional components when replacing an air compressor tank. First, ensure the compressor is powered off and disconnected from the power source. Next, release any remaining pressure in the tank by opening the drain valve.
Disconnect the air lines and electrical connections from the tank. Depending on the specific model, you may need to remove bolts or screws securing the tank to the compressor frame. Once the tank is detached, reverse the process to install the new tank, ensuring all connections are secure before powering on the compressor.
5. Install The New Tank
Disconnect the power supply to the air compressor and release any pressure in the existing tank. Remove the fittings and connections from the old tank, ensuring proper drainage. Carefully lift and remove the old tank, taking necessary precautions. Position the new tank in place, aligning it with the mounting brackets. Securely attach the fittings and connections to the new tank, ensuring proper sealing. Reconnect the power supply and test the air compressor for proper functionality.
6. Reattach Additional Components
When replacing an air compressor tank and reattaching additional components, it is essential to follow proper procedures. First, disconnect the power supply to the compressor. Then, carefully remove any remaining air pressure from the tank.
Next, detach the necessary hoses, fittings, and accessories from the old tank and inspect them for damage or wear. Install the new tank securely, ensuring all connections are tight and properly sealed. Finally, reattach the hoses, fittings, and accessories, ensuring they are correctly aligned and tightened. Verify the proper functioning of the compressor before use.
7. Connect The Airlines
Connect the air lines when replacing an air compressor tank; follow these steps. First, ensure that the new tank is properly positioned and secured. Then, locate the air line connection points on the tank and identify the corresponding connections on the compressor.
Next, use appropriate fittings or connectors to attach the airlines securely, ensuring a tight seal. Double-check all connections for leaks and tighten them as needed. Once all connections are secure, test the system by running the compressor and verifying proper airflow through the lines.
8. Test For Leaks
When replacing an air compressor tank, it is important to test for leaks to ensure proper functionality. Start by disconnecting the compressor from the power source and draining all the air from the system. Inspect the tank and its fittings for any visible damage or wear.
Apply a soapy water solution to all connections and observe for any bubbles which indicate leaks. If bubbles appear, tighten the fittings or replace any damaged components. Once all connections are secure and leak-free, you can safely reconnect the compressor and test its performance.
9. Power Up And Test
Once there are no leaks, plug in the compressor and turn it on. Allow the tank to fill with air and check the pressure gauge to ensure it reaches the desired pressure level. Monitor the compressor during operation to ensure it functions properly.
Troubleshooting Common Problems With Air Compressor Tank Replacement
When air compressor tanks, it is essential to know how to troubleshoot common problems that may arise. One of the most common issues is a leak in the tank. This can cause by corrosion, a faulty valve, or even a small hole. To fix this issue, a tank replacement may be necessary.
However, before replacing the tank, it is vital to ensure that the compressor itself is not the root of the problem. Checking the valves, hoses, and fittings is a good place to start. Another issue that may arise is low pressure. A clogged air filter, worn-out belts, or a malfunctioning pressure switch can cause this. If these components are in good condition, a tank replacement may be necessary to restore proper pressure.
Testing And Maintenance Of The New Air Compressor Tank
Testing and maintaining the new air compressor tank is critical in ensuring it functions properly and safely. Before using the compressor for the first time, it is essential to thoroughly inspect all components, including the tank, hoses, valves, and regulators.
This inspection should involve checking for any signs of damage, wear, or corrosion that could compromise the integrity of the tank or other components and verifying that all connections are tight and secure.
Once the initial inspection is complete, the tank should be tested to ensure it can withstand the maximum pressure rating specified by the manufacturer. This testing should be performed by a qualified technician using specialized equipment, and any identified issues should be addressed immediately.
Conclusion
Replacing air compressor tank can significantly maximize efficiency and performance in any industrial operation. It’s a smart investment that can improve productivity and safety and reduce energy costs in the long run. Businesses can optimize their compressed air system and achieve peak performance by choosing the right tank size and material, regularly maintaining and checking for leaks, and ensuring proper installation.
Working with experienced professionals who can provide expert advice, quality products, and reliable support throughout the tank replacement process is crucial. With the right approach and equipment, companies can streamline operations, enhance quality, and stay ahead of the competition.
FAQs
[rank_math_rich_snippet id=”s-98127a4d-36db-4ec8-a6a0-c9cb76e8faca”]
