Like most people, you probably have a stockpile of jumper cables tucked away in your garage. But did you know that you can use jumper cables to do more than fix cars? In this article, we’ll show you some ways to use jumper cables to power devices in your home, office, and even car.
By following these tips, you’ll be able to get the most out of your jumper cables and facilitate a variety of tasks. So what are you waiting for? Let’s get started. If you’re trying to fix something that’s not plugged into an electrical outlet, like a mechanism in your car, you can use jumper cables to power it. To do this, connect one end and the other end of the line to an outlet in your vehicle.
Please turn on the engine and wait a few minutes for everything to settle down before disconnecting both cables from their plugs. If everything goes according to plan, your mechanic should be able to take care of fixing whatever is wrong with the mechanism without having to plug it into an electrical outlet first.
When To Use A Jumper Cable
Jumpers are a must-have tool for anyone who needs to fix or troubleshoot electrical equipment. They come in handy when you accidentally disconnect something or if something goes wrong with your wiring. There are two main types of jumpers: the male jumper and the female jumper.
Male jumpers connect one end of the wire to the positive terminal on one device and the other to the negative terminal on another. Female jumpers do the opposite – connecting one end of the wire to the negative terminal on one device and the other to the positive terminal on another.
When using a male jumper cable, ensure both devices have adequately before plugging it into an outlet. This is so that electricity will flow freely through the line and reach both devices safely.
When using a female jumper cable, Before you plug in an outlet, make sure that only one device into each side of the card – otherwise, you run the risk of damaging both devices.
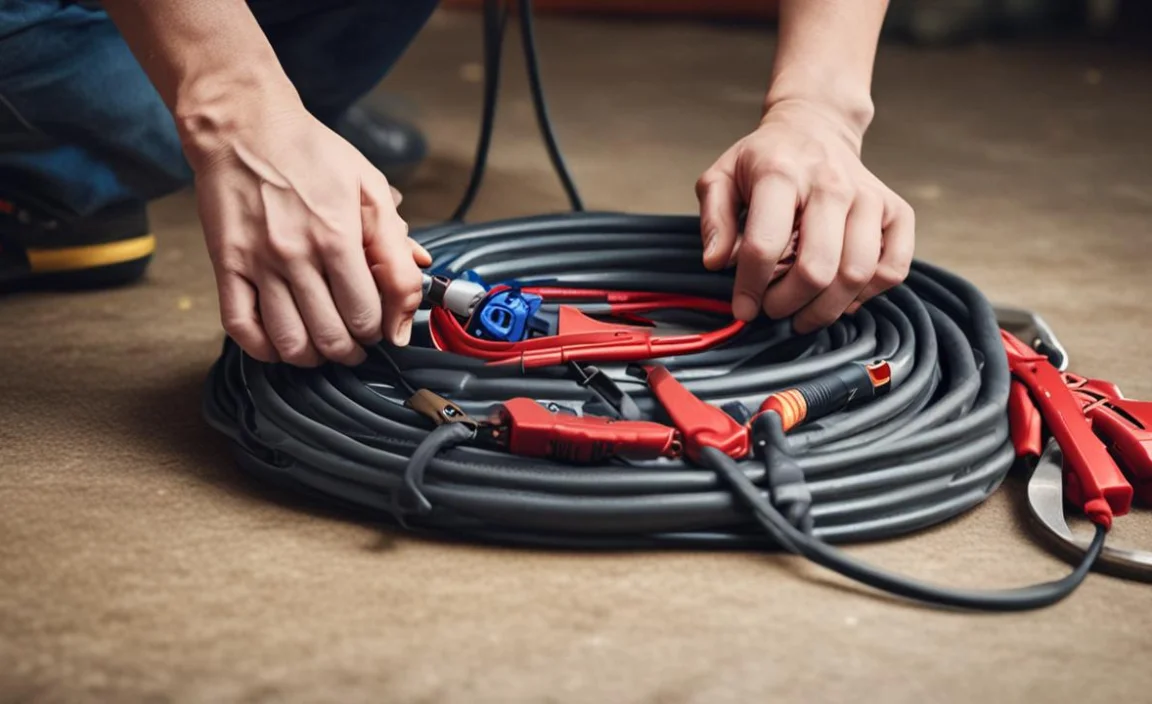
How To Hook Up Jumper Cables – Follow The Steps Below
To hook up a jumper cable, you will need two vehicles: the first to be plugged into a power source and the second to be used as the “jumper.” The first vehicle should to the second vehicle by plugging its connector into the connector on the second vehicle. Then, connect each cable from each connector to another car’s battery. Finally, connect each line to a power source (like an outlet).
The Difference Between A Regular And An Extension Cord
A regular cord is usually just enough to power a small device like a laptop or an LED light. On the other hand, an extension cord for use with heavier appliances like televisions and air conditioners.
Extension cords are also more versatile than regular cords. For example, they can be used as indoor cables if you need to run them along a wall or ceiling. You can also use them to connect two different outlets if one of them is out of reach or if there’s not enough space between the outlets.
There are also extension cords designed for specific purposes, like outdoor extension cords that protect against rain and snow buildup. And, if you’re ever in doubt about which type of cord to use, it’s always best to go with an extension cord made explicitly for your needs.
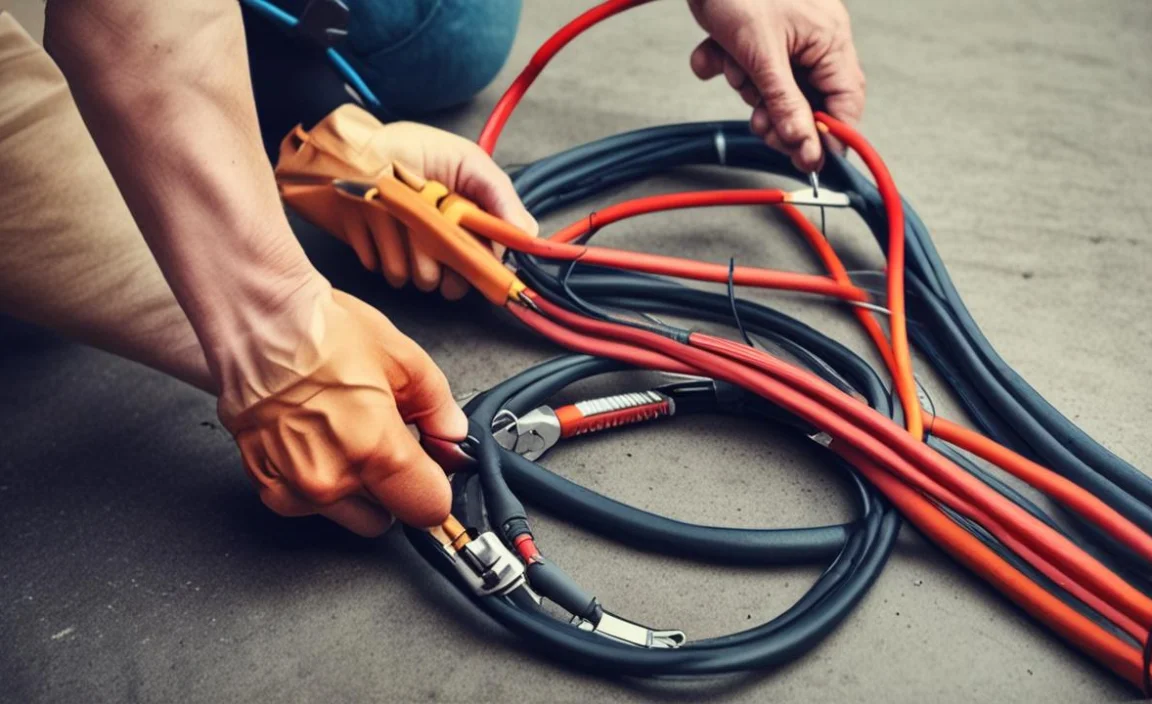
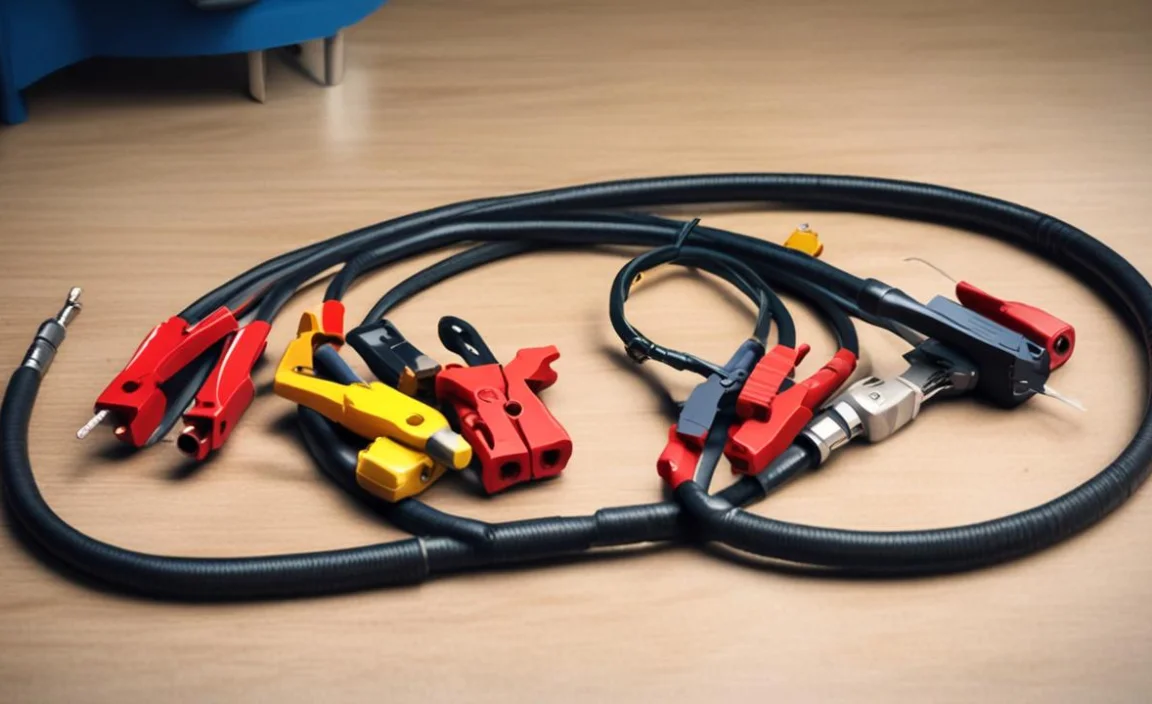
Essential Tips To Use Jumper Cables Safely
Jumper cables are a handy tool to help fix car problems. However, one must safely use it to avoid any injuries. Here are some tips to help you use them safely:
- Make sure the cables are well-insulated and have enough length to reach the battery.
- Connect the positive cable first, then connect the negative cable last. This will ensure that both batteries are connected correctly.
- NEVER use jumper cables if there is a risk of fire or electrocution.
- NEVER jump a car with water or gasoline present near it.
- ALWAYS turn off the engines before connecting or disconnecting jumper cables.
- Never use jumper cables to start a car that is not running.
Following these safety tips can use jumper cables to fix car problems safely and efficiently.
How To Remove A Jumper Cable From An Appliance
First, remove a jumper cable from an appliance, and ensure the power is off to both machines. Next, disconnect the red (negative) cable from the negative battery terminal on the device you want to use as a spare.
Then, connect the black (positive) cable to the positive battery terminal on the other machine. Finally, please turn on the power to both devices and wait for them to start. When they do, you can disconnect the black (positive) cable from the positive battery terminal on the second appliance.
When Not To Use A Jumper Cable

Jumper cables are a great tool when you need to jumpstart your car, but there are a few things to remember when using them.
- Never use jumper cables if you’re the only person who needs to use them. This will cause more damage than good.
- Never use jumper cables if the battery is not connected correctly. This can cause severe electrical shock and injury.
- Make sure the connectors are on each end of the cables before jumpstarting your car. If they aren’t, you could damage both vehicles even further.
- Never use jumper cables if the terminals are corrupted or damaged. This could cause a fire.
- Do not use jumper cables if you’re pregnant or have a heart condition.
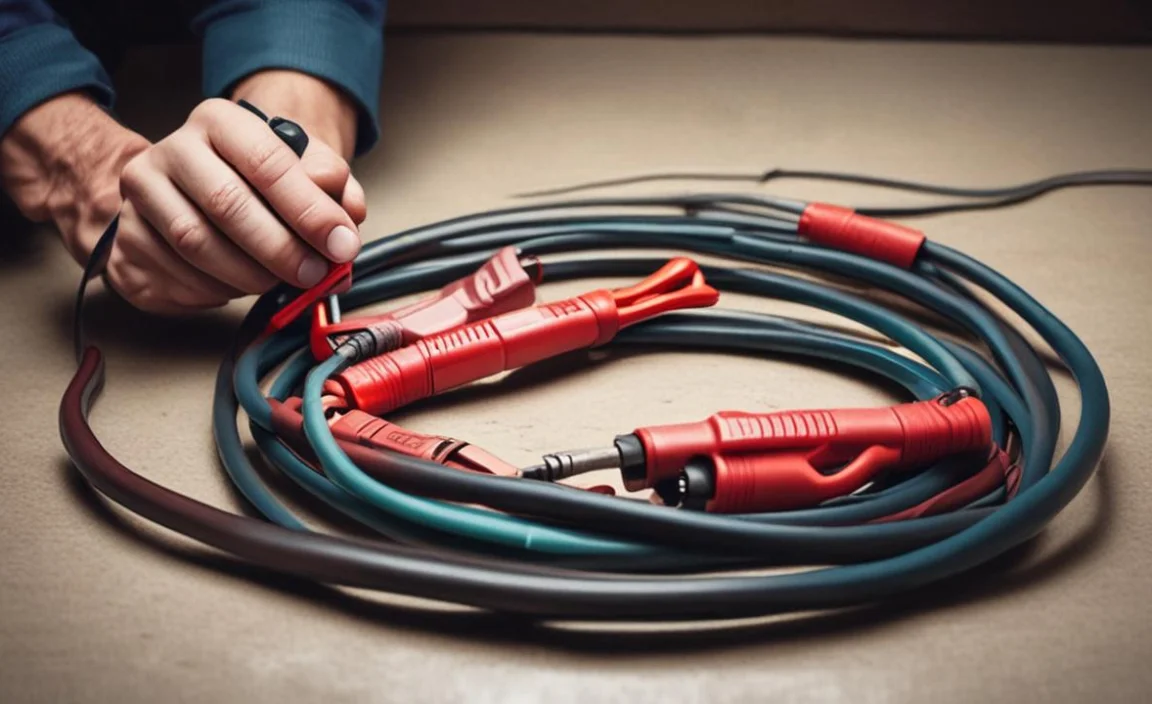
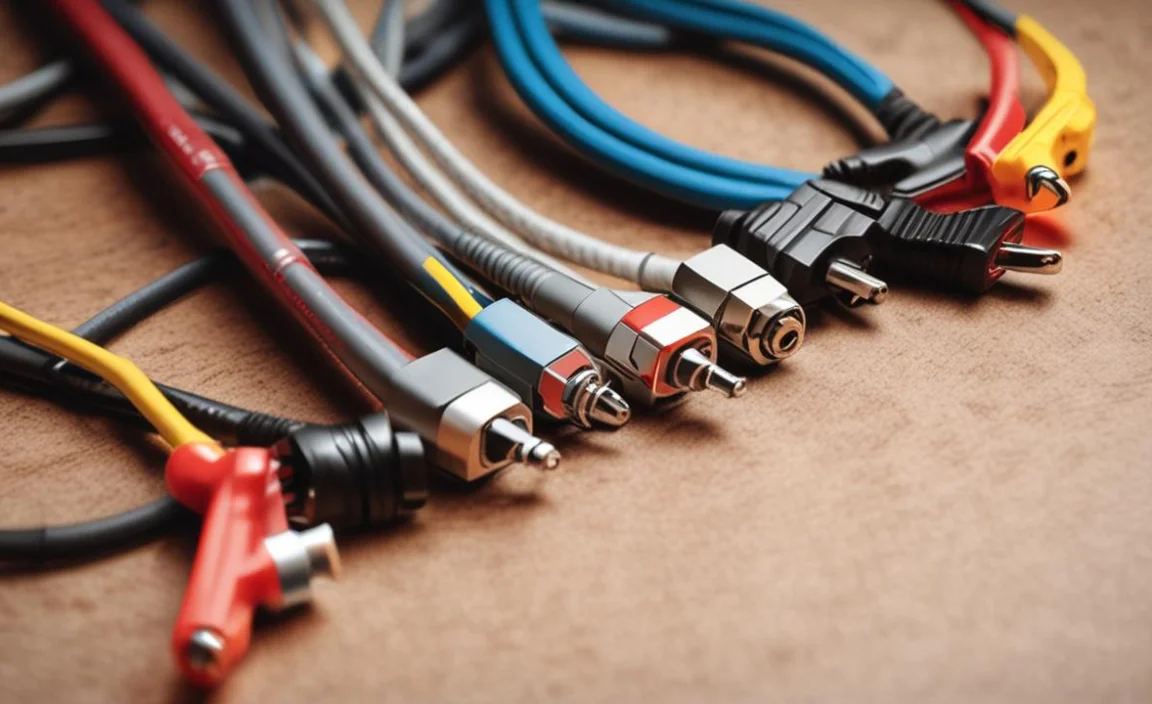
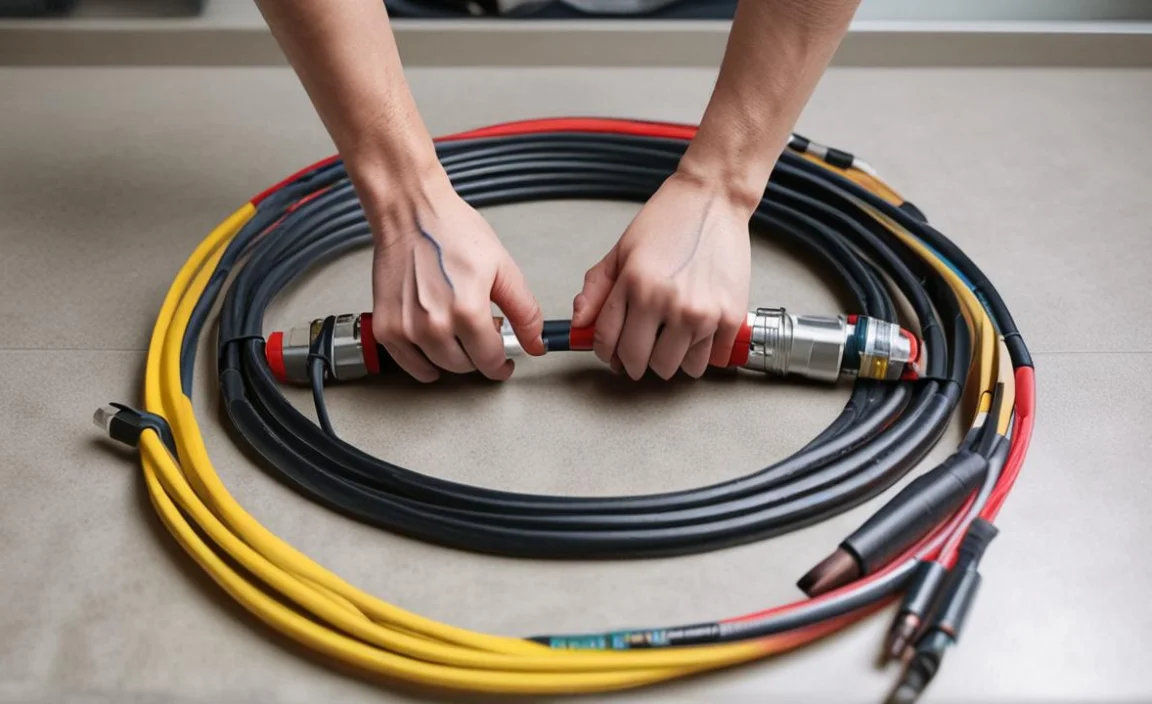
Selecting The Correct Type Of Connector For Your Cables
Concerning connecting cables, there are a few things to bear in mind:
- Make sure that the connectors you choose are compatible.
- Ensure that the connectors are durable and will last a long time.
- Buy enough cables to have enough room to work without worrying about running out of space.
Various connector types are available on the market, so it can be hard to decide which one is right for you. Here are some of the most popular ones:
- Twist connectors: These connect two wires by turning them around, facing each other. They’re easy to use and come in handy when connecting two wires.
- Bayonet connectors: These connect two wires by sticking them into a bayonet slot on the connector. This is a more secure connection than a twist connector because it’s harder for the wire to escape from the bayonet slot.
- Sliding connectors: These connect two wires by pushing them together until they click into place. They’re convenient because they don’t require any tools or extra space; push them together until they fit snugly.
Choosing The Appropriate Length Of Jumper Cable
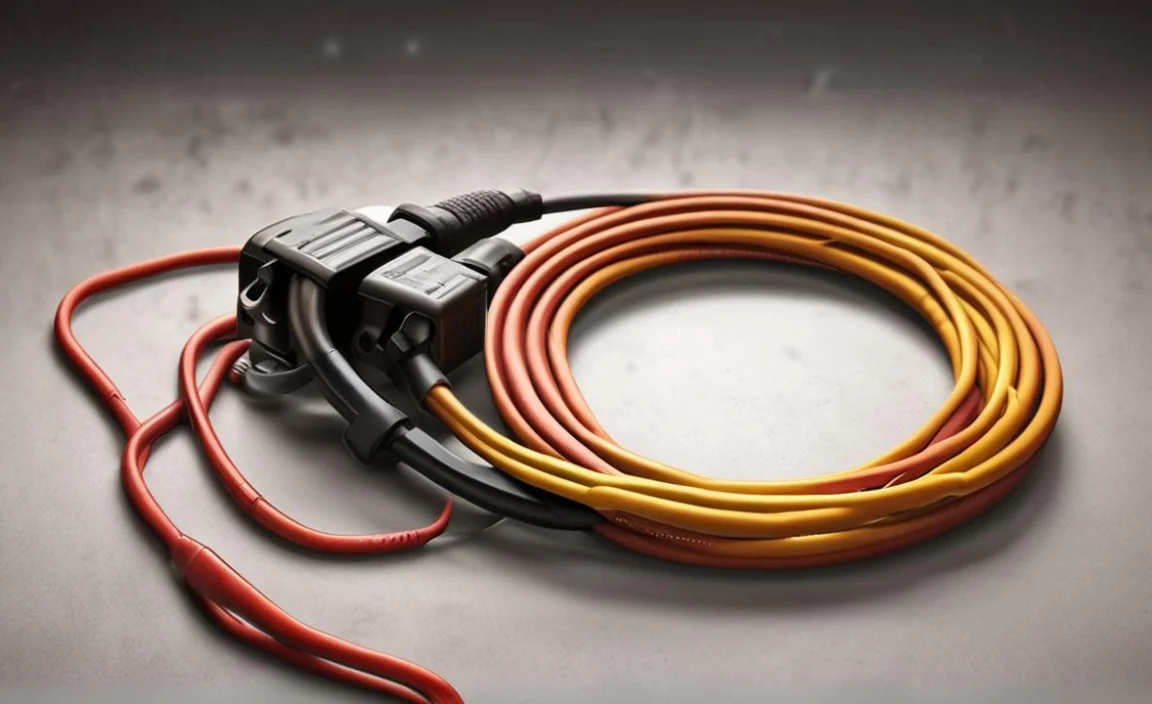
Jumper cables are an essential part of any emergency kit, and for a good reason. You can use these to load batteries and other electronics or start vehicles in weather storage to cool them. When choosing the appropriate jumper cable length, consider the distance between the two objects you’re trying to connect.
For example, if you’re joining a battery to a car’s electrical system, you’ll need a longer jumper cable than connecting a phone to a charger. And, of course, the longer the line, the more expensive it will be.
To get an idea of how long your desired jump box might be, measure both objects you want to connect and multiply these measurements by 2.5 (to account for extra length). This should give you an approximate idea of how much money you’ll need to spend on jumper cables.
Conclusion
All in all, this is a simple job that anyone can handle. If you are also wondering how to do this with headphones, remember these steps: First, you must pull the headphones from their casing. Afterward, use a screwdriver or other suitable tool to detach the old jumper cables from their sockets.
Then put in your new one and connect it properly! There’s no need for tools or complicated procedures here because we’ve already explained everything above. Now go ahead and try it yourself if you haven’t done so yet – but make sure that nobody stands nearby.
