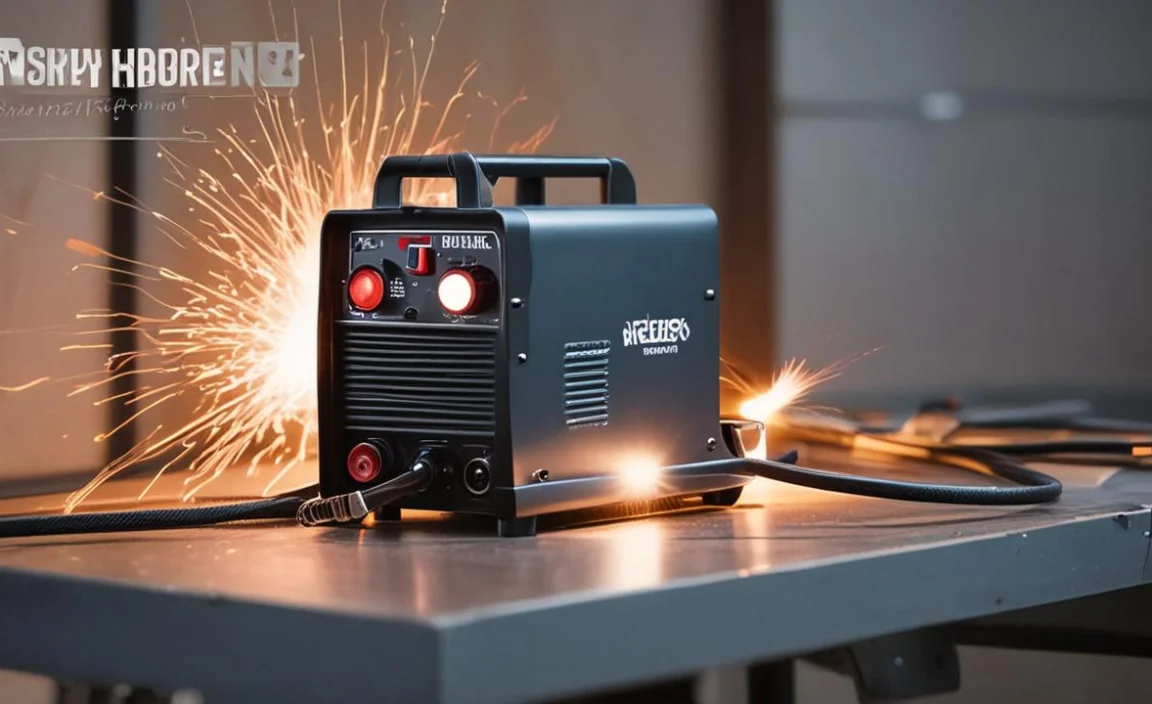
Welding is a crucial process in many industries, from construction to manufacturing. With the advancement of technology, welding machines have also evolved, becoming more efficient and powerful.
One of the most common types of welding machines is the 3-phase welder, which is famous for its reliability and high-quality welds. However, not all workspaces or homes are equipped with a 3 phase power supply, making it difficult for individuals to use these welders. This is where the need to convert a 3 phase welder to a single phase arises.
Here, we will guide you through the steps of how to convert 3 phase welder to single phase in an efficient manner. With the right tools and knowledge, you can easily make this conversion and expand the capabilities of your welding machine.
What Is A 3 Phase?
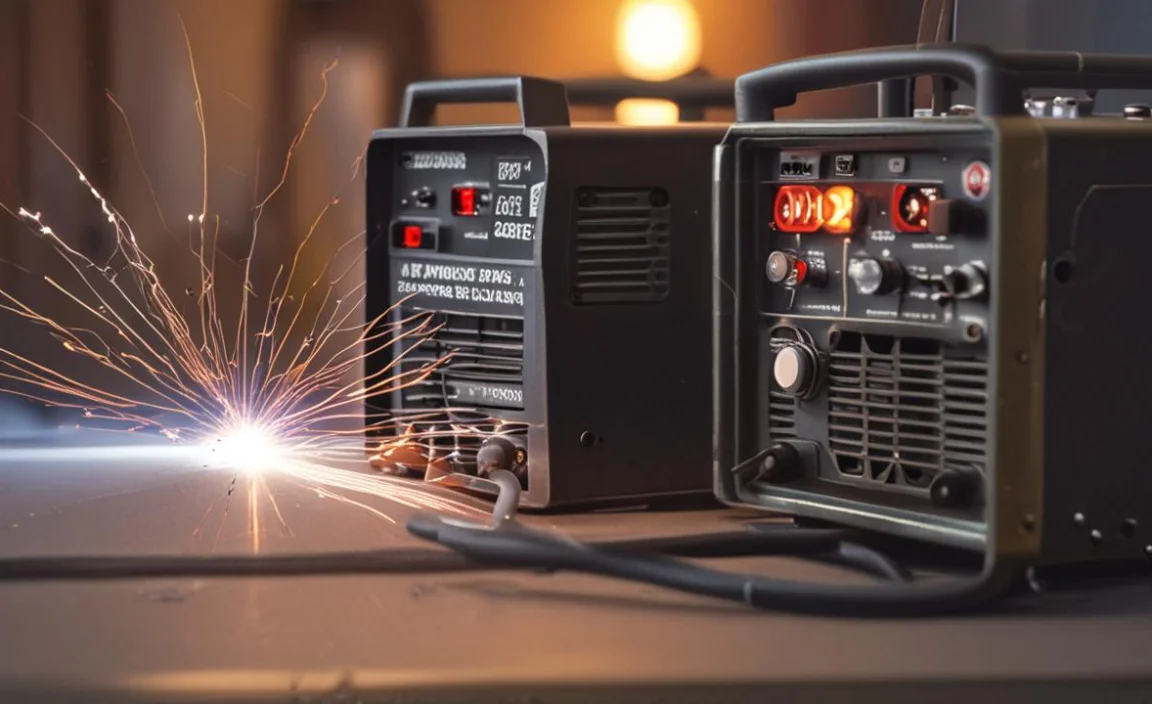
A 3-phase electrical power transmission uses three alternating currents to deliver power to homes, businesses, and other facilities. This system is commonly handy in industrial settings requiring high power loads.
Typically, people designate the three phases of the system as A, B, and C, and each phase carries a different currency that is out of phase with the others. The system can deliver more power using multiple phases than a single-phase system without larger wires.
Additionally, 3 phase systems are more efficient and reliable than single-phase systems because they provide a constant flow of power even if one of the phases fails. Overall, 3 phase systems are an important part of modern electrical infrastructure and play a critical role in powering our homes and businesses.
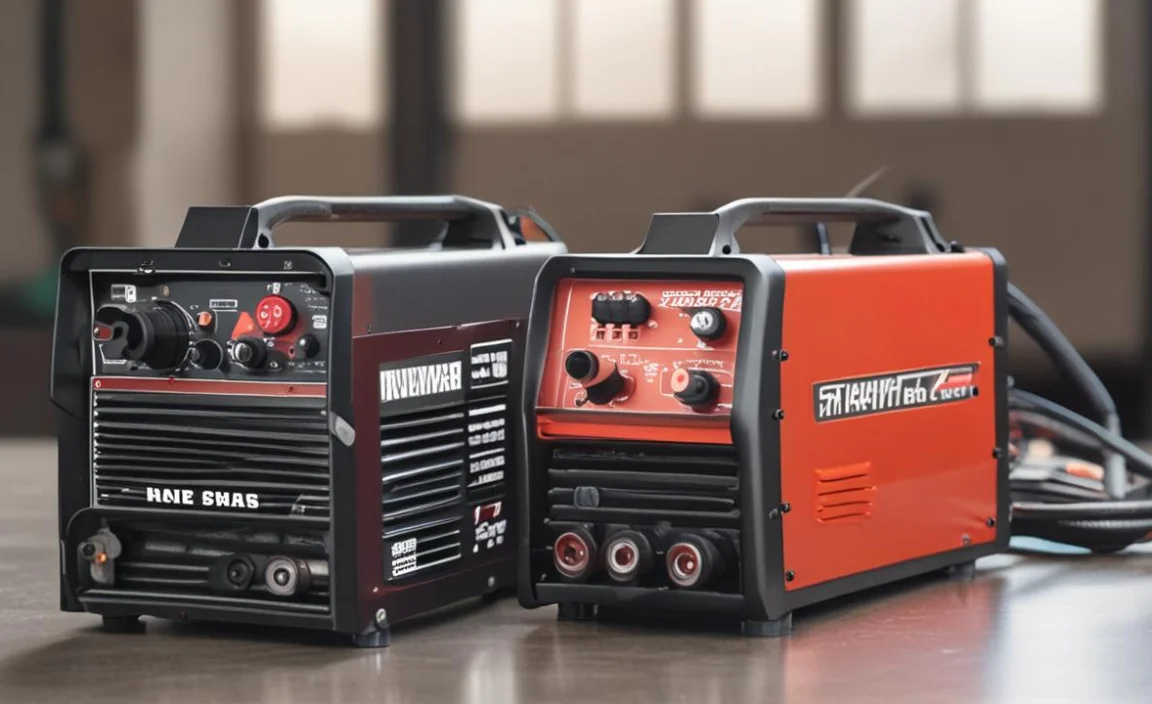
What Is A Single Phase?
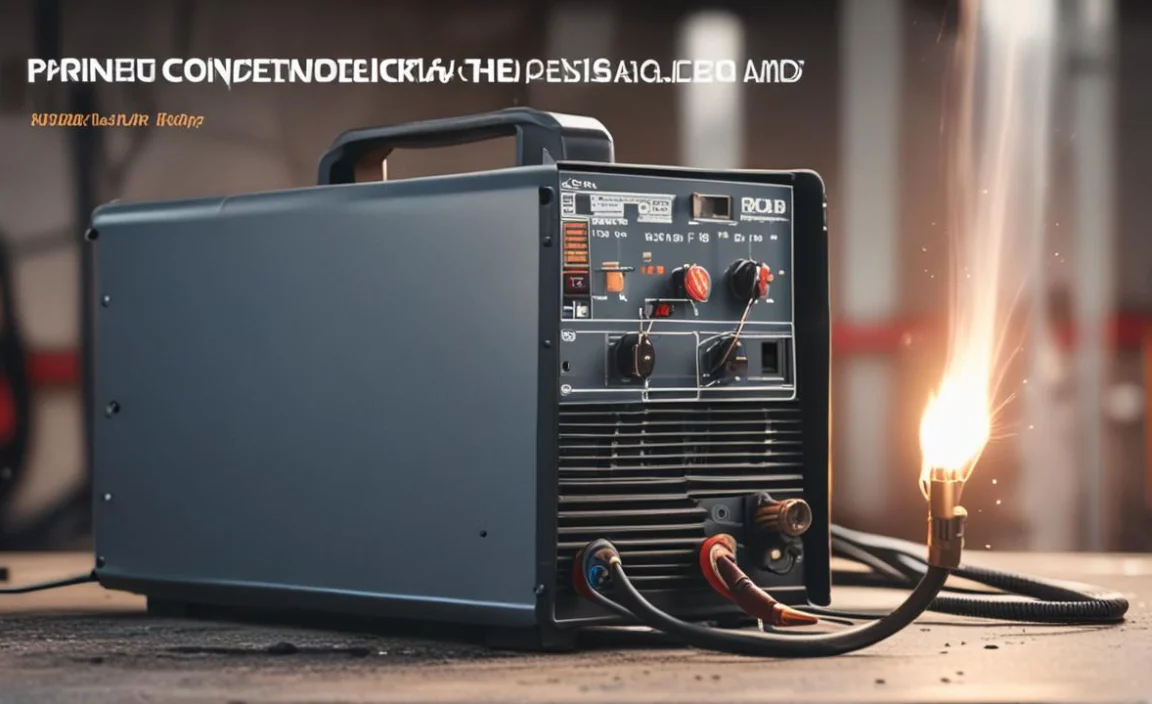
Single-phase welding uses only one electrical power supply – typically 120 or 240 volts – which means two wires run through the 3-phase machine. Each wire is treated differently and handy for different purposes.
The primary purpose of a single-phase welder is to weld two pieces of metal together where one would not weld correctly with a three-phase welder. This type of welding has many advantages over three-phase welding currents, including being more efficient and giving you greater control over the joint.
How To Convert 3 Phase Welder To Single Phase – Ultimate Guideline
If you’re converting a 3-phase welder to a single-phase, the most important thing to do is to check the wiring diagram provided by the manufacturer. This will tell you which wires are needed for the conversion.
Once you have identified the wires, you need to disconnect the three phases and re-wire the welder using the single-phase wiring diagram. You’ll also need to change the control panel settings to match the single-phase wiring settings.
If you’re unsure how to do this, consult a professional electrician for assistance. Once you have completed the wiring, your 3-phase welder should work on single-phase power. Converting a 3-phase welder to a single phase can seem daunting, but with the right guidance, it can be done. Here is a details guideline on how to convert 3 phase welder to single phase:
Tools You Will Need

- Multimeter
- Welder
- Tongs or Equipment Handles
- Screwdriver
- Wire Stripper/Cutter -Ruler or Measuring Tape
- Safety Glasses
- Solder
Step One
When converting a 3-phase welder to a single-phase, it is important first to check the specifications of your welder. Not all welders are suitable for conversion, and attempting to convert one that is not can result in damage to the machine or even personal injury.
Look for the manufacturer’s specifications and recommendations for converting your specific model. You may also want to consult a professional electrician or welding expert to ensure the conversion is done safely and correctly. By checking your welder’s specifications carefully and seeking expert advice, you can successfully convert your 3-phase welder to a single phase without any issues.
Step Two
Converting a 3-phase welder to a single phase can be daunting, but it is possible with the right tools and knowledge. One of the most important steps in this process is to purchase a converter.
A converter will allow you to convert the voltage from 3-phase to single-phase, which is essential for running your welder on a standard household outlet. It is important to choose a converter rated for the same amperage as your welder and have the correct single-phase input and output voltage ratings when purchasing one.
Additionally, you should ensure that the converter is compatible with your specific welder model. With the right converter, you can easily convert your 3-phase welder to a single phase and start welding quickly, according to its respective phases (A, B, or C).
Step Three

When converting a 3-phase welder to a single-phase, the most important step is to install a converter. This device will allow the welder to function properly on a single-phase power supply.
Before installing the converter, it is important to ensure it is compatible with your specific welder model and can handle the required voltage and amperage. Once you have selected the appropriate converter, follow these steps for installation:
- Turn off the power to the welder.
- Follow the manufacturer’s instructions for wiring the converter to the power source and the welder.
- Double-check all connections to ensure they are secure and properly grounded.
- Turn the power on the welder and test it to ensure it functions correctly. Following these steps, you can convert your 3-phase welder to a single phase and continue using it for your welding projects.
Step Four
Connecting the wires is crucial when converting a 3-phase welder to a single-phase. The first thing to do is to identify the incoming power supply wires and connect them to the appropriate terminals on the welder.
You must connect the three wires – one for each phase – to the corresponding terminals on the welder. Once done, you must connect the power source’s ground wire to the welder’s ground terminal.
Finally, connecting the welding leads to their respective terminals on the welder would be best. Ensuring all connections are secure and properly tightened before testing your newly converted single-phase welder is important. Proper wiring and connections allow you to convert your 3-phase welder to a single phase and easily continue welding.
Safety Precautions To Take During The Conversion Process
A 3-phase welder is a powerful and versatile tool used in various industrial and fabrication settings. This type of welder has specific designs to operate on a three-phase electrical power supply, providing a more efficient and stable welding process compared to single-phase welders.
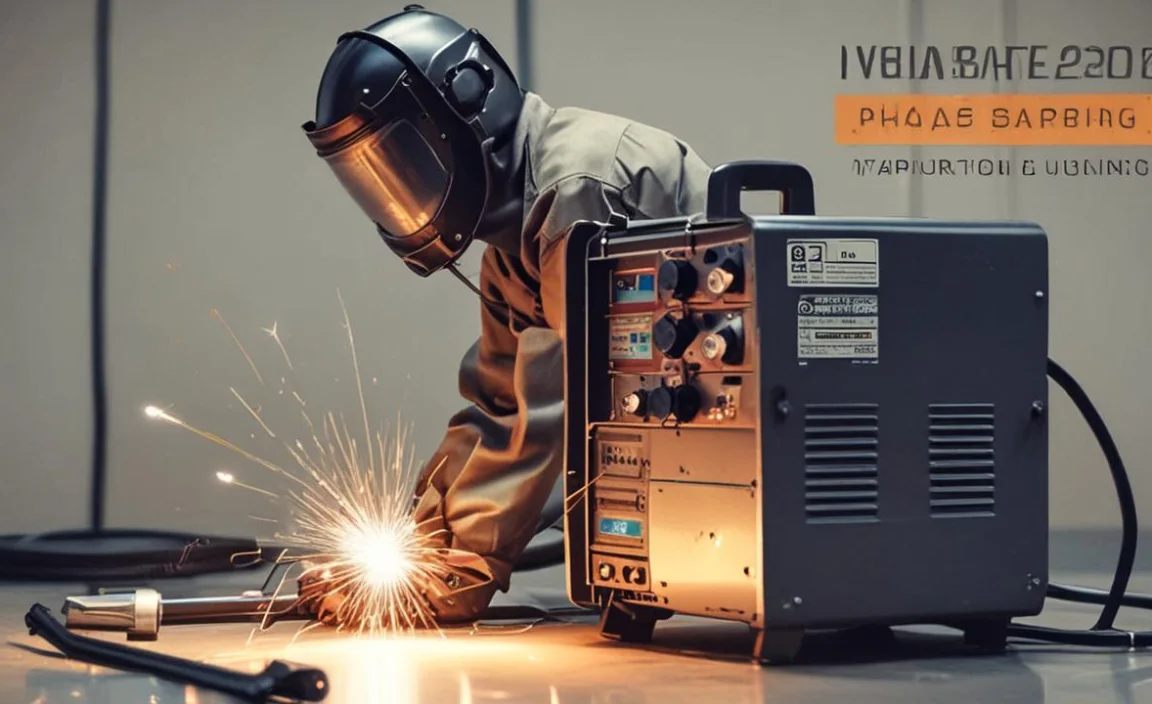
With its robust construction and advanced technology, a 3-phase welder is capable of delivering high-quality welds on a wide range of materials, including steel, aluminium, and stainless steel. During the conversion process, it is important to follow certain safety precautions to ensure the well-being of everyone involved. Here are some safety measures to consider:
- Personal Protective Equipment (Ppe): Use appropriate PPE such as safety goggles, gloves, and protective clothing to protect yourself from any potential hazards.
- Proper Ventilation: Ensure good ventilation in the conversion area to minimize the risk of exposure to harmful fumes or gases.
- Secure Work Area: Keep the work area clean and organized to prevent slips, trips, or falls. Remove any obstacles or hazards that could cause accidents.
- Use Of Safety Equipment: Make use of safety equipment like fire extinguishers and first aid kits, ensuring they are easily accessible in case of emergencies.
- Follow Manufacturer’s Instructions: Always refer to the manufacturer’s guidelines and instructions for the conversion process. This will help you understand any specific safety precautions related to the equipment or materials being used.
- Avoid Lone Work: Whenever possible, work with a partner or have someone nearby who can provide assistance or raise an alarm in case of an emergency.
- Proper Training And Knowledge: Ensure that you have received proper training and have a good understanding of the conversion process and any potential risks involved. If needed, seek guidance from experts or professionals.
Common Troubleshooting Issues And Solutions When Converting A 3 Phase Welder To Single Phase
A 3-phase welder is a powerful and efficient machine that is widely handy in various industrial applications. With its ability to handle heavy-duty welding tasks, this type of welder has become a preferred choice among professionals in the field. When converting a 3 phase welder to a single phase, several common troubleshooting issues may arise along with their corresponding solutions:
- Overheating: One common issue is the overheating of the welder when operating on single-phase power. This can be resolved by checking the welder’s cooling system and ensuring proper ventilation. If needed, additional cooling measures such as installing a fan or upgrading the cooling system may be necessary.
- Voltage Imbalance: Another issue that can occur is voltage imbalance, which may lead to poor welding performance or equipment damage. To address this, verify that the incoming single-phase power supply is balanced and meets the required voltage specifications. If an imbalance is detected, consult an electrician to rectify the issue.
- Power Capacity: Single-phase power supply may have lower power capacity compared to 3-phase power. This can result in the welder not being able to deliver the required output. To solve this problem, consider upgrading the power supply to a higher capacity or using a power converter to increase the available power for the welder.
- Incompatibility With Single-Phase: Some older or specialized 3-phase welders may not be compatible with single-phase power conversion. In such cases, it is advisable to consult the manufacturer or a qualified technician to determine if the welder can be converted or if a different solution is required.
Precautions While Converting 3-Phase Welder To Single-Phase
Converting a 3-phase welder to a single phase can be tricky, and it is important to take the necessary precautions to ensure that you do not damage your equipment or put yourself at risk of injury. Here are some key precautions to keep in mind:
Make sure you have the right equipment. Converting a welder requires specialized equipment, such as a phase converter or transformer. Ensuring you have the right tools for the job before you begin is important.
- Follow manufacturer instructions carefully. Different types of welders may have specific instructions for conversion, so it is important to read and follow the manufacturer’s guidelines closely.
- Double-check your wiring. Improper wiring during the conversion can lead to electrical fires or other hazards. Always double-check your wiring before turning on your newly converted welder.
- Test your welder before use. After converting your 3-phase welder to a single phase, testing it thoroughly before using it on any project is important. This can help ensure that everything is working properly and that you can produce quality welds safely.
Benefits Of Converting A 3-Phase Welder To Single-Phase
Having the right equipment is crucial for achieving high-quality results. One such equipment that is widely recognized for its efficiency and versatility is the 3-Phase Welder. This powerful welding machine is specifically designed to handle the demands of industrial and heavy-duty welding applications. There are several benefits of converting a 3 phase welder to single phase:
- Compatibility: By converting a 3-phase welder to a single-phase, you can use it in locations where only single-phase power is available. This increases the versatility and usability of the welder, allowing you to use it in a wider range of settings.
- Cost Savings: Single-phase power is more common and readily available in many residential and small-scale industrial settings. By converting your welder to a single phase, you eliminate the need for additional electrical infrastructure or the use of a generator, which can save you on installation and operational costs.
- Ease Of Use: Single-phase power is simpler to understand and work with compared to 3-phase power. It requires fewer connections and may have simpler wiring, making it easier to set up and operate the welder.
- Increased Portability: Single-phase welders are generally smaller and lighter compared to their 3 phase counterparts. Converting your welder to a single phase allows for easier transportation and maneuverability, making it more convenient for mobile welding applications.
- Availability Of Equipment And Support: Single-phase welders are more commonly available in the market, and you can find a wider range of options and accessories specifically designed for single-phase operation. Additionally, you may find it easier to access technical support and maintenance services for single-phase welders.
Tips For Maintaining And Optimizing A Converted Single-Phase Welder
It has become a popular choice among professionals in various industries. The term “3 phase” refers to the type of electrical power supply required to operate the welder. Unlike single-phase welders that are commonly used for smaller projects, the 3 phase welder is designed to handle larger and more demanding welding jobs. Here are some tips for maintaining and optimizing a converted single-phase welder:
- Regular Cleaning: Keep the welder free from dust, dirt, and debris. Use compressed air or a brush to clean the cooling fan, heat sinks, and other components.
- Inspect Cables And Connections: Check the cables regularly for any signs of wear or damage. Ensure that the connections are tight and secure to avoid any electrical issues.
- Cooling System Maintenance: If your converted single-phase welder has a cooling system, make sure to clean or replace the coolant as recommended by the manufacturer. Check for leaks and ensure proper airflow to prevent overheating.
- Electrode Selection: Choose the right type and size of electrodes for your welding application. Using the correct electrodes will result in better weld quality and reduce stress on the welder.
- Monitor Voltage And Amperage: Keep an eye on the voltage and amperage settings while welding. Operating within the recommended range will prevent overloading the welder and ensure optimal performance.
- Regular Maintenance Checks: Follow the manufacturer’s guidelines for routine maintenance. This may include inspecting and replacing consumables, lubricating moving parts, and checking for any signs of wear or damage.
- Use Proper Power Supply: Ensure that your converted single-phase welder is connected to a stable and sufficient power supply. Fluctuations in voltage can affect the welder’s performance and lead to poor weld quality.
Conclusion
Converting a 3-phase welder to single-phase power can be a challenging task, but with the right knowledge and tools, it is possible. It is important to follow safety precautions and consult a professional if needed carefully.
By understanding the differences between 3-phase and single-phase power and properly wiring your welder, you can successfully convert it for use in your single-phase power supply. Remember always to prioritize safety and double-check your work before using your welder.
With this knowledge, you can confidently take on the task of converting your welder and continue your welding projects with ease. By following the steps on how to convert 3 3-phase welder to a single phase, you can successfully convert your welder to a single phase and continue using it efficiently.

Your point of view caught my eye and was very interesting. Thanks. I have a question for you.