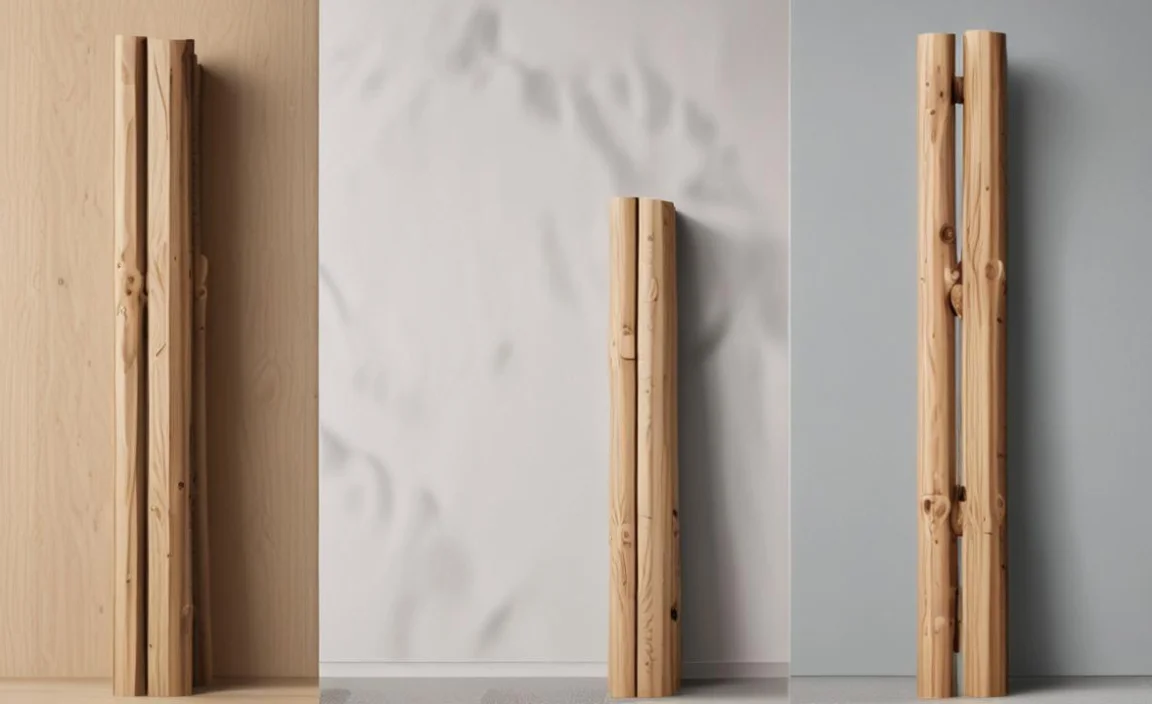
Wooden posts are common in outdoor construction projects, providing essential support and stability for fences, decks, and pergolas. However, many DIY enthusiasts and homeowners may find themselves at a loss when extending these posts.
Whether for aesthetic purposes or additional height, extending a 6×6 wooden post requires careful planning and execution to ensure its structural integrity.
We will explore the various methods and techniques for extending a 6×6 wooden post, providing practical tips and expert advice to help you achieve a successful and professional-looking result. So, without further ado, let us delve into the world of post extension and discover how to extend a 6×6 wooden post like a pro.
Types Of Wooden Posts
Regarding extending a 6×6 wooden post, you can choose from a few different types of posts. No matter which type of wooden post you choose, take proper care of it by applying sealant or stain to protect it from the elements. Your extended 6×6 wooden post will provide years of support and stability with the right maintenance. Here are some options to consider:
- Pressure-Treated Wooden Posts: These posts treat with chemicals to make them resistant to rot and decay. They are a popular choice for outdoor projects, such as fences and decks.
- Cedar Posts: Cedar is a durable and naturally resistant wood. It has a beautiful grain and colour, making it an attractive option for extending your 6×6 wooden post.
- Redwood Posts: Similar to cedar, redwood know for its natural resistance to rot and decay. It also prize for its rich colour and durability.
- Treated Pine Posts: Treated pine is another common choice for extending wooden posts. It is affordable and readily available, making it a practical option for many projects.
How To Extend A 6×6 Wooden Post – In 7 Steps
If your original fence posts are made of concrete, then you will need to purchase concrete screws. Buying fence brackets can be challenging if you are unsure of your specific requirements. Fence brackets should be used to attach the extenders to the posts.
If your original fence posts make of concrete, then you will need to purchase concrete screws. Buying fence brackets can be confusing if you are uncertain about what you require. If the slotted post extender is being used for concrete posts, fence brackets are not necessary, and they are also unlikely to be needed for vinyl posts.
Your fence posts are made of metal, you will require a fence bracket that resembles this. Here are eight steps to guide how to extend a 6×6 wooden post, including reinforcing the post for lateral stability.
1.Choosing The Right Tools
When extending a 6×6 wooden post, choosing the right tools is crucial for a successful and sturdy result. One of the most important tools you will need is a saw, such as a circular or reciprocating saw, to cut the wooden post to the desired length.
Additionally, you will need a drill with appropriate drill bits to create holes for connecting hardware or screws. A level and tape measure are also essential for ensuring that the extended post is straight and accurately aligned.
Depending on your specific project, other tools that may be helpful include a chisel for shaping the post ends, a sander for smoothing any rough edges, and a hammer or mallet for securing connections. Additionally, you will need an OD pipe extension, such as the Extend-A-Post, to properly extend your post. Selecting the proper tools for your post-extension project ensures the job is done correctly and safely. Here is a list:
- 6×6 wooden post
- Screwdriver
- Shovel
- Tape measure
- Level
- Sandpaper
- Wood glue
2.Preparing The Post
Determine the locations for gate posts. to prepare the post for extension, measure the desired length using a measuring tape. Accurately mark the cutting line on the post using a pencil or marker. Ensure the post securely clampe before making any cuts. Double-check the measurements to avoid errors.
Once the cut is made, use sandpaper to remove any splinters or rough edges from the cut end. This will help create a clean and smooth surface for the post-extension. Remember to follow these steps carefully to ensure a successful post-extension.
3.Securing The Post
To ensure the stability of the extended wooden post, it is important to securely anchor the existing post in the ground before proceeding. Using a post extender that provides stability and prevents wobbling is crucial. Additional reinforcement can be achieved by attaching metal brackets or connectors to the extended post.
 Applying construction adhesive between the existing post and the extension can add strength and durability. Finally, use screws to securely fasten the extended portion of the post to the original post. Following these steps, you can ensure a secure and stable extension for your wooden post.
4.Joining The Ends Of The Post Together

To Create a secure joint, and cut a matching notch or groove in both ends of the post. Enhance the strength by applying wood glue to the mating surfaces. While the glue dries, use clamps to hold the post ends together. To reinforce the joint further, consider using dowels or wooden pins.
It is important to allow sufficient time for the glue to cure before proceeding with further steps. This ensures a strong and durable connection between the extended portions of the 6×6 wooden post, with at least a ⅜ inch thick 4-inch long bolt. The string attached to the adjacent fence can be used as a guide to position the pickets.
5.Nailing The Post

To ensure a sturdy and secure connection between the extended and original posts, aligning them using a level is crucial. Once aligned, use galvanized nails or screws to join the two posts together securely. For added strength, space the nails or screws at regular intervals and sink the nail heads below the surface of the wood using a nail punch.
Fill the nail holes with wood putty and sand the area to achieve a smooth finish. You can create a strong and durable extension by nailing the post properly.
6.Drilling The Post

To drill the post, start by determining the size and depth of the holes base on the chosen extension method. Use a drill bit that matches the diameter of the screws or bolts. Ensure that the holes are drilled straight and perpendicular to the surface of the post.
Be careful not to drill too close to the edges to prevent splitting. After drilling, clear away any wood debris from the holes before proceeding. This will help ensure a clean and secure connection when extending the 6×6 wooden post with copper tubing or steel pipe.
7.Finishing The Post
To achieve a smooth and polished appearance, sand the entire post, including the extension. This will create a visually appealing finish. Additionally, apply a coat of wood stain or paint to protect the post from weathering and extend its lifespan. For added durability, consider using a protective sealant.
Remember to allow sufficient drying time before reinstalling the post in its original location. To ensure the longevity and stability of the post, it is important to maintain and inspect it regularly. By following these steps, you can ensure a well-finished and protected wooden post.
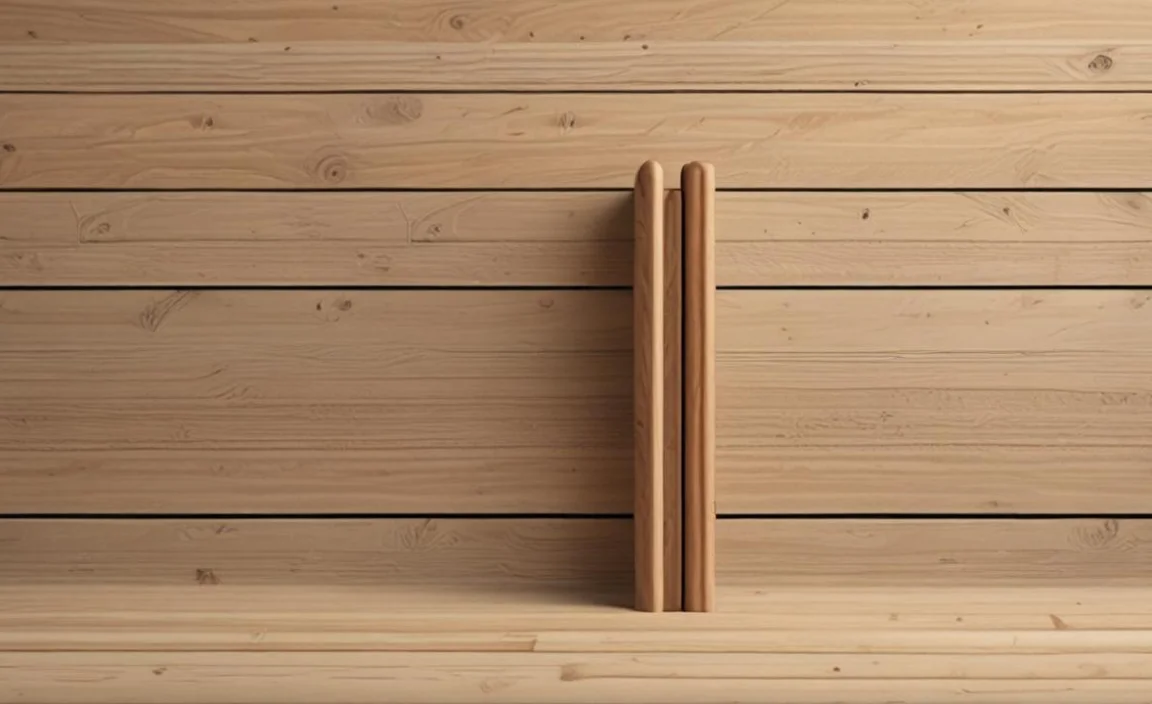
6×6 Wooden Posts And Their Uses
6×6 wooden posts are common in construction for their strength and stability. These posts are typically pressure-treated wood that resists rot and decay, making them ideal for outdoor use. The size of a 6×6 post also makes it suitable for supporting heavy loads, such as decks or fences.
They are also common in landscaping projects to create retaining walls, garden beds, and other decorative elements. One of the main advantages of using 6×6 wooden posts is their strength and durability. They are typically high-quality wood. Such as pressure-treated pine or cedar allows them to withstand harsh weather conditions and resist rot and decay.
DIY Horizontal Privacy Fence – A Cedar Fence Extension Project – Rain and Pine
DIY Horizontal Privacy Fence – A Cedar Fence Extension Project – Rain and Pine is a great do-it-yourself project for those looking to extend the height of their existing fence. With the help of 6×6 cedar posts, you can easily build a sturdy horizontal privacy fence to give your yard an added level of security and provide more privacy from neighbors or passersby.
The process is fairly straightforward and can be completed in a few days. The first step is to mark out where the new posts will go and then dig the holes for each of them. Next, set the posts in the holes and use concrete to secure them firmly in place. Once everything is secured, you can begin attaching the horizontal rails to create the fence panels.
Techniques To Extend 6×6 Wooden Posts

If you’re looking to extend a 6×6 wooden post, there are several techniques you can use. One option is to use a post extender, a metal bracket that fits over the top of the existing post and extends it on both sides of the posts.
Another method involves splicing the post by cutting a new piece of wood to the desired length and joining it to the existing post using wood glue and screws. A scarf joint is another type of splice that creates a long, angled joint between two pieces of wood for added strength.
Wrapping the post is also an option. This technique involves applying a new layer of wood around the existing post using construction adhesive and nails or screws. If extending wooden posts is not feasible, consider using metal or composite posts instead.
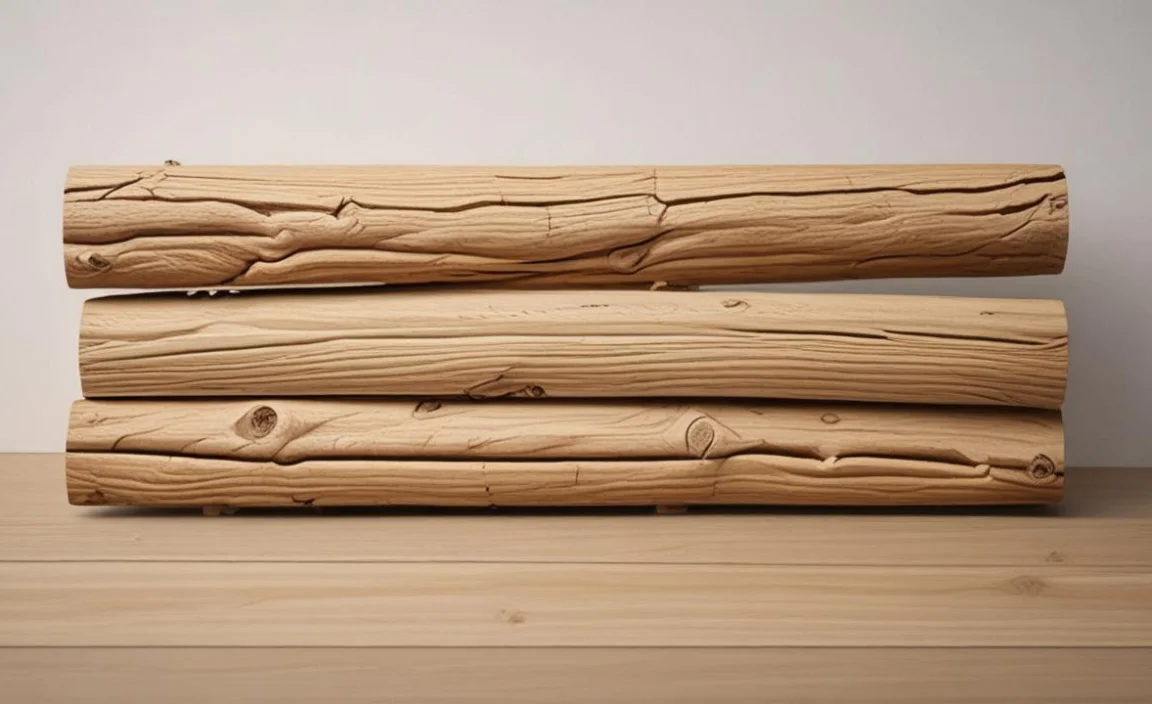
Joining Two 6×6 Posts With A Half Lap Joint
One technique for extending 6×6 wooden posts is to join two posts with a half-lap joint. This involves cutting away half of each post and fitting them together to create a strong and secure connection using lag bolts. This technique is ideal for extending the height of a fence or creating a taller pergola.
However, it requires precise measurements, cuts, and woodworking skills. If this technique seems daunting, other options include using metal connectors or adding height with additional lumber on top of the post. Ultimately, the choice of technique will depend on the specific project requirements and personal preference.
Tips For Extending A 6×6 Wooden Post Correctly

Before anchoring the corner posts with concrete, it recommends to outline the extension perimeter using wood stakes and twine. To install this extension, you will need to attach a new ledger board and secure the new sideboard to the existing substructure’s edge.
Use wood stakes and twine to measure out the extension’s perimeter according to your blueprints, and mark each new corner by driving wood stakes into the ground. Regarding extending a 6×6 wooden post, there are a few key tips to keep in mind to ensure that the process is done correctly
- Measure And Cut The Extension Piece: Start by measuring the desired height for your extended post. Using a saw, carefully cut a piece of lumber that matches the dimensions of your existing 6×6 post.
- Prepare The Existing Post: Before attaching the extension piece, clean and prepare the surface of the existing 6×6 post. Remove any dirt or debris and ensure that it is level and sturdy.
- Attach The Extension Piece: Apply a generous amount of construction adhesive onto one end of the extension piece. Carefully position it on top of the existing 6×6 post, ensuring it centr and aligned properly. Use clamps or braces to hold it in place until the adhesive sets.
- Secure With Fasteners: Once the adhesive has dried, reinforce the connection between the extension piece and the existing post by driving screws or nails through both pieces. Make sure to use appropriate fasteners that are suitable for outdoor applications.
- Finish And Protect: After securing the extension piece, you may choose to sand down any rough edges or apply a protective finish to prevent moisture damage and prolong the lifespan of your extended post.
How To Extend A 6×6 Wooden Post Using A Jig

Extending a 6×6 wooden post can done using a jig, which is a tool that helps ensure precision and accuracy in woodworking projects. By following these steps and using a jig, you can effectively extend a 6×6 wooden post with precision and accuracy, ensuring a sturdy and reliable structure base for your woodworking project.
Here are the steps to follow when using a jig to extend a 6×6 wooden post:
- Start by measuring the length you need to extend the post. This will determine the size of the jig you will need.
- Cut a piece of plywood or other sturdy material to create your jig. The jig size should be slightly larger than the dimensions of the post.
- Use a saw or router to cut a slot in the jig wide enough for the post to fit snugly.
- Place the jig over the existing post, aligning it with the top and bottom edges.
- Insert a piece of wood into the jig slot, ensuring it is flush with the top and bottom edges of both posts.
- Secure the extension piece to the existing post using screws or bolts, ensuring a strong and stable connection.
- Remove the jig and ensure the extended post is level and secure.
Setting 6×6 Fence Posts In Concrete Vs Compacted Crushed Gravel?

Regarding setting 6×6 wooden fence posts, there are two main options: concrete or compacted crushed gravel. Each of these materials offers its own advantages and disadvantages.
Concrete provides a strong foundation to hold the post in place and is not affected by weather conditions, however, it is more expensive and time-consuming to install. It must be mixed correctly and applied in even layers for maximum stability.
Compacted crushed gravel provides a cheaper and faster option to install fence posts, however, it is not as strong or durable as concrete and can be affected by weather conditions. It must also be installed correctly. The gravel should be compacted in layers of 8-10 inches and the post should be set into the gravel at least 8 inches deep for optimal stability.
How To Build A DIY Privacy Fence With Lowe’s

To complete the skill at an intermediate level, you will need various tools and materials such as a pneumatic nailer, portable air compressor and hose, drill and bits, circular saw, jigsaw (optional), hammer, post hole digger, digging bar, auger powerhead and bit (optional), shovel, mortar hoe, garden hose, rafter square/triangle square, speed square, tape measure, level, post level, wheelbarrow, ladder, work gloves, eye protection, hearing protection, 4-in x 4-in pressure treated posts (actual size:
3-1/2-in x 3-1/2-in), 2-in x 4-in pressure treated lumber (actual size: 1-1/2-in x 3-1/2-in), 1-in x 4-in furring strips (actual size: 0.718-in x 3.437-in), concrete mix, exterior screws, mason line, fence pickets (pressure treated or cedar), and fasteners for pickets (nails, screws or staples). Please note that the costs, availability, and item numbers may vary online or by market. Maintaining a consistent height is important when installing fence pickets.
Conclusion
Extending a 6×6 wooden post can be a simple and effective solution for various projects such as building a deck or adding height to a fence. By following the steps on how to extend a 6×6 wooden post, or by using a fence post extender, you can confidently extend your wooden post and ensure stability and durability.
Remember to always use proper tools and materials, take accurate measurements, and follow safety guidelines throughout the process. Whether you’re a seasoned DIY enthusiast or a beginner, extending a 6×6 wooden post is an achievable task that can help you achieve your desired project outcome. With the right techniques and attention to detail, you can successfully extend your wooden post and enjoy the benefits of an enhanced structure.
