Installing a b- -vent through walls may seem like a daunting task, but with the right tools and knowledge, it can be a simple and efficient process.
B vents, also known as Type B gas vents, are used to safely remove exhaust gases from gas appliances, such as water heaters, furnaces, and boilers. They are crucial for maintaining proper ventilation and preventing the build-up of harmful gases in your home.
We will discuss the necessary steps and precautions to take when installing on how to install b vent through walls. We will cover the tools and materials you will need, as well as the key considerations to keep in mind during the installation process. With this guide, you will be equipped with the knowledge and skills to successfully install a b vent through walls and ensure the safety and functionality of your gas appliances.
Why Use B Vent?

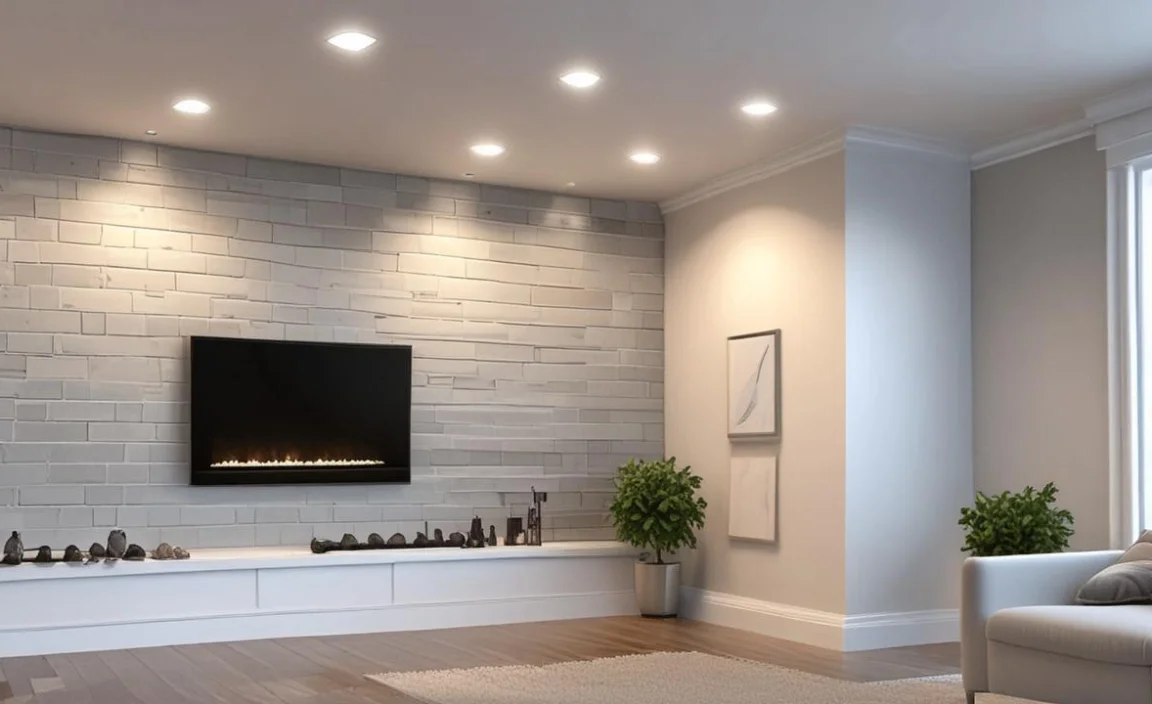
When considering the various options available for venting systems, it is important to understand the reasons why B Vent is a superior choice. B Vent, also known as Type B Gas Vent, has a specific design venting system that is commonly handy for gas-fired appliances such as furnaces, water heaters, and boilers. One of the main reasons for using B Vent is its exceptional safety features.
The double-wall construction of B Vent ensures that the inner inch pipe carries the hot flue gases. In contrast, the outer pipe acts as a heat shield, preventing any potential damage to surrounding combustible materials. This design not only enhances the overall safety of the system but also minimizes the risk of fire hazards.
Tools Required
- Screw
- Cutter
- Drilling machine
- Circular saw
How To Install B Vent Through Walls – The Procedure
Knowing how to install a proper vent through walls is of utmost importance for several reasons. B vent systems are commonly used for venting gas appliances, such as furnaces and water heaters. These systems have specific designs to safely remove combustion chamber byproducts, including carbon monoxide, from the interior of a building.
Improper installation of a vent through walls can result in leaks or blockages, which can lead to the accumulation of harmful gases indoors. This poses a serious health and safety risk for occupants. Below, we provide in-detailed guidelines on how to install b vent through walls.
- Estimated Cost: $80-$150 (though it may vary according to your house designation or length varieties)
- Total Time Required: approximately 1.5-3 hr. ( depending on size, number of support, labour investment)
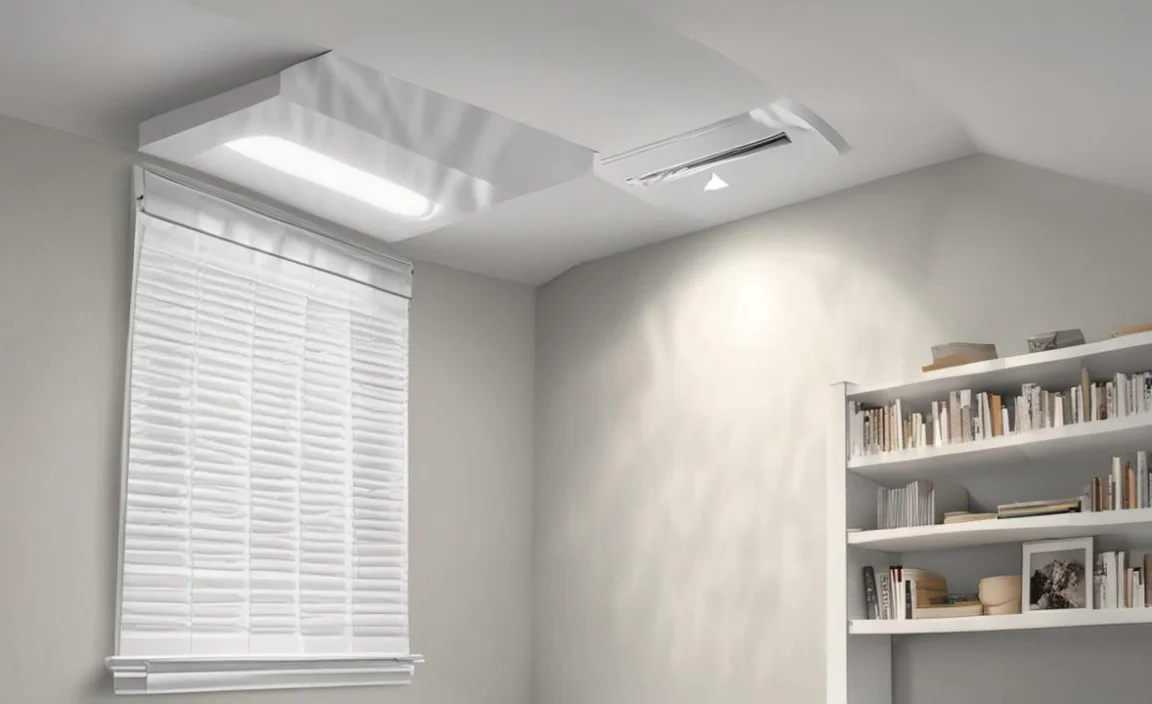
1.Decide The Location
When planning to install a B vent system through walls, it is crucial to decide on the most suitable location carefully. The location must adhere to building codes, manufacturer specifications, and safety guidelines. Before proceeding with the installation, a thorough assessment of the space is necessary to determine the feasibility and viability of the chosen location.
To begin, it is essential to identify the appropriate location by considering factors such as proximity to the appliance, access for maintenance and repairs, and structural integrity of the surrounding walls. Additionally, it is paramount to ensure that the chosen location allows for proper clearance distances from combustible materials as specified by local building codes.
2.Measure And Mark
Installing a b vent through walls requires careful measurement and marking to ensure a proper and secure fit. Before beginning the installation process, it is important to gather all the necessary tools and materials, including a tape measure, pencil, level, drill, and appropriate venting components.
Measure the diameter of the b vent pipe and single wall and mark the desired location where the vent will be installed. Use a level to ensure the markings are straight and accurate. Additionally, consider any local building codes or regulations that may dictate the minimum clearance requirements for the vent.
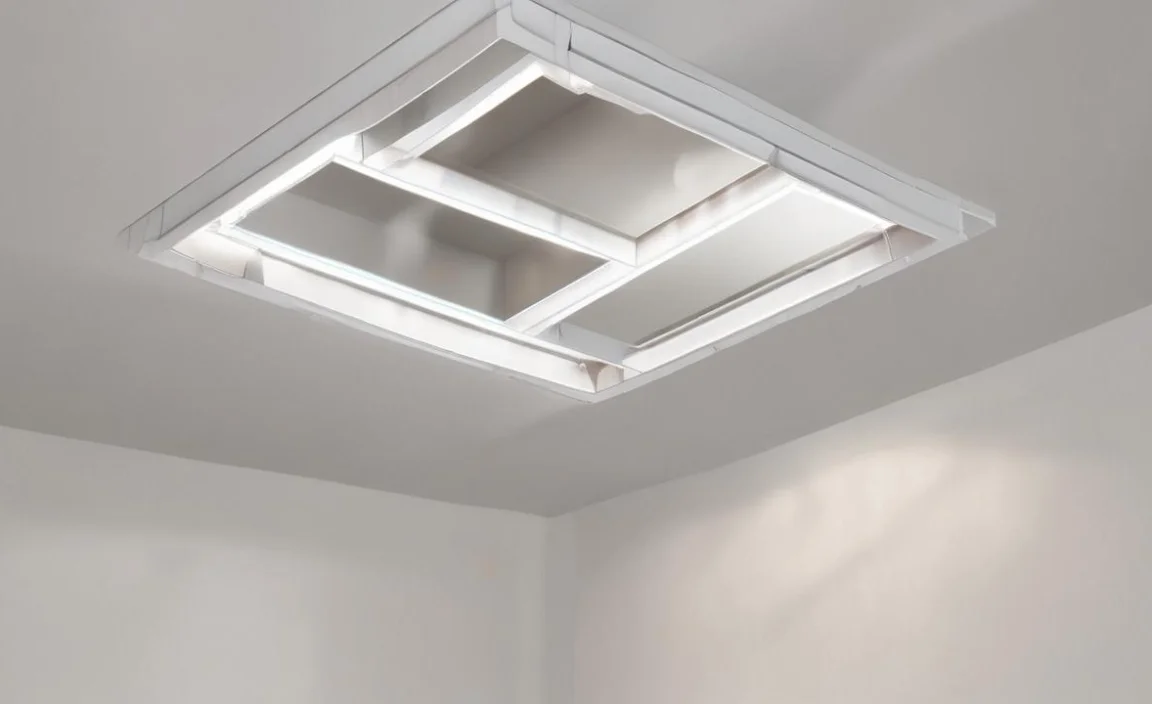
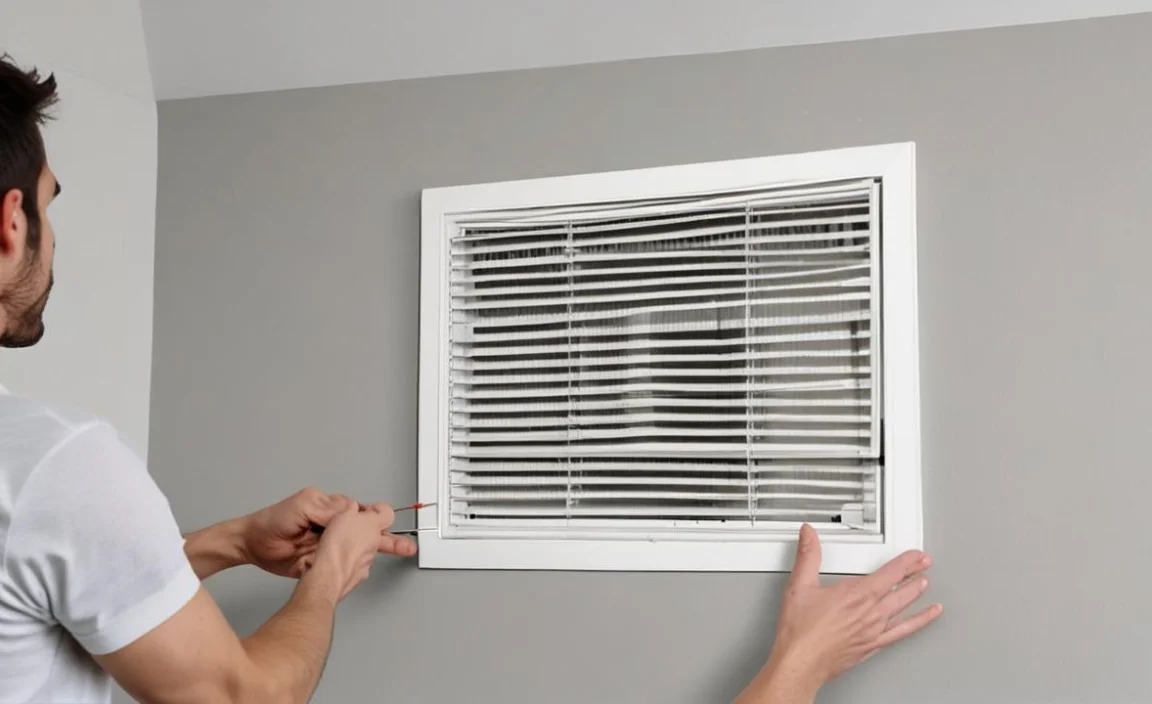
3.Cut The Hole
To begin, gather the necessary tools for the job, including a measuring tape, a level, a pencil, and a reciprocating saw. Start by measuring the diameter of the B vent pipe to determine the size of the hole needed. Mark the centre point of the hole on the wall using a pencil and a level to ensure accuracy.
Next, use the reciprocating saw to cut along the marked line carefully. Take caution to maintain a straight and even cut, as any deviations can compromise the integrity of the installation. It is important to wear appropriate safety equipment, such as gloves and goggles, during this process to minimize any potential risks.
4.Install Firestop
It is important to determine the type of firestop required for the specific installation. This may vary depending on the construction materials used in the walls. Consulting with a qualified fire protection engineer or the manufacturer’s guidelines is advisable to determine the appropriate firestop product.
Next, the area around the wall penetration for the b vent system should be prepared. This involves clearing any obstructions or debris and ensuring a clean and smooth surface for the firestop installation. It is crucial to follow all safety protocols, such as wearing appropriate personal protective equipment, to minimize any potential risks.
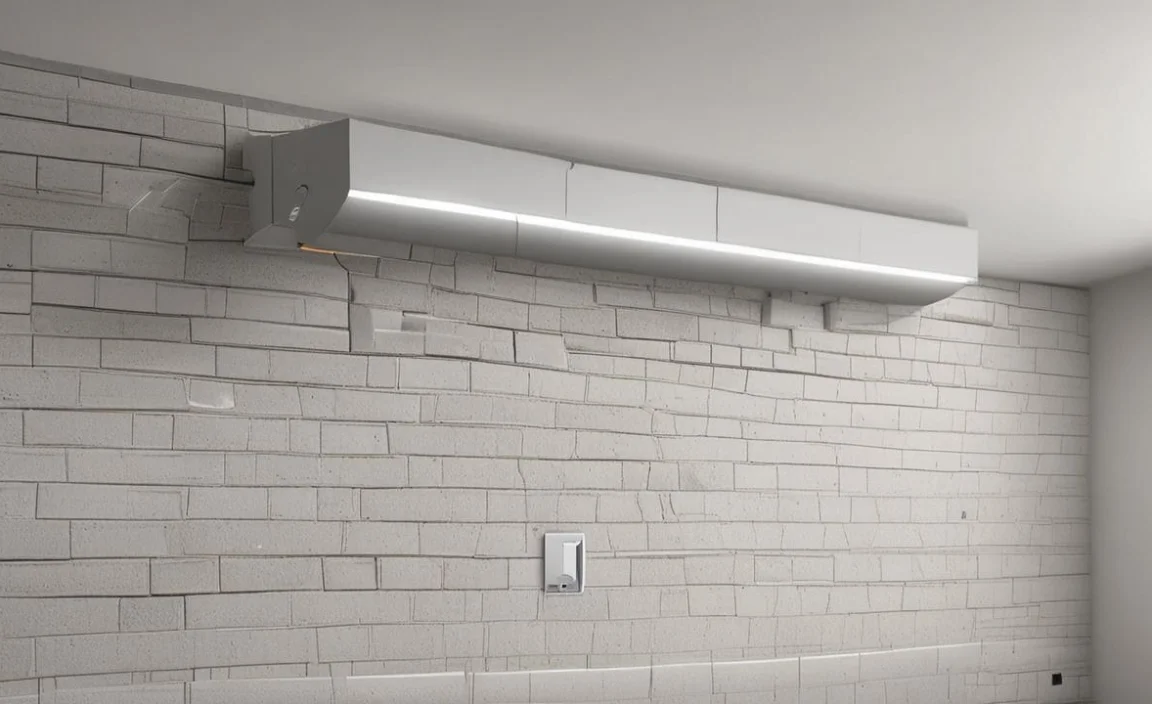
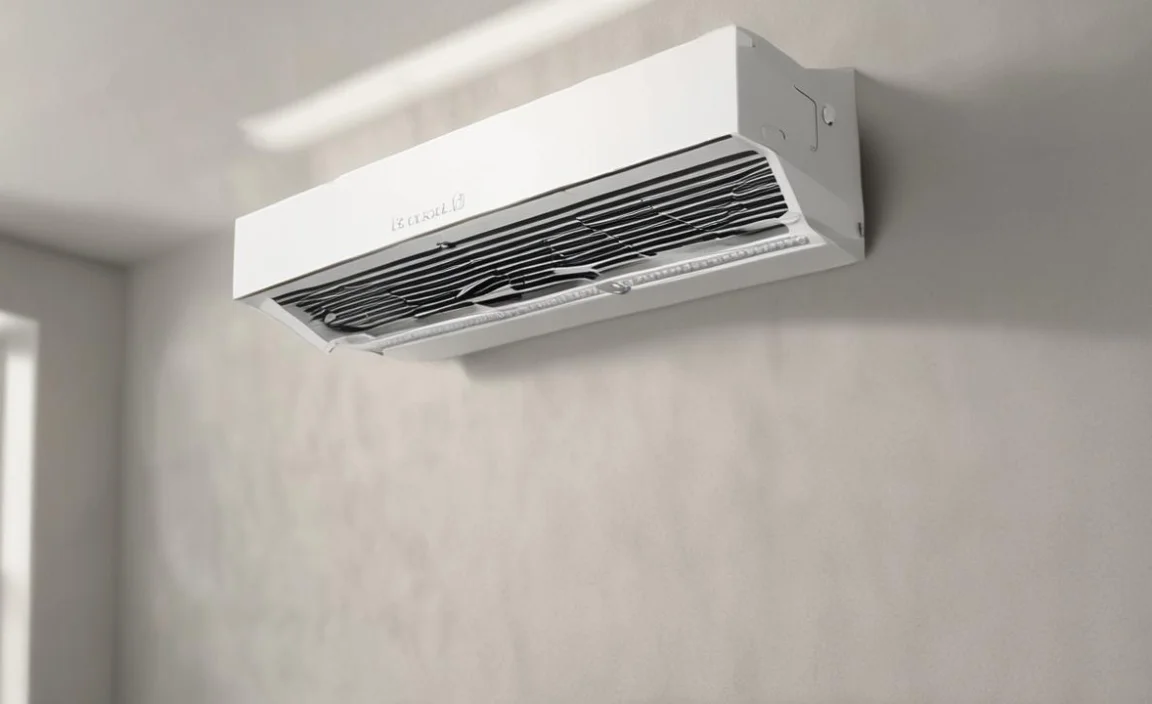
5.Insert B Vent Pipe
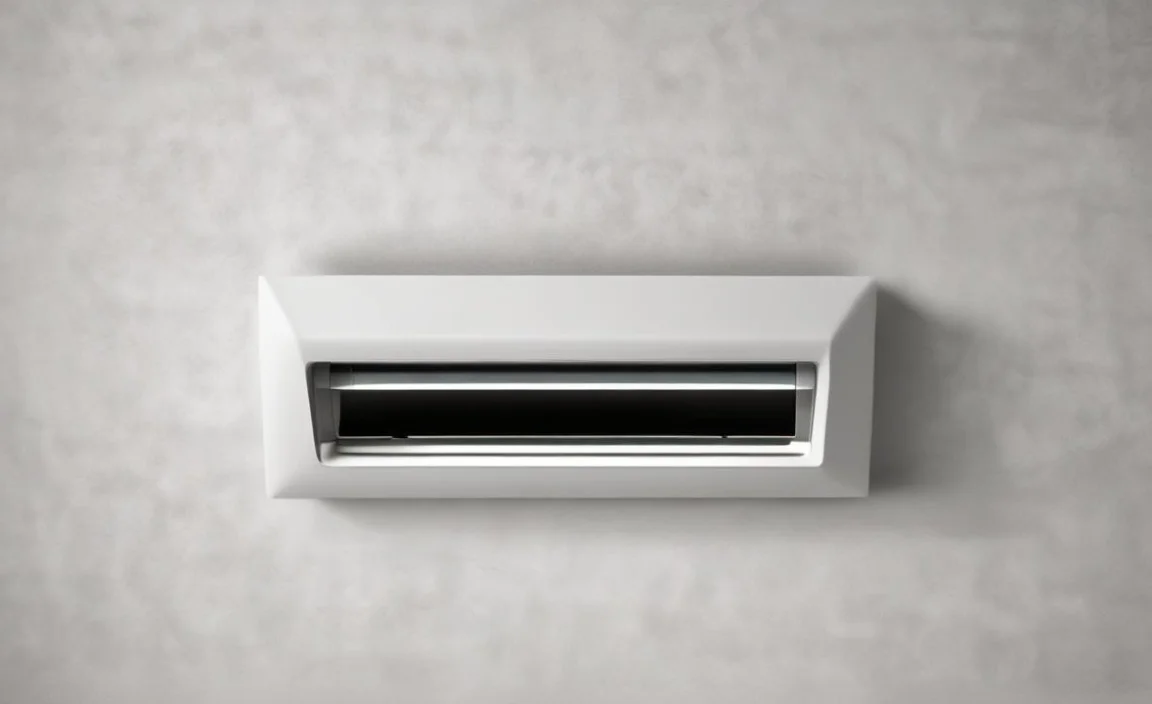
To start, determine the ideal correct location for the B vent pipe to pass through the wall. Next, carefully measure and cut a hole in the wall using the appropriate size hole saw or reciprocating saw. Ensure that the hole is slightly larger than the diameter of the B vent pipe to allow for easy installation.
Insert the B vent pipe through the wall thimble, making sure it is properly aligned and level. Secure the pipe to the thimble using screws, ensuring a tight and secure fit. It is important to note that the B vent pipe should be installed with the male end facing upwards to prevent any potential leaks.
6.Secure With Brackets
brackets come from durable materials such as steel or aluminium, ensuring long-lasting performance. Properly aligning the brackets is key to maintaining stability, as they will bear the weight of the B vent. It is important to follow manufacturer guidelines for spacing and positioning to ensure optimal functionality.
After the brackets are securely in place, the B vent can be installed through the wall. This involves carefully aligning the vent with the brackets and ensuring a tight fit. The brackets will hold the vent securely in position, minimizing the risk of movement or detachment.
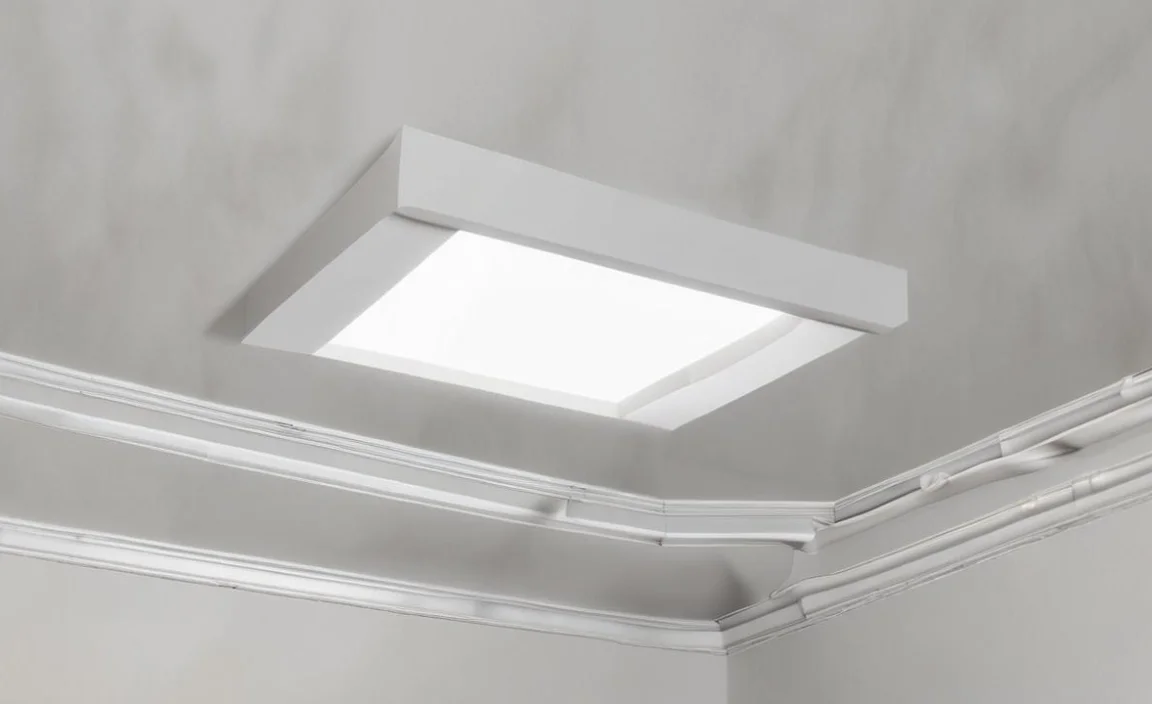
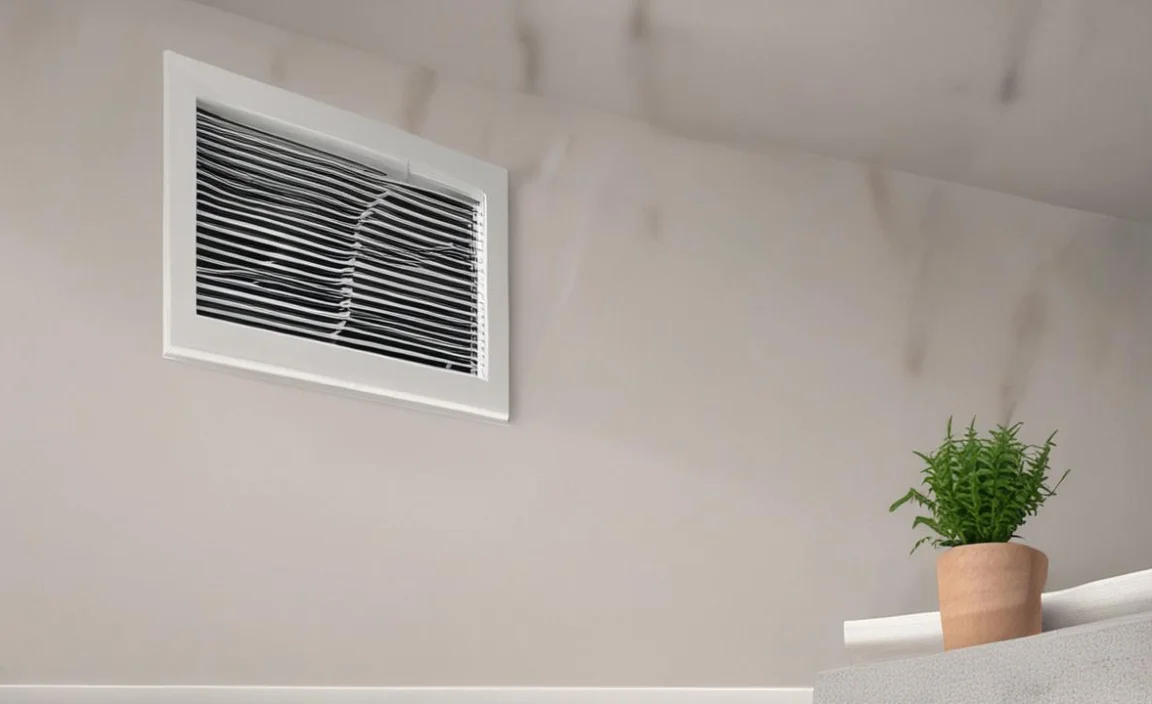
7.Seal And Insulate
To create a proper seal, it is recommended to use a wall thimble, which acts as a passage for the vent through the wall while also providing insulation and protection against heat transfer. Securely fasten the wall thimble to the wall to prevent any movement or air leakage. The wall thimble comes with non-combustible material.
Once the wall thimble is in place, the B-vent pipe can be inserted through it, taking care to ensure a tight fit. To further enhance the insulation and seal, insulating materials, such as mineral wool or high-temperature insulation wrap, can be handy around the vent double wall pipe where it passes through the wall. This will help to prevent heat loss and maintain a consistent temperature within the vent system.
8.Test For Proper Operation
Regarding ensuring the proper operation of a B-vent system, it is crucial to conduct thorough testing. Installing a B-vent through walls requires careful attention to detail and adherence to industry standards. To begin, it is essential to understand the specific guidelines provided by the manufacturer for the installation process.
These guidelines will outline the necessary steps, materials, and tools needed for a successful installation. It is essential to conduct a thorough test for proper operation once the installation is complete. This test involves checking for any signs of leakage, such as smoke or gas emissions, and ensuring that the B-vent system is functioning as intended.
Troubleshooting Common Issues During Installation
Knowing how to troubleshoot problems that may arise during installations effectively can save time and resources and ensure a successful outcome. Troubleshooting allows for quick identification and resolution of issues that may hinder the installation process. Here are the troubleshooting Common issues.
- Before starting the installation process, ensure that you meet all system requirements.
- Verify that you are not corrupting or completing the installation files.
- Check if there is enough disk space available for the installation.
- Please turn off any antivirus or firewall software temporarily, as they may interfere with the installation process.
- Run the installer as an administrator to ensure sufficient privileges.
- Make sure that the installation path does not contain any special characters or spaces.
- Check for any conflicting software or drivers that may be causing issues.
- Restart the computer and try the installation again, as sometimes a simple reboot can resolve installation problems.
- If you encounter errors during the installation, take note of any error messages and search for solutions online.
- Contact the software vendor’s support team for further assistance if none of the above steps resolve the issue.
Tips For Maintaining And Troubleshooting A B Vent System
Maintaining and troubleshooting a B vent system is essential for ensuring its proper functioning and safety. Here are some tips to help you keep your B vent system in good condition. By following these tips, you can help maintain the integrity of your B vent system and ensure its safe operation for years to come.
- Regular Inspection: Regularly inspect your B vent system for any signs of damage, such as cracks or corrosion. Address any issues promptly to prevent further damage or potential gas leaks.
- Clean The Vents: Over time, debris and soot can accumulate in the vents, obstructing the flow of gases. Clean the vents regularly using a brush or vacuum to remove any buildup.
- Check For Blockages: Make sure that there are no obstructions, such as bird nests or leaves, blocking the vent pipes. Clear any blockages to maintain proper airflow.
- Monitor Carbon Monoxide Levels: Install carbon monoxide detectors near the B vent system to alert you if there are high levels of this dangerous gas. If the detector goes off, evacuate the area immediately and contact a professional for assistance.
- Hire A Professional For Maintenance: While there are some maintenance tasks you can do yourself, it’s important to have a qualified professional inspect and service your B vent system on a regular basis. They can identify any potential issues and ensure that your system is operating safely.
Conclusion
Installing B vent through walls requires careful planning and precise execution. As a professional, it is important to follow local building codes and manufacturer instructions to ensure a safe and effective installation.
By following the steps on how to install b vent through walls and using the proper tools and materials, you can successfully install B vent through walls and provide a safe and efficient heating source for your clients.
Don’t hesitate to seek assistance from qualified professionals if needed, and always prioritize safety in every step of the installation process. With the right knowledge and attention to detail, you can confidently add this skill to your repertoire and provide top-notch services for your clients.
