Have you ever wished for ice-cold water right from your fridge? It’s so refreshing on a hot day! Installing a water line to your fridge from the sink might just be the solution you need. Imagine not having to fill up ice trays or water bottles anymore.
Many people think this task is hard. But guess what? It’s easier than you think. With the right steps, you can have a water line running smoothly in no time. Plus, you’ll save trips to refill your glass.
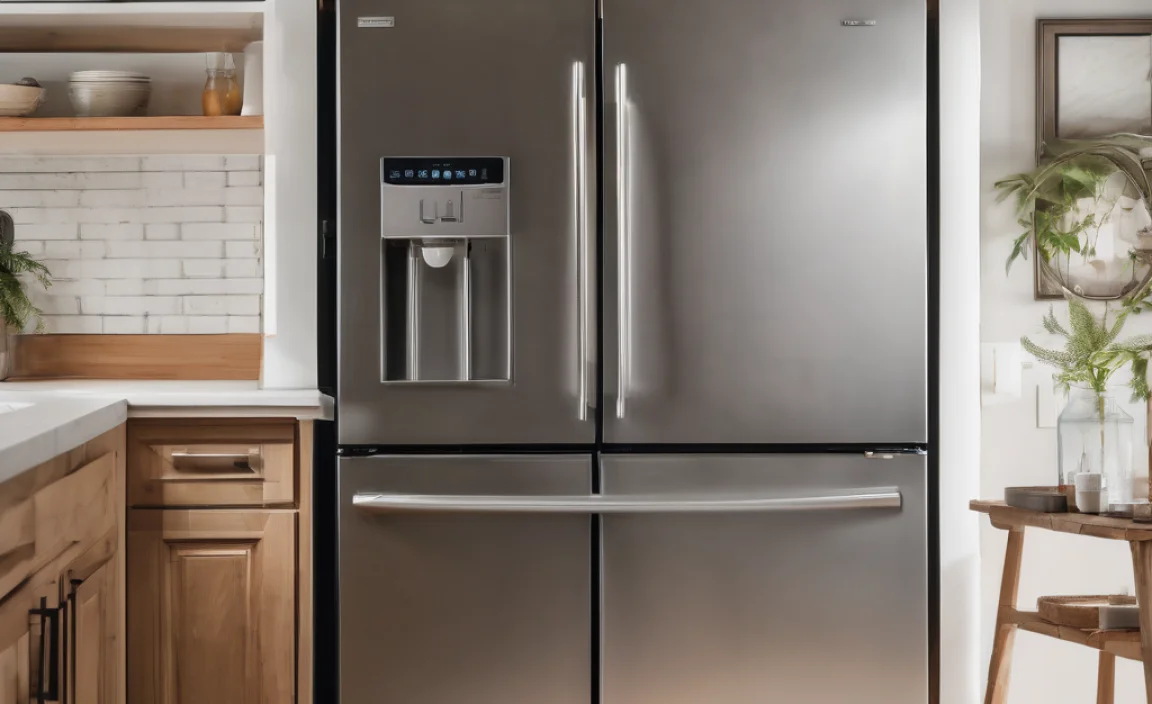
Did you know that most fridges these days come with water and ice dispensers? They make life a lot easier! Once you set up the water line, you’ll wonder how you lived without it.
In this article, we’ll guide you step-by-step on how to install a water line to your fridge from the sink. Get ready to enjoy the convenience of fresh water at your fingertips!
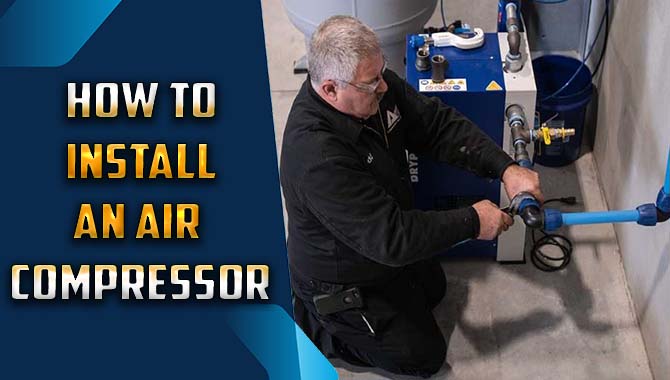
How To Install Water Line To Fridge From Sink: A Step-By-Step Guide

How to Install Water Line to Fridge from Sink
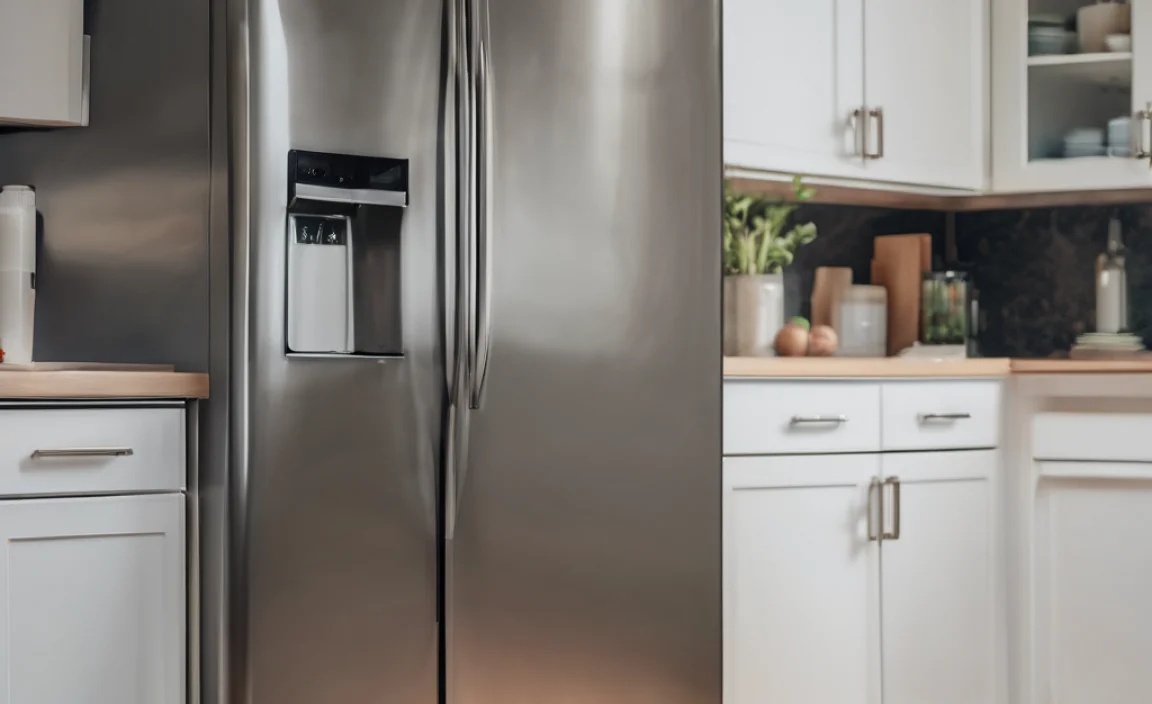
Installing a water line to your fridge from the sink is simple and rewarding. Start by gathering tools like a drill and a pipe cutter. Next, plan the route for your water line. Remember to shut off the water supply first. You’ll learn to connect the tubing and secure it in place. Did you know that most fridges can produce ice and filtered water? Imagine enjoying cold water without constantly refilling! This guide makes it easy to stay cool.
Preparing Your Workspace
Steps to clear the area around the sink and fridge. Importance of ensuring water supply is turned off.
Before diving into installing that water line, it’s important to make your workspace as tidy as possible. Clear away any clutter from around the sink and fridge. Your future self will thank you for not tripping over a rogue sock or a stack of mysterious takeout menus. And remember, turning off the water supply is key—nobody wants a surprise shower while working! Safety first, spills second! Here’s a quick checklist:
| Task | Status |
|---|---|
| Clear the area | ✅ |
| Turn off the water supply | ✅ |
| Gather tools | ✅ |
With a neat space and the water off, you’re ready to tackle this task like a plumbing pro!
Choosing the Right Water Line Kit

Factors to consider (length, type of tubing, compatibility). Recommended brands and products available on the market.
Choosing the right water line kit is important for a smooth installation. You should consider a few factors. First, think about the length of the tubing. Measure the distance from your sink to the refrigerator. Next, check the type of tubing. Many people choose plastic or copper tubes. Finally, ensure the kit is compatible with your fridge model. Popular brands include Whirlpool and GE, known for their reliability.
What should I look for in a water line kit?
Look for the following features:
- Durability: Choose a strong material.
- Size: Make sure it fits your fridge.
- Connection type: Confirm it matches your sink.
Identifying the Installation Path

How to measure the distance from sink to fridge. Tips for avoiding obstacles (walls, cabinets, etc.).
Start by measuring the distance from your sink to the fridge. Use a tape measure to get the length of the path. Check for any obstacles like walls or cabinets. You can follow these steps:
- Choose the shortest route.
- Mark any spots that might be tricky.
- Note where you might need extra tools, like a drill.
Once you have it all measured, you’ll have a clear path to install the water line!
How do I measure the distance for the water line?
To measure the distance for the water line, use a tape measure and check carefully for walls or cabinets.
Shutting Off Water Supply
Detailed steps for shutting off the water supply at the sink. Safety tips on handling plumbing fixtures.
Before starting your fridge project, it’s time to play a game of “where’s the valve?” Locate the shut-off valve under your sink. Turn it clockwise until it stops—like turning the final screw on a rollercoaster ride. If you can’t find it, look for the main water supply valve for the whole house. Remember to keep a towel handy; some water might splash out and try to join the party. Always wear gloves for safety. No one wants a soggy hand!
| Step | Action |
|---|---|
| 1 | Locate the shut-off valve. |
| 2 | Turn it clockwise to close. |
| 3 | Check for leaks. |
Now you’re ready to tackle the next steps in hooking up that water line. Just remember: safety first, soggy hands last!
Installing the Water Line Connector
Instructions for attaching the connector to the sink’s water supply. Common mistakes to avoid during installation.
First, find the cold water supply under your sink. Turn off the water valve, unless you enjoy spontaneous sprinkles! Attach the connector tightly to the supply line. Make sure it’s snug, but don’t turn it into a superhero—no need for excessive strength. A classic mistake is leaving it loose, which can lead to watery chaos. Check for leaks after turning the water back on. If you see a drip, it’s time to do some detective work!
| Common Mistake | Fix |
|---|---|
| Loose connections | Ensure all parts are tightened properly. |
| Forget to turn off water | Always switch off before starting! |
| Ignoring leaks | Check connections for drips after installation. |
Running the Water Line Tubing
Guidelines for routing the tubing through walls or cabinets. Techniques for securing the tubing to prevent leaks.
To run the water line tubing, choose a safe path through walls or cabinets. Make sure it is clear of sharp edges. Use plastic or metal clips to secure the tubing. This prevents leaks and keeps it from moving. Be careful around corners and bends for a snug fit. A well-routed line avoids future trouble.
How do I keep the water line from leaking?
To prevent leaks, secure the tubing properly and check all connections regularly.
Helpful Tips:
- Use clamps on both ends.
- Test connections with water before closing walls.
- Inspect regularly for signs of wear.
Connecting to the Refrigerator
Stepbystep instructions for connecting the tubing to the fridge. Importance of checking the manufacturer’s instructions.
First, grab your tubing and insert it into the fridge’s water inlet. Make sure it’s snug. Everybody hates a leaky fridge! Next, find the connector. It’s usually a small valve behind the fridge. Use a wrench to tighten it on. Remember to look at your fridge’s manufacturer’s instructions before diving in. They know best! If you follow these steps carefully, you’ll have cold water at your fingertips. Cheers!
| Step | Action |
|---|---|
| 1 | Insert tubing into the fridge inlet. |
| 2 | Locate the connector valve. |
| 3 | Tighten with a wrench. |
| 4 | Check the manufacturer’s instructions. |
Testing for Leaks
How to properly test the installation for leaks. What to do if leaks are detected.
Once your water line is hooked up, it’s time for the big moment—testing for leaks! Turn on your fridge and check the connections to see if any water is snooping around where it shouldn’t be. If you spot a leak, don’t panic! Tighten the fittings and wipe up the water. If it still leaks, you might need a new seal or fitting. Remember, even plumbers have their “oops” moments!
| Detected Leak Actions | Steps to Take |
|---|---|
| Small Leak | Tighten fittings and check the connection. |
| Persistent Leak | Replace the seal or fitting. |
| No Leak | Pat yourself on the back—you did it! |
Final Steps and Maintenance Tips
Instructions on reconnecting the power and water supply. Maintenance tips for ensuring longterm function of the water line.
Now that you’ve set up the water line, it’s time to reconnect the power and water supply. Plug in the refrigerator and turn on the water valve. Listen closely for any drips; they can be sneakier than a cat! Remember, a little leak can turn into a big puddle.
For long-lasting function, you should check the line every few months. Look for wear and tear, and tight connections. A little prevention can stop a big mess. Here’s a handy table to help you keep track of your maintenance:
| Task | Frequency |
|---|---|
| Check Water Line for Leaks | Every 3 Months |
| Inspect Connections | Every 6 Months |
| Replace Filters | Every 6 Months |
By following these steps, you’ll keep your fridge running smoothly, and your drinks cold! Cheers to that!
Conclusion
In conclusion, installing a water line to your fridge from the sink is a simple task. First, gather your tools and materials. Then, connect the tubing to the water source and fridge. Make sure to check for leaks. If you follow these steps, you’ll enjoy cold water and ice at home. Don’t hesitate to look for more guides or videos for extra help!
FAQs
Sure! Here Are Five Related Questions On The Topic Of Installing A Water Line To A Fridge From A Sink:
Sure! First, you need to find the sink that has a water line. Next, you should turn off the water so it doesn’t spill. Then, you can attach a tube from the sink to the fridge. After that, check for leaks by turning the water back on. Finally, enjoy cold water and ice from your fridge!
Sure! Please provide the specific question you’d like me to answer.
What Materials And Tools Are Required To Install A Water Line From The Sink To The Refrigerator?
To install a water line from the sink to the refrigerator, you need a few materials and tools. First, get a water line kit, which includes plastic or copper tubing. You will also need a shut-off valve and some fittings to connect everything. For tools, have a pipe wrench, a drill, and a screwdriver ready. Don’t forget to use tape to prevent leaks!
How Do I Locate A Suitable Connection Point On My Sink’S Plumbing For The Water Line?
To find a good spot to connect your water line, first look under your sink. You want to find a pipe that carries water. Turn on the tap and see which pipes have water flowing. Check if there’s a spot for connecting a new line, usually a small fitting or valve. If you’re unsure, ask an adult for help!
What Steps Should I Follow To Properly Connect The Refrigerator To The New Water Line?
First, ask an adult to help you find the water line. Next, turn off the water supply to prevent spills. Then, connect the refrigerator to the new water line using a special tube. After that, turn the water supply back on and check for leaks. Finally, make sure the fridge is getting water by testing the ice maker or water dispenser.
How Can I Ensure That There Are No Leaks After The Water Line Installation?
To check for leaks after you install the water line, turn on the water and look closely. Feel around the pipes for wet spots or drips. You can also use a towel to wipe the area dry and watch for new water. If you see anything, turn off the water and fix it right away. Always ask an adult for help if you’re unsure!
Are There Any Best Practices For Routing The Water Line To Avoid Potential Damage Or Kinks?
To avoid damage or kinks in your water line, be careful with how you lay it out. First, use smooth curves instead of sharp bends. This helps water flow easily. Also, keep the line away from heavy objects that might crush it. Lastly, check for any places where it might get pinched and fix them.