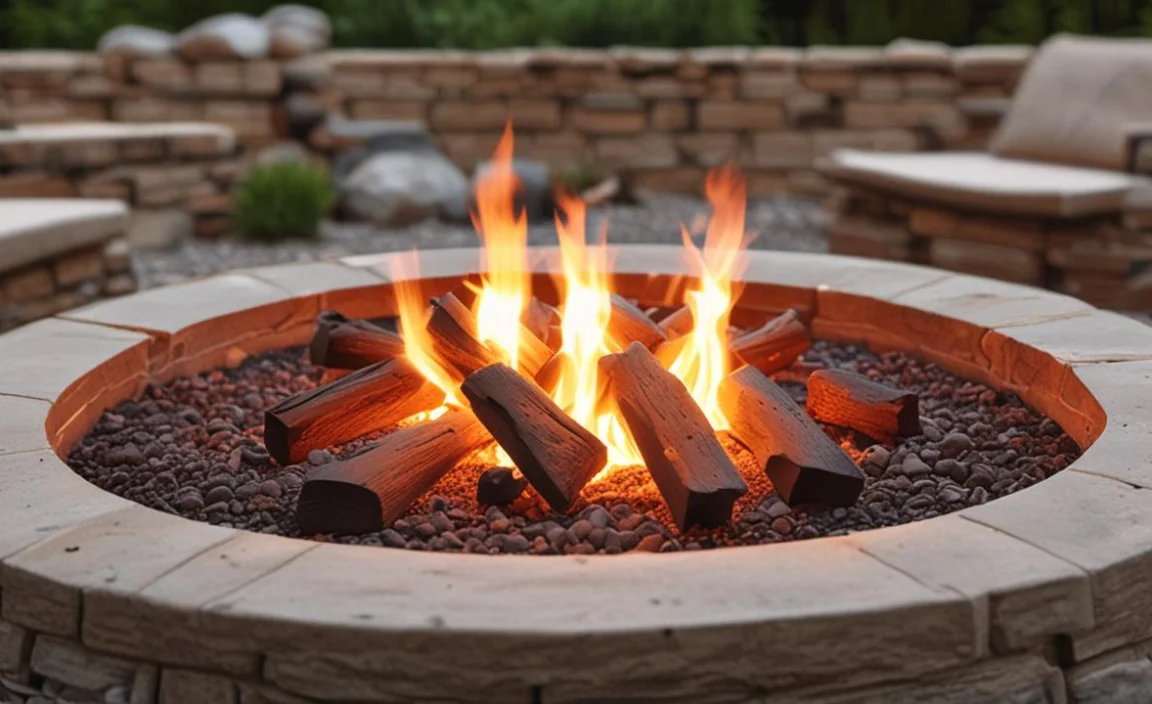
A fire pit is a great addition to any backyard or outdoor space. It provides warmth and ambiance, making it the perfect spot for gathering with friends and family. Many types of fire pits are available, from portable models that can be moved around as needed to permanent installations built into the ground.
There’s nothing quite like gathering around a warm fire pit with friends and family on a cool evening. Building a fire pit can seem daunting, but with the right tools and materials, it can be a fun DIY project that will add value to your backyard.
Here we’ll cover everything you need to know about building your own fire pit. We’ve covered how to build a fire pit. We’ll also share some safety tips to ensure you can enjoy your new fire pit for years. So get ready to roll up your sleeves and create a cozy outdoor space you’ll love.

How To Build A Fire Pit That’s Easy And Cheap
Building a fire pit can be a fun and rewarding DIY project for any backyard or outdoor space. Building a fire pit is a great way to add warmth and atmosphere to your outdoor space. Before you start, choosing the right location for your fire pit is important.
Make sure it’s away from any flammable objects such as trees, bushes, or structures. Here are some basic steps to help you get started on how to build a fire pit.
1. Tools And Materials You’ll Need

Use step-by-step instructions from Lowe’s Home Improvement Store to bring your DIY fire pit ideas to life in your backyard or outdoor area. Start by selecting an area with enough space for seating and ambiance. Then gather basic tools like a shovel or rake to mark the perimeter.
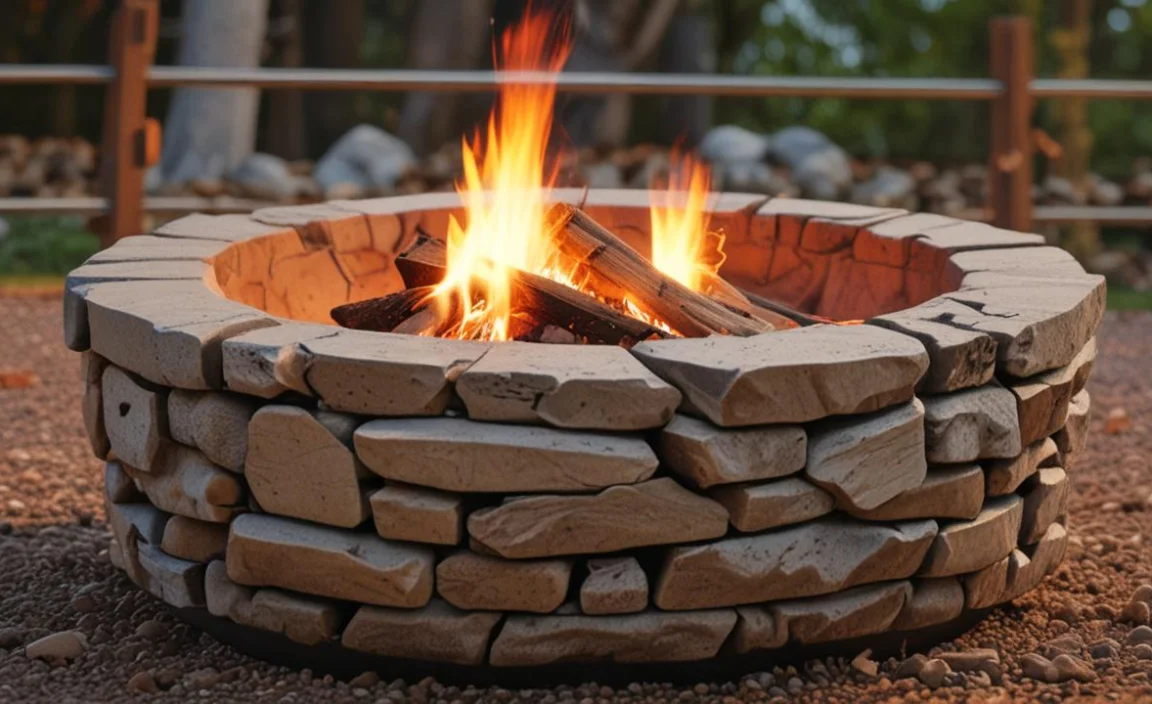
After digging down by about six inches and placing an inch of gravel as your level base bottom of your fire pit, carefully lay in your first layer of wall blocks using construction adhesive and a caulking gun before tamping them down.
2. Fire Pit Location Considerations
For optimal results when selecting an appropriate location for your backyard fire pit, keep in mind these crucial fire pit location considerations. The first rule of thumb is always safety first! Clear out any potentially hazardous flammable materials or structures from the immediate vicinity.
Take note of the wind direction to prevent unpleasant smoke from billowing toward your seating area. Follow all relevant local regulations and secure any necessary permits before starting construction. Finally, craft a level base by adding several inches of gravel at the bottom of your fire pit.
3. Choosing The Right Location

Safety and convenience are essential considerations when selecting a location for your own fire pit. Your fire pit should be positioned away from flammable objects or structures. When deciding where to place your fire pit, consider wind direction, ensuring smoke doesn’t affect your outdoor space.
In addition, ensure adequate room around the fire pit, allowing people to sit comfortably while enjoying the ambiance of the flames. Before beginning construction, check with local authorities for any regulations or permits required in your area.
4. Drainage Considerations
Proper drainage is essential when choosing the perfect spot to build your own backyard fire pit. Consider sloping the area away from any structures or low-lying areas that could collect moisture. Use permeable materials such as landscaping stones, pavers, or cement with inches of gravel underneath for better drainage.
Add drainage channels if building on a patio or hard surface, and use construction and masonry adhesive to finish your project in style. With these tips, you’ll be able to enjoy your own DIY fire pit while roasting marshmallows and enjoying the ambiance of your outdoor space.
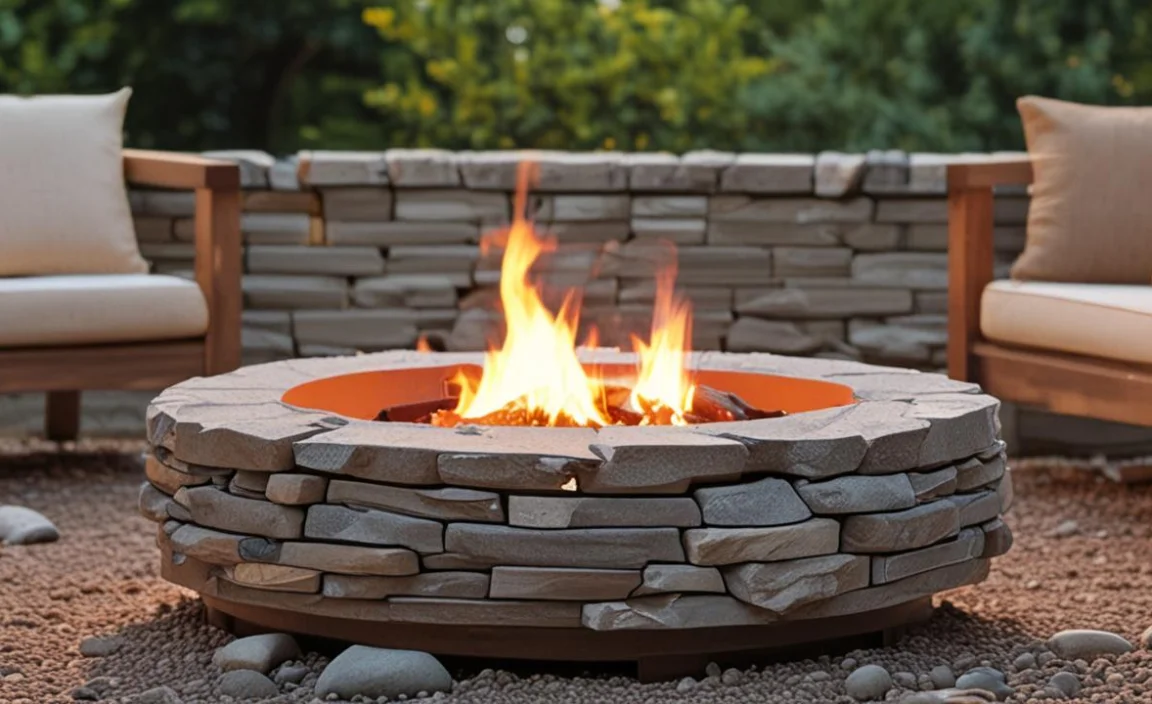
Fire Pit Design Options
When it comes to designing your own backyard fire pit area. There are several factors you have to take into account. Begin by selecting a design that goes well with your landscaping stones and outdoor space while meeting all your requirements.
Next, consider which materials would be best for your DIY fire pit ideas, such as brick, pavers, or natural stone. Determine how big of a diameter you need and remember to leave enough space around the perimeter for seating and movement using only high-heat cement or other safe methods like masonry adhesive or construction adhesive glue from home improvement stores like Lowe’s or Home Depot.
You can add seating areas with the correct measurements for proper moisture drainage under the gravel base layer using pea gravel around the bottom of a fire pit with marshmallows for ambiance at night or even add lighting for extra effect.
Explore features like cooking grates that can hold up in high-heat environments, such as cast iron models found online through various retailers specializing in BBQ equipment.
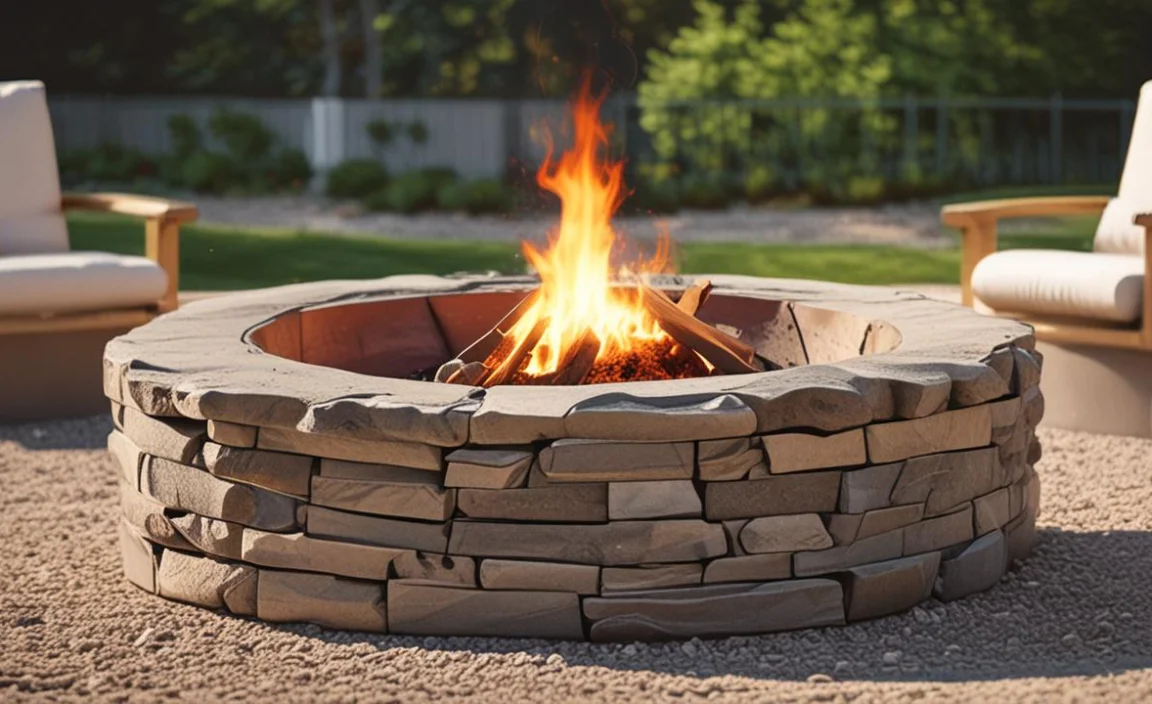
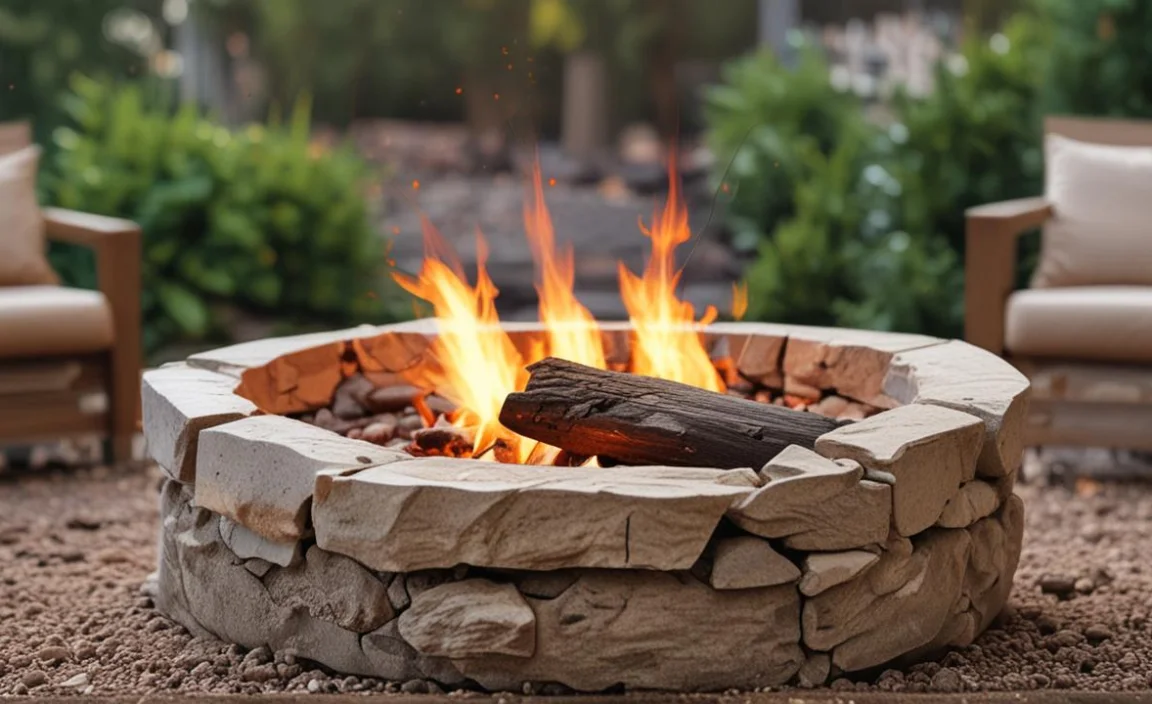
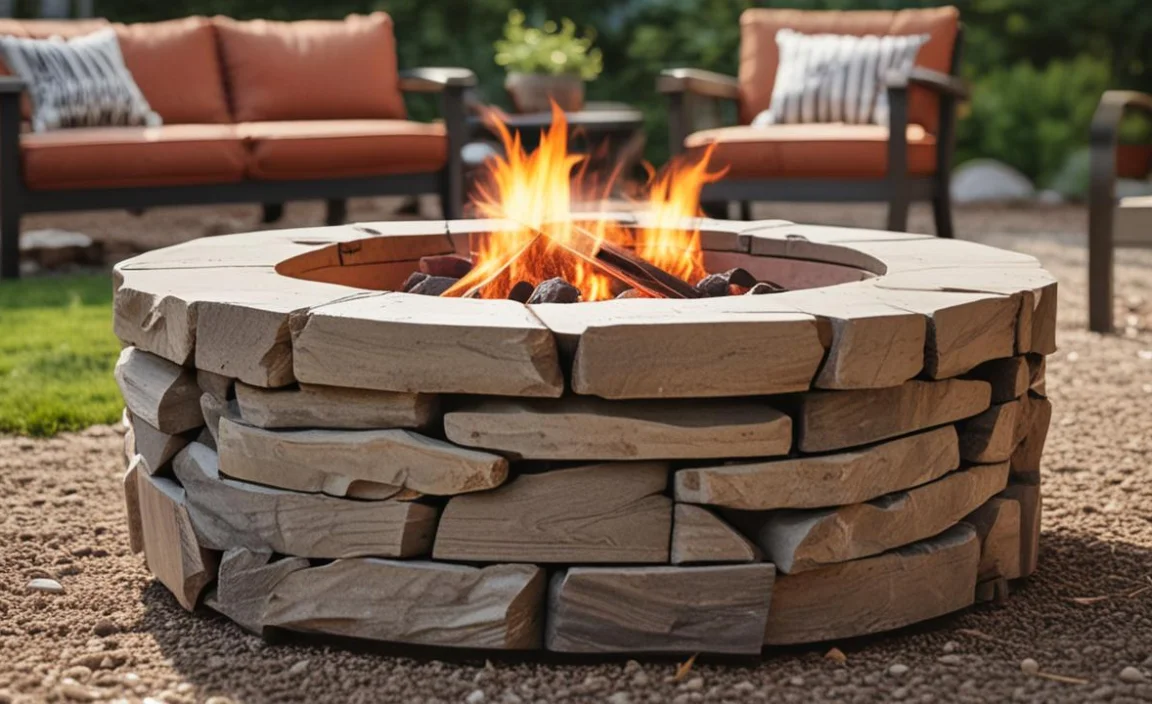
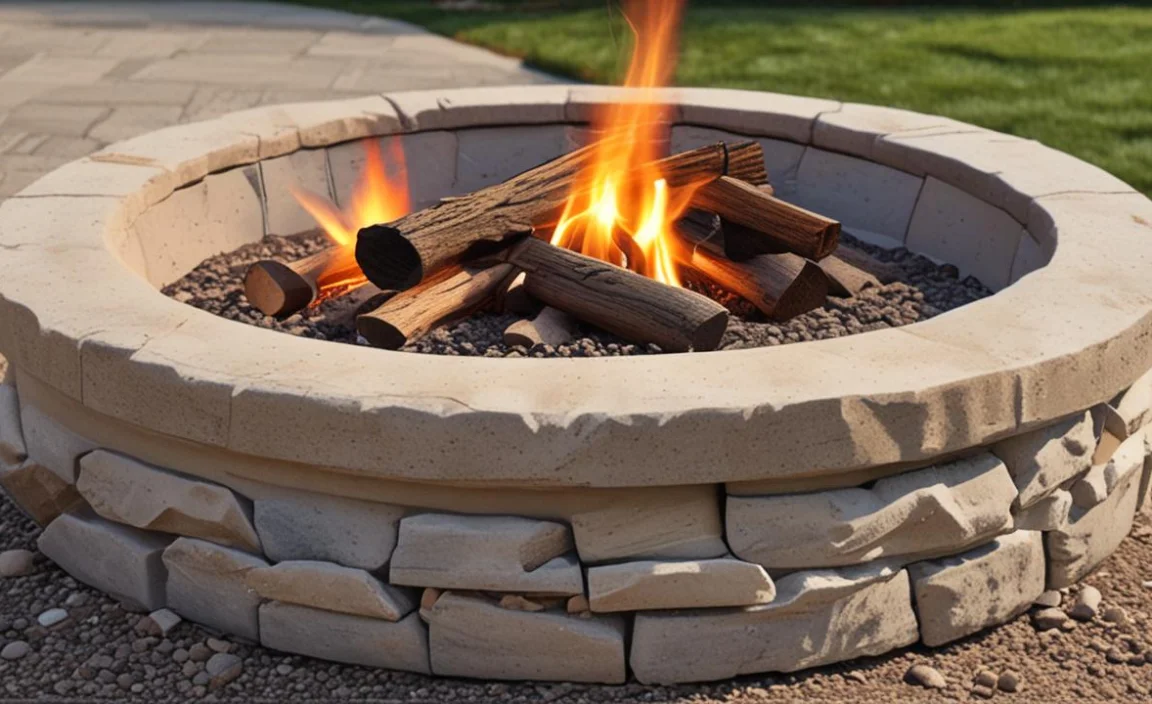
5. DIY Fire Pit With Pavers Or Natural Stone
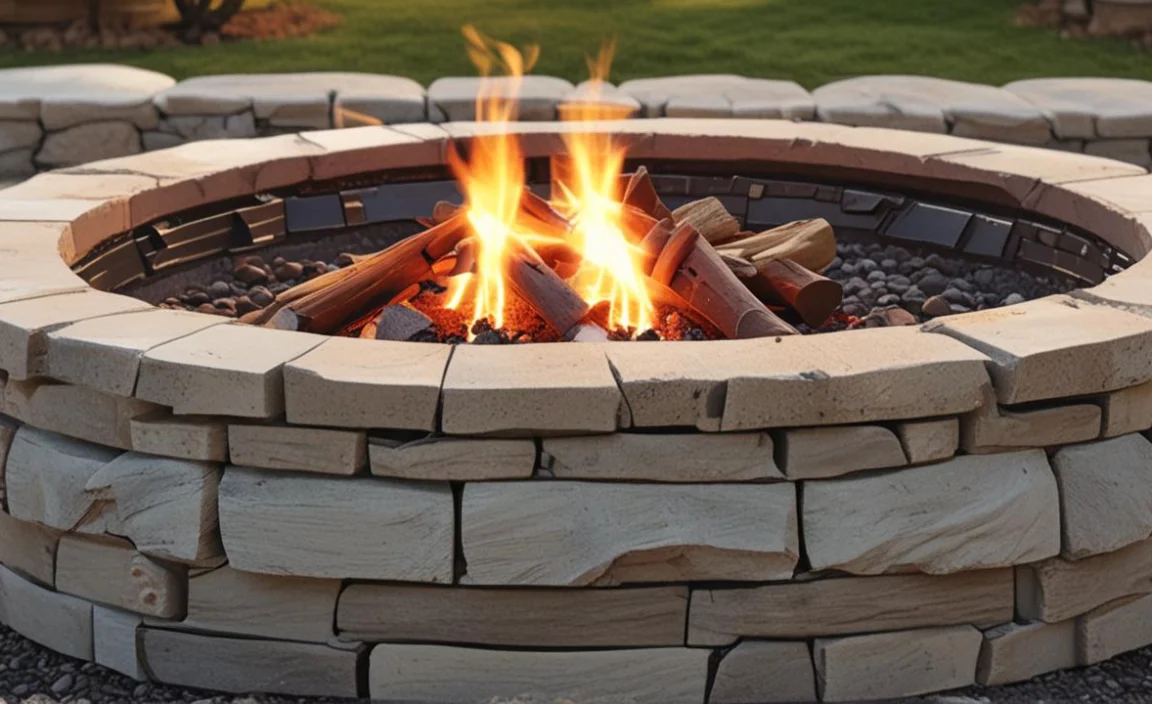
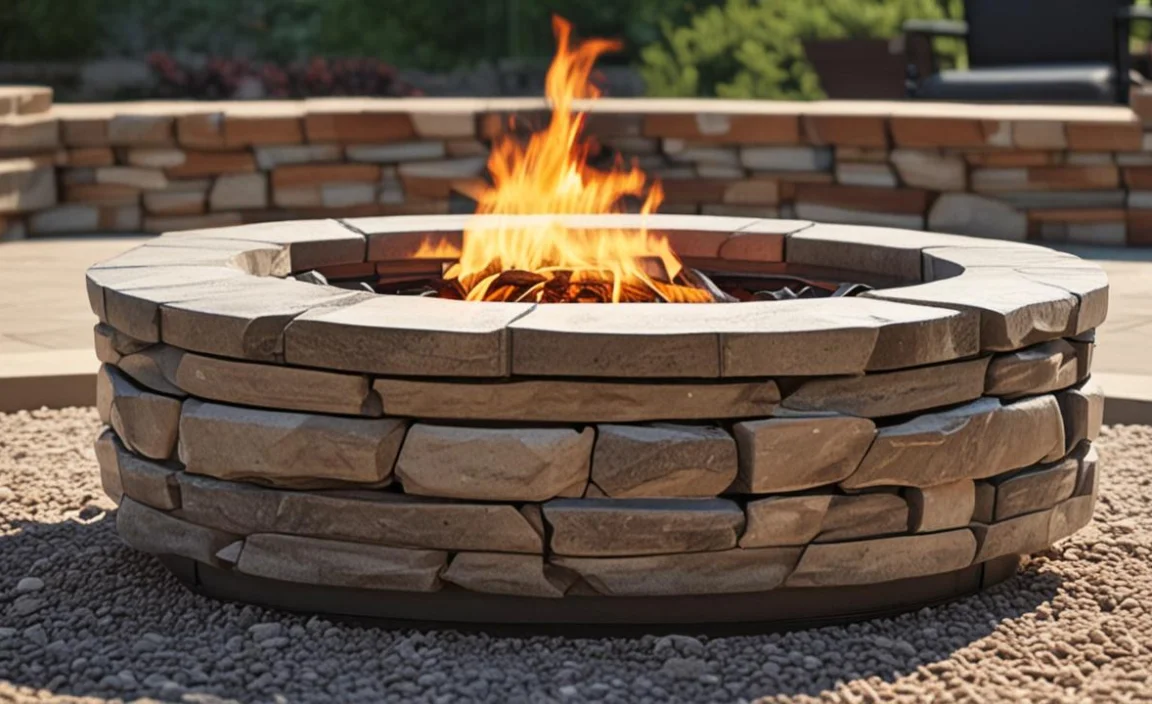
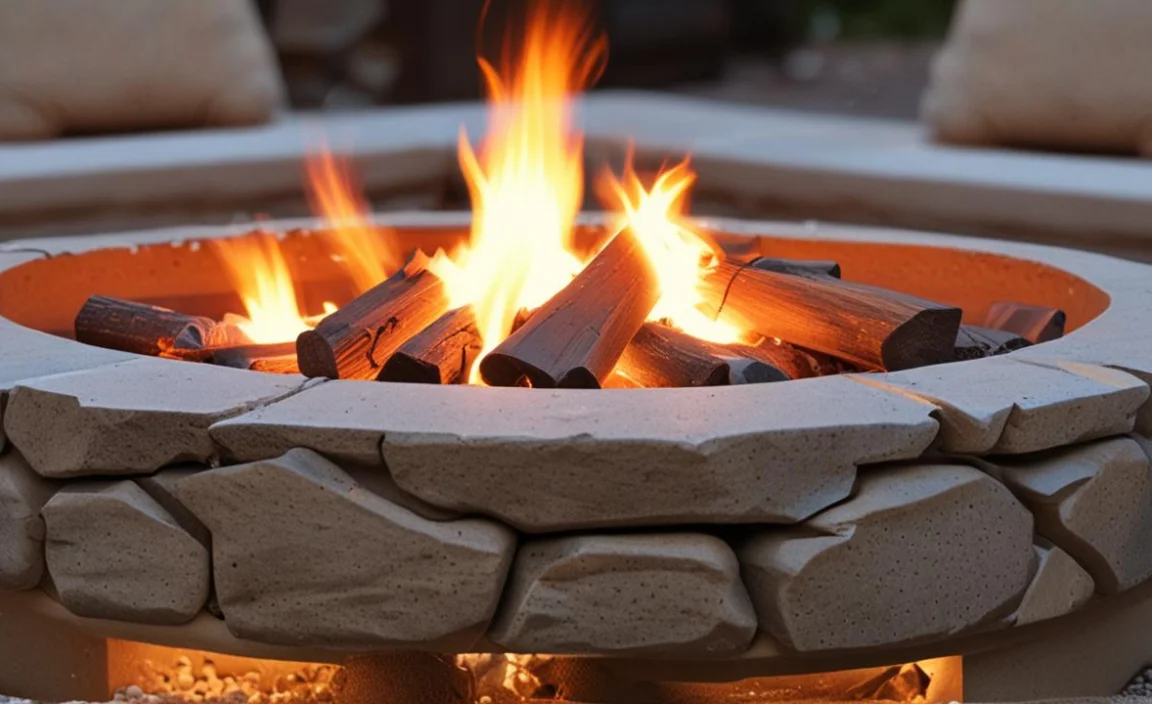
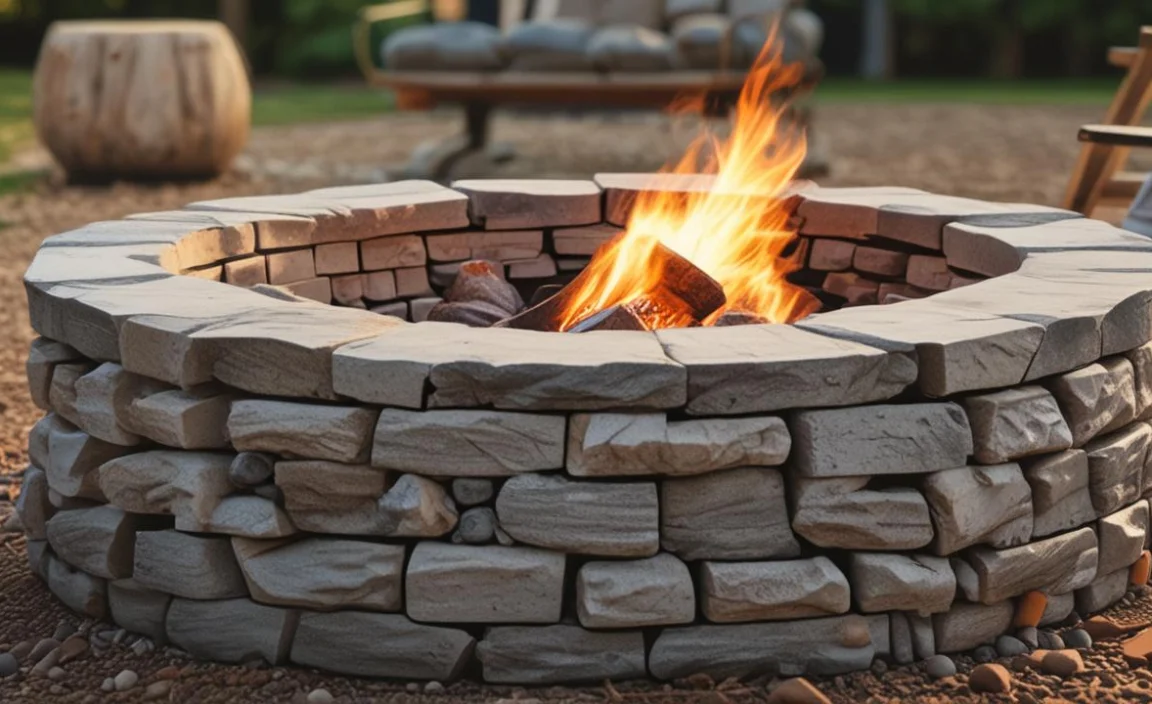
Decide on the design and materials when building a DIY fire pit with pavers or natural stone. Lay the first layer of stones around the perimeter of the fire pit area, using construction adhesive to secure them. Add a second layer of stones, staggering them for stability.
Apply masonry adhesive between layers and use a rubber mallet to tamp each layer. Fill the bottom of the pit with about 4 inches of gravel for drainage, then add a fire ring or metal ring. Finish with lava rock or other decorative stones.
Fire Pit Construction Steps
To build your backyard fire pit, start by choosing a location with enough space for seating and airflow. Once you have selected an appropriate location, mark the perimeter and dig a hole at least six inches deep. Add two inches of gravel to the bottom of your fire pit for drainage before laying the first layer of wall blocks.
Use construction adhesive and a caulking gun to glue each row of blocks securely. Continue building up the walls until you reach your desired height, and add a metal ring or grate to hold your wood. Here are the fire pit construction steps.
Marking Out The Area
Finding a suitable location is crucial when creating your own backyard fire pit. Start by measuring your chosen area and digging a hole to fit your fire pit base. Be sure to line it with enough inches of gravel for proper drainage.
Careful consideration should be given to factors such as wind direction and proximity to seating areas. With this in mind and our step-by-step instructions, you can create an outdoor space that warms any ambiance.
Digging The Hole
Start digging the hole for your own backyard fire pit in your outdoor space using step-by-step instructions. Without facing moisture problems in your DIY fire pit area.
Choose a safe location with ample seating space away from flammable materials like trees or bushes. Measure dimensions carefully using a shovel and dig a hole at least 6 inches deep with a diameter of a few ft., removing rocks or debris from the bottom of the pit.
Cover the bottom of the fire pit with about two inches of gravel and tamp it down until its level; then add some adhesive to hold together your first layer of wall blocks using mortar or masonry adhesive to create a solid base for your own fire pit.
Adding Gravel
Add around two inches of gravel at the bottom of the pit to create a sturdy foundation for your backyard campfire or DIY fire pit. Choose a size no larger than three-quarters of an inch in diameter to ensure proper drainage. Once you’ve spread the gravel evenly across the entire area (using a wheelbarrow or shovel). Use a tamper or compactor to press it down and ensure it’s nice and level before moving on.
Laying The First Row
For your backyard fire pit project, start by measuring the desired area and digging a hole at least 6 inches deep. After removing any rocks or debris from the bottom of the pit, add at least a few inches of gravel for drainage.
Next, lay the first layer of wall blocks using masonry adhesive and a caulking gun. Checking that everything is level with a rubber mallet or brick hammer. Continue building up fire pit walls with additional layers of blocks or landscaping stones until you’ve reached your desired height.
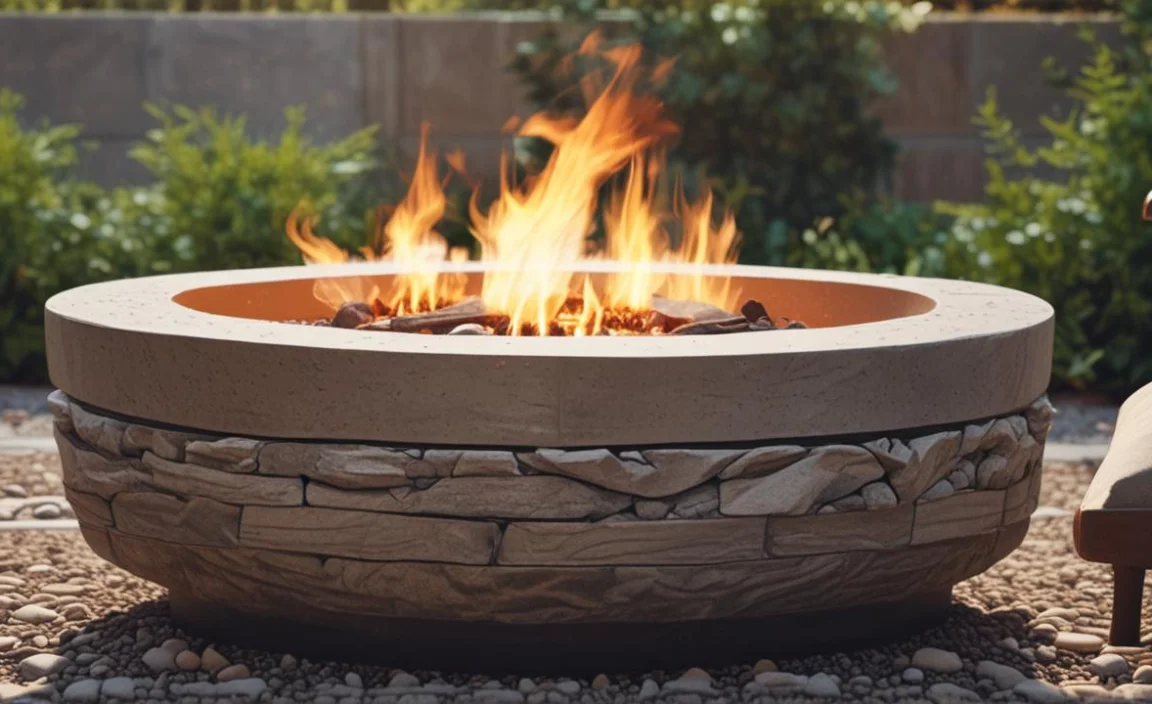
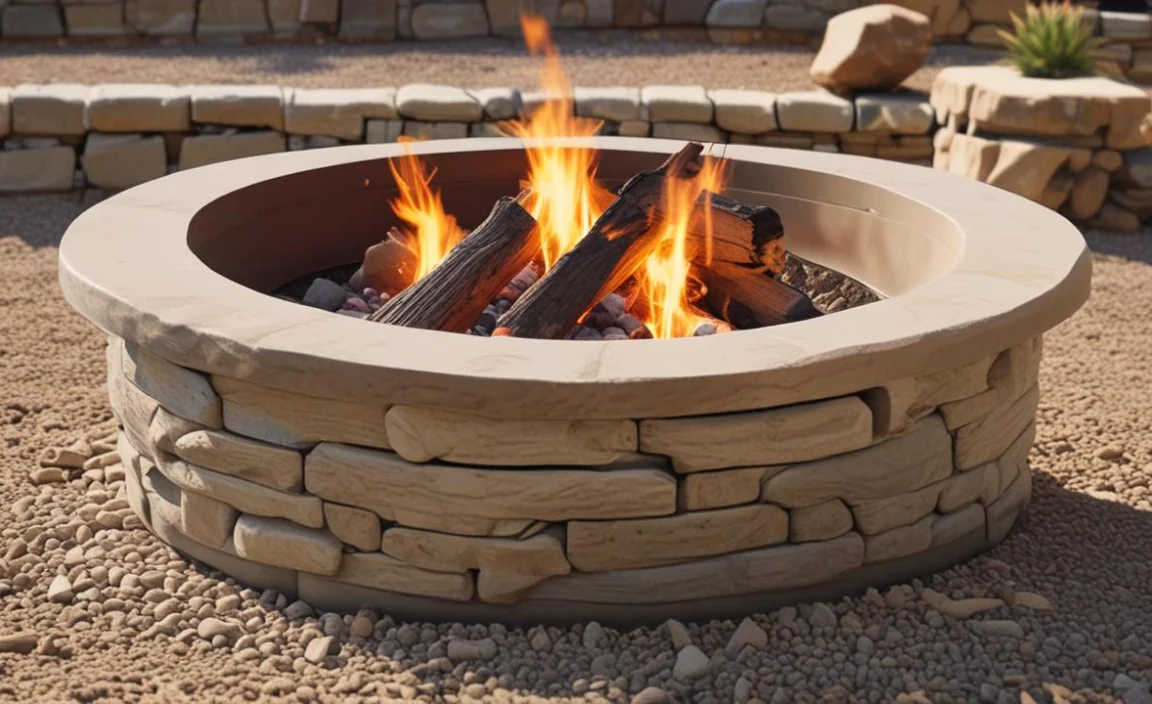
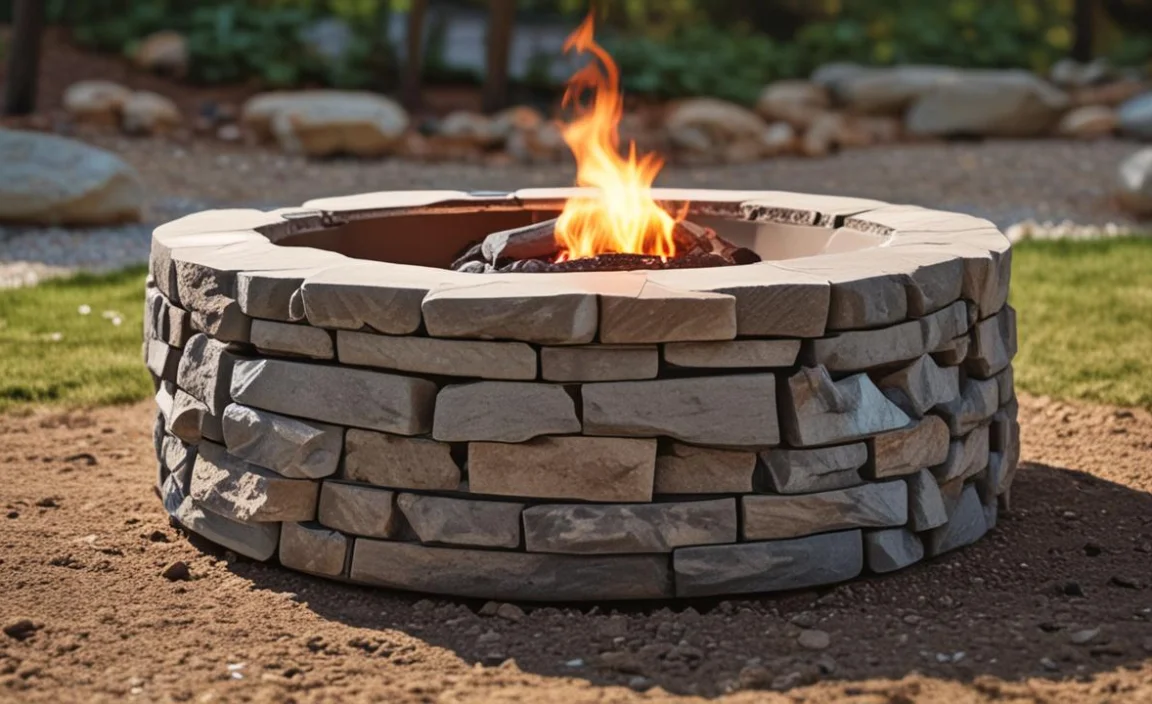
Building Up The Fire Pit
As you build up your fire pit in your backyard or outdoor space. Ensure you have a stable and level base by securely laying the first layer of landscaping stones. Consider using a fire ring or pit kit for added convenience and safety. You can personalize your DIY Fire Pit with pavers or natural stone. And add decorative elements such as a mosaic or metal accents to create ambiance when enjoying your first fire with family and friends.
Adding Adhesive
Adding adhesive when building up your fire pit walls is vital to ensure a safe and sturdy DIY fire pit construction. Choose a high-heat masonry adhesive that can withstand the heat from your campfire or outdoor fireplace.
Apply the adhesive evenly between your chosen materials, such as cement or wall blocks. And allow it to dry completely before continuing with your construction. Skipping this crucial step can lead to potential safety hazards in your own backyard oasis.
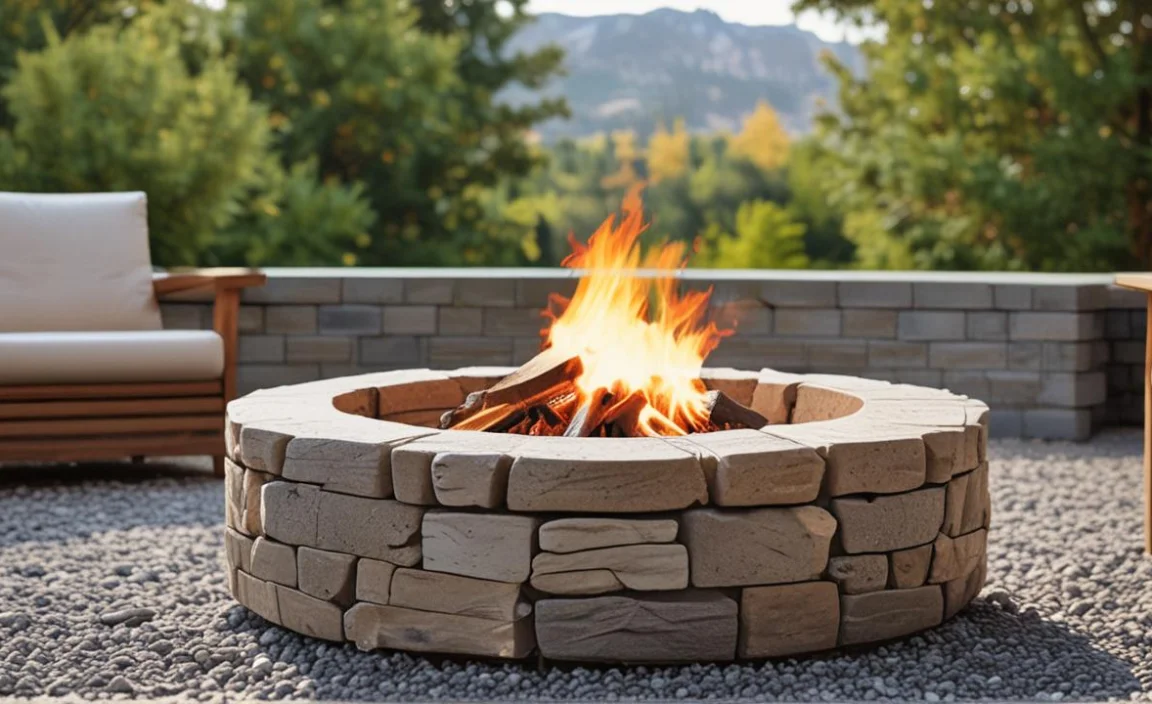
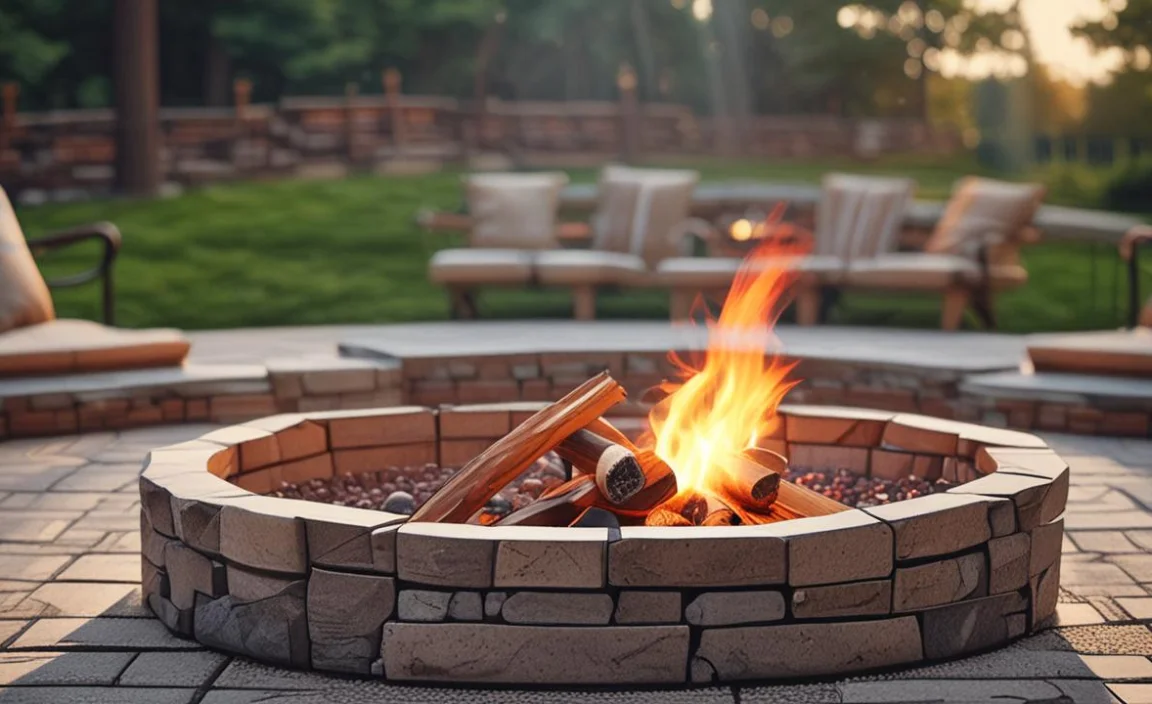
Fire Pit Finishing Touches

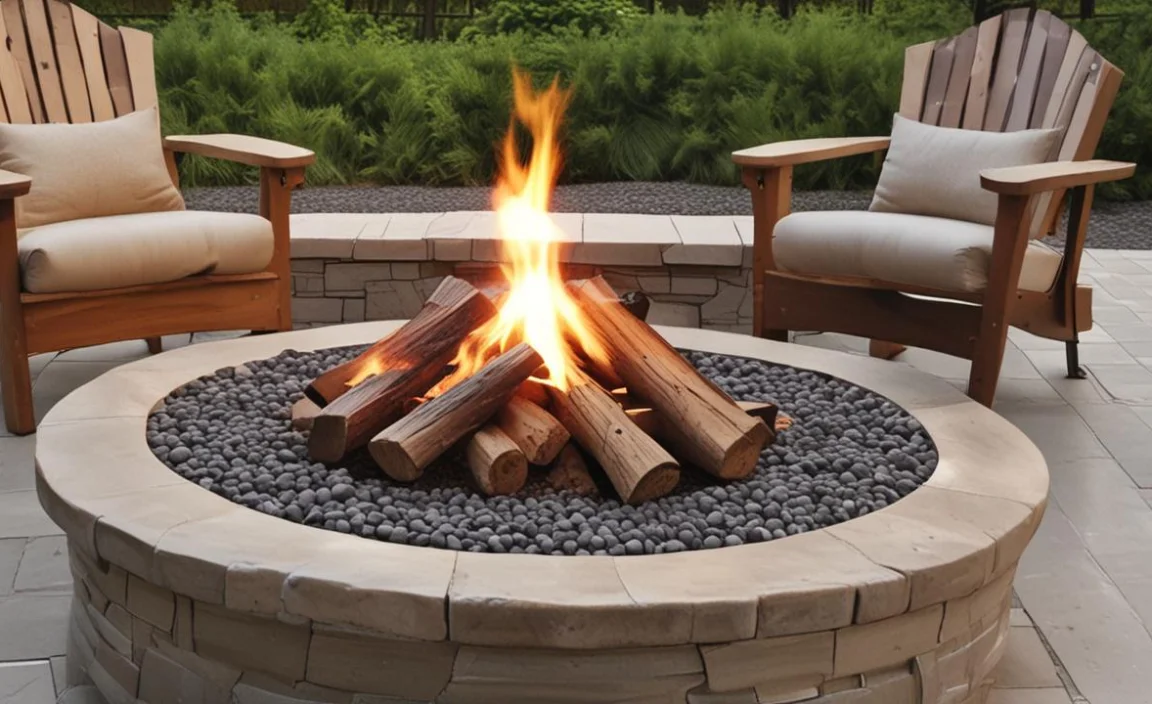
Enhance the look of your outdoor space with creative finishing touches for your DIY fire pit area! Add comfortable seating like Adirondack chairs or benches and brighten the ambiance with safe lighting options such as string lights or solar-powered fixtures. Spruce up the area with decorative elements like natural landscaping stones or colorful patio pavers.
Tamping Down The Stones
Proper tamping down of landscaping stones is necessary to ensure the durability of your DIY fire pit project without compromising its aesthetic appeal and safety features. Use either a hand tamper or a piece of wood to level the first layer before adding pea gravel up to two inches deep.
Fill gaps with sand and tamp the second layer until even and secure by adding cement or masonry adhesive using a caulking gun. Enjoy s’mores with loved ones in this cozy backyard ambiance!
Adding Seating
Enhance the ambiance of your outdoor space with cozy seating options around your DIY fire pit. Use natural landscaping stones or wall blocks secured with masonry adhesive or cement and a caulking gun for built-in seating for permanent pits.
Try movable chairs with cushions or pillows made from high heat-resistant fabric for portable pits. Leave ample space around the perimeter of the fire pit base covered with inches of gravel and leveled using a wheelbarrow and shovel. Don’t forget to tamp down the first layer of gravel with a hand tamper before placing the second layer on top.
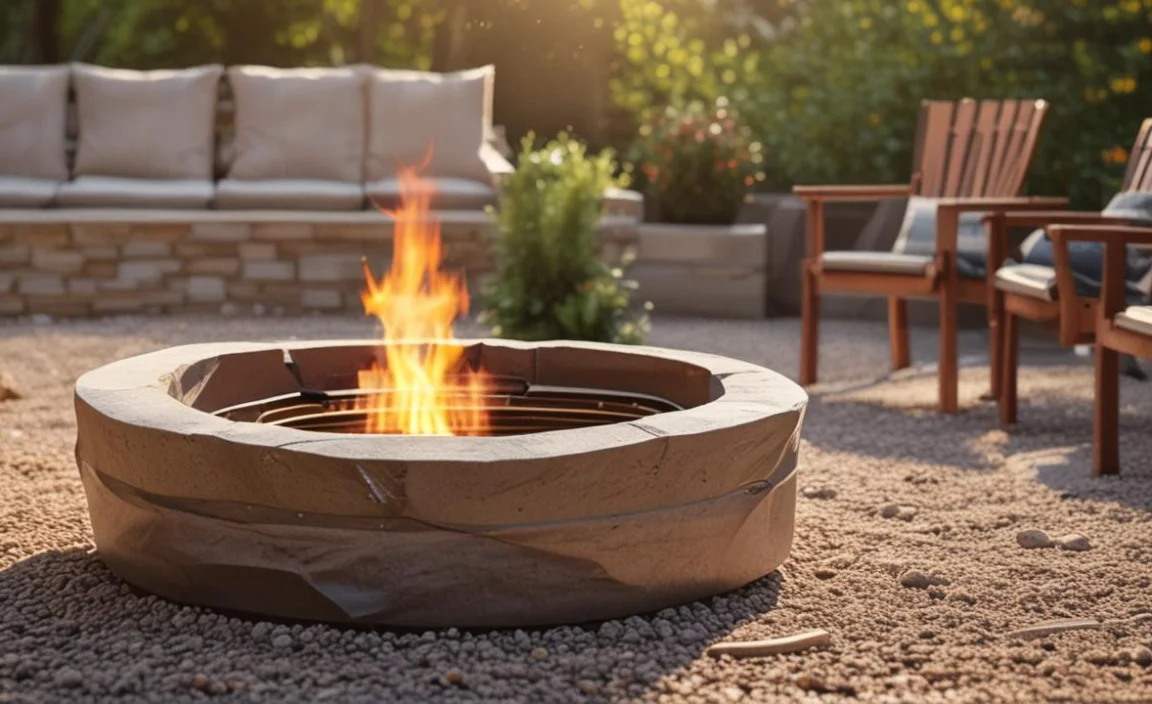
Adding Lighting
Consider adding some lighting options to make your fire pit stand out in your backyard space. You could install LED lights under seats or around the perimeter of the fire pit area. For a romantic look string up some lanterns or try tiki torches.
Solar-powered lighting is also a great eco-friendly option that saves money and adds warmth to your backyard space. Choose weather-resistant lighting fixtures to withstand outdoor conditions and create a cozy ambiance.
Fire Pit Safety Tips
With these step-by-step instructions, safety should be at the forefront of your mind when constructing your backyard fire pit. Adhere to all local fire codes and regulations when building your own DIY fire pit with natural stone or wall blocks. To prevent unwanted fires, keep the fire pit area clear of debris or flammable materials.
A screen cover will help keep sparks contained while adding ambiance with lighting options such as string lights or tiki torches will create a cozy atmosphere for you and your family to enjoy in your outdoor space.
Using A Fire Pit Screen
When using a fire pit, it’s essential to prioritize safety by incorporating a fire pit screen made of durable material that fits securely over the pit. Regularly cleaning the screen prevents ash and debris buildup that may negatively impact its effectiveness.
To ensure maximum safety while enjoying an outdoor space in your own backyard. Always supervise the fire pit when it’s in use and never leave it unattended.
Clearing Debris
Before starting construction, ensure the fire pit area is free of debris, such as dry leaves, twigs, and grass. This helps prevent fires from spreading and keeps them contained within the pit.
Also, remember to remove any flammable materials like gasoline or propane tanks from the area you choose to build. It is also recommended to clean out all ashes and other debris regularly for safety purposes.
Conclusion
A fire pit is a great addition to any backyard or outdoor space, providing warmth and ambiance for gatherings with family and friends. Building a fire pit is a great way to enjoy the outdoors and create a cozy gathering spot for friends and family.
Whether you choose a DIY retaining wall fire pit or opt for pavers or natural stone, it’s important to have the right tools and materials and consider location and safety factors.
Following our step-by-step guide on how to build a fire pit, you can create your own fire pit quickly. Don’t forget to add finishing touches like seating and lighting, but always prioritize safety by regularly using a fire pit screen and clearing debris.
Frequently Asked Questions
[rank_math_rich_snippet id=”s-c46400ed-28ec-48fd-982b-990a37554f76″]
