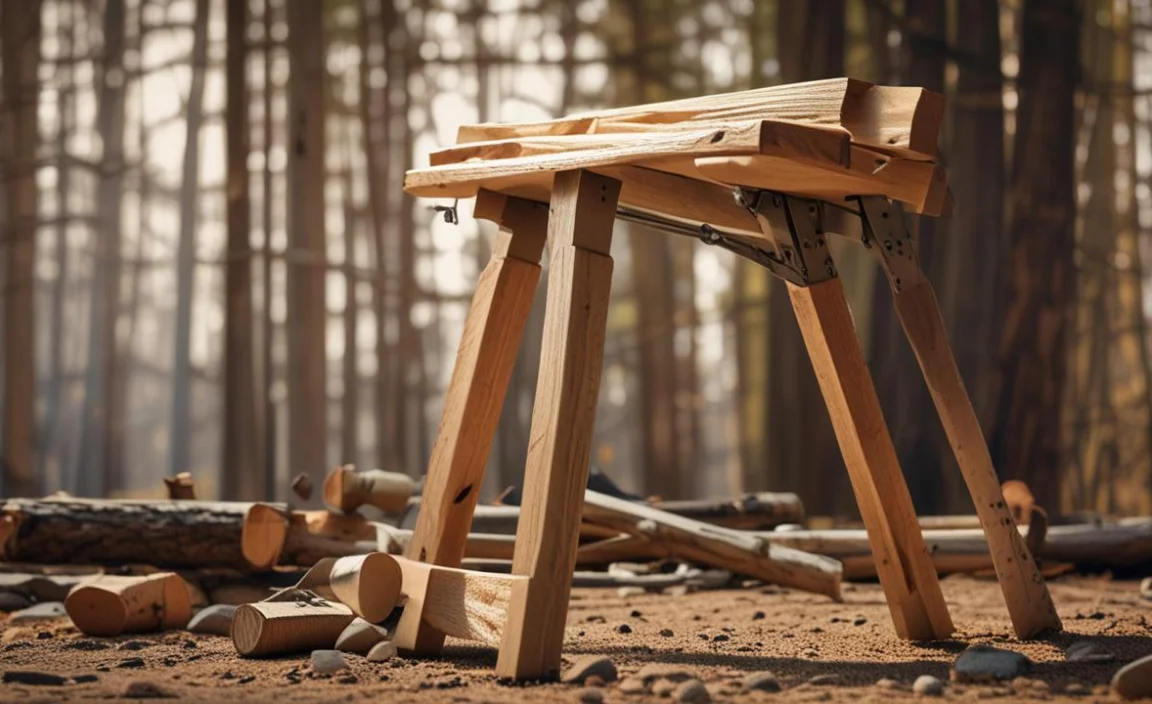
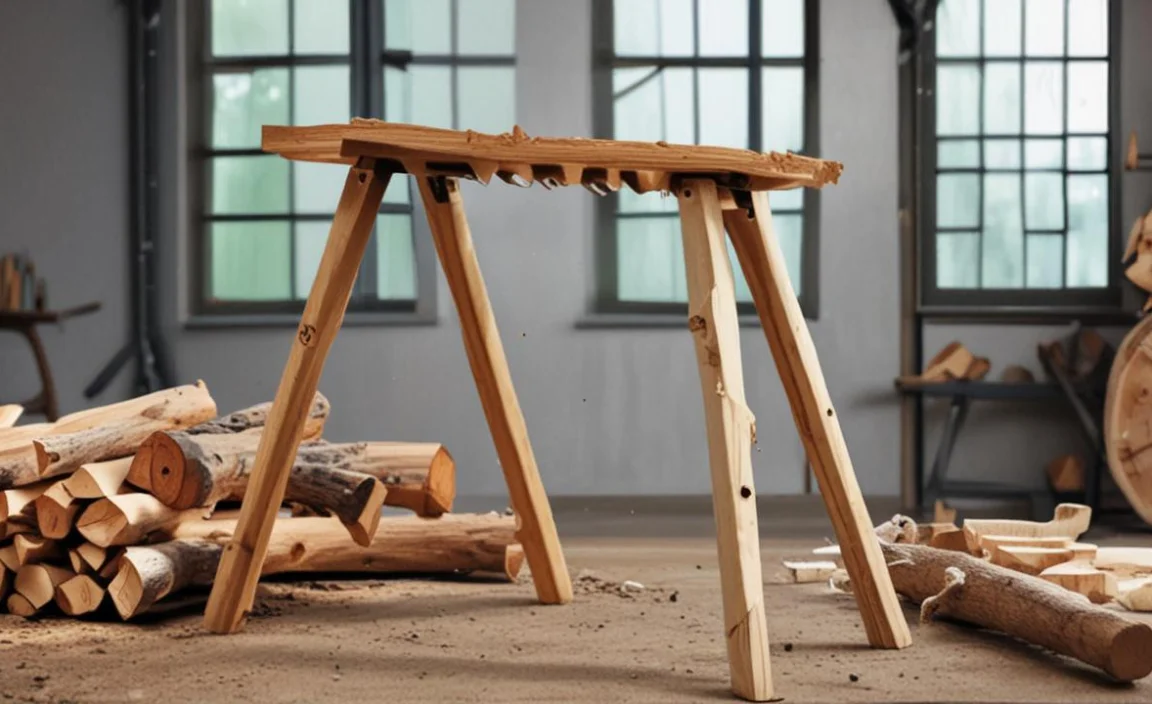
Making a sawhorse is a simple and essential skill for any woodworker or DIY enthusiast. It is a sturdy and reliable tool that is handy to hold logs in place while they are being cut.
Not only does it save you money by making your own instead of purchasing one, but it also allows for customization to fit your specific needs. With the different tools, materials, and a little bit of time, you can easily create a sawhorse that will last for years to come.
We will guide you through the step-by-step process of how to make a sawhorse for cutting logs. From choosing the right wood to assembling the sawhorse, we will cover all the necessary details to help you create a durable and functional sawhorse.
Materials And Tools Needed To Build A Sawhorse
Knowing the materials and tools needed to build a sawhorse is of utmost importance for anyone involved in construction or woodworking projects. A sawhorse, a sturdy and reliable support structure, is a fundamental tool in these fields, providing a stable and secure platform to work on. Understanding the required materials and tools ensures that the construction of a sawhorse is both efficient and effective.
Materials:
- 2×4 wooden boards (quantity will depend on the desired size of the sawhorse)
- Plywood or MDF board for the top surface
- Wood screws or nails
- Wood glue (optional)
Tools:
- Measuring tape or ruler
- Pencil or marking tool
- Circular saw or hand saw
- Drill or screwdriver
- Hammer or nail gun
- Sandpaper or sander
- Clamps (optional for securing pieces while assembling)
- Safety goggles and gloves
6 Easy Ways On How To Make A Sawhorse For Cutting Logs
Knowing how to make a sawhorse for cutting logs is an essential skill for anyone involved in woodworking or construction. A sawhorse is a sturdy and reliable support that helps to elevate and stabilize logs during the cutting process. Understanding the importance of this tool goes beyond simple convenience and efficiency.
It promotes safety, accuracy, and overall productivity in the work environment. Working with logs can be risky without proper support, as they can roll or shift unexpectedly, causing injuries to the operator.
By utilizing a well-constructed sawhorse, the logs are firmly secured, reducing the chances of accidents and mishaps during cutting. This not only protects the individual operating the saw but also minimizes the risk of damage to surrounding property and equipment. Below, we provide detailed guidelines to make a sawhorse for cutting logs.
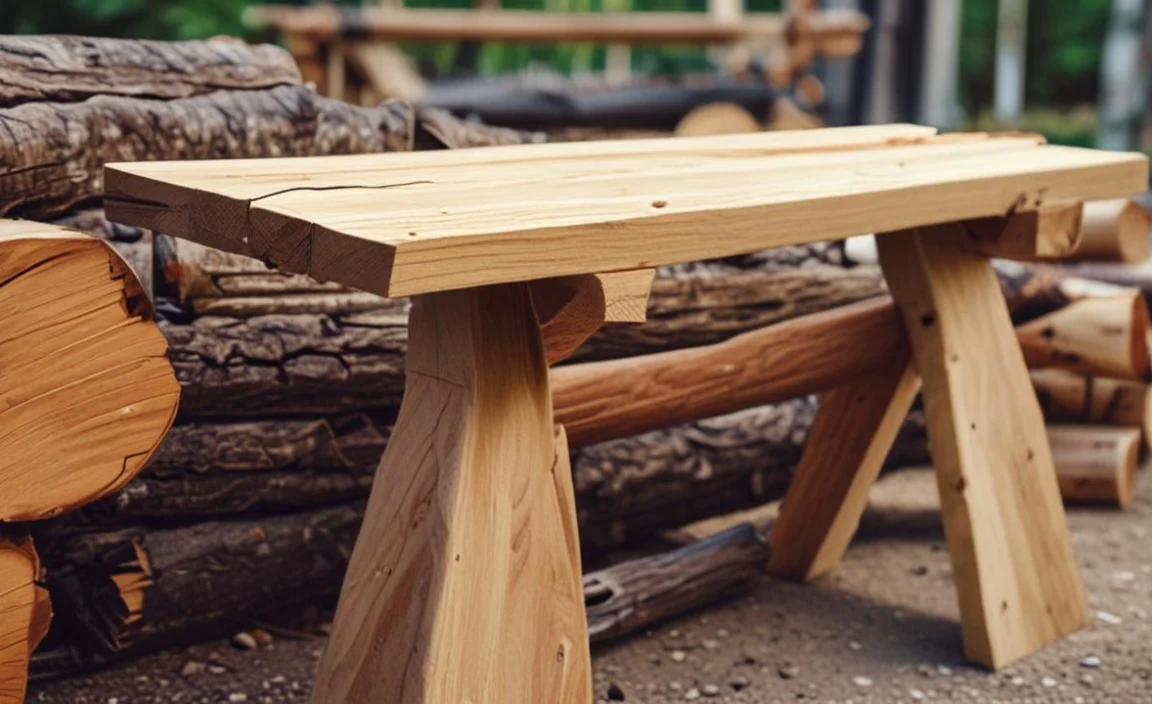
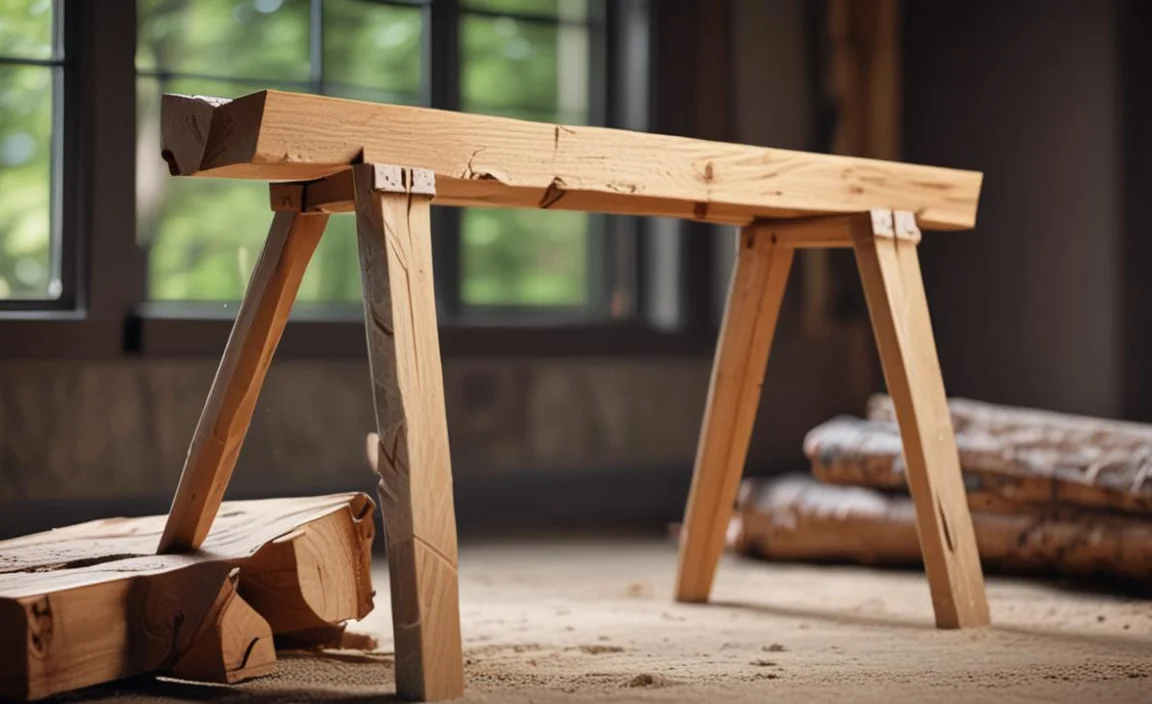
1.Cut Two Pieces Of Lumber To Fit The Sawhorse
Making a sawhorse for cutting logs is a great way to save time and reduce the risk of injuries. You can make a sawhorse using two pieces of wood that fit snugly together. The best part about making a sawhorse this way is that you only need to use a saw or jigsaw to cut the lumber to the correct size.
After cutting the wood, you’ll need to sand the edges smoothly and paint or stain the sawhorse to match your home’s décor. But don’t forget to add stability to your new sawhorse by placing it on top of some boards or bricks.
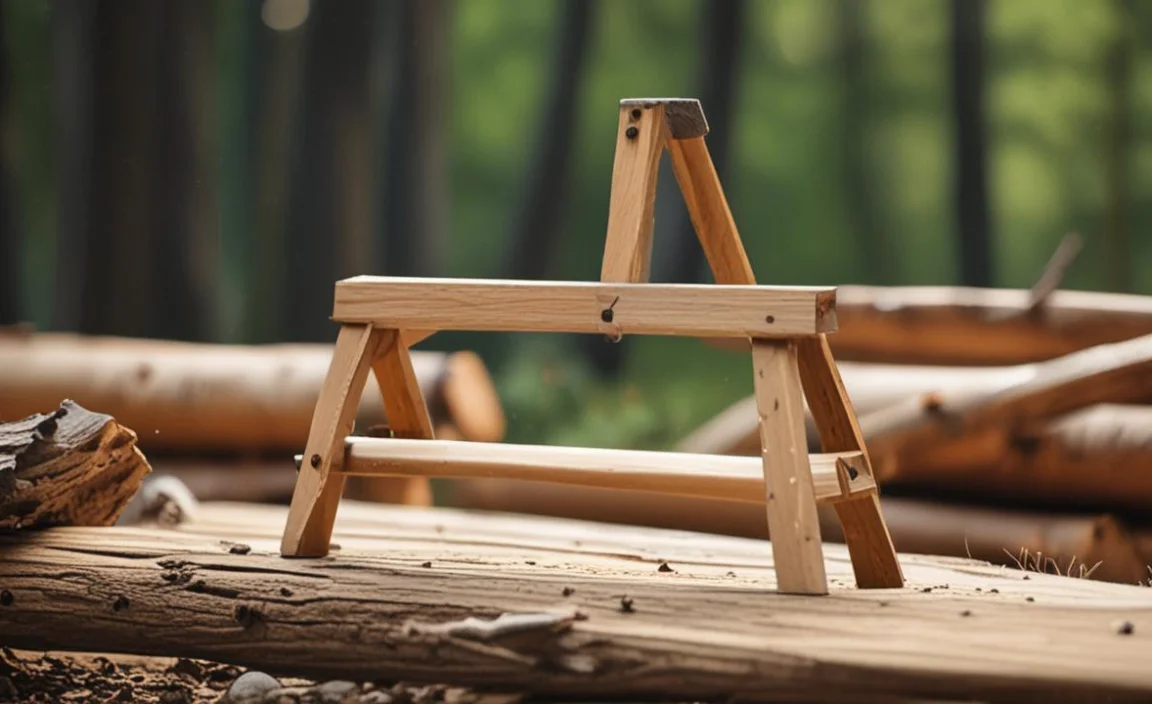
2.Shaping The Top Rail
When making a sawhorse for cutting logs, choosing the right material for the top rail is important. Besides, you must ensure that the rail is of the right size and shape. You can use sandpaper to provide a smooth surface.
Some saws require screws or nails to hold the rail in place. Before painting or finishing the saw, test the fit of the rail by securing it to a log with screws or nails. This will ensure that it fits securely and does not wobble or rotate.
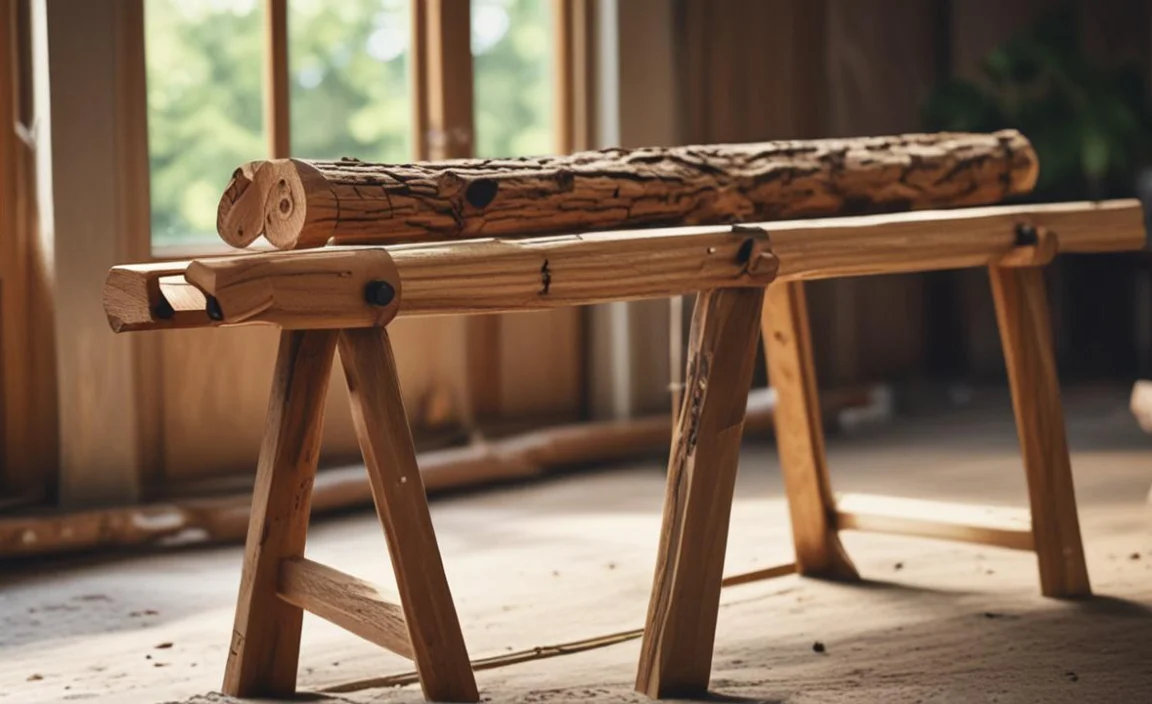
3.Making The Jaws
You can use a sawhorse as a useful tool to cut wood logs conveniently. There are many ways to make a sawhorse, but the most common method is to use wooden boards as the jaws. You can make your sawhorse from various materials, such as wood, metal, or plastic. Depending on the type of saw you use, you may want to choose a jaw that fits the saw blade properly.
Once you have made your sawhorse, you will need to attach it to the log using a bolt or wood screws. This will ensure that your sawhorse stays stable while cutting the log. Making a sawhorse is a quick and easy DIY project that can help save time and energy while cutting wood logs.
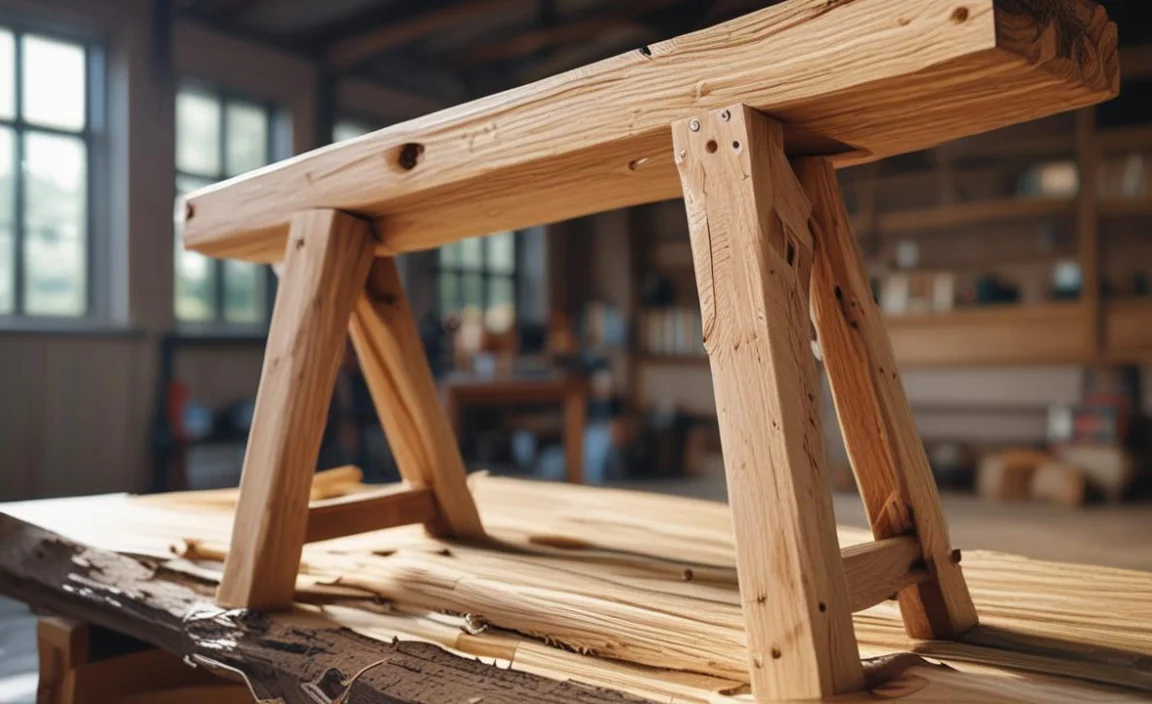
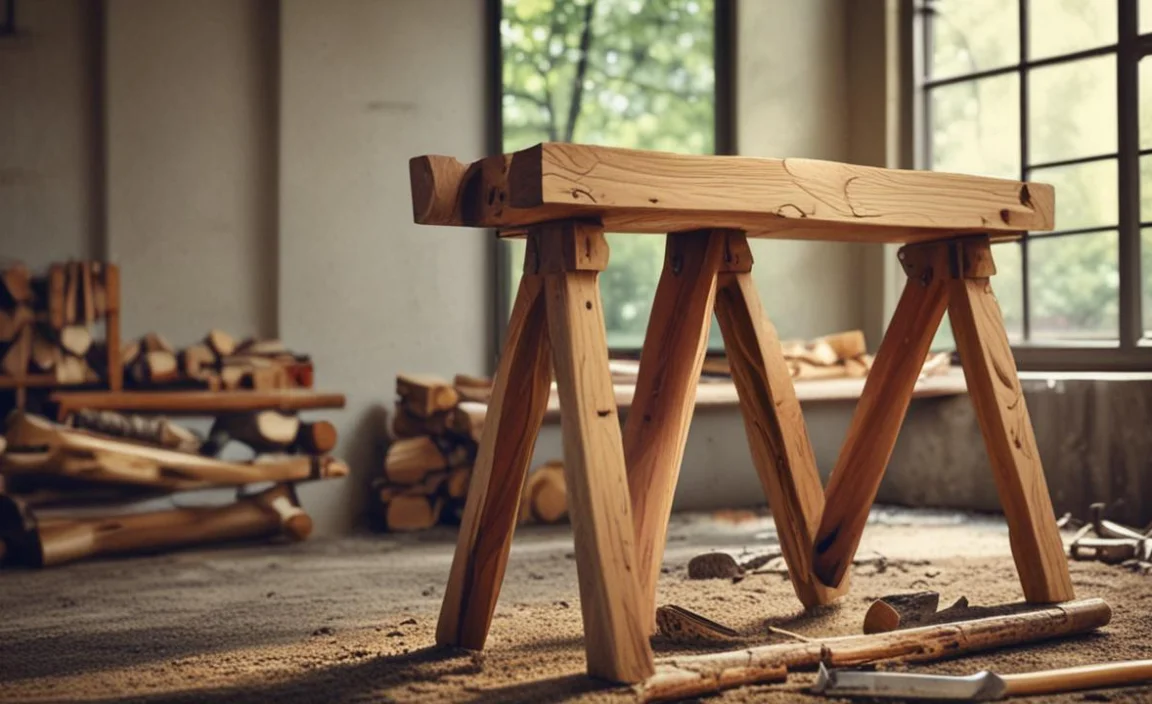
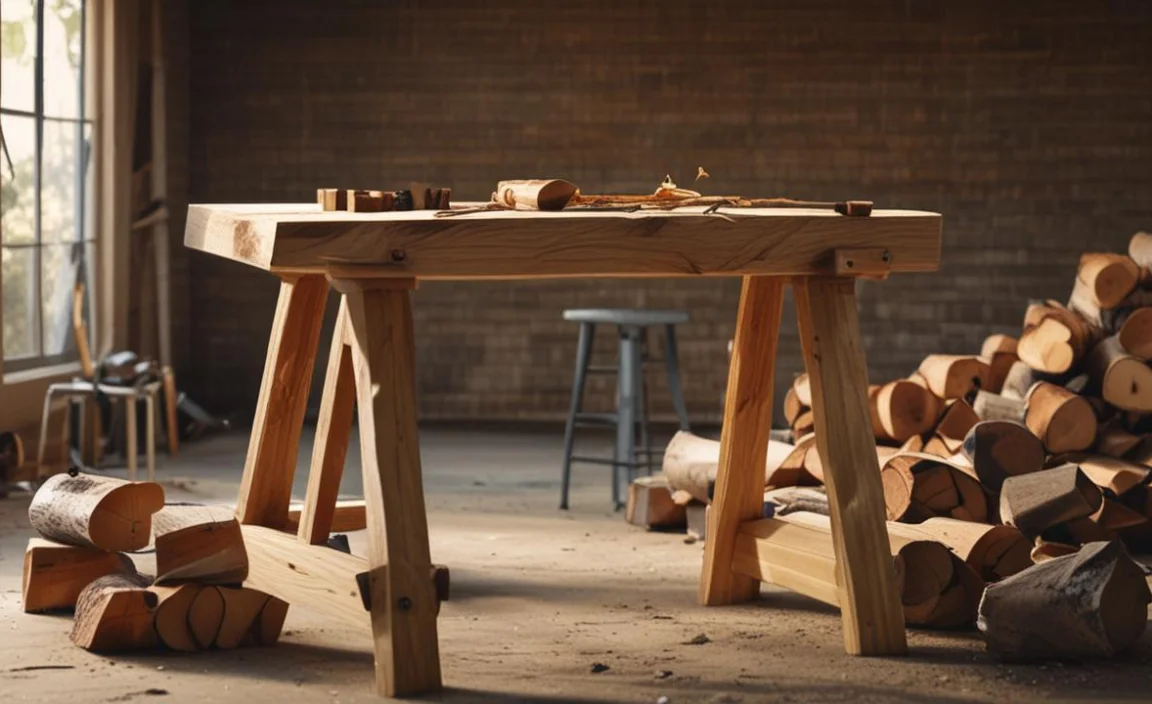
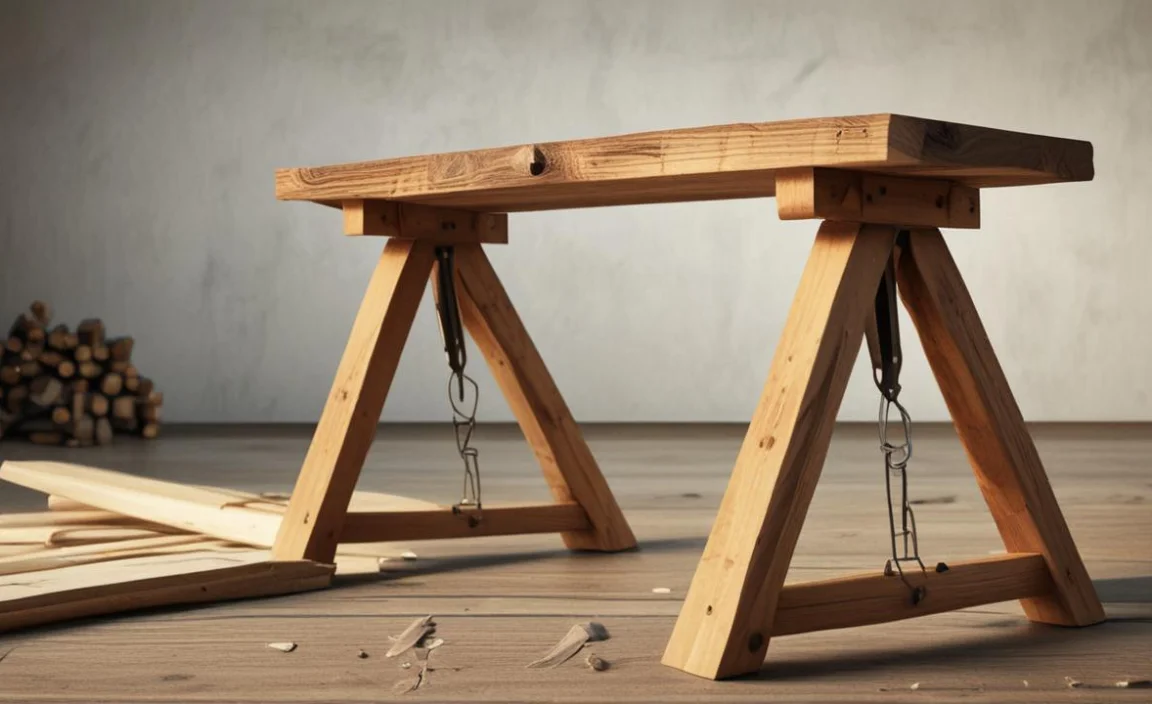
4.Sawhorse Sizing And Assembly
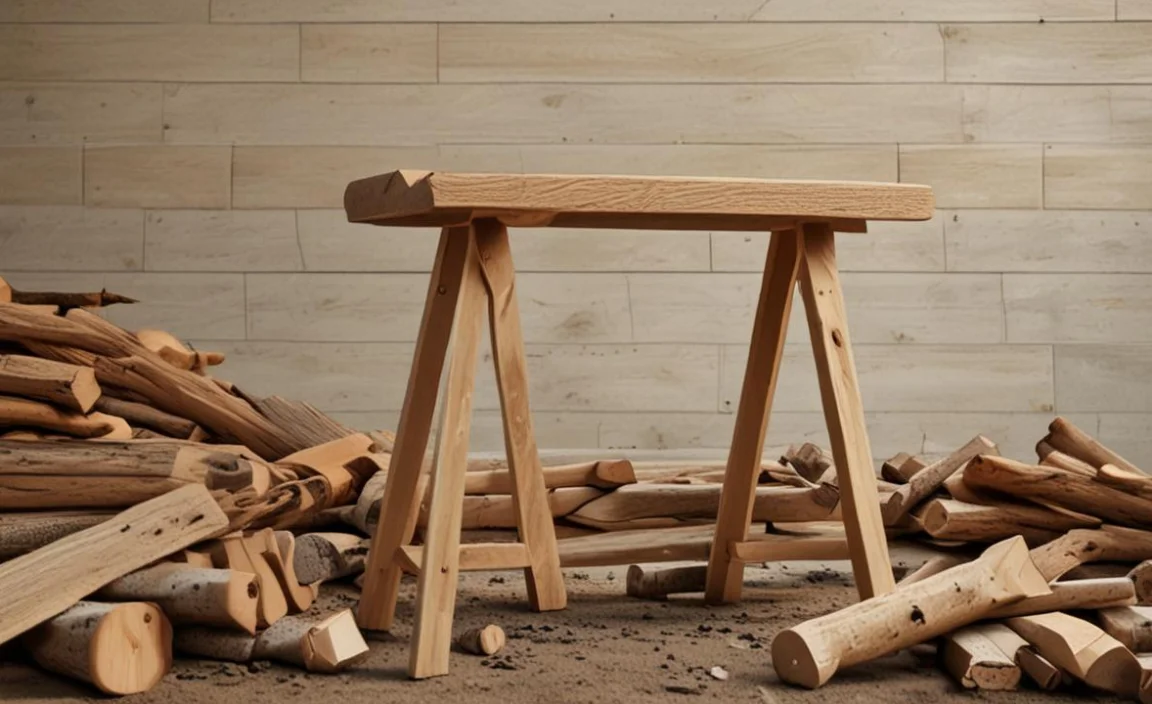
The dimensions of the sawhorse should be appropriate for the size and weight of the logs you intend to cut. Generally, a height of around 3 feet and a width of 2 feet is recommended for optimal stability. It is also important to ensure that the legs are evenly spaced and securely fastened to the top beam to prevent any wobbling or tipping.
Assembly of the sawhorse should be done with care and precision. Using sturdy and durable materials such as rough wood, hardwood or pressure-treated lumber is advised to ensure longevity and strength. Additionally, reinforcing the joints with screws or bolts will enhance stability and prevent any potential collapses during use.
Tips For Ensuring Stability And Durability In Your Sawhorse Design

Regarding constructing a sawhorse, ensuring stability and durability should be of utmost importance. Knowing why these factors are crucial can greatly impact the overall success of your project. Stability is essential to prevent accidents and injuries while working with heavy materials or power tools.
- Choose a sturdy and durable material for your sawhorse, such as hardwood or steel.
Use solid construction techniques, such as proper joinery, firewood cutting tools and fasteners, to ensure the stability of your sawhorse. - Design the legs of the sawhorse to have a wide and stable base, providing a solid foundation.
Consider adding braces or crossbars between the legs to increase stability and prevent wobbling.
Opt for adjustable legs or levelling feet to ensure stability on uneven surfaces. - Reinforce critical areas, such as the joints and loadbearing points, with additional support or reinforcement brackets.
- Apply a protective finish or coating to the sawhorse to enhance its durability and resistance to wear and tear.
- Regularly inspect and maintain your sawhorse, tightening any loose fasteners and addressing any signs of damage promptly.
Safety Precautions When Using A Sawhorse For Cutting Logs
It is of utmost importance to be aware of and adhere to safety precautions when utilizing a sawhorse for cutting logs. The potential risks and hazards associated with this task cannot be understated, making it imperative for individuals to prioritize their well-being and take necessary precautions.
Different models may have varying weight capacities and stability factors. Therefore, it is crucial to select the appropriate sawhorse for the job at hand.
- Wear appropriate personal protective equipment, including safety glasses, gloves, and steel-toed boots.
Ensure that the sawhorse is stable and properly set up on a flat, level surface. - Always inspect the sawhorse for any damage or defects before use.
- Position the logs securely on the sawhorse, ensuring they are stable and won’t roll or shift during cutting.
- Use a saw or chainsaw with a sharp blade and make sure it is in good working condition.
- Keep your hands and fingers away from the cutting area, using push sticks or other tools to guide the log through the saw.
- Maintain a firm and stable stance while operating the saw with your feet shoulder-width apart.
Avoid distractions and focus solely on the cutting task at hand. - Never force the saw through the log, as this can lead to kickbacks or other accidents.
- Use the appropriate cutting technique and follow the manufacturer’s instructions for the saw and sawhorse.
- After cutting, turn off the saw and wait for the blade to stop completely before removing the log from the sawhorse.
- Clean and maintain the sawhorse regularly to ensure its stability and functionality.
Alternative Designs And Modifications For Specific Needs Or Preferences

In the ever-evolving world of design, it is imperative to consider alternative designs and modifications to cater to specific needs or preferences. In today’s competitive, comfortable height, market, customization, and personalization have become key factors in attracting and retaining customers.
Offering alternative designs and modifications not only allows businesses to meet individualized requirements but also showcases their commitment to customer satisfaction. Moreover, alternative designs and modifications can also address specific preferences or aesthetics.
For example, an automobile manufacturer might offer different trims, color options, or interior finishes to cater to diverse tastes and style preferences. This not only enhances the overall appeal of the product but also allows customers to express their individuality and create a sense of ownership.
Maintenance And Care Tips To Prolong The Lifespan Of Your Sawhorse
Understanding maintenance and care tips is crucial For prolonging the lifespan of your sawhorse. By implementing these practices, you can ensure that your sawhorse remains in optimal condition, providing you with reliable support and stability for your various projects. Proper maintenance not only increases the longevity of your finished sawbuck but also contributes to its overall efficiency and safety.
- Clean the sawhorse regularly by removing any sawdust, debris, or dirt accumulated on the surface.
- Check the stability of the sawhorse before each use, ensuring that all connections and joints are secure and tightened.
- Lubricate any moving parts, such as hinges or adjustable mechanisms, with appropriate lubricants to prevent rust and ensure smooth operation.
- Store the sawhorse in a dry and well-ventilated area to prevent moisture damage and reduce the risk of rust.
- Avoid placing heavy objects or applying excessive force on the sawhorse, as this can lead to structural damage or instability.
- Inspect the sawhorse for any signs of wear or damage, such as cracks, splintering, or bent components, and repair or replace them as needed.
- Use appropriate safety measures when operating the sawhorse, such as wearing protective gear and following proper handling techniques.
- Avoid exposing the sawhorse to extreme temperatures or direct sunlight, as this can cause warping or fading of the material.
- If the sawhorse has adjustable height or width settings, avoid frequent adjustments to minimize wear and tear on the mechanisms.
Cost-Effective Options For Purchasing Or Acquiring A Pre-Made Sawhorse
When considering the purchase or acquisition of a pre-made sawhorse, it is essential to explore cost-effective options that align with your budget and needs. One viable option is to search for online marketplaces and e-commerce platforms that offer competitive pricing and a wide range of selections.
These platforms often provide user reviews and ratings, enabling you to make an informed decision based on the experiences of previous customers. Another cost-effective approach is to consider purchasing from local hardware stores or home improvement centres.
These establishments may have special deals or discounts available, especially during clearance sales or end-of-season promotions. Additionally, visiting physical stores allows you to assess the quality and durability of the sawhorses firsthand before making a purchase.
Conclusion
Knowing how to make a sawhorse for cutting logs can be a useful skill for any woodworker or outdoor enthusiast. It’s important to use high-quality materials to ensure the durability and stability of your sawhorse. You may also want to consider using pressure-treated wood for added protection against weather and wear.
By following these steps and using quality materials, you can create a sturdy and reliable sawhorse that will make your log-cutting tasks easier and more efficient. Remember always to prioritize safety and proper technique when using any tools, and enjoy the satisfaction of a job well done with your homemade sawhorse.
