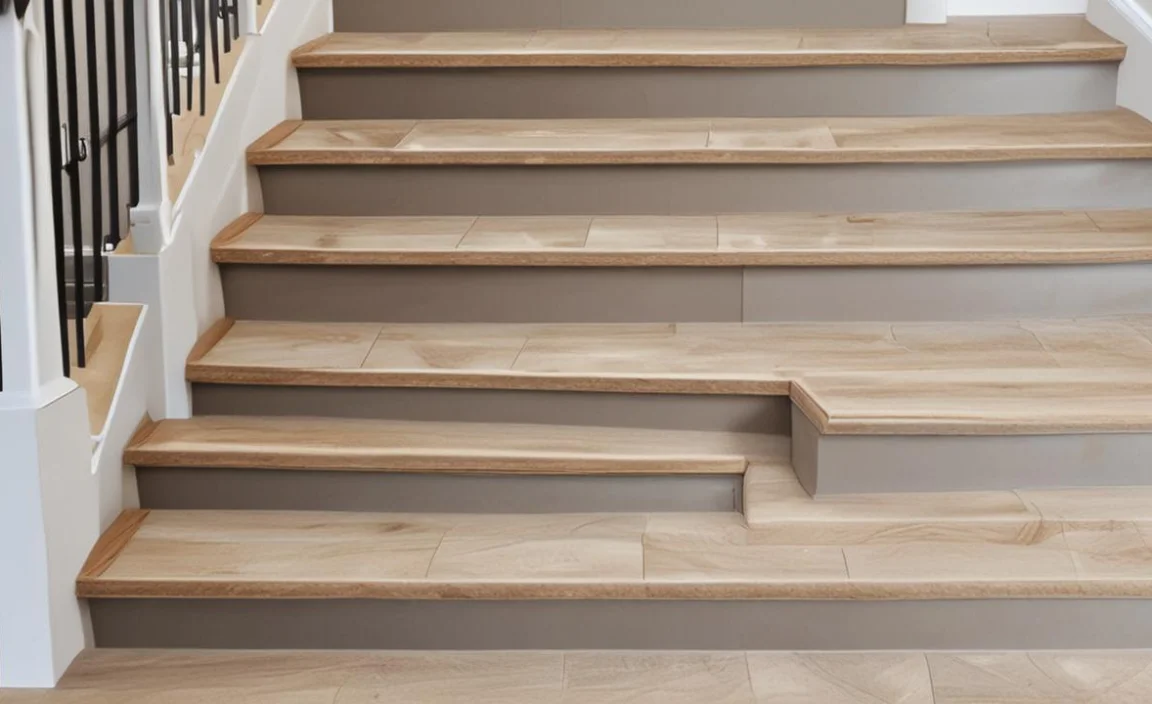
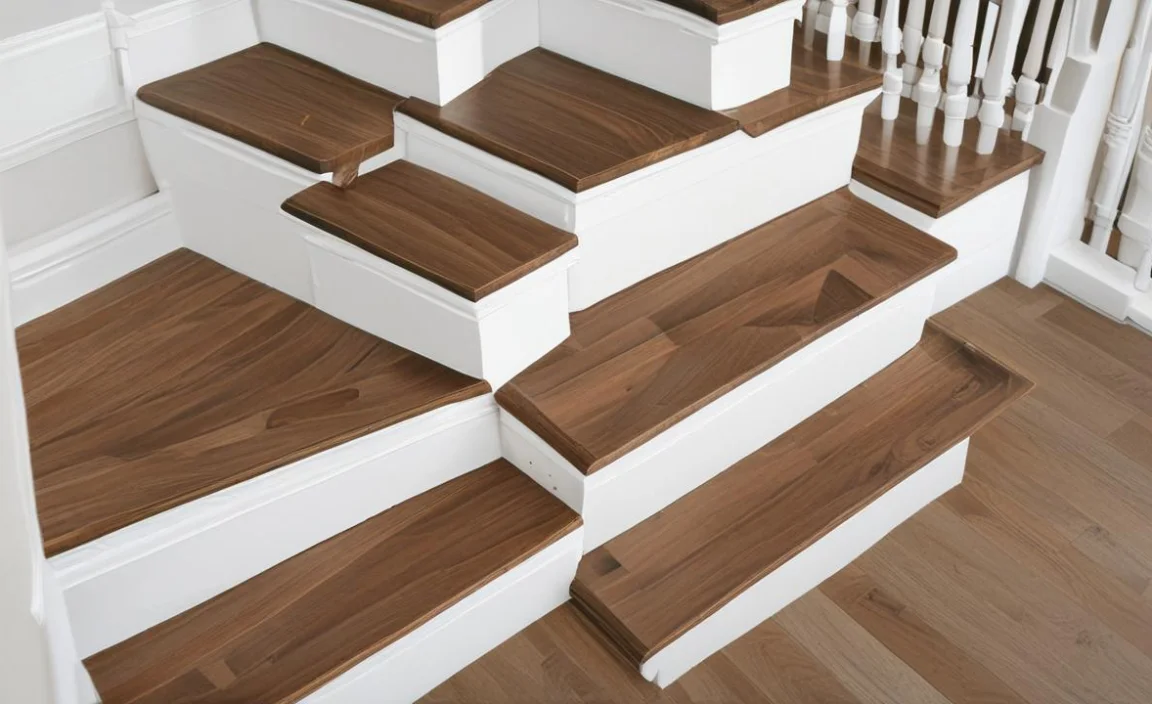
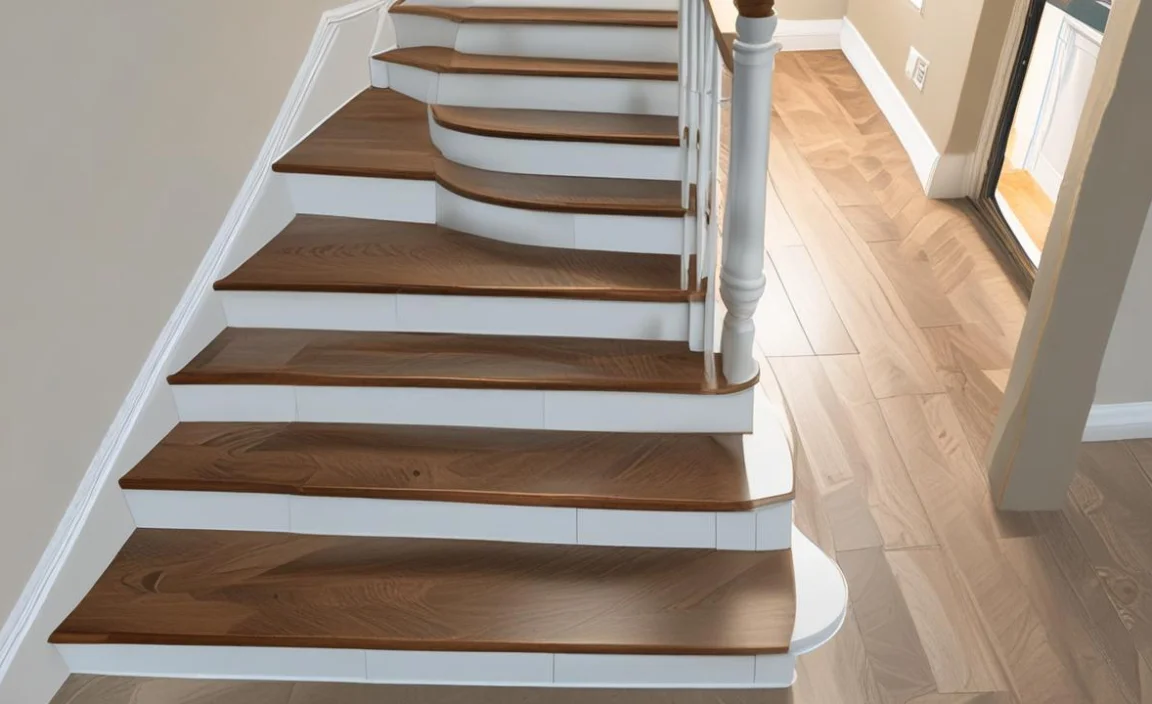
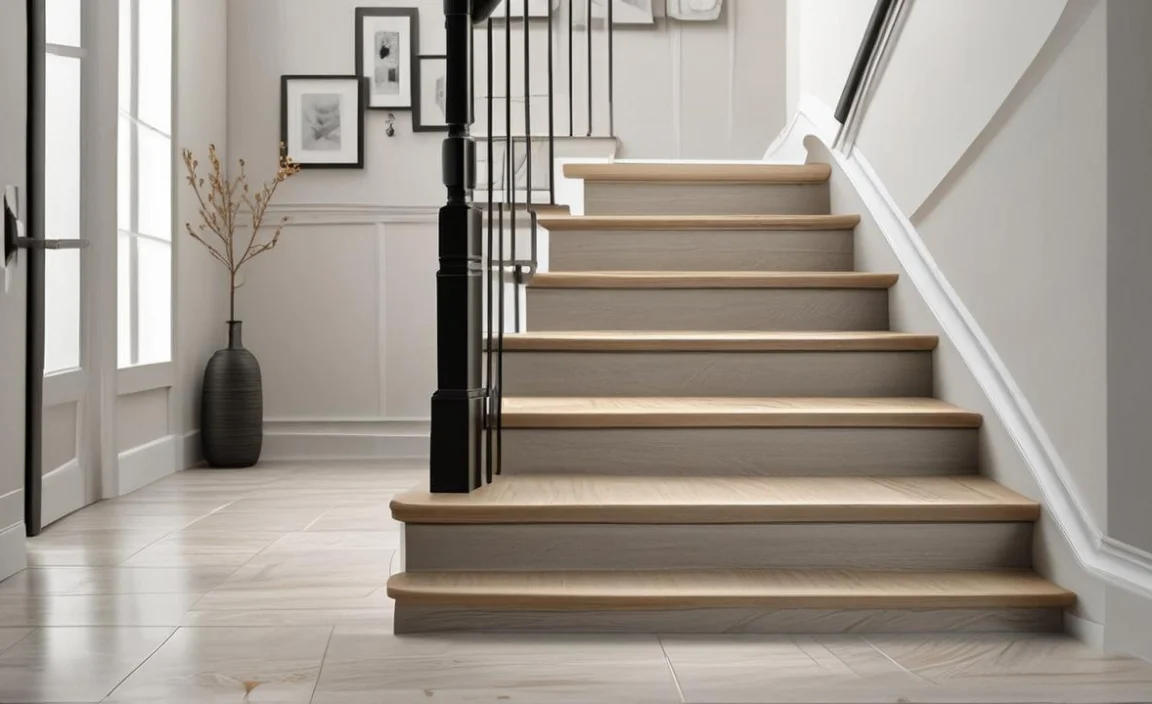
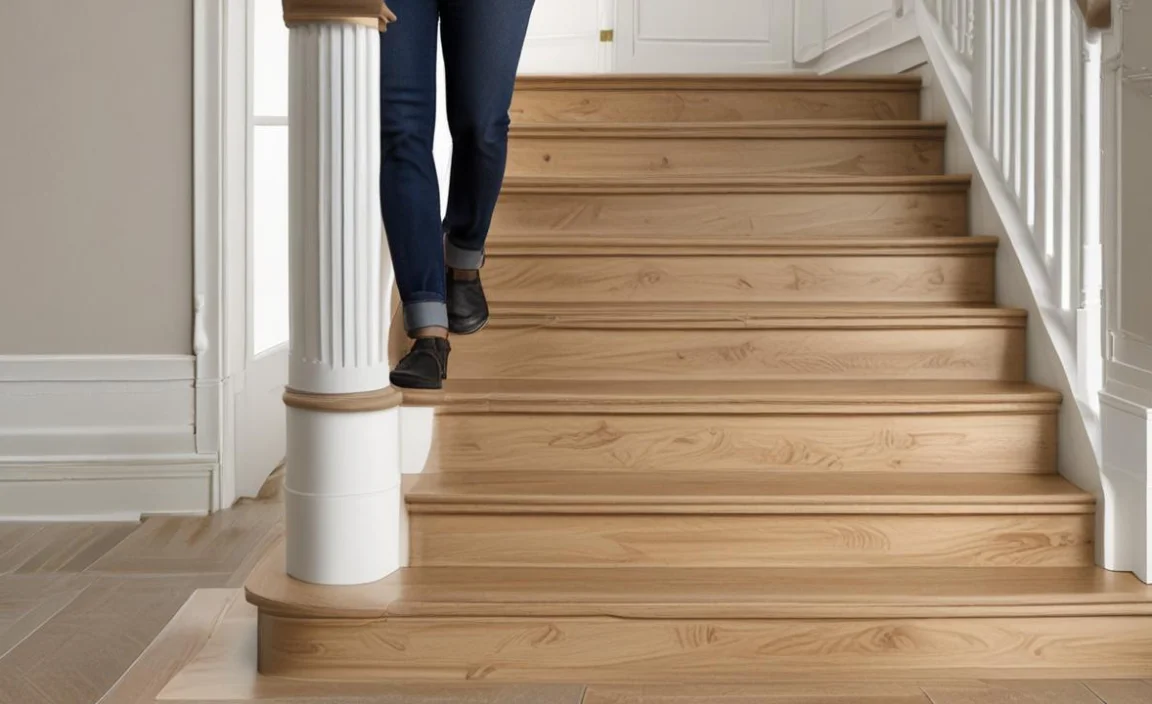
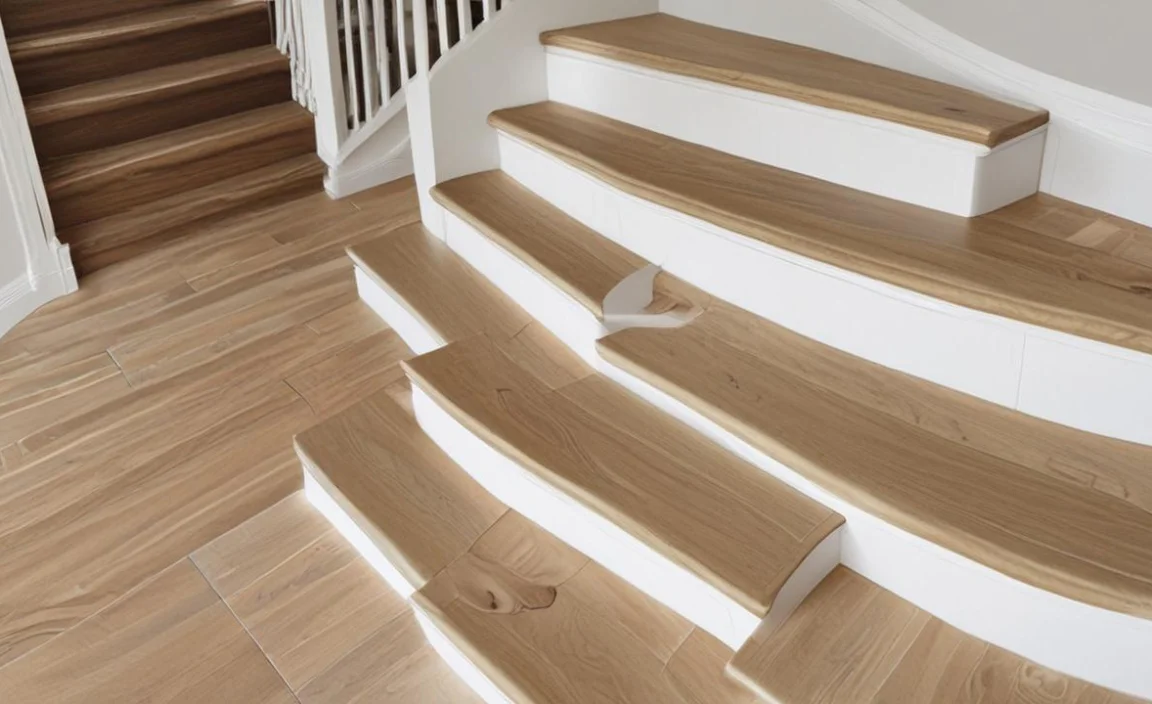
If you want to upgrade your home’s interior design, renovating your stairs is a great place to start. One popular option for staircase renovation is vinyl flooring, which provides a durable and cost-effective solution that adds a modern touch to your decor.
However, installing vinyl flooring on stairs can be daunting, especially for those who have never attempted a renovation project. Here, we will walk you through the process of How to Put Vinyl Flooring on Stairs, including essential tools and materials, preparation steps, and detailed instructions for each phase of the project.
Whether you’re a DIY enthusiast or a homeowner looking to save money by making your own home improvements, this guide will equip you with the knowledge and skills necessary to turn your staircase into a stunning centerpiece of your home.
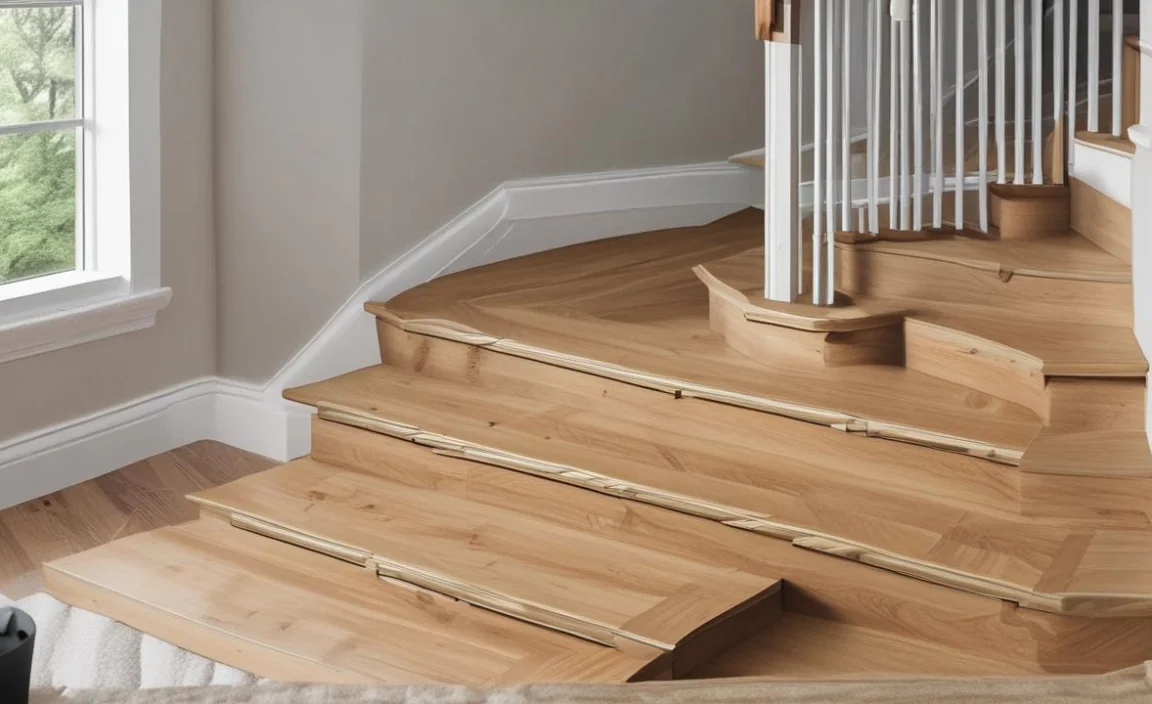
8 Essential Steps For How To Put Vinyl Flooring On Stairs
When installing vinyl flooring on stairs, there are eight essential steps. First, measure and prepare the stairs, ensuring they are clean and debris-free. Next, choose the right vinyl flooring option, considering durability and slip resistance.
Then, prep the vinyl by cutting it to fit each step with a slight overhang on the front edge. Apply adhesive evenly on each step and carefully install the vinyl, starting from the bottom. Smooth any wrinkles or bubbles using a roller or your hands to ensure proper adherence. Here are 8 Essential Steps For how to put vinyl flooring on stairs
Step 1: Choose The Right Vinyl Floor Type
Selecting the right vinyl floor type is crucial when putting vinyl flooring on stairs. Consider the durability and slip resistance of the vinyl flooring to ensure it can withstand the wear and tear of daily use. Look for vinyl flooring specifically designed for stair installation, as it may have additional features like reinforced backing or adhesive for better stability.
Measure the dimensions of each stair carefully to determine the amount of vinyl flooring needed. Also, decide whether to cover just the tread or the risers. Consider color, pattern, and texture to find vinyl flooring that matches your desired aesthetic and budget.
Step 2: Measure Each Step
To ensure a proper fit for the vinyl flooring, accurately measure the width and depth of each step. Use a tape measure to determine the width from one side of the step to the other and the depth from the front edge to the back edge.
Take note of any irregularities or variations in size between steps, as this may require additional adjustments during installation. Measure each step individually, as they may vary slightly in size. Double-check your measurements before cutting the vinyl flooring, and consider adding an extra inch or two for trimming or adjustments.
Step 3: Cut The Vinyl Planks
When installing vinyl flooring on stairs, one important step is cutting the vinyl planks to fit the dimensions of each step. To do this, you will need to measure the width and length of each step and transfer these measurements onto the vinyl planks. Using a straight edge and a utility knife, carefully cut along the marked lines to create individual pieces that will perfectly fit each step.
To ensure a seamless and professional-looking installation, it is important to be precise with your cuts. Once all the vinyl planks are cut, you can begin attaching them to the stairs using adhesive or another recommended method.
Step 4: Attach The Vinyl Flooring To Each Step
To attach the vinyl flooring to each step, start by measuring and cutting the vinyl flooring to fit each step. Apply adhesive to the back of the vinyl flooring and carefully place it onto each step, ensuring proper alignment.
Use a roller or hand tool to smooth out air bubbles and ensure proper adhesion. Trim any excess vinyl flooring using a utility knife. Repeat these steps for each step on the staircase.
Step 5: Finish The Edges Of The Vinyl Floor On The Stairs
Once the vinyl flooring has been installed on the stairs, it’s crucial to give the edges a finished appearance. To do this, begin by measuring and cutting vinyl nosing strips to fit the width of each stair. These strips will cover the exposed edge of the vinyl flooring, ensuring a polished look.
Apply adhesive to the back of each nosing strip and firmly press it onto the edge of the stair, ensuring that it covers the vinyl flooring. Use a rubber mallet or hammer with scrap wood to secure the nosing strip in place.
Repeat this process for all the steps, ensuring that every edge is covered with the nosing strips. For additional durability, consider applying a bead of construction adhesive along the top edge of each nosing strip.
Step 6: Prepare The Sub-Floor
To ensure a successful installation of vinyl flooring on stairs, it is crucial to prepare the subfloor properly. Start by removing any existing flooring or carpet from the stairs. Take a thorough look at the subfloor and address any damage or unevenness by repairing or leveling it as necessary.
It’s important to clean the subfloor thoroughly, removing any dust, debris, or adhesive residue. In some cases, applying a primer to the subfloor can enhance the adhesion of the vinyl flooring. Lastly, carefully measure and cut the vinyl flooring pieces to fit each staircase step.
Step 7: Adjust Existing Stair Nosing
Adjusting the existing stair nosing is crucial when installing vinyl flooring on stairs. The stair nosing refers to the rounded edge that covers the front edge of each step. To ensure a seamless and secure installation of vinyl flooring, it is important to trim or remove the existing stair nosing before proceeding. This can be done by carefully measuring and marking where the new vinyl flooring will sit and using a saw or a chisel to remove or trim the necessary portion of the nosing. Properly adjusting the stair nosing can create a finished and professional look for your vinyl flooring on stairs.
Step 8: Level Your Subfloor
Ensuring your subfloor is level before installing vinyl flooring on stairs is important. A level subfloor will provide a smooth and stable surface for the vinyl to adhere to, preventing any issues with the installation or long-term durability of the flooring.
Start by removing existing carpeting or other flooring materials from the stairs, ensuring the surface is clean and debris-free. Next, use a level and a straight edge to check for any uneven areas on the subfloor. If you find any low spots or areas that are not level, you must fill them in with a self-leveling compound.
Follow the manufacturer’s instructions for mixing and applying the compound, spreading it evenly over uneven areas. Allow the compound to dry completely before proceeding with the installation of your vinyl flooring on the stairs. By leveling your subfloor properly, you can ensure a successful and professional-looking installation of vinyl flooring on your stairs.
Conclusion
Putting vinyl flooring on stairs can be a great way to update your home and give it a fresh, modern look. Following these step-by-step instructions, you can easily transform your staircase into a stylish focal point. Remember to choose the right vinyl floor type, measure each step carefully, cut the vinyl planks to size, and attach them securely to each step.
Finish the edges for a polished appearance, and prepare the subfloor properly before installation. Don’t forget to adjust existing stair nosing and level your subfloor for a seamless finish. We have provided bulk information on how to put vinyl flooring on stairs and hope our information was helpful from your perspective.
