When you think about home projects, does uninstalling a heavy ceiling fan seem tough? Many people worry about safety and the right way to do it. But it can be done! Learning how to safely uninstall a heavy ceiling fan alone is easier than you might think. With the right steps, you can do this by yourself. Imagine completing this task without help. You can save time and feel proud of your work.
A heavy ceiling fan can look nice but be difficult to manage. If it makes noise or doesn’t work well, it’s time to take it down. But how can you do this safely? With some tips and tools, you can learn how to safely uninstall a heavy ceiling fan alone. It is important to take your time and follow the right steps.
This article will guide you through the process. You will learn how to prepare, what tools to use, and clever tips to make it easier. Ready to get started? Let’s learn how to safely uninstall a heavy ceiling fan alone!
Key Takeaways
- Gather the right tools before starting the task.
- Always turn off the power to the ceiling fan.
- Use a sturdy ladder for safe access.
- Follow each step carefully to avoid accidents.
- Learn how to safely uninstall a heavy ceiling fan alone.
Preparing for the Task
Before you uninstall the ceiling fan, you need to prepare well. First, gather all the tools you will need. You will need a screwdriver, a ladder, and pliers. Also, make sure to turn off the electricity to the fan at your circuit breaker. This is very important. If you forget to turn it off, you might get hurt.
When preparing, check that your ladder is strong. You don’t want it to wobble. Place it on a flat surface. Then, climb carefully and ensure your balance. It is also good to have a friend nearby just in case.
- Make a checklist of necessary tools.
- Choose a safe location for your ladder.
- Turn off the power at the breaker.
- Ensure the area is clear of obstacles.
- Wear safety glasses to protect your eyes.
Being prepared helps you work better. It also makes the project feel less scary. Once you have everything ready, you can start. Remember, taking your time is key. You will feel more confident as you go.
Fun Fact or Stat: Did you know that most ceiling fans weigh between 10 to 50 pounds?
Choosing the Right Tools
When you think about tools, what comes to mind? Many people use a screwdriver, but there’s more! You will need a few more things to make the job easier.
A power drill can be very helpful. It makes unscrewing easier and faster. Also, having a flashlight is smart. Sometimes, you might need to look into dark spaces. Don’t forget to wear gloves! They will keep your hands safe from sharp edges.
How about a safety helmet? It might sound funny, but it could protect you if something falls. Always think about your safety first.
- Gather a screwdriver, pliers, and a power drill.
- Use a flashlight for dark areas.
- Wear gloves to protect your hands.
- Consider a ladder with a safety harness.
- Have a friend nearby for extra help.
By having the right tools, you make the task much easier. You will feel ready to take on the challenge. The more prepared you are, the smoother the process will go.
Fun Fact or Stat: Many people forget to check if they have the right tools before starting a project!
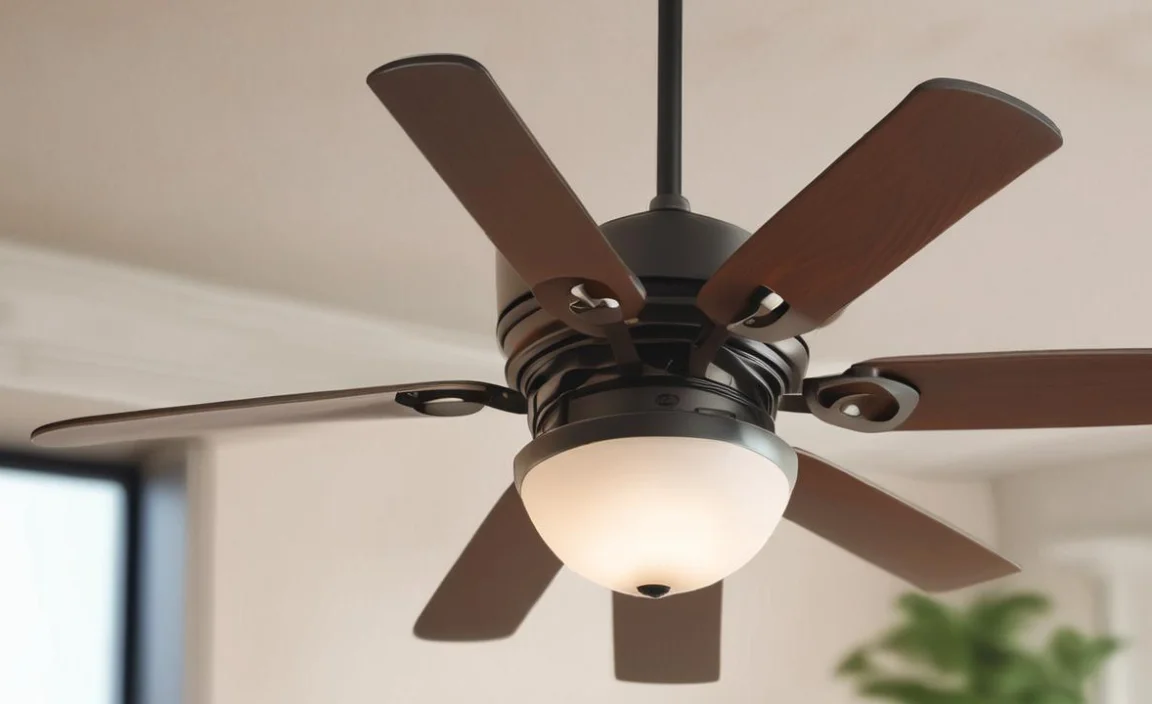
Understanding the Ceiling Fan Structure
What’s inside a ceiling fan? Many people don’t know. Understanding the structure helps you take it down easier. A ceiling fan has blades, a motor, and a light fixture. The motor keeps the fan spinning.
You will see wires connecting the fan to the ceiling. These wires power the fan. Knowing where these parts are can help you avoid mistakes.
When you look at the fan, take a moment to understand it. Look for screws holding the blades. You might need to remove them first.
- Identify the fan’s motor and blades.
- Find the screws holding the blades.
- Look for the wiring connections.
- Know how the light fixture connects.
- Plan the order to remove each part.
Understanding the fan’s structure will help you uninstall it safely. With knowledge, you feel more confident. You will know what to expect and how to handle it.
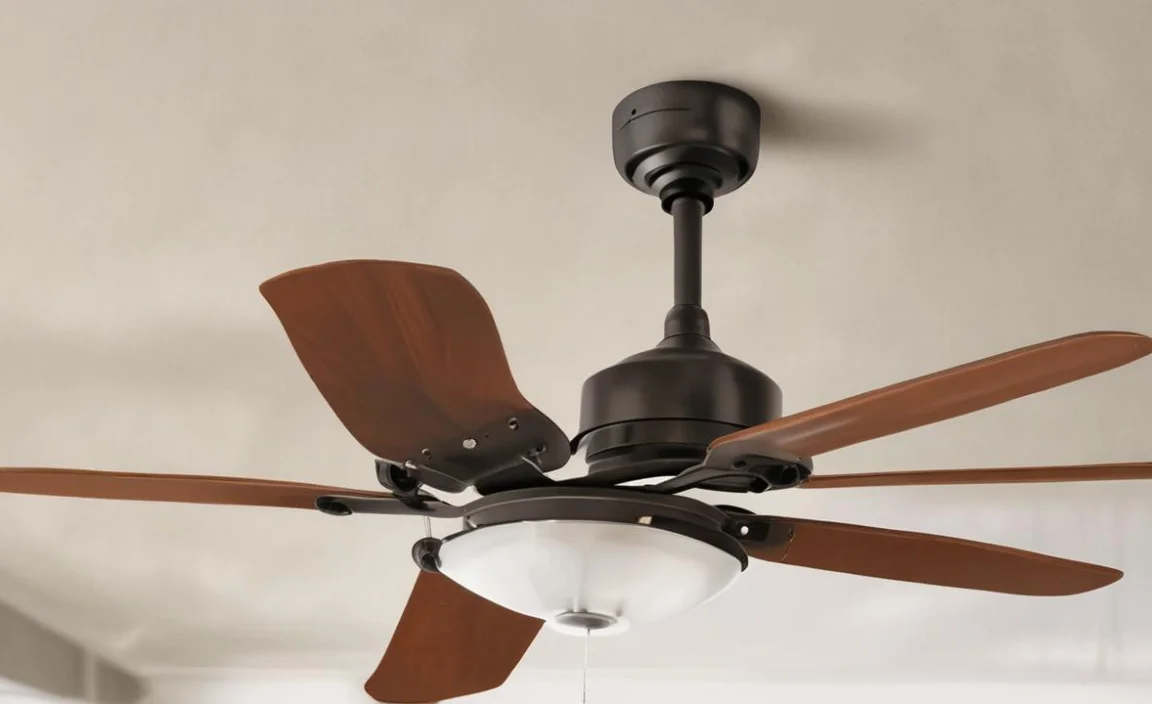
Fun Fact or Stat: Most ceiling fans have four to five blades for better airflow!
Turning Off the Power
When was the last time you turned off the power? Always remember to do this before working on the fan. This is one of the most important steps. It keeps you safe from electric shocks.
Go to your home’s circuit breaker. Find the switch for the ceiling fan. Flip it off completely. Sometimes, people forget to do this.
If you’re not sure which switch to turn off, ask an adult for help. It’s better to be safe than sorry. Once the power is off, you can start working on the fan.
- Locate the circuit breaker in your home.
- Identify the switch for the ceiling fan.
- Turn off the switch completely.
- Use a tester to ensure no power is running.
- Keep the circuit breaker area clear for safety.
Remember, safety first! When you turn off the power, you can focus on the task. You will feel more secure and ready to proceed.
Fun Fact or Stat: Many accidents happen when people forget to turn off the power!
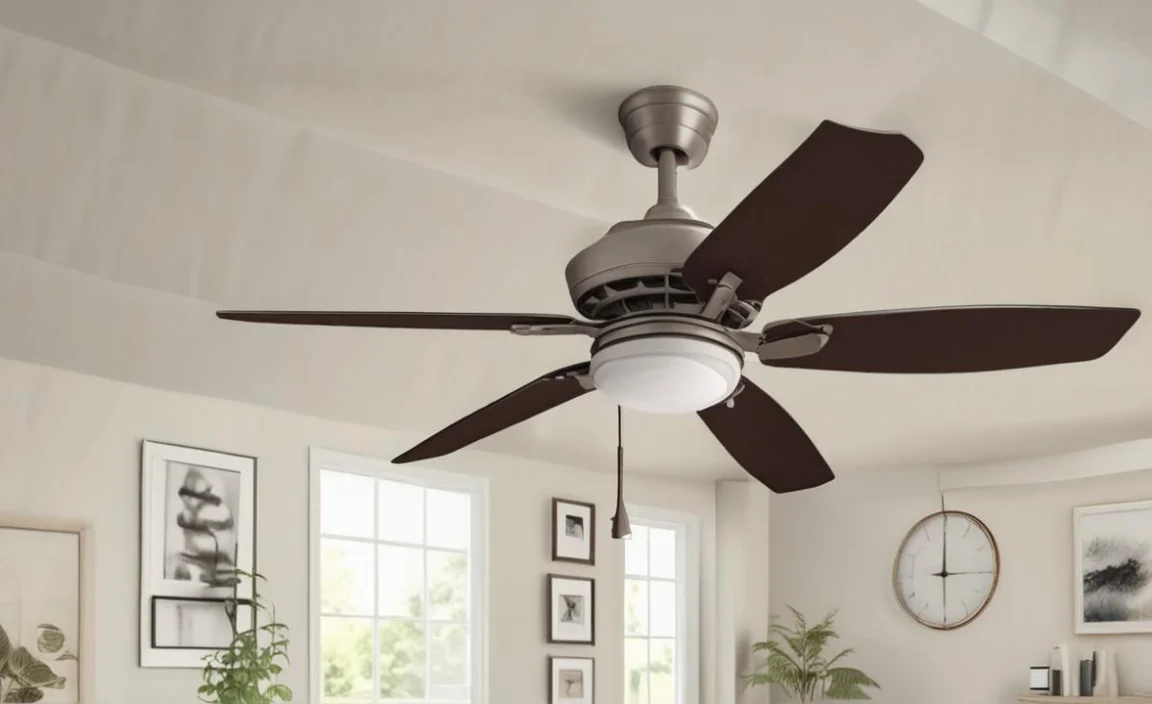
Removing the Ceiling Fan Blades
Removing the blades is a big step. You must be careful when doing this. Start by checking how the blades attach to the fan. Usually, they are held by screws. Take your screwdriver and unscrew them one by one.
Make sure to hold the blades as you unscrew them. This will prevent them from falling. When you remove the last blade, keep it safe. You can place it on a soft surface.
Once you have all the blades off, the fan will be lighter. This makes it easier to uninstall the rest.
- Check how the blades are attached.
- Use a screwdriver to remove the screws.
- Hold the blades while unscrewing.
- Place the blades on a soft surface.
- Count the blades to avoid losing any.
After the blades are off, you will see the motor and wiring. This is the next part of the uninstalling process. Take your time and follow the steps closely.
Fun Fact or Stat: A ceiling fan blade can weigh around 1 to 3 pounds!
Disconnecting the Wiring
Now that the blades are off, it’s time for the wiring. This part can seem tricky. But don’t worry! It’s simple if you take it step by step.
First, you need to locate the wires. Usually, there are three to four wires connecting the fan to the ceiling. These wires are often color-coded: black, white, and green.
Carefully untwist the wire nuts holding the wires together. You will need to disconnect them one by one. Use your pliers to help pull the wires apart if needed.
After that, make sure to keep the wires safe. You don’t want them to get tangled.
- Locate the wires connecting the fan.
- Identify the color codes for the wires.
- Carefully untwist the wire nuts.
- Disconnect the wires one at a time.
- Place the wires safely to avoid tangling.
Once the wires are disconnected, you will be almost finished! The fan will be ready for removal. Always be careful when handling the wires to avoid mistakes.
Fun Fact or Stat: Color-coded wires help identify which connections are needed!
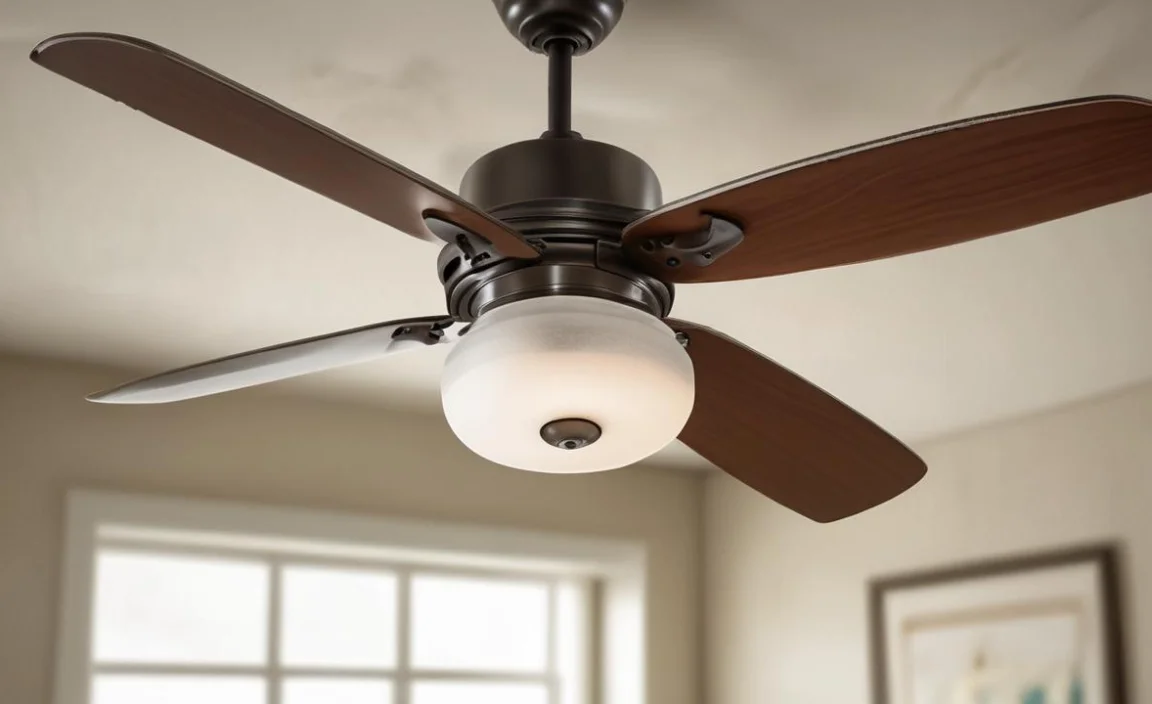
Unscrewing the Fan Mounting Bracket
With the blades and wires off, it’s time for the mounting bracket. This part holds the fan to the ceiling. You will need to find the screws that hold the bracket in place.
Use your screwdriver to unscrew these screws. Hold the fan firmly while unscrewing. It might start to wobble. Once the screws are out, you can take down the fan.
If it feels heavy, ask someone for help. Safety is more important than rushing.
- Locate the screws on the mounting bracket.
- Use your screwdriver to unscrew them.
- Hold the fan firmly while unscrewing.
- Ask for help if it feels too heavy.
- Carefully remove the bracket from the ceiling.
After removing the bracket, the fan will come down. Make sure to handle it gently so it doesn’t break. Taking your time will help ensure everything goes smoothly.
Fun Fact or Stat: Ceiling fans can be mounted in different ways, depending on the style!
Cleaning the Ceiling Area
After removing the ceiling fan, look at the area above. You might notice dust and dirt. Cleaning this area is important. Dust can build up over time, and nobody wants that!
Grab a cloth or a duster. Wipe down the area where the fan was mounted. You might also want to clean the ceiling itself. This helps keep your home looking fresh.
If you use a vacuum, be careful not to damage anything. A clean ceiling area looks nice and helps keep the house healthy.
- Look for dust and dirt above the fan.
- Use a cloth or duster to clean.
- Don’t forget to wipe the ceiling surface.
- Use a vacuum carefully if needed.
- Make sure the area is completely clean.
Cleaning the area after uninstalling the fan is a good idea. It makes your home feel better. Plus, it prepares the space for a new fan if you decide to install one later.
Fun Fact or Stat: Regular cleaning can help improve air quality in your home!
Recycling the Old Fan
What happens to an old fan? Many people wonder if they can recycle it. This is a great question! Yes, you can recycle parts of the fan.
Start by checking if your local recycling center accepts fans. Some places do while others do not. You might be surprised by what you can recycle.
Remove any non-metal parts first. This makes the recycling process easier. Metal parts can often be melted down and reused.
- Check with your local recycling center.
- Remove non-metal parts for easier recycling.
- Metal parts are often recyclable.
- Consider donating the fan if it still works.
- Research eco-friendly disposal methods.
Recycling is good for the planet. It keeps waste out of landfills. Plus, it helps save resources. You can feel proud knowing you did your part!
Fun Fact or Stat: Recycling one ton of metal saves energy equal to powering a home for six months!
Summary
Uninstalling a heavy ceiling fan alone may seem hard. But with the right steps, you can do it safely. Start by preparing your tools and turning off the power. Remove the blades and disconnect the wiring carefully.
After taking down the fan, clean the area above. Finally, consider recycling the fan if possible. Now you know how to safely uninstall a heavy ceiling fan alone. You can take on this project with confidence!
Conclusion
Taking down a heavy ceiling fan is a big task. But you can do it alone with the right tools and steps. Always remember to turn off the power first. Follow each step carefully. Soon, you will know how to safely uninstall a heavy ceiling fan alone!
Frequently Asked Questions
Question No 1: Is it safe to uninstall a fan alone?
Answer: Yes, it is safe if you follow the steps carefully. First, turn off the power. Then, prepare your tools and clean the area around the fan. It is important to take your time and stay focused. You can learn how to safely uninstall a heavy ceiling fan alone with practice.
Question No 2: What tools do I need to uninstall a ceiling fan?
Answer: You will need a screwdriver, pliers, and a ladder. A power drill can be helpful too. Make sure to wear safety glasses and gloves. These tools assist you as you learn how to safely uninstall a heavy ceiling fan alone. Keep your tools organized to make the task easier.
Question No 3: How do I know which wires to disconnect?
Answer: The wires are usually color-coded. Look for black, white, and green wires. Carefully untwist the wire nuts and disconnect them one by one. It’s important to know how to safely uninstall a heavy ceiling fan alone to avoid mistakes. If you’re unsure, ask an adult for help.
Question No 4: Can I recycle my old ceiling fan?
Answer: Yes, you can recycle parts of the ceiling fan. Check with your local recycling center. Remove non-metal parts to make recycling easier. This helps the environment and you learn how to safely uninstall a heavy ceiling fan alone.
Question No 5: What if the fan is too heavy for me?
Answer: If the fan feels too heavy, ask someone for help. Safety is very important. You can work together to unscrew the fan and take it down. Remember to take your time and focus on how to safely uninstall a heavy ceiling fan alone. Don’t rush the process!
Question No 6: How long does it take to uninstall a ceiling fan?
Answer: The time can vary based on your experience and tools. On average, it may take 30 minutes to an hour. Take your time to make sure everything is safe. Once you learn how to safely uninstall a heavy ceiling fan alone, you can do it faster next time.
