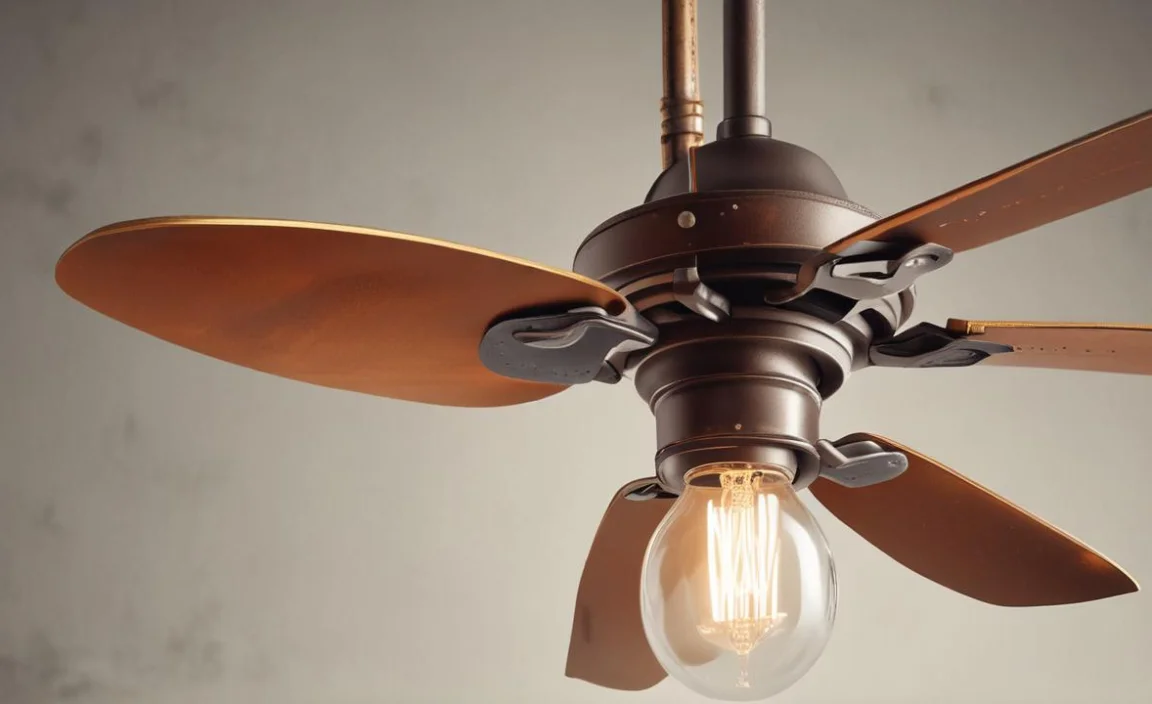
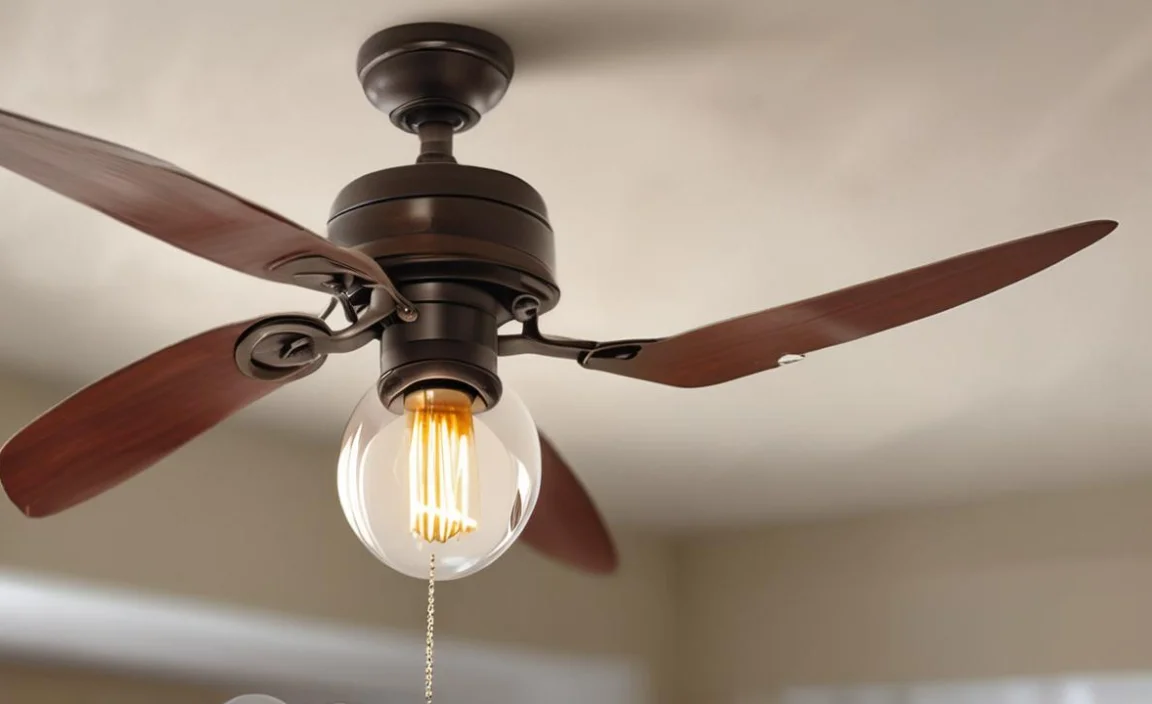
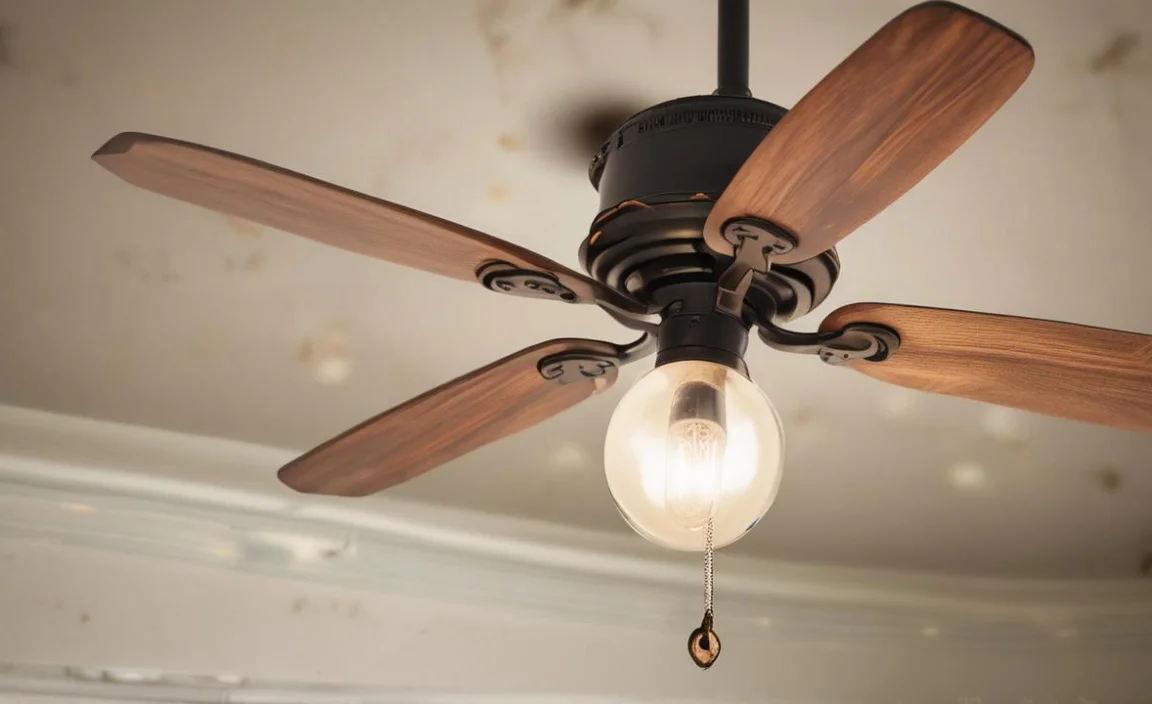
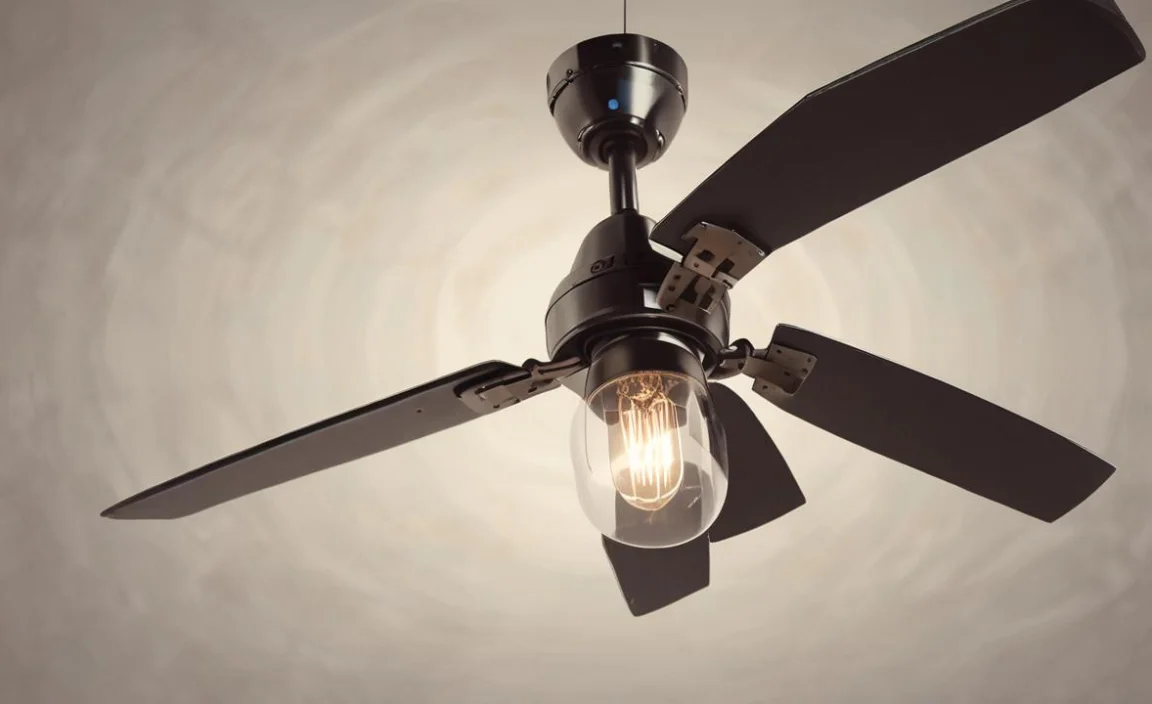
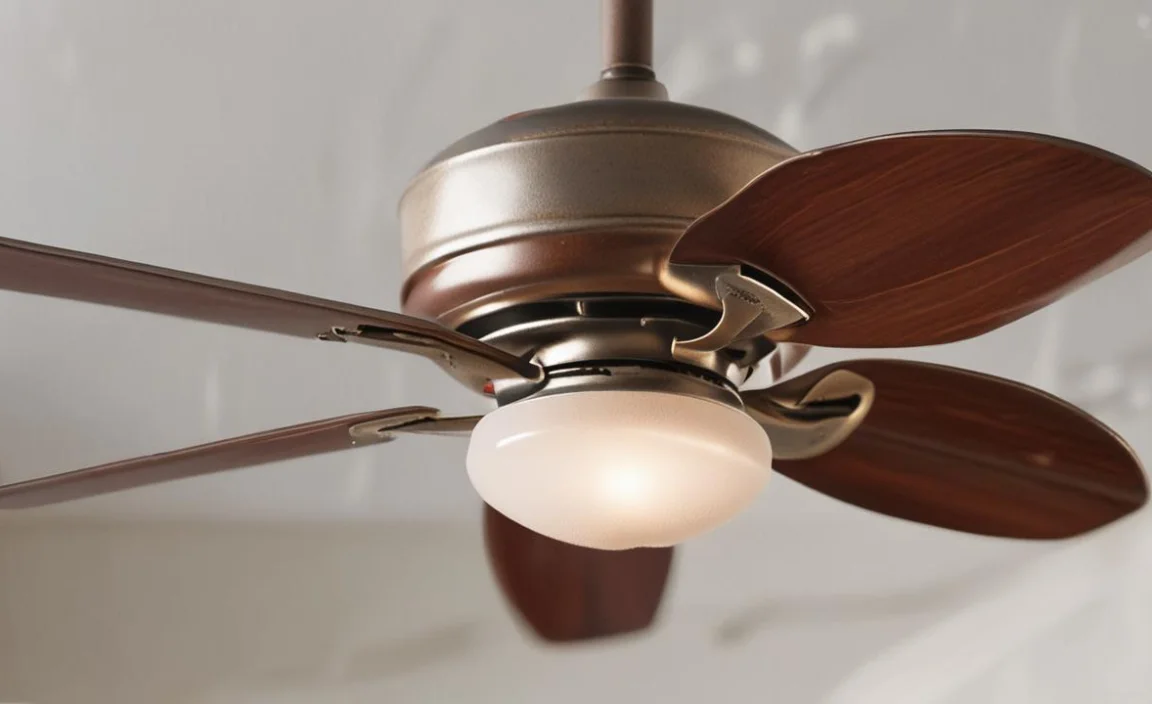
Many people enjoy brightening their homes with ceiling fans. But what happens when a light bulb gets stuck? It can be frustrating and stressful. If you have a rusted light bulb in your ceiling fan, you might wonder how to remove it. This task may seem tricky, but you can do it safely and easily.
Rust can make a light bulb hard to turn. It often happens when moisture gets into the socket. This is a common problem, especially in humid areas. Knowing how to remove a rusted light bulb from a ceiling fan can save you time and money. You won’t need to hire a handyman or buy a new fan.
Let’s explore some simple steps to help you through the process. You can also find tips and tricks to make it easier. With the right tools and guidance, this task can be straightforward. Let’s get started!
Key Takeaways
- Gather safety gear before starting your task.
- Use the right tools for stubborn light bulbs.
- Follow steps on how to remove a rusted light bulb from a ceiling fan.
- Patience is key when dealing with rust.
- Always ensure the power is off before working.
Tools Needed to Remove a Rusted Light Bulb
To remove a rusted light bulb, you’ll need some tools. First, make sure you have safety glasses. They protect your eyes from any falling debris. You should also have gloves. Gloves keep your hands safe from sharp edges.
A pair of pliers is very helpful. They can grip the light bulb better than your hands. A ladder is also important. You need to reach the fan safely.
Besides these tools, you may want a flashlight. It helps you see better in darker areas. Each of these tools plays a vital role when learning how to remove a rusted light bulb from a ceiling fan.
- Safety glasses to protect your eyes.
- Gloves to keep your hands safe.
- Pliers for a better grip on the bulb.
- A ladder to reach the ceiling fan.
- A flashlight for better visibility.
Once you gather everything, you’re ready to start. Taking your time is important. Start by finding a spot where you feel comfortable. This will help you work safely and efficiently. Remember, safety first!
Fun Fact or Stat: Did you know that some light bulbs last over 25,000 hours?
Why Use Safety Gear?
Safety gear is important for many reasons. When working with ceiling fans, you might be at a height. This can be dangerous if you fall. It’s always smart to wear safety glasses. They protect your eyes from dust and debris.
Have you ever had something fall near your face? It can be scary! Wearing gloves also helps with grip and protects your hands. Rusty metal can have sharp edges. Using safety gear keeps you safe.
In short, safety gear helps you avoid injuries. It might feel like an extra step, but it’s worth it. Always put on your safety glasses and gloves before you start.
Gathering Your Tools
Gathering the right tools can make your job easier. Think of it as preparing for a fun project. You wouldn’t want a messy room when doing arts and crafts, right?
Get your ladder and ensure it’s sturdy. Find your pliers and flashlight, too. Once you have everything, check if you can reach the fan safely.
If you can’t reach it, ask someone for help. They might hold the ladder for you. It’s always better to work together. This way, you can focus on removing the light bulb.
Remember, having the right tools saves time. You won’t feel frustrated looking for missing items.
Where to Find Tools
You can find your tools in many places. First, check your home. Look in the garage or a toolbox. You might already have everything you need.
If you don’t, don’t worry! You can borrow from a friend or neighbor. Many people have tools they’re willing to share.
If you need to buy tools, go to a local store. They have many options for safety gear and tools. Ask a store employee if you need help. They can guide you to the right section.
You can even order online. Many websites sell tools and gear. Just make sure to check the delivery date.
Fun Fact or Stat: The first light bulb was invented by Thomas Edison in 1879!
Steps to Safely Remove a Rusted Light Bulb
Now you are ready to learn how to remove a rusted light bulb from a ceiling fan. Start by turning off the power. It’s essential to stay safe while working. Locate the switch or circuit breaker to cut the electricity.
Next, carefully climb your ladder. Make sure it’s stable before you go up. Once you’re at the right height, grab your pliers. Use them to grip the rusted bulb.
Twist the bulb gently. If it doesn’t move, be patient. Sometimes, rust makes it hard to budge. You can try a few drops of oil around the base. Let it sit for a few minutes.
After waiting, try twisting the bulb again. If it still won’t move, repeat the oil step. Keep trying until it loosens.
- Turn off the power before starting.
- Climb the ladder carefully and safely.
- Use pliers to grip the bulb.
- Apply oil for extra help if needed.
- Stay patient while twisting the bulb.
Removing a rusted bulb can take time. Don’t rush, and take breaks if needed. Always keep safety as your number one priority. Working with care will lead to success.
Fun Fact or Stat: Did you know that rust happens because of moisture and oxygen?
Turning Off the Power
Turning off the power is crucial for safety. It may seem obvious, but accidents can happen easily. Imagine climbing up to the ceiling fan, and it suddenly turns on. That would be scary!
To prevent this, always check your circuit breaker. When you turn off the circuit, nothing can go wrong. If you’re unsure, ask an adult for help.
After turning off the power, double-check. Test the switch to make sure it’s off. You can even use a voltage tester. This tool checks if electricity is flowing.
Safety should always come first when working with light bulbs.
Climbing the Ladder Safely
Climbing a ladder might feel intimidating. But if you take your time, it’s easy! Always check your ladder first. Make sure it’s not wobbly or broken.
When climbing, keep your body centered. Don’t lean too far to one side. Hold onto the ladder with both hands. Always keep at least one hand on the ladder while working.
Taking your time is key. If you feel uncomfortable, ask someone for help. A friend or family member can hold the ladder for extra support.
Working safely will let you focus on removing the bulb.
Using Pliers Wisely
Using pliers can be tricky for beginners. They can grip onto the bulb securely, which is important. Make sure you are holding the pliers correctly.
Grip the bulb firmly but gently. If you squeeze too hard, you might break it. If the bulb is too rusted, it might not turn easily.
Be patient while twisting. If you can’t turn it, don’t pull too hard. You might break the bulb or hurt yourself. Instead, try using oil for extra help.
Using pliers is all about finding the right balance.
Fun Fact or Stat: The strongest type of rust is called iron oxide.
Handling a Broken Light Bulb
Sometimes, a rusted bulb can break while trying to remove it. This can be scary, but it’s important to stay calm. First, make sure the power is off. If you break a bulb, you need to be careful.
Use your gloves to pick up the larger pieces. These can be sharp, so handle them gently. For smaller pieces, use a vacuum cleaner if you can.
You can also use tape to pick up tiny shards. Duct tape works well for this. Lightly press it onto the area where the bulb broke. The tape will stick to the small pieces, making it easier to lift.
Once everything is cleaned up, you can replace the bulb.
- Ensure the power is off before starting.
- Wear gloves to protect your hands.
- Use a vacuum or tape to clean up.
- Take your time when handling broken pieces.
- Always dispose of broken bulbs safely.
Dealing with broken bulbs can feel stressful. But if you stay careful and organized, you will be fine. Being safe means being smart.
Fun Fact or Stat: More than 100 million light bulbs are sold each year in the U.S.!
What to Do When a Bulb Breaks
When a bulb breaks, it can be messy. You must act quickly to avoid injuries. First, ensure no one is near the area. This keeps others safe from sharp pieces.
Next, check that the power is off. You can repeat this step to be safe. Now, carefully pick up larger pieces with gloves.
For smaller fragments, using tape helps. Lightly press the tape onto the area where the bulb broke. The tape will stick to tiny pieces and help you lift them.
Once everything is clean, remember to throw broken pieces away in a safe container. You can use an old box or a jar. This way, no one gets hurt from leftover shards.
Keeping Your Space Safe
After cleaning up, you need to think about safety. Make sure that no pieces were left behind. Check the area closely.
You can also use a flashlight to look for small shards. If you find any, be sure to pick them up carefully. Keeping your space tidy helps everyone stay safe.
You may want to tell your family about the broken bulb. This way, they will be aware of the situation. Communication ensures everyone is careful.
After everything is done, remember to replace the bulb. This way, your ceiling fan can shine bright again!
Fun Fact or Stat: Light bulbs have been used for over a century.
Tips to Prevent Rust on Light Bulbs
Preventing rust is easier than removing it. You can follow some simple tips to keep your light bulbs safe. First, always keep your ceiling fan dry. Moisture can lead to rust, so be cautious.
Next, check your bulbs regularly. If you notice rust starting, remove it right away. This can save you time later.
Consider using light bulbs designed to resist rust. These can last longer and make maintenance easier.
Lastly, cover your ceiling fan when not in use. This can keep dust and moisture away.
- Keep your ceiling fan dry and clean.
- Check bulbs regularly for signs of rust.
- Use rust-resistant light bulbs for better durability.
- Cover your ceiling fan when not in use.
- Replace old bulbs to prevent rust build-up.
With these tips, you can enjoy a rust-free ceiling fan. Regular checks make a big difference.
Fun Fact or Stat: Regular maintenance can extend a light bulb’s life by up to 50%.
Checking for Moisture
Moisture is a big reason for rust. If you notice dampness in your home, act quickly. Check areas where water leaks might happen. Drying these spaces can help protect your light bulbs.
You can use a dehumidifier if your home is too humid. This gadget helps remove moisture from the air.
Checking for moisture often can save you trouble in the future. It’s a good habit to develop.
Choosing the Right Light Bulbs
Choosing the right light bulbs helps prevent rust. Some bulbs are designed to withstand moisture better than others. Look for bulbs labeled as “rust-resistant.”
These bulbs can be more expensive, but they are worth it. They often last longer and require less maintenance.
Buying good quality light bulbs is like investing in your home. You want things to work well and look great.
Regular Maintenance Checks
Regular maintenance checks save you from larger problems. Set reminders to check your light bulbs every few months. This simple step can save you time and worry.
During your check, look for any signs of rust. If you see any, take action right away.
Do not wait for the bulb to get stuck. Removing it while it’s easy will save headaches later.
Fun Fact or Stat: Over 70% of light bulbs fail due to wear and tear.
How to Replace a Rusted Light Bulb
Once you have removed the rusted bulb, it’s time to replace it. Start by checking the bulb socket. Ensure it’s clean and free of rust or debris.
Next, grab your new light bulb. Make sure it’s the right type for the ceiling fan. Look for the wattage and size.
Carefully screw the new bulb into the socket. Turn it until it feels secure.
Once that’s done, turn the power back on. Try the switch to see if it works. If it does, great job! Your ceiling fan is ready to shine again.
- Examine the socket for any remnants from the old bulb.
- Get a new light bulb that fits your ceiling fan.
- Carefully screw in the new bulb until secure.
- Turn the power back on to test the new bulb.
- Enjoy your bright and well-lit ceiling fan!
Replacing a light bulb is a great way to feel accomplished. The glow from your fan will brighten up the room.
Fun Fact or Stat: The average person changes light bulbs every 2 to 3 years.
Choosing the Right Type of Bulb
Choosing the right type of bulb is essential. Different fans may need different bulb types. Always check the fan’s manual for recommendations. Some fans work best with LED bulbs.
LED bulbs last longer and save energy. They can shine brightly without getting too hot.
If you are unsure, ask someone at the store for help. They can guide you to the right option.
Installation Made Easy
Installing a new bulb is simple. Just follow the steps you learned earlier. Always check that the power is off.
When placing a new bulb, remember to handle it gently. Don’t twist too tightly. You want to avoid breaking it.
If you need help reaching the fan, ask a friend or family member. Working together makes things easier and safer.
Testing Your New Bulb
After installing your new bulb, it’s time to test it. Turn the power back on carefully.
Press the light switch to see if it works. If the light turns on, congratulations! You did a great job.
If it doesn’t turn on, check the connections. Make sure the bulb is secure in the socket.
If you’re still having trouble, consider checking the wiring. You might need help from an electrician.
Fun Fact or Stat: LED bulbs can save you up to 80% on energy costs!
Summary
Removing a rusted light bulb from a ceiling fan might seem hard. But with the right steps, it can be easy and safe. Start by turning off the power. Gather your tools, including gloves and pliers. Be patient when dealing with rust. You may need to apply oil for help.
Remember to wear safety gear throughout the entire process. Always clean up carefully if a bulb breaks. Finally, prevent rust by keeping your bulbs dry. Regular checks can help keep your home bright!
Conclusion
Knowing how to remove a rusted light bulb from a ceiling fan is an important skill. With the right tools and safety tips, you can do it yourself. Always prioritize safety and take your time.
By following the steps outlined, you will feel confident tackling this task. Enjoy your bright ceiling fan and the warmth it brings to your home!
Frequently Asked Questions
Question No 1: What should I do if the light bulb is stuck?
Answer: If the light bulb is stuck, ensure the power is off. You can use pliers to grip the bulb. If it doesn’t budge, apply some oil around the base. Wait a few minutes, then try twisting it again. This process shows how to remove a rusted light bulb from a ceiling fan safely.
Question No 2: How can I prevent rust on my light bulbs?
Answer: To prevent rust, keep your ceiling fan dry. Check your bulbs regularly for signs of rust. If you notice any, remove them right away. Using rust-resistant light bulbs can also help. Regular maintenance is crucial to avoid needing to know how to remove a rusted light bulb from a ceiling fan.
Question No 3: Is it safe to change light bulbs myself?
Answer: Yes, it is safe to change light bulbs yourself if you follow precautions. Always turn off the power before working. Use a ladder to reach the fan safely. Wearing gloves and safety glasses is also smart. Following these steps will make it easy to learn how to remove a rusted light bulb from a ceiling fan.
Question No 4: What tools do I need to change a light bulb?
Answer: You will need gloves, safety glasses, and a pair of pliers. A ladder is important to reach the ceiling fan. A flashlight can also help you see better while you work. With these tools, removing a rusted light bulb from a ceiling fan is much easier.
Question No 5: How do I clean up if a bulb breaks?
Answer: If a bulb breaks, first ensure the power is off. Wear gloves to pick up larger pieces. For smaller shards, you can use tape or a vacuum cleaner. Clean up carefully to avoid injuries. This shows the importance of knowing how to remove a rusted light bulb from a ceiling fan safely.
Question No 6: How often should I check my light bulbs?
Answer: You should check your light bulbs every few months. Regular checks help you spot rust early. This way, you can replace bulbs before they become stuck. Keeping track of your bulbs can help you avoid needing to learn how to remove a rusted light bulb from a ceiling fan.
