Installing a new shower curtain rod is a simple and easy DIY project. That can upgrade the look of your bathroom. Whether replacing an old, worn-out rod or just wanting to change your style.
Installing a new shower curtain rod can be done in just a few steps. With the right tools and a little bit of patience. You can have a new shower curtain rod installed in no time. Here we will give you a detailed guide on how to install a new shower curtain rod in 3 different ways.
We will start by discussing the types of shower curtain rods available. In the market and the tools and materials required for installation. We will take you through finding the proper placement for your new shower curtain rod.
Types Of Shower Curtain Rods
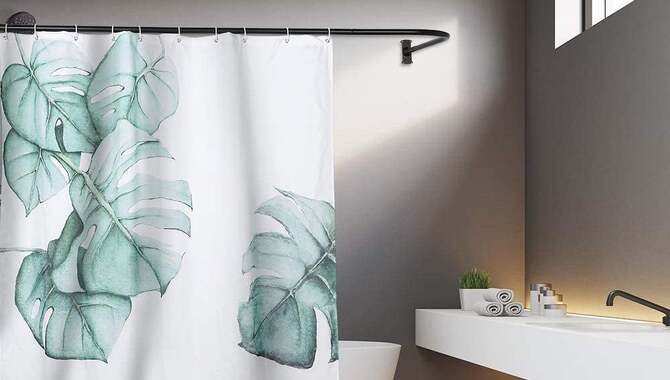
Shower curtain rod installation is made easy with various options available today. If you prefer not to drill any holes in your walls, consider a tension rod or curved shower rod that can provide the necessary support without damaging your walls.
For a more permanent solution, use a mounted fixed shower curtain rod that requires screwing brackets into studs or drywall anchors. Don’t forget to measure properly with tape and use mounting brackets at the right place, ensuring the height of the new shower curtain is right for you. With choices like double rods or custom-made lengths, it’s easy to find the best fit for your bathroom decor.
General Tools
To install a new shower curtain rod, you must have some handy general tools such as a drill, measuring tape, level, pencil, and screwdriver. Additionally, depending on the wall material of your bathroom walls- drywall or tile wall- you may need to use plastic drywall anchors or other types of anchors for extra support.
A stud finder can identify sturdy spots for mounting brackets when drilling into walls. Always mark where the bracket will go before drilling to ensure it is in the right place.
How To Install A New Shower Curtain Rod: 3 Ways

Installing a new shower curtain rod involves several steps to follow. Start by gathering all necessary tools and materials, such as a tape measure and screwdriver. Then identify the right place and height of the shower curtain using the general guideline.
For placing studs or tile walls if you have them. Choose between fixed or tension shower rods and follow simple instructions. Including drilling brackets into drywall with plastic anchors to ensure stability. Installing a new shower curtain rod can be an easy and inexpensive way to update the look of your bathroom. Here are 3 ways on how to install a new shower curtain rod.
1. Finding The Proper Placement

To ensure that your new shower curtain rod is installed in the right place. Start by measuring the length of your shower and selecting a rod that fits perfectly. Next, decide on the height at which you want to install the rod while taking into account any obstructions or the height of your shower curtain.
Securely attach the mounting brackets to your shower walls with appropriate screws and anchors based on its type. The correct placement and hardware will keep your new shower curtain securely in place.
Identifying Studs
Proper identification of wall studs is crucial while installing a new shower curtain rod. Use a stud finder or tap on the wall to listen for a solid sound to locate them. Mark their position with a pencil and choose an appropriately sized curtain rod that can fit between them without sagging. This will ensure secure attachment and prevent any accidents in your bathroom.
Measuring The Curtain Rod Width And Height
To find the right shower curtain rod for your bathroom, it’s crucial to take accurate measurements of both the width and height of your shower area. Begin by measuring the width of the shower area, accounting for any obstructions, such as tiles or fixtures, that may affect placement.
Also, consider the height of the rod; it should be high enough to accommodate both the curtain and showerhead. Always double-check your measurements before purchasing a new shower rod, whether it’s adjustable tension rods or fixed rods with brackets for drywall or tile walls.
2. Installing A Fixed Shower Curtain Rod
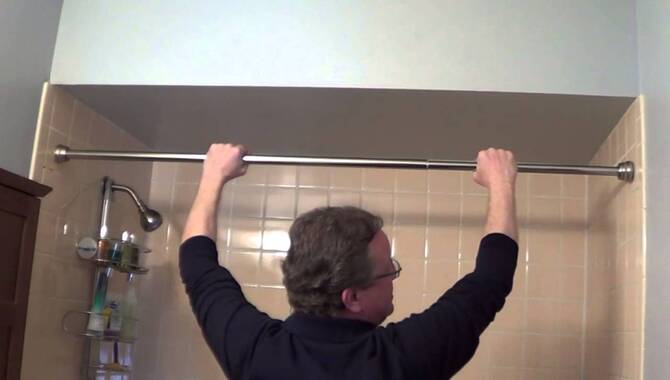
Proper preparation is vital when installing a fixed shower rod. First, gather all necessary tools, such as a tape measure and screwdriver, and materials like drywall anchors.
Make sure you accurately measure the distance between both mounting brackets for the proper placement of your shower curtain rod. Double-check using a level before drilling holes and attaching your bracket. This way, you can be confident that your new shower curtain will be securely anchored.
Preparing For Installation
Before installing a new shower curtain rod, measuring the length and width of the shower area using a tape measure is crucial. Gather all necessary tools, such as a screwdriver, drill, level, mounting brackets, shower curtain rings or hooks, and the new rod.
Remove old hardware or brackets carefully to avoid damaging shower walls or tiles. Check for studs using a stud finder or by tapping along the wall surface; use plastic anchors if drilling into drywall. Always double-check measurements before purchasing a new shower rod and ensure it’s at the right height for your shower curtain.
Fastening The Mounting Brackets
To ensure the stability of your new shower curtain installation without compromising on its aesthetic appeal, it’s important to fasten the mounting brackets correctly. Start by using a template to mark locations for positioning the brackets.
Use a level to align them perfectly, then use appropriate screws or anchors, like drywall anchors, based on your wall type. Inserting the shower rod and adjusting it accordingly will ensure it stays in place along with your newly installed shower curtain hooks and rings.
Mounting The Shower Curtain Rod
When installing a new shower curtain, proper placement is key. Begin by measuring the width of your shower and marking where you want to install the brackets. After ensuring they’re aligned with a level, you can insert your new shower curtain rod and attach any necessary hardware.
Test the tension with gentle tugs before hanging your shower curtain rings on one end of the rod. Using plastic anchors or other tools, an appropriate drill or screwdriver can help securely fasten mounting brackets onto tile or drywall.
3. Installing A Tension Shower Curtain Rod
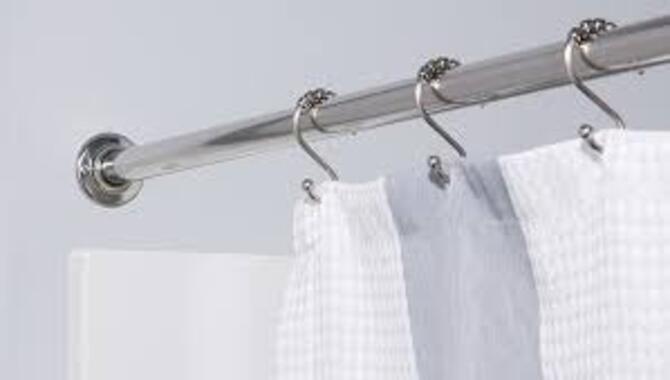
To properly install a tension shower curtain rod, measuring your shower area is key. Doing so will help determine the right size for your new shower rod. Next, place one-rod end against a wall and carefully extend it until it fits snugly between both sides.
Adjust its height and level using a tape measure or template before attaching your new shower curtain hooks or rings. Following these general guidelines and using standard tension rods with plastic anchors on tile walls or drywall anchors on drywalls, you can enjoy a new look and feel in your bathroom.
Adjusting And Securing The Tension Rod
To successfully adjust and secure your tension rod for your new shower curtain installation, ensure that you accurately measure the distance between your shower walls before purchasing a standard tension rod.
After inserting it appropriately, use a template or mark where you want to install it based on the height of your shower curtain. Adjusting its length by twisting it and securing it using plastic or drywall anchors is also vital. Finally, test its stability by ensuring it doesn’t move when tugged.
Conclusion
Installing a new shower curtain rod can be a simple and affordable way to refresh the look of your bathroom. With just a few tools and some basic knowledge, you can have your new rod up quickly. Installing a new shower curtain rod can be simple if you have the right tools and knowledge.
Our detailed guide covers everything from the types of shower curtain rods available to the tools and materials you will need for installation. We have also given step-by-step instructions on how to install a new shower curtain rod, measure the width and height of your curtain rod, and install both fixed and tension shower curtain rods. Following these instructions will give your bathroom a fresh new look in no time.
Frequently Asked Questions
[rank_math_rich_snippet id=”s-1eb7b46a-be6c-4045-aaac-0ab05e6e91c5″]

I am passionate about home engineering. I specialize in designing, installing, and maintaining heating, ventilation, and air conditioning systems. My goal is to help people stay comfortable in their homes all year long.


