Installing a new mailbox may seem like an easy task, but it’s important to follow the correct steps to ensure it’s done safely and correctly. Here we will provide a step-by-step guide on how to install a new mailbox in 6 easy steps.
From removing the old mailbox to digging the hole for the post and checking USPS regulations for mailbox location and height, we’ve got you covered. We’ll also provide tips on choosing the right material for your mailbox, and how to lock it and protect it against theft and vandalism. We’ll discuss maintaining your mailbox and things to consider if you want to create your own unique mailbox design.
How To Install A New Mailbox: 6 Easy Steps

Installing a new mailbox is a simple and straightforward process that can be completed in just a few hours. Whether replacing an old mailbox or installing one for the first time, it is important to ensure that it is installed correctly to ensure that your mail is delivered safely and securely.
However, Installing a new mailbox may seem daunting, but with the right tools and steps, it can be a straightforward process. Here are 6 easy steps to help you how to install a new mailbox.
1. Recommended Tools For Installing A Mailbox
Installing a new mailbox requires certain tools to ensure a smooth process. The essential tools include a post hole digger, level, screwdriver, and hammer. Wear appropriate safety gear such as gloves and eye protection while working.
It is crucial to check with your local postmaster for specific regulations and guidelines before you begin. Also, carefully follow the manufacturer’s instructions when assembling and installing the mailbox.
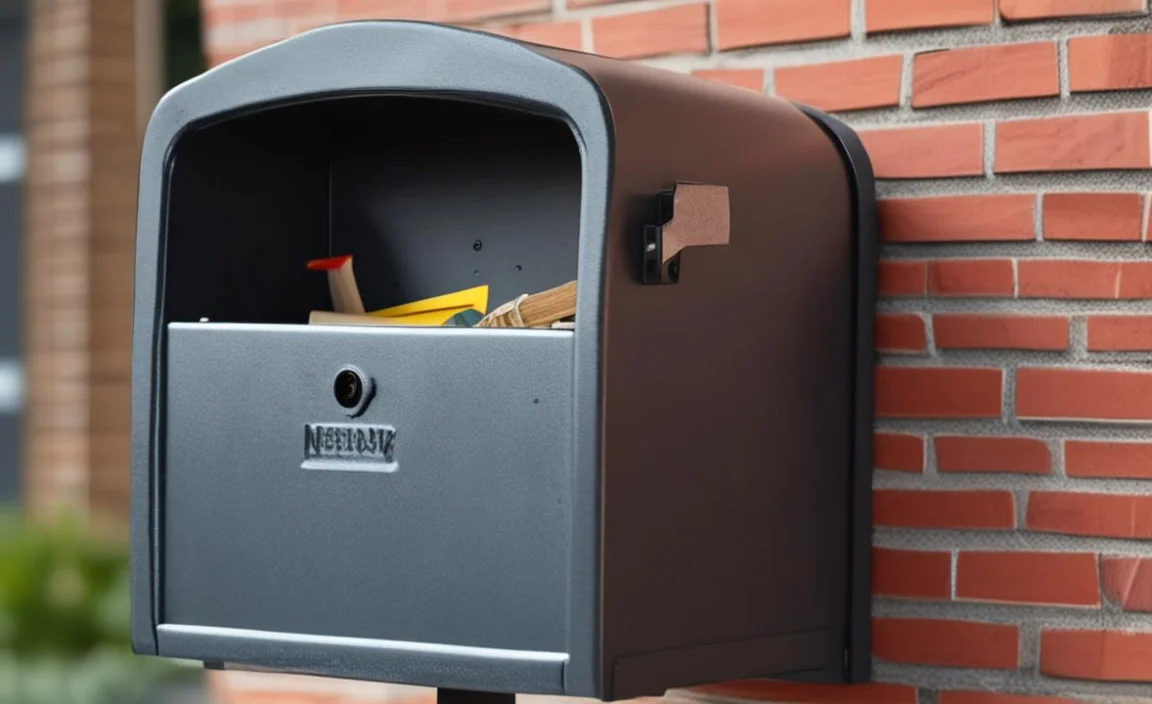
2. Choosing The Right Material For Your Mailbox
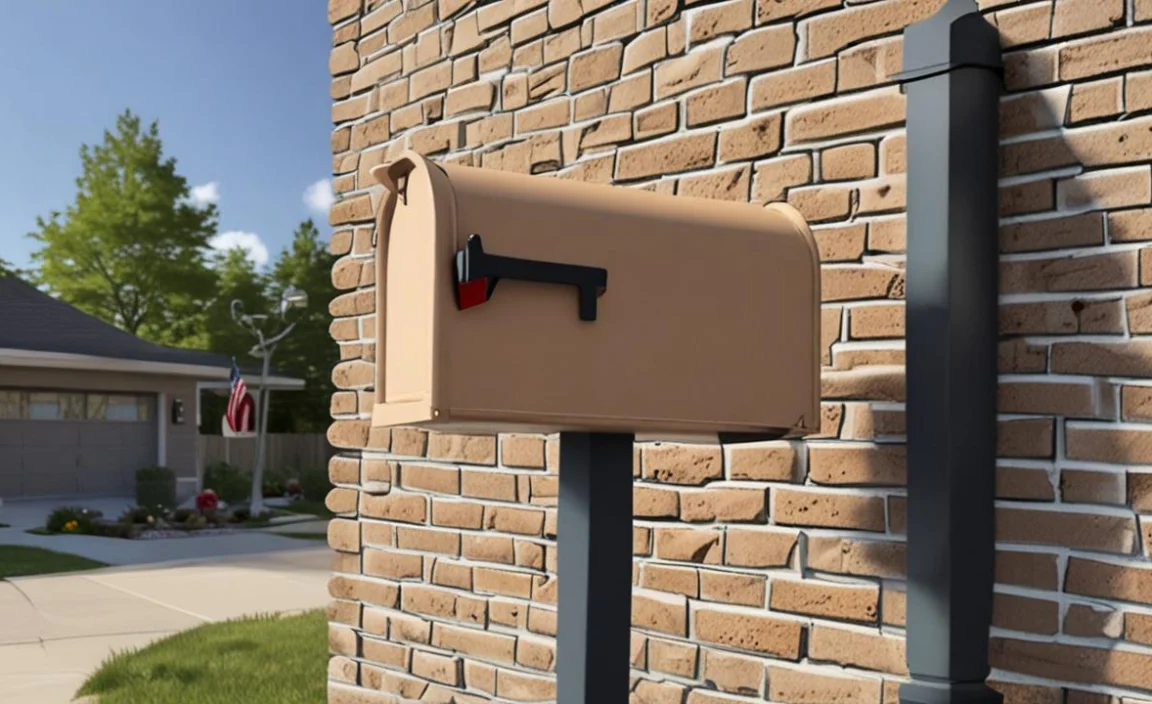
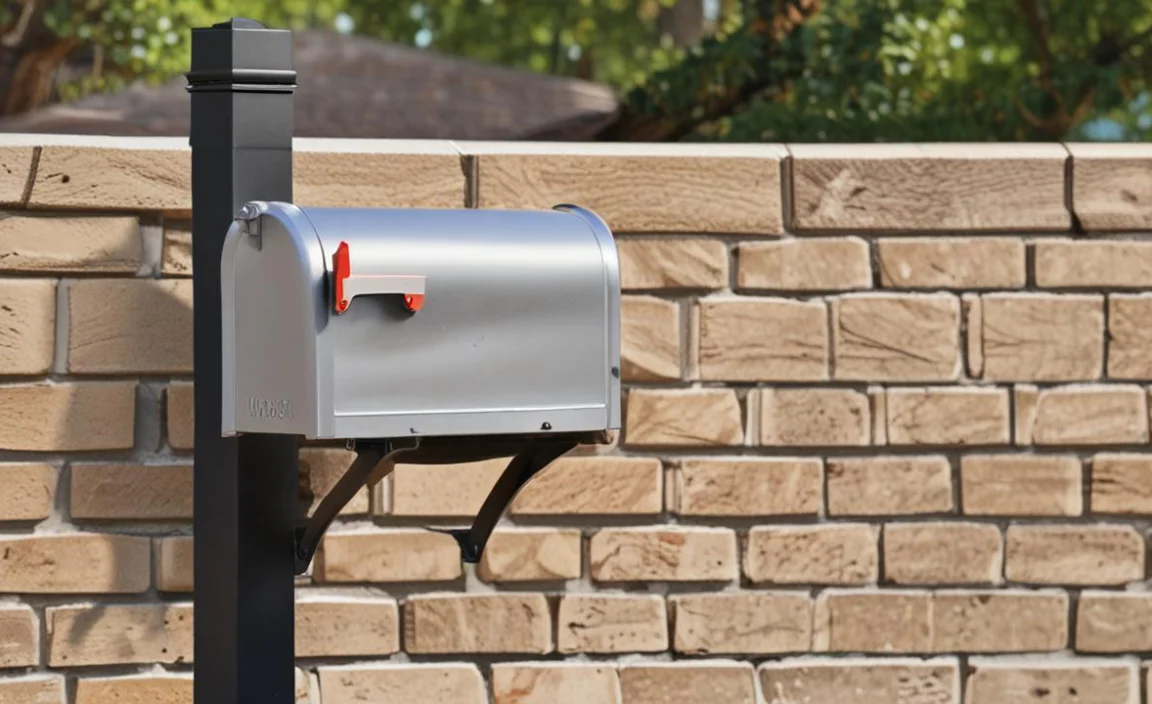
Choosing the right material for your mailbox is an important decision affecting its durability and aesthetic appeal. Plastic mailboxes are lightweight and weather-resistant and offer an affordable option for installing a new mailbox. Metal mailboxes provide greater durability and can withstand harsh weather without rusting.
Wooden mailboxes are a popular choice for their classic look that adds to your house’s curb appeal; however, they require more maintenance than other materials due to the risk of rotting.
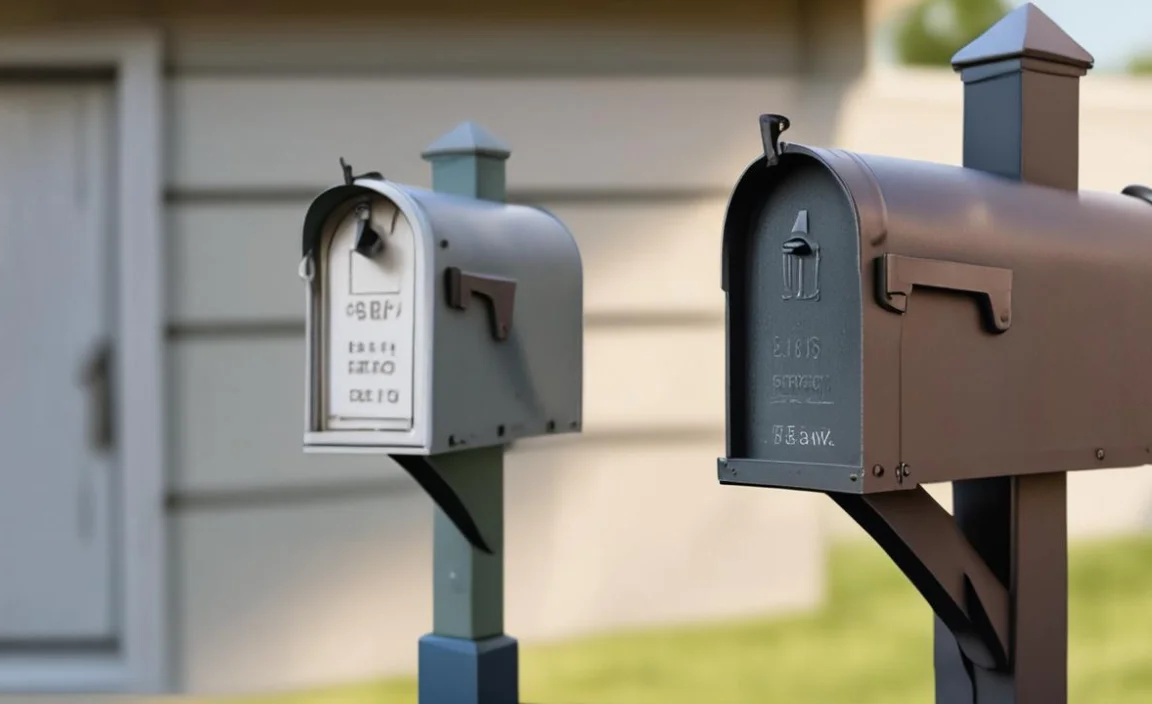
3. Removing The Old Mailbox
Before installing a new mailbox, it’s important to remove the old one first. Ensure you check with your local postmaster or homeowner’s association for regulations on mailbox installation.
Get all proper tools such as a drill and screwdriver before starting mailbox removal. Replace any old posts if needed and dispose of them at your local recycling center. Follow postal regulations for proper placement of your new post to avoid issues with mail carriers.
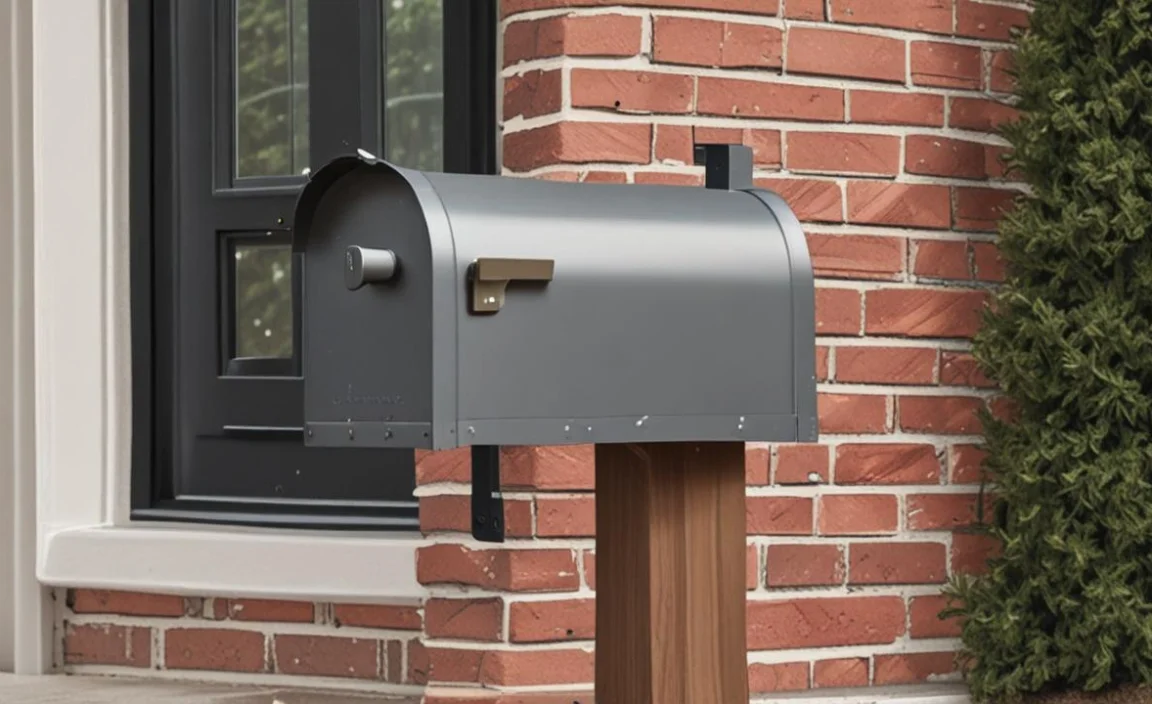
4. Preparing The New Mailbox Post
To prepare your new mailbox post for installation, begin by choosing a suitable location that meets USPS requirements. Before digging a hole with a post-hole digger or auger, check for any underground utilities in the area.
Once you have dug your hole, it should be deep enough to accommodate four inches of gravel at the bottom and extend above the raised curb. Mix cement according to the instructions on the bag and fill the hole around your new mailbox post until it reaches ground level. Wait until completely dry before proceeding with mailbox installation.
5. Digging The Hole For The Post

While installing a new mailbox, complying with USPS requirements is crucial to avoid any issues with mail delivery. When digging a new hole for your mailbox post, consult your local postmaster for any specific regulations on mailbox placement.
Digging with a shovel or using a post-hole digger, create a hole at least one-third as deep as your mailbox’s height. Leveling the bottom of the hole and adding an inch or two of gravel can help with drainage concerns. Finally, set your new mailbox post in cement before attaching your new box for extra curb appeal.
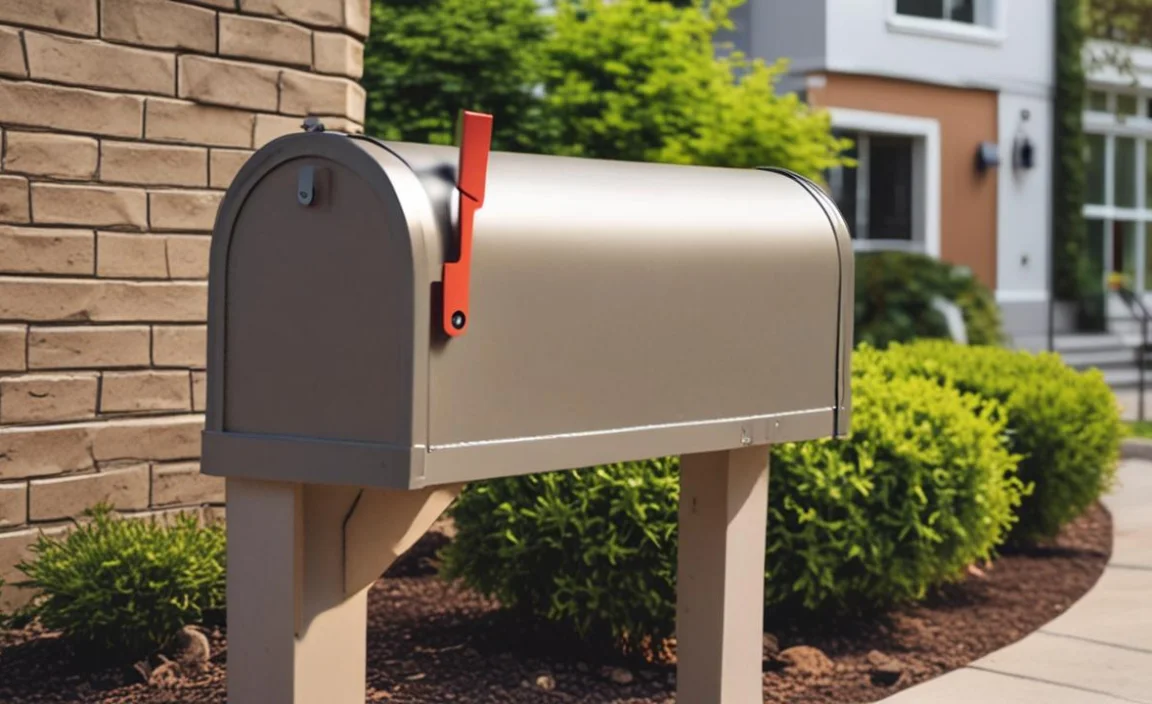
6. Checking USPS Regulations For Mailbox Location And Height

To ensure that your new mailbox is correctly installed, always follow USPS regulations for proper placement. Your mailbox should be 41-45 inches from the road surface and no less than 6-8 inches from the curb or edge of the road.
If you live in a rural area, additional regulations may apply, so check with your local postmaster beforehand. By adhering to these guidelines, you can avoid any potential issues with mail delivery and keep your home’s curb appeal intact.
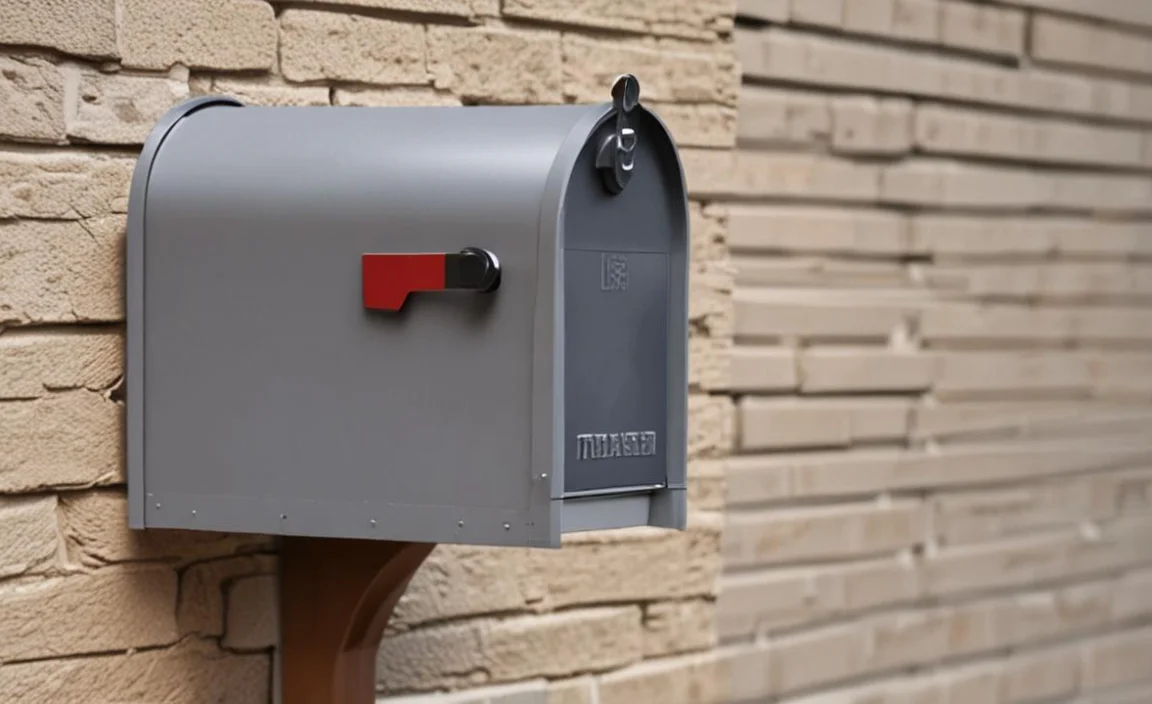
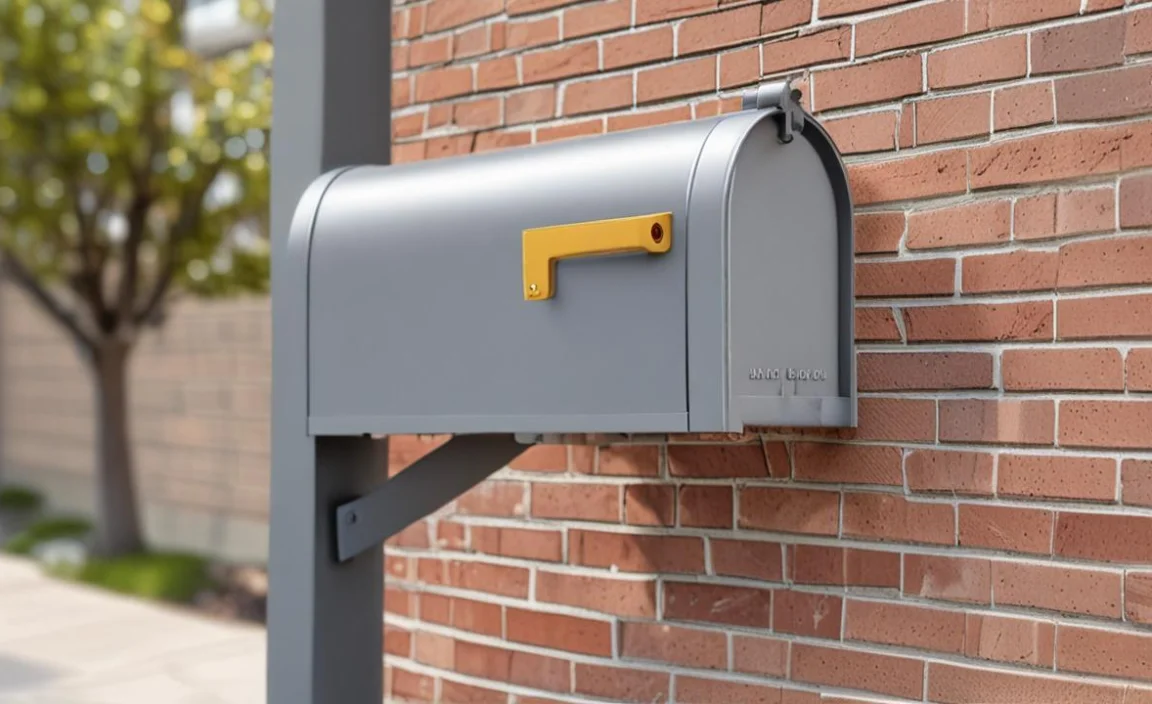
How To Lock Your Mailbox
There are several things to remember to install a locking mailbox that meets USPS requirements without compromising your home’s curb appeal. First, check with your local postmaster for specific regulations and guidelines. Next, select the right type of lock, including key and combination locks, and properly secure the locking mechanism to prevent tampering or damage. Finally, keep spare keys safe if you forget or lose them.
Tips For Installing Door Slots And Wall Mailboxes
Installing door slots and wall mailboxes requires careful planning. Begin by measuring the size of your new mailbox or slot and cutting an appropriate hole in your wall or door. Next, find a secure spot on your exterior wall to mount screws.
Use appropriate hardware and tools for your specific mailbox installation type while following safety guidelines. Incorporating these steps will ensure that your mailbox placement lasts while improving your home’s curb appeal.
Protecting Your Mailbox Against Theft And Vandalism
Choose durable materials like aluminum or steel to safeguard your mailbox against theft and vandalism. The visibility of the installation area is also important. Regularly check for signs of tampering or damage and consider installing additional security features like locks or cameras.
Protecting your mail is crucial whether you live in an apartment building with shared mailboxes or have your own mailbox at home. Remember to choose the right locking mechanism and keep spare keys secure.
Maintaining Your Mailbox
Regular maintenance is essential for keeping your new mailbox in top condition and enhancing your home’s curb appeal. Inspect it for rust and dents regularly while frequently cleaning dirt and grime buildup. Repaint it occasionally to protect against weather damage and maintain a fresh look. Replacing broken or damaged parts is also essential to prevent further harm.
Should You Call Before You Dig?
Before installing any new mailbox or digging a hole, it’s important to call your local utility company. This helps to avoid any underground cables or pipes that may be damaged during installation. The utility company will mark off any lines in the area and provide guidelines on how deep you can dig. Following these precautions will help prevent accidents and unwanted repair costs.
Creating Your Own Mailbox: Things To Consider
If you’re feeling creative, designing your own mailbox can be a fun DIY project. However, there are a few things to remember before you start building. First, ensure your design complies with local regulations and postal service standards regarding mailbox size and placement.
Additionally, consider the materials you’ll use – wood may look beautiful but may not withstand harsh weather conditions, and metal options. Finally, ensure your design is practical and easy for your mail carrier to access. A unique design may be eye-catching but shouldn’t compromise the mailbox’s functionality.
Conclusion
Installing a new mailbox may seem like a daunting task, but it can be done in 6 easy steps. From removing the old mailbox to digging the hole for the post, here we have covered everything you need to know. It’s important to remember USPS regulations for mailbox location and height, recommended tools, and choosing the right material for your mailbox.
Additionally, protecting your mailbox against theft and vandalism is crucial. If you’re considering creating your own mailbox, there are also things to consider. By following the steps, you can ensure that you how to install a new mailbox securely and in compliance with local regulations. Remember to choose a location that is easily accessible for mail carriers and to properly anchor the post to prevent it from tipping over or becoming damaged.
