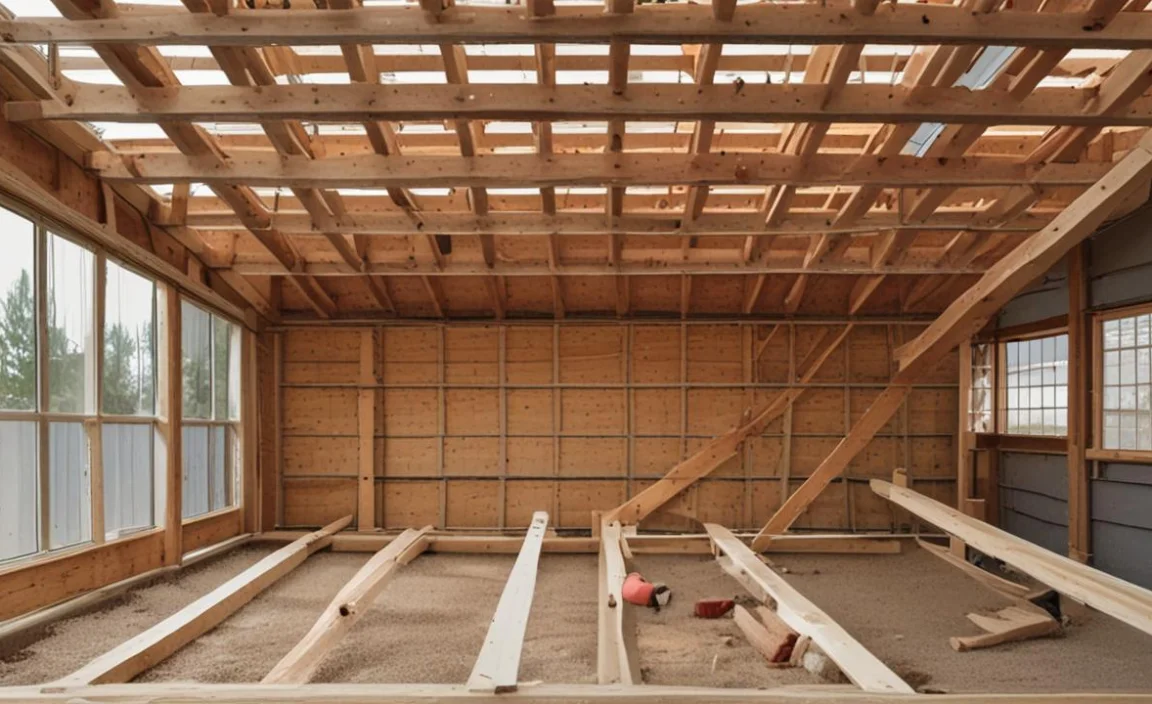
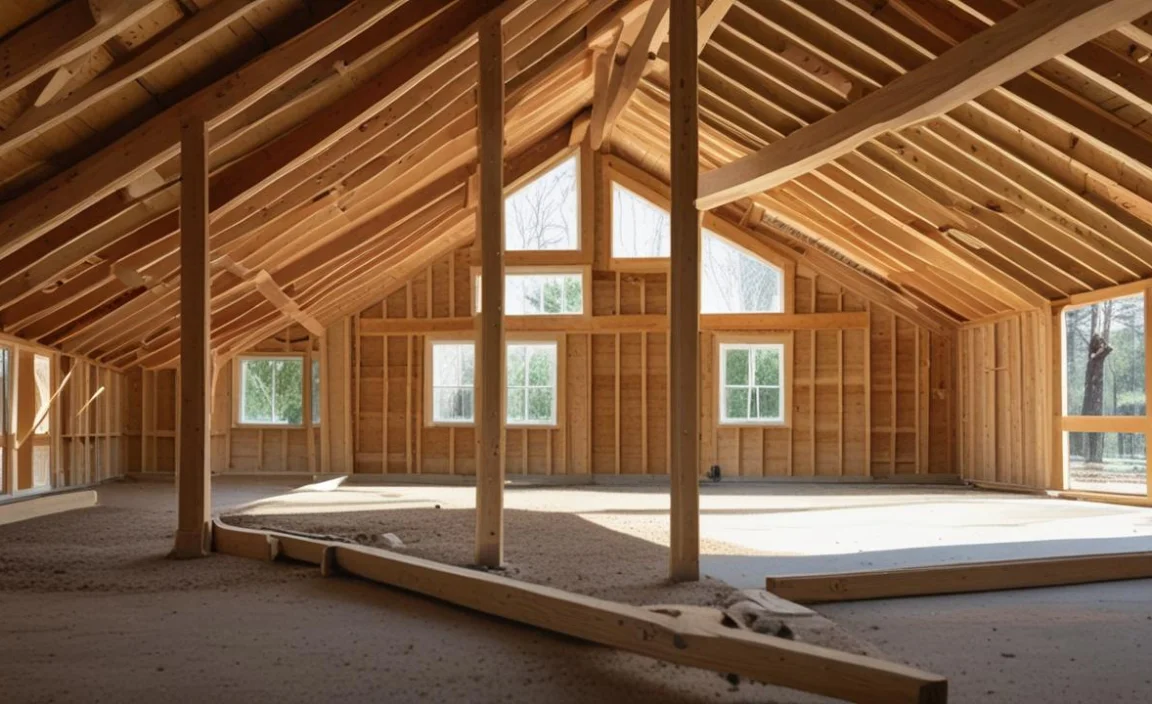
One of the most important aspects is the shed floor joist span. The shed’s flooring requires a strong primary support system to hold the weight of any equipment or items stored within.
And the floor joists must be strong enough to provide it. The span of the joists will depend on the size of the shed and the load it will need to bear, so it’s important to calculate the span precisely to avoid any structural issues down the line.
Generally, a larger shed will require longer and stronger floor joists to ensure the flooring remains level and stable. The type of wood used for the joists can also impact their strength and durability. Properly calculating the floor joist span and selecting the appropriate materials ensures that your shed will be a safe and reliable storage space for years.
Types Of Materials Commonly Handy For Shed Floor Joists

When choosing the material for your shed floor joists, consider the shed’s size, weight-bearing requirements, climate conditions, and budget constraints. Depending on budget, shed size, intended use, and local building codes, Shed floor joists can come from various materials. Here are some common materials handy for shed floor joists:
- Pressure-Treated Lumber: Pressure-treated lumber is popular for shed floor joists. Wood undergoes chemical treatment to resist rot, decay, and insect damage, making it durable and long-lasting. Common species used for pressure-treated lumber include Southern Yellow Pine or Douglas Fir.
- Treated Glulam Beams: Glulam stands for glued laminated timber. Manufacturers engineer treated glulam beams by bonding multiple layers of dimension lumber with strong adhesives to create an engineered wood product. They offer excellent strength and stability for larger sheds or structures.
- Treated LVL (Laminated Veneer Lumber) Beams: LVL beams are similar to glulam beams but made with thin wood veneers instead of solid lumber. They provide high load-carrying capacity and resistance to warping or twisting.
- Treated Engineered Wood I-Joists: I-joists are engineered wood joists shaped like the letter “I.” They consist of a vertical web and top and bottom flanges. Treated I-joists are lightweight and strong, making them a great option for large shed floors with longer spans.
- Cedar or Redwood: Cedar and redwood are naturally decay-resistant woods, making them suitable for shed floor joists. They are less commonly handy due to higher costs compared to pressure-treated lumber.
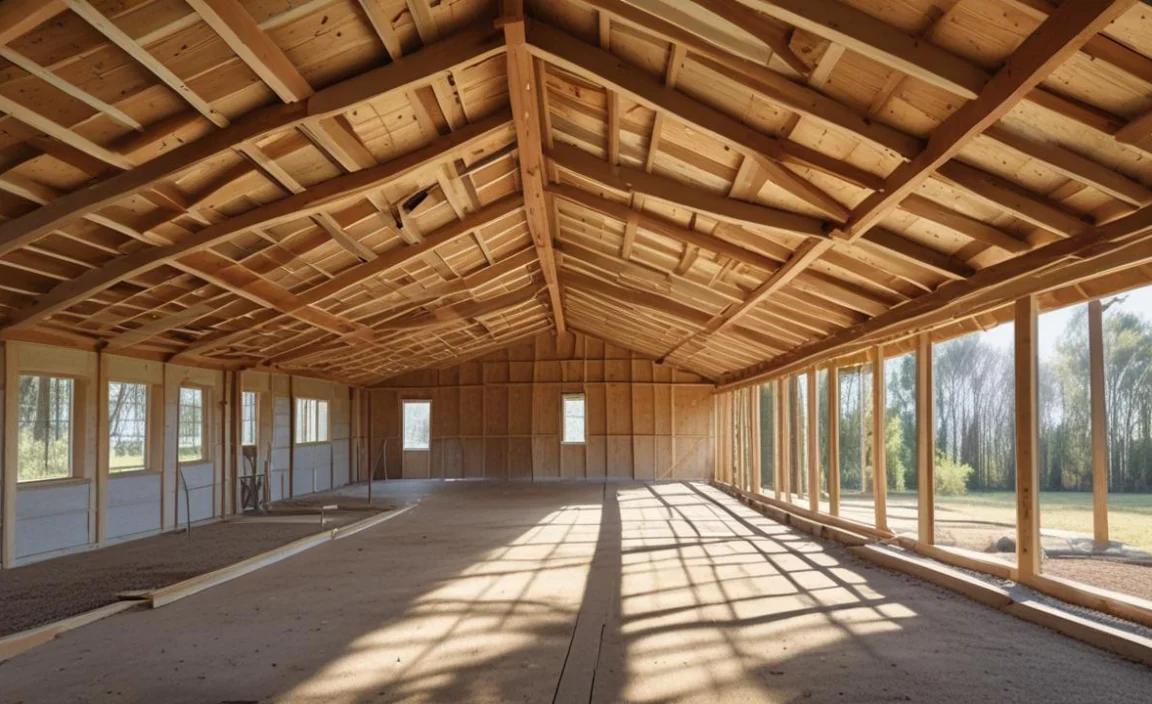
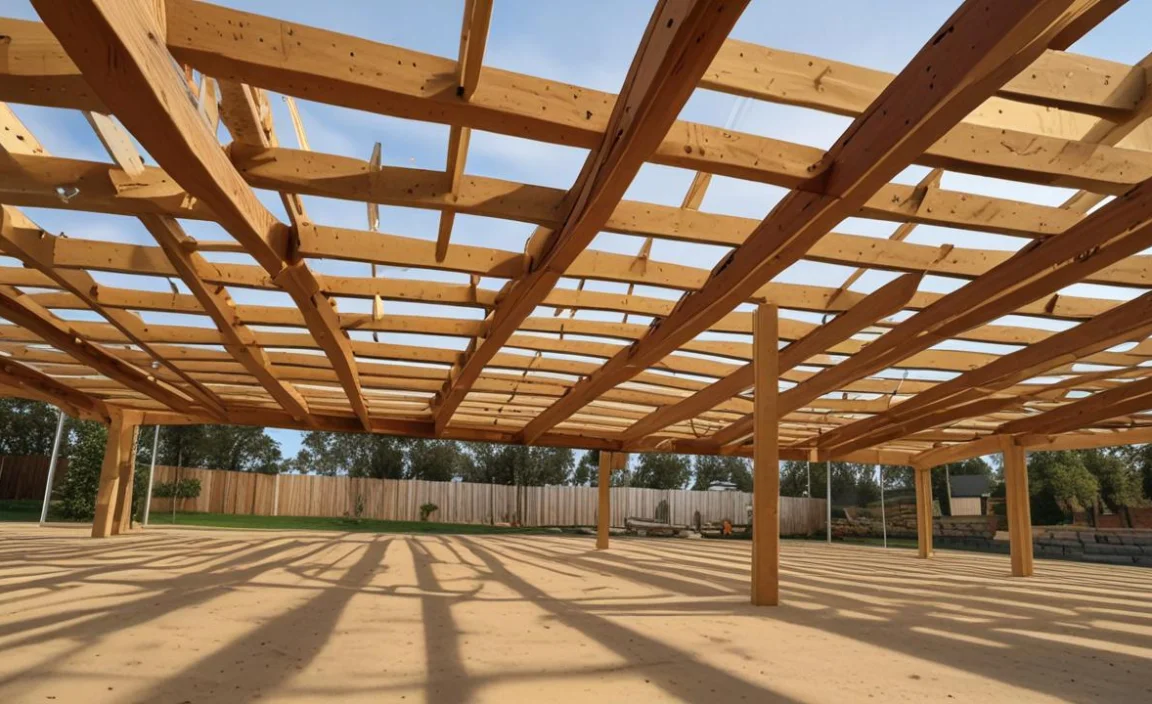
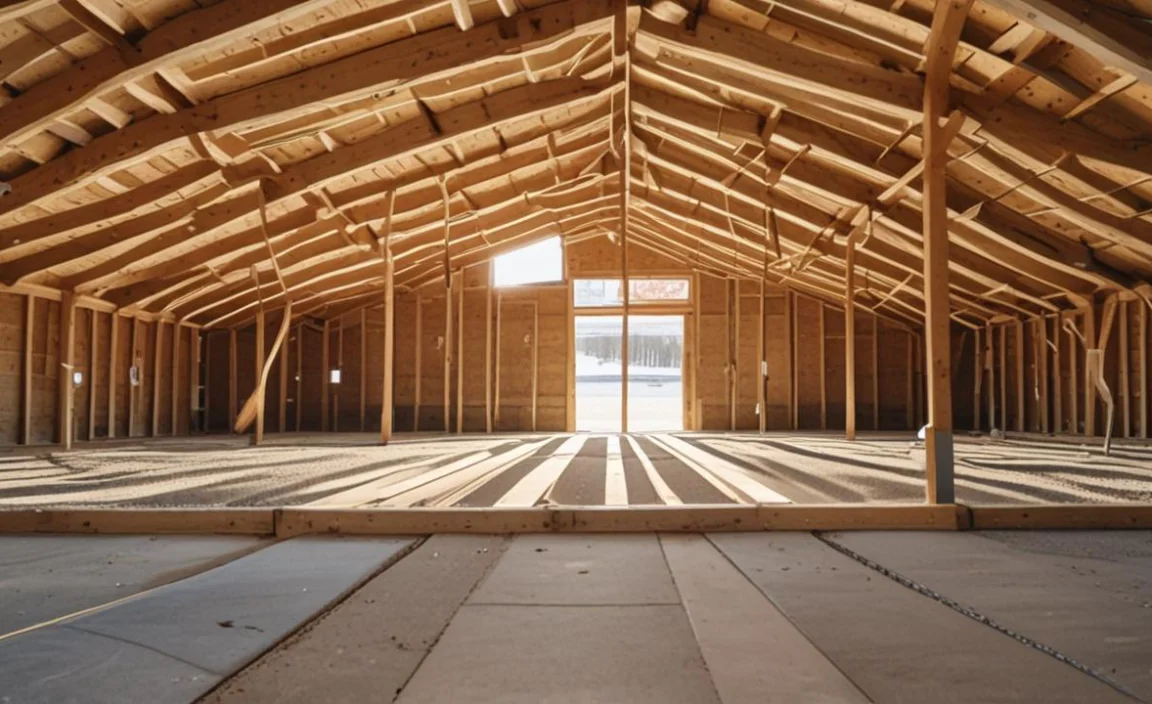
How To Build Shed Floor Joist Span
The floor joist span is the distance between the supports of the floor joists. Which are the horizontal beams that hold up the shed floor. The floor joist span determines how strong and stable the shed floor will be and how much weight it can support. Therefore, building the shed floor joist span correctly and according to the shed’s size, design, and purpose is important.
Determine The Load Capacity And Span Requirements

The first step in building the floor joist span is to determine the shed floor’s load capacity and span requirements. The load capacity is the amount of weight that the shed floor can safely support. Which depends on the type and quantity of items stored in the shed.
The span requirements are the maximum distance the floor joists can span without sagging or breaking. Which depends on the size and grade of the lumber used for the floor joists. To determine the load capacity and span requirements. Online calculators or tables provide guidelines based on wood species, joist size, and joist spacing.
Choose The Right Material For The Joists
The next step is to choose the right material for the joists. Which are the main components of the floor joist span? Pressure-treated lumber, which is resistant to rot, insects, and moisture, is the most common material handy for joists.
The most common size for the joists is 2×6, which balances strength and cost. However, you can also use 2×8 or 2×10 if you need more strength or longer spans2. You should also choose lumber that is straight, dry, and free of knots, cracks, or warps.
Calculate The Number Of Joists Needed
The third step is calculating the joists needed for the floor joist span. This depends on the shed’s size and the joists’ spacing. The spacing of the joists is usually 16 inches in the centre. This means there are 16 inches between the centres of adjacent joists.
However, you can also use 12 or 24 inches on the centre if you need more or less strength1. To calculate the number of joists needed, you can divide the shed’s length by the joists’ spacing and add one for the rim joist at each end. For example, if the shed is 10 feet long and the joists are spaced 16 inches in the centre, you will need (10 x 12) / 16 + 1 = 8.5 + 1 = 9.5 joists. You should round up to the nearest whole number to need 10 joists.
Mark The Layout Of The Joists On The Shed Foundation
The fourth step is to mark the layout of the joists on the shed foundation, which is the base that supports the shed floor. Depending on your preference and budget, the shed foundation can come with concrete, wood, or metal.
To mark the layout of the joists, you need to measure and mark the locations of the rim joists and the inner joists on the foundation using a tape measure, a pencil, and a chalk line. You should make sure that your marks are parallel, square, and aligned with each other.
Install The Rim Joists
The fifth step is to install the rim joists, the outermost joists that run along the perimeter of the shed floor. To install the rim joists, you need to cut them to fit the width and length of the shed using a circular or miter saw. You should also seal all end grain cuts with wood preservatives.
Then, you must set them on the foundation according to your marks and secure them with nails or screws. You should use 3-inch framing nails or exterior grade screws to fasten them to the foundation.
Cut And Install The Joists
The sixth step is to cut and install the inner joists, the rest of the horizontal beams running across the shed floor. To cut and install the inner joists. You need to measure and cut them to fit the distance between the rim joists using a circular or mitre saw. You should also seal all end grain cuts with wood preservatives.
Then, you need to attach them to the rim joists using metal hangers or toenails. You should use joist hangers that match the size of the joists and fasten them with nails or screws. You should also use 3-inch framing nails or exterior grade screws to toenail them to the rim joists.
Secure Joists To The Rim Joists
The seventh step is to secure the joists to the rim joists. The outermost joists run along the perimeter of the shed floor. To secure the joists to the rim joists, you must nail or screw them together at every intersection. You should use 3-inch framing nails or exterior-grade screws to join them.
Install Blocking Between Joists
The eighth step is to install blocking between joists. Which are short pieces of lumber that are placed between the joists to provide extra support and stability. To install blocking between joists, you need to measure and cut them to fit the space between them using a circular or mitre saw.
You should also seal all end grain cuts with wood preservatives. Then, you must nail or screw them to the joists using 3-inch framing nails or exterior grade screws. You should install blocking at regular intervals along the length of the shed floor, such as every 4 feet or 8 feet.
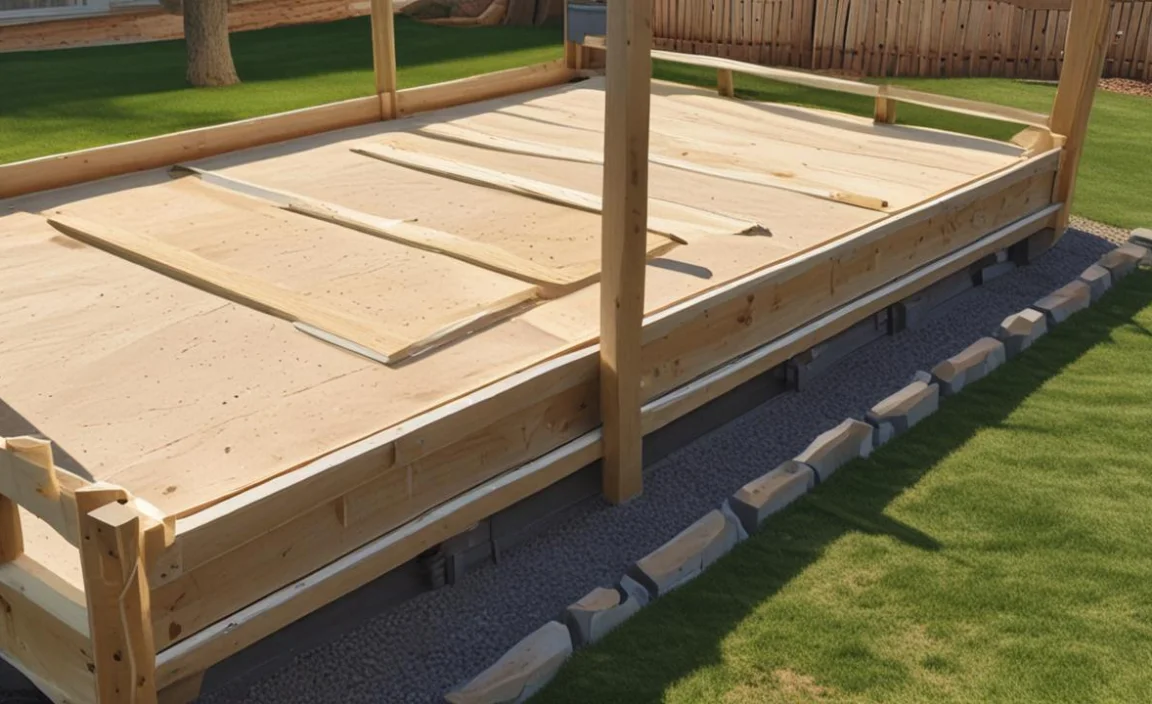
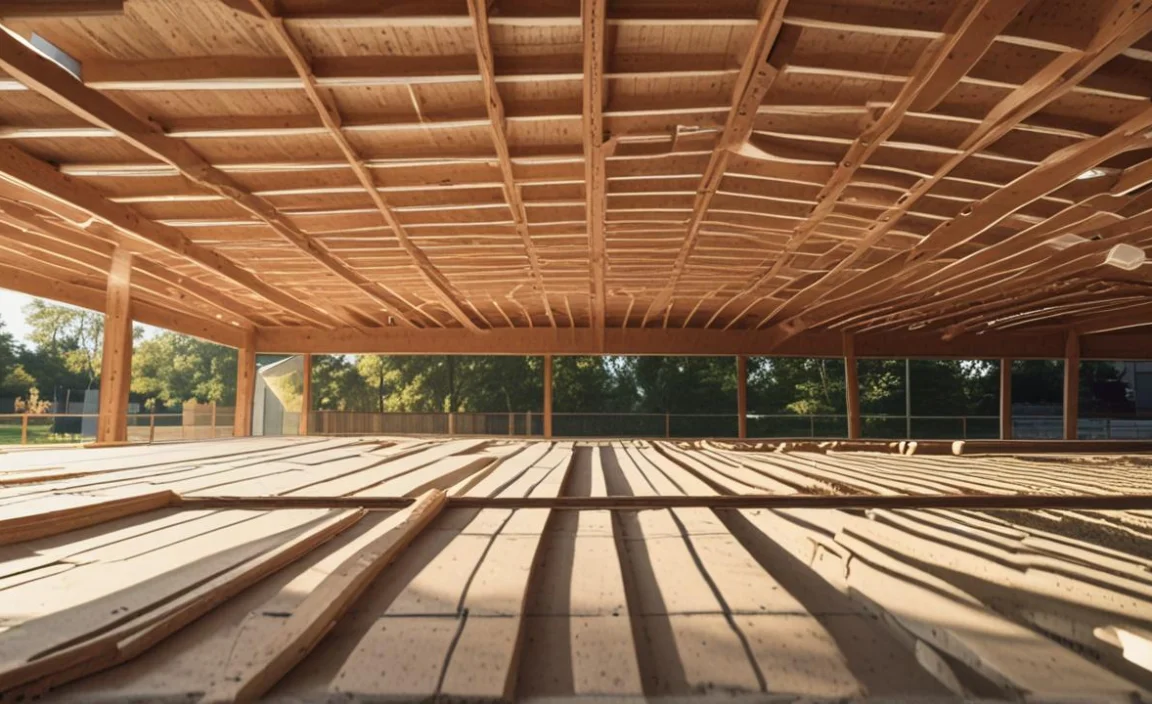
Install A Subfloor On The Joists
The ninth step is to install a subfloor on the joists, a layer of plywood covering the joists and providing a smooth and flat surface for the final flooring.
To install a subfloor on the joists, you need to measure and cut sheets of 3/4-inch pressure-treated plywood to fit the size of the shed floor using a circular saw or a table saw. You should also seal all end grain cuts with wood preservatives.
Then, lay them on the joists and secure them with nails or screws. You should use 2-inch wood screws or ring-shank nails to fasten them to the joists3. You should also stagger the joints of the plywood sheets so they do not align with the joints of the joists or the rim joists.
Inspect And Reinforce The Shed Floor For Stability
The tenth and final step is to inspect and reinforce the shed floor for stability. Which is to check and improve the strength and durability of the shed floor. To inspect and reinforce the shed floor for stability, you need to examine the shed floor for any signs of sagging, cracking, or movement.
You should also test the shed floor by walking on it and placing some weight on it. If you notice any problems, you must reinforce the shed floor by adding more joists, blocking, or bracing1. You should also apply a protective coating or paint to the shed floor to prevent water damage, rot, or decay.
Building Codes And Regulations For Floor Joist Span
Before building the floor joist span, you should also check the building codes and regulations for your area, which are the rules and standards governing building construction and safety. Building codes and regulations may vary depending on your location, zoning, and type of shed.
They may also require a permit, inspection, or approval before or after building the floor joist span1. Check your area’s building codes and regulations. You can contact your local building department, planning office, or code enforcement agency. You can consult a licensed contractor, engineer, or architect for professional advice.
Conclusion
Determining the appropriate shed floor joist span is crucial for the success and longevity of any shed project. By understanding the weight-bearing capacity of the materials used in construction and the expected load on the floor, builders can carefully select the appropriate span for the floor joists.
A well-designed, properly supported shed floor will provide a sturdy foundation for the structure and prevent costly and dangerous collapses. It is important to note that there is no one-size-fits-all solution for floor joist spans, as each project has unique requirements and conditions that must be considered.
However, by following the principles of proper engineering and construction, builders can achieve safe and successful results for their shed floor project.
FAQ’s:
[rank_math_rich_snippet id=”s-c43b82b4-fd3a-4f3a-8ab9-0bfbaac60934″]
