Bathrooms are one of the most important spaces in any home and are often the focal point of any interior design project. A bathroom remodel can breathe new life into your home, adding value and functionality to your living space.
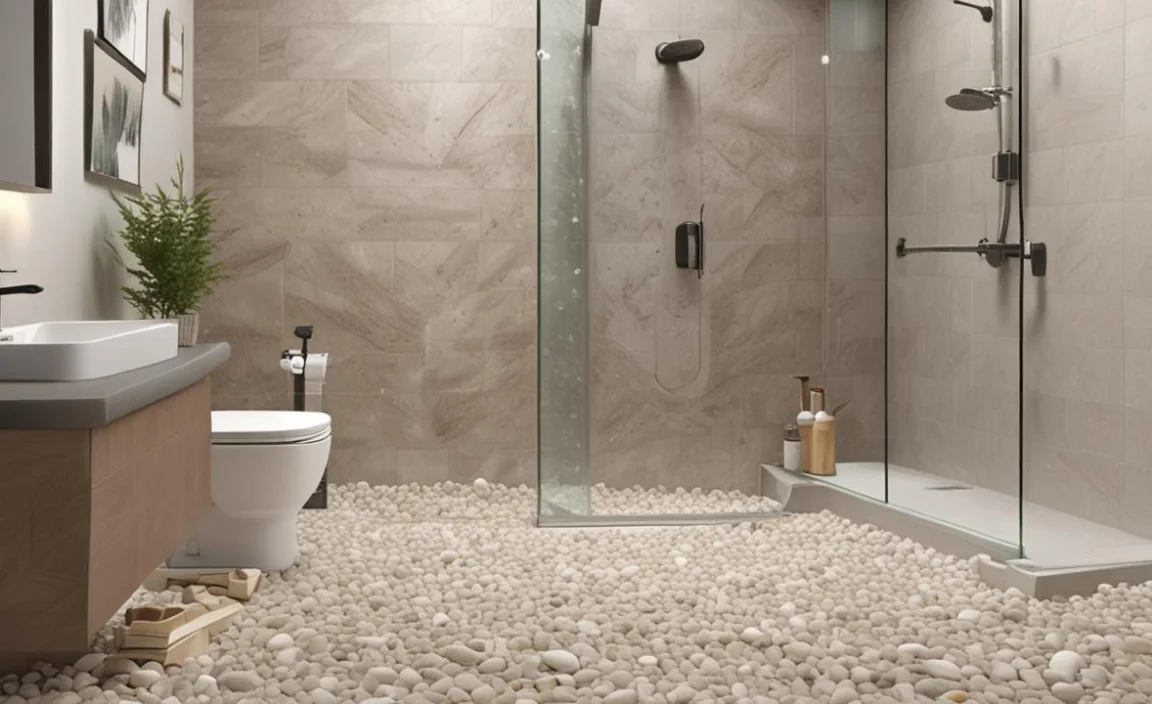
However, when designing a stylish and functional bathroom, one of the most important elements to consider is the flooring. A bathroom floor not only needs to be aesthetically pleasing but also durable and safe. If you’re looking for a unique and modern flooring option for your bathroom, loose pebble shower flooring might be the perfect choice for you.
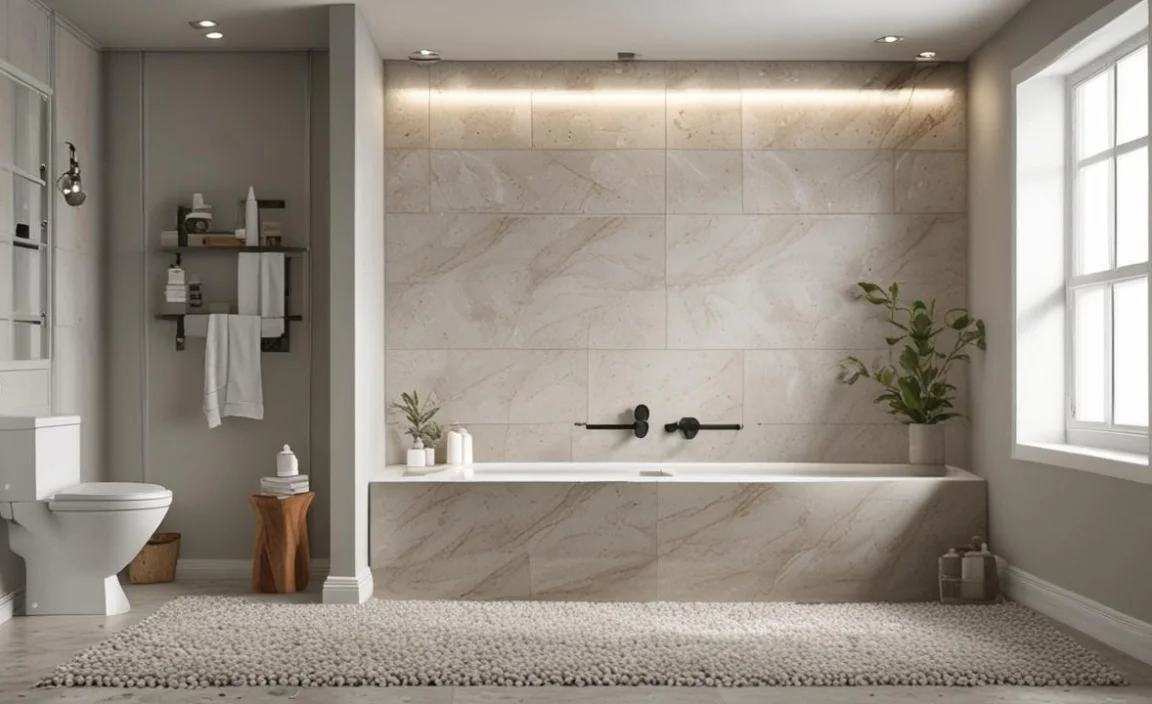
A loose pebble shower floor is a beautiful and functional flooring solution that can transform your bathroom into a luxurious spa-like retreat. Unlike traditional tile floors, a pebble shower floor consists of small, smooth stones that create a natural, organic look and feel.
How To Install A Loose Pebble Shower Floor – Step By Step Guide

To install a loose pebble shower floor, you need to prepare the surface first. Start by removing the existing flooring and thoroughly cleaning the shower floor. Once the surface is clean and dry, you can proceed to choose the type of pebbles you want for your shower floor. Gather all the necessary materials, including the pebbles, adhesive, and grout.
Mix the adhesive according to the manufacturer’s instructions, ensuring it has the right consistency. Apply the adhesive to the shower floor using a trowel or a notched trowel, making sure to spread it evenly across the entire surface. Place the pebbles onto the adhesive, pressing them firmly into place. Ensure that you securely attach the pebbles to the shower floor.
Allow the adhesive to fully dry and cure before grouting the pebble shower floor. Mix the grout according to the manufacturer’s instructions. Using a grout or rubber float, apply the grout between the pebbles, filling in the gaps and ensuring a smooth, even surface.
1.Tools And Materials Needed For Installation

To successfully install a loose pebble shower flooring, it is important to gather all the necessary tools and materials beforehand. These include loose pebbles, adhesive, grout, a trowel, a level, and a sponge. Before starting the installation process, it’s crucial to prepare the shower floor by ensuring it is clean and free of any debris or moisture. This will help create a smooth and even surface for the pebbles.
2.Preparing The Shower Base For Installation

Before installing a loose pebble shower floor, it is important to prepare the shower base properly. Firstly, ensure the shower base is clean and free of debris or old flooring materials. This will provide a smooth and even surface for the installation. If any cracks or damage are present on the shower base, it is essential to repair them before proceeding further. This will prevent any water leaks or structural issues in the future.
Once the shower base is clean and repaired, applying a waterproofing membrane is next. This will create a watertight seal and protect the underlying structure from water damage. It is crucial to allow the waterproofing membrane to dry completely before moving forward.
After the waterproofing membrane is dry, the next step is laying down a thin-set mortar layer. Carefully place the loose pebbles onto the thin-set mortar, ensuring they adhere securely. Press them down gently to make sure they are firmly in place.
3.Laying Out The Pebble Tiles
Start by ensuring that the shower floor surface is clean and level. This will provide a smooth and even base for the pebble tiles. Lay out the loose pebble tiles on the dry floor to determine the best arrangement and fit. This step allows you to visualize how the tiles will look and make any necessary adjustments before securing them in place.
To secure the pebble tiles, use a mortar or adhesive specifically designed for this purpose. Apply the mortar or adhesive in small sections, working in a consistent pattern to ensure even coverage. This will create a seamless and visually appealing shower floor.
4.Mixing The Pebble Tile Adhesive

When installing a loose pebble shower floor, one of the crucial steps is to mix the pebble tile adhesive properly. Carefully follow the instructions provided by the manufacturer to ensure the best results. Mixing the adhesive in small batches is recommended to prevent it from drying out before application.
Using a drill with a mixing paddle attached, thoroughly combine the adhesive until it reaches a smooth and creamy consistency. This ensures that the adhesive will bond effectively with the pebble tiles and the shower floor.
It’s important to follow the recommended water-to-adhesive ratio specified by the manufacturer to achieve the desired consistency. This ensures that the adhesive is not too thick or too thin, providing optimal adherence and strength. After mixing the adhesive, allow it to sit for a few minutes before applying it to the shower floor. This allows air bubbles to escape, ensuring a smooth surface.
5.Applying The Pebble Tile Adhesive

To ensure a successful installation of your loose pebble shower floor, following the correct procedures for applying the pebble tile adhesive is crucial. Before starting, ensure the shower floor is clean and dry, as debris or moisture can affect the adhesive’s effectiveness.
Using a trowel, gently spread a thin layer of pebble tile adhesive onto the surface of the shower floor. Remember to work in small sections, as the adhesive tends to dry quickly.
Once you apply the adhesive, press the pebble tiles into place. Make sure to evenly space and level them, using a level tool if necessary. Continue applying the adhesive and placing tiles until you have covered the entire shower floor. Allow the adhesive to dry for the recommended time specified by the manufacturer before proceeding to the next step, grouting.
6.Installing The Pebble Tiles
To start installing pebble tiles, it is essential to prepare the shower floor by ensuring it is clean and free of any debris. This will provide a smooth surface for the tiles to adhere to. Next, apply a waterproof membrane to the shower floor to prevent any water damage from occurring. This membrane acts as a protective barrier, ensuring that no moisture seeps through and causes potential issues in the future.
After preparing the floor, mix the thin-set mortar according to the manufacturer’s instructions. This mortar will be the adhesive that holds the pebble tiles in place. Using a trowel, apply the mortar to the shower floor and spread it evenly.
Press the loose pebble tiles onto the mortar as you work, firmly adhering them to the surface. You should use a rubber mallet or a wood block to gently tap the tiles into place, ensuring that they are level and even.
7.Cutting Pebble Tiles To Fit
Cutting pebble tiles to fit the space is crucial when installing a loose pebble shower floor. To begin, measure the area where the tiles need to be cut and mark the measurements directly on the tile. For this process, a wet saw with a diamond blade is recommended.
Remember to wear safety goggles and gloves to protect yourself. Slowly feed the tile into the wet saw, following the marked measurements precisely. Once the tile is cut, use a file or sandpaper to create smooth edges and corners.
Testing the cut tile on the shower floor before proceeding with the installation process is important to ensure a proper fit. By cutting pebble tiles accurately, you can achieve a seamless and visually appealing shower floor.
8.Filling In The Gaps Between Pebble Tiles

When installing a loose pebble shower floor, starting with a clean and level surface is important. Begin by placing the larger pebble tiles in the center of the shower floor and work your way outwards. Remember to leave small gaps between each pebble tile to allow for grout.
Once all the pebble tiles are in place, mix the grout according to the manufacturer’s instructions. Use a grout float to fill in the gaps between the pebble tiles with grout, ensuring it is pressed firmly into place. After allowing the grout to set for a few minutes, take a damp sponge and wipe away any excess grout from the surface of the pebbles.
9.Sealing The Pebble Shower Floor

To ensure that your loose pebble shower floor remains in top condition, it’s important to seal it properly. Before applying the sealant, ensure the floor is clean and free of debris or grime. Use a high-quality penetrating sealer that is specifically designed for natural stone or pebble surfaces.
Follow the instructions provided by the manufacturer to apply the sealer evenly using a brush or roller. Allow the sealer to penetrate and dry completely before using the shower.
Regular maintenance and resealing are essential to keep your pebble shower floor looking its best and to prevent water damage or stains. It’s recommended to regularly check the condition of the sealant and reapply it as needed. This will help to maintain the waterproof seal and protect the pebble floor from moisture and mold.
10.Maintaining Your Pebble Shower Floor

Proper maintenance is essential to ensure your pebble shower floor’s longevity and pristine appearance. The installation involves preparing the base, laying the pebbles, and grouting the gaps. Before embarking on the installation, it is crucial to ensure that the shower drain is installed correctly and functional. This will prevent any potential water damage or drainage issues.
When laying the pebbles, it is recommended to start from the center of the shower floor and work your way outwards. This ensures a balanced and visually appealing pattern. Use waterproof grout to fill the gaps between the pebbles, creating a secure and water-resistant surface. It is also important to choose a grout color that complements the pebbles and enhances the overall aesthetic of your shower floor.
Once the installation is complete, regular cleaning and maintenance are imperative to prevent mold or mildew growth. It is recommended to clean the pebble shower floor with mild detergent and a soft brush or sponge. Avoid using abrasive cleaners or harsh chemicals, as they can damage the surface of the stones. Additionally, periodically inspect the grout for any signs of wear or cracks, and reapply a waterproof sealant if necessary.
Conclusion
Transforming your bathroom with a loose pebble shower floor is a unique and stylish way to upgrade your space. You can easily install a loose pebble shower floor with the right tools and materials.
From preparing the shower base to applying the pebble tile adhesive and installing the pebble tiles, our step-by-step guide will walk you through the entire process. Once installed, it’s important to properly maintain your pebble shower floor to keep it looking pristine.
Regular cleaning and sealing will help prolong its lifespan and keep it looking beautiful for years to come. Ready to transform your bathroom? Follow our installation guide and start enjoying the beauty of a loose pebble shower floor today.
