The staircase is one of the most important parts of any home. It provides a pathway between different house floors and serves as a focal point for visitors.
However, stairs can also be challenging to maintain and keep looking great, especially regarding flooring. Traditional carpeted stairs can easily become worn, stained, or faded over time. Fortunately, a solution can transform your staircase into a beautiful and durable focal point in your home – Luxury Vinyl Plank (LVP) Flooring.
In this blog, we will guide you through the step-by-step process of installing LVP flooring on stairs. We have covered you, from measuring and ordering the right materials to preparing the stairs and installing the flooring. We will also discuss important aspects like cutting and fitting the LVP on stair treads and risers, installing stair nosing for safety, and finishing touches for a professional look.
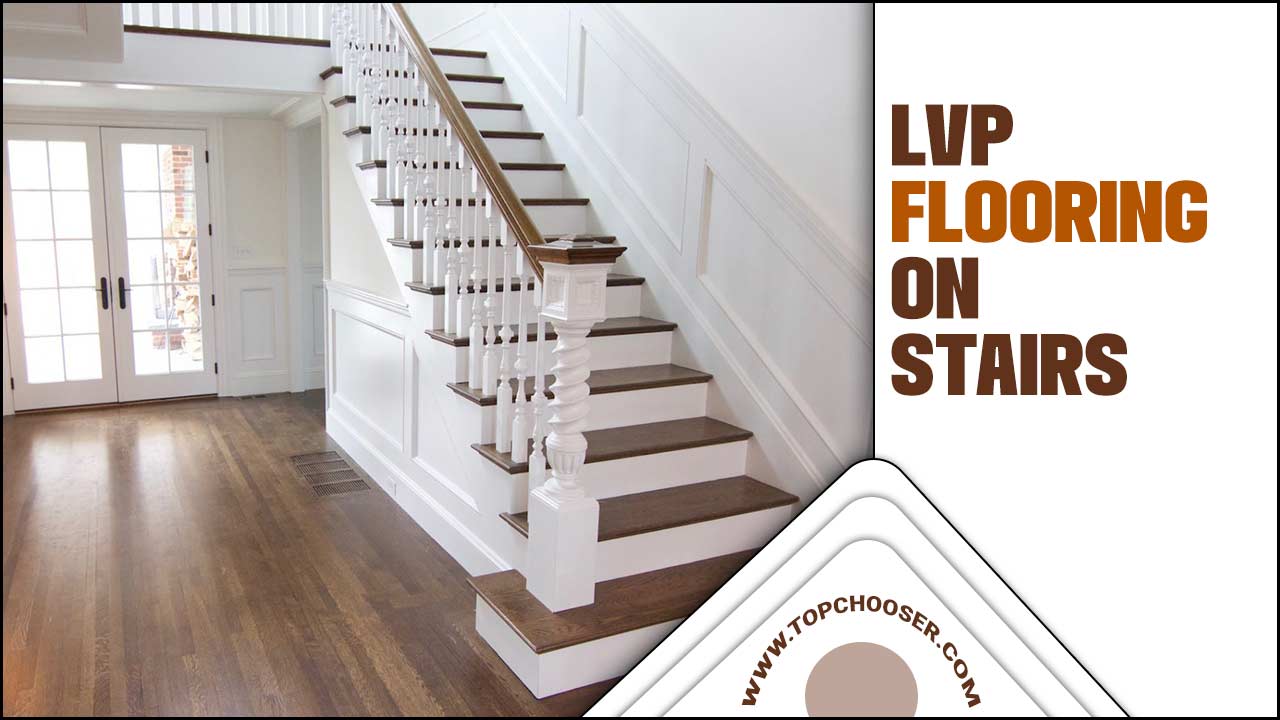
How To Install LVP Flooring On Stairs For Your Home
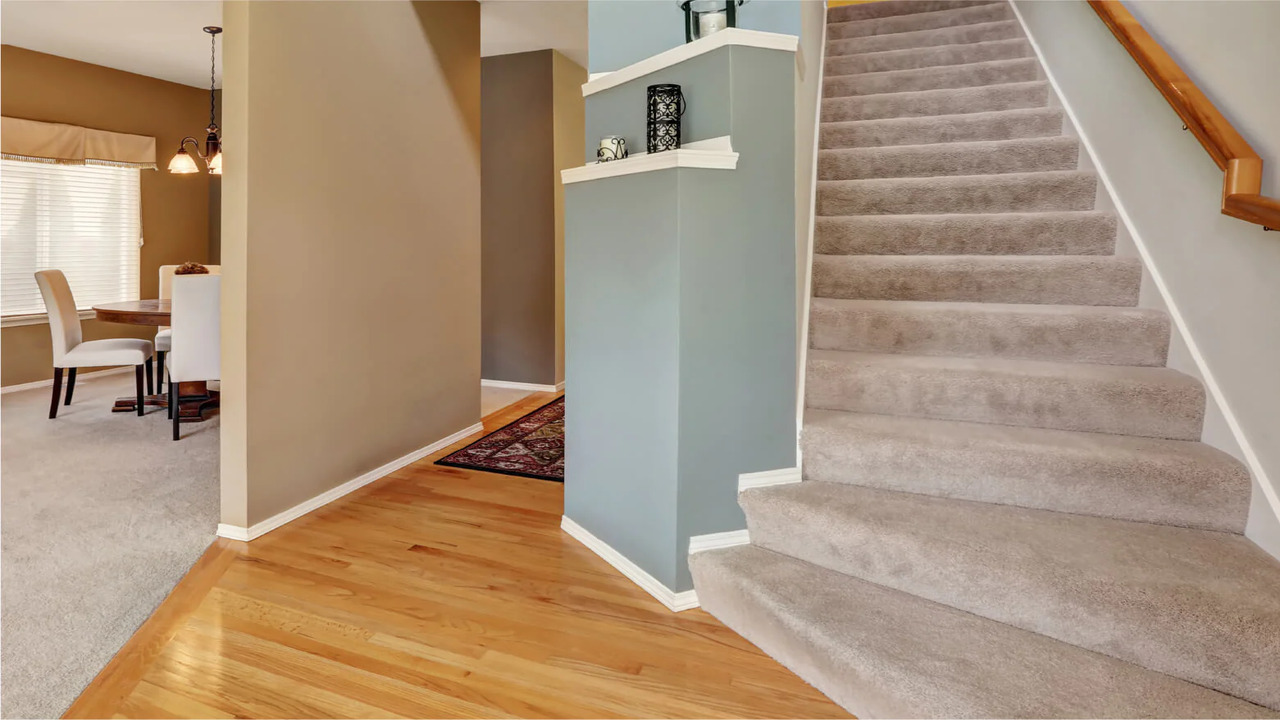
To install LVP flooring on stairs for your home, start by measuring and preparing the stairs. Choose durable and stylish vinyl plank flooring that suits your needs. Remove any existing stair coverings or old carpets.
Install stair nose molding for a finished look. Begin installing the LVP flooring on each step using adhesive or floating methods. Use a heat gun or hairdryer to mold the flooring around curved steps or corners.
Tools And Materials Required For Installation

When installing flooring on stairs, having the right tools and materials is essential. Vinyl plank flooring is popular for stairs due to its durability and easy maintenance. Before starting, ensure you have a measuring tape, utility knife, adhesive, and a rubber mallet.
Additionally, you’ll need materials like LVP planks, stair nosing, adhesive tape, and underlayment if desired. Measure and cut the planks to fit each stair tread, apply adhesive, and press them onto the tread for a secure bond. Repeat this process for each step until all are covered with LVP flooring.
Measuring The Stairs And Ordering LVP
Before installing LVP flooring, measuring each stair’s dimensions, including the width and depth, is essential. This will help you calculate the total square footage needed by multiplying the width and depth for each step and adding them together. It’s also advisable to order extra LVP flooring to account for any mistakes or future repairs.
Make sure to choose high-quality LVP flooring that is suitable for stairs and has a non-slip surface. Follow the manufacturer’s instructions for installation, which may include using adhesive or a stair tread system. Remember to take proper safety precautions during installation, such as wearing protective gear and using the correct tools.
Preparing The Stairs For LVP Installation
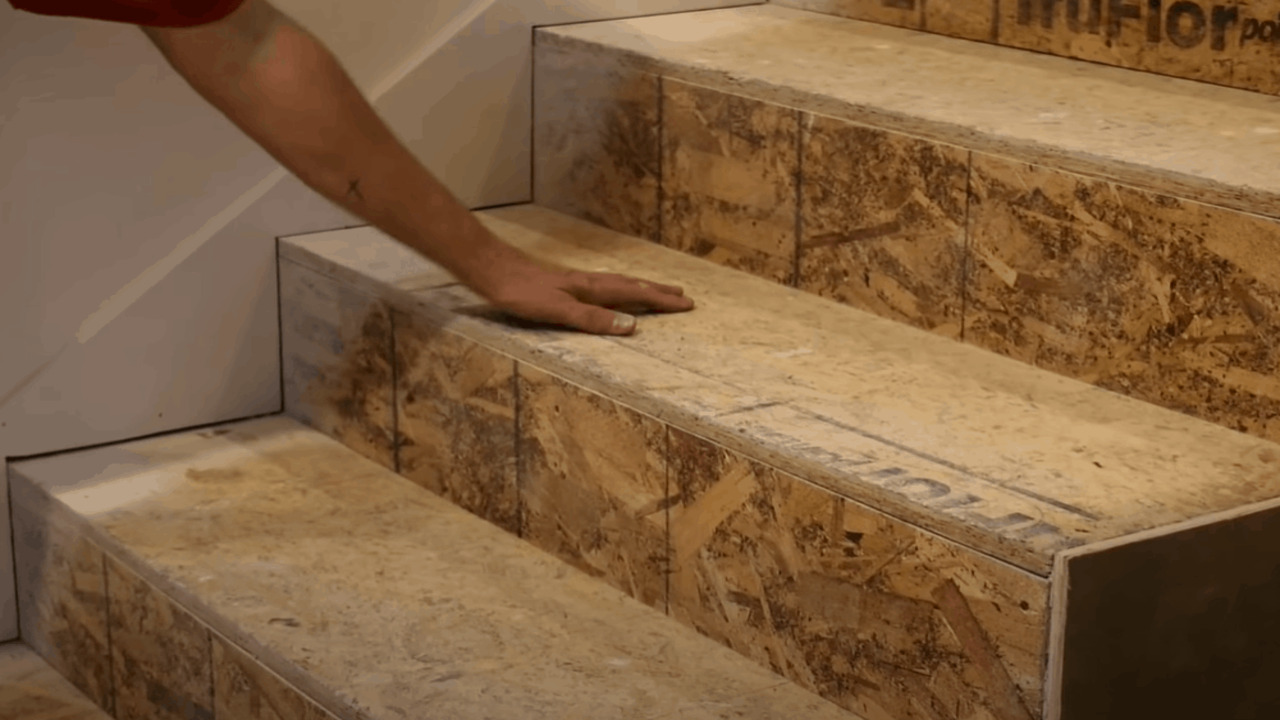
Remove any existing carpet or flooring to prepare the stairs for LVP installation. Next, thoroughly clean the stairs to ensure a smooth and even surface. Measure and cut the LVP planks or tiles to fit the dimensions of each step.
Apply a strong adhesive specifically designed for LVP to the back of each plank or tile. Press the LVP onto the stair, ensuring it is securely adhered to and level with the adjacent steps. Repeat this process for each step until all stairs are covered in LVP.
Installing Flooring On Stairs
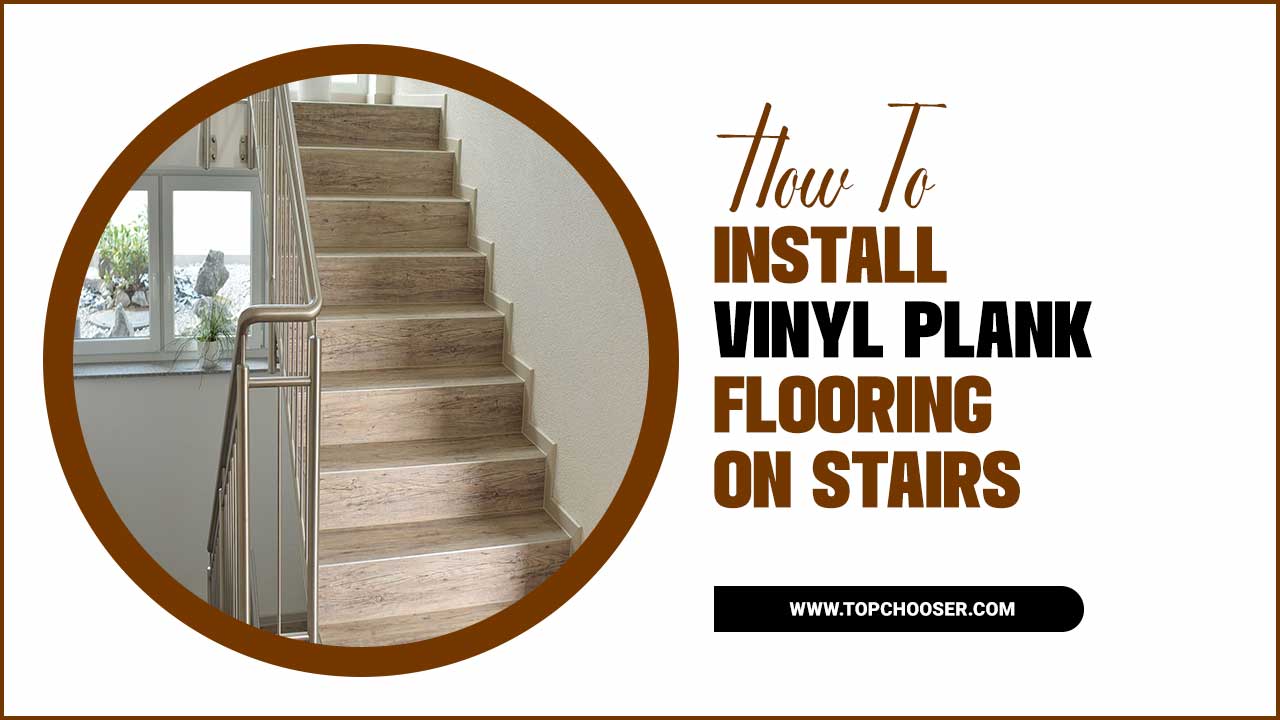
Installing LVP (luxury vinyl plank) flooring on stairs can be a great way to update the look of your staircase and provide a durable and easy-to-maintain surface. However, it is important to note that installing LVP on stairs can be a bit more challenging than installing it on a flat surface. Here are some key points to consider when installing LVP flooring:
- Measure and plan: Before starting the installation process, carefully measure each stair and calculate your needed planks. It is also important to plan the layout of the planks to ensure a seamless and visually appealing result.
- Prepare the stairs: Make sure that the stairs are clean, dry, and free from any debris or loose material. If necessary, remove any existing carpet or other flooring.
- Use the right tools: To ensure a proper installation, it is important to use the right tools for the job. This may include a miter saw, adhesive, a tape measure, a utility knife, and a rubber mallet.
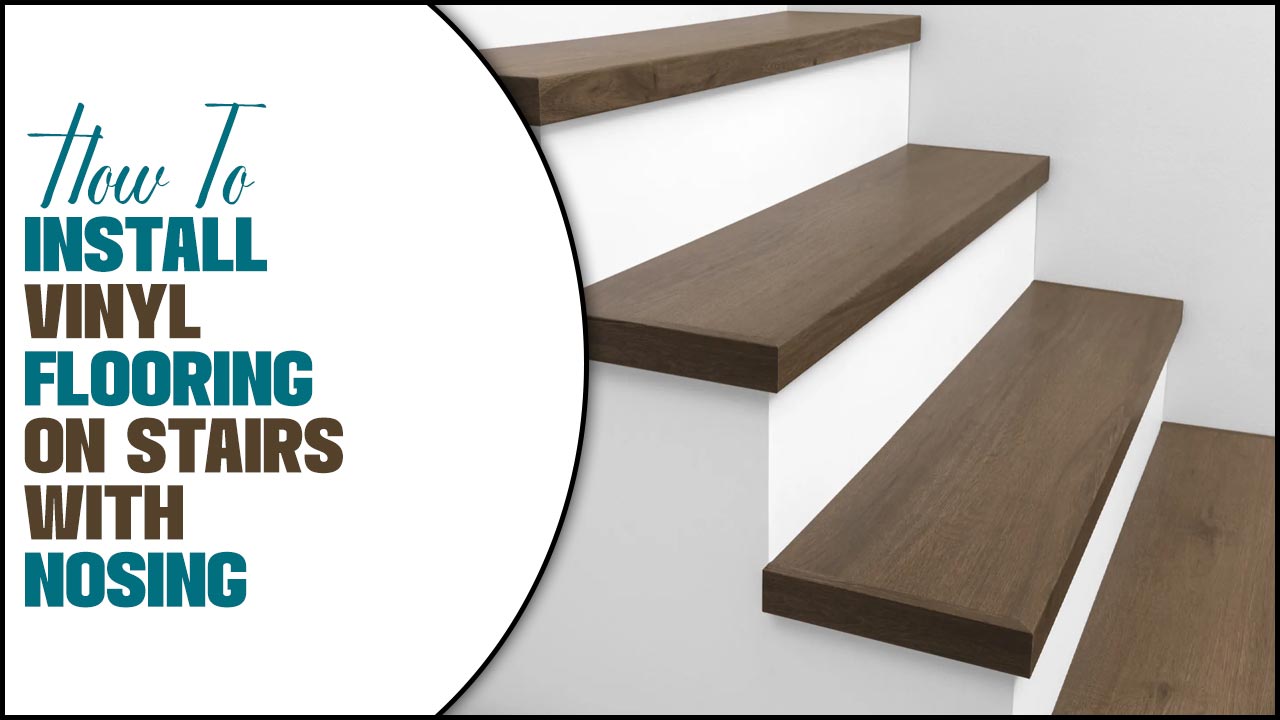
- Install nosing or trim: Depending on your preference and the style of your stairs, you may choose to install nosing or trim along the edges of each step. This can help protect the edges of the LVP planks and create a finished look.
- Start at the bottom: Install the LVP planks on the bottom of the staircase and work your way up. Ensure that each plank is securely adhered to the step and that there are no gaps between them.
- Cut and trim as needed: As you work up the stairs, you may need to cut or trim some planks to fit properly. Take accurate measurements and use
Cutting And Fitting LVP On Stair Treads And Risers
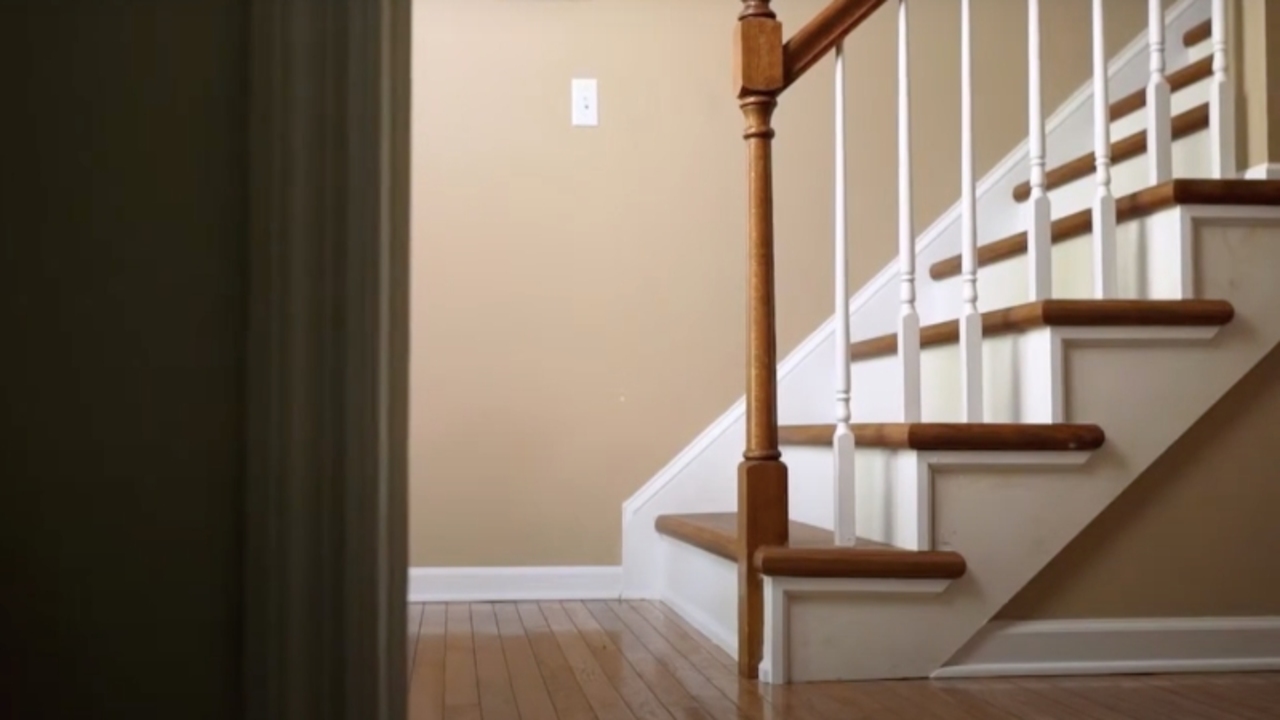
When installing flooring on stairs, cutting and fitting the planks can be trickier than flat surfaces. However, with the right tools and techniques, it is definitely doable. Here are some steps to help you with cutting and fitting LVP on stair treads and risers:
- Measure and cut the planks: Start by measuring the dimensions of each stair tread and riser. Use a straight edge and a utility knife to score the plank along the measured lines. Then, snap off the excess piece.
- Install the planks: Begin by installing the planks on each stair tread, starting from the bottom step and working your way up. Apply adhesive to the back of each plank and press it firmly onto the surface, ensuring it is properly aligned. Repeat this process for each stair tread.
- Cut and fit around nosing: You must cut and fit the planks accordingly for stairs with a nosing (the rounded edge of each step). Measure and mark where the nosing starts on each plank, then, use a coping saw or jigsaw to carefully cut along the marked line. Fit the plank around the nosing, ensuring a snug fit.
- Repeat for risers: Once all the stair treads are installed, you can move on to fitting LVP on risers. Measure and cut the planks to fit vertically against each riser, using a straight edge and utility knife. Apply adhesive to the back of each plank and press it firmly onto the surface.
- Finishing touches: Finally, trim any excess material along the edges of the stairs using a flush-cutting saw or a rotary tool with a flush-cutting attachment. This will give your stairs a clean.
Installing Stair Nosing On LVP For Safety
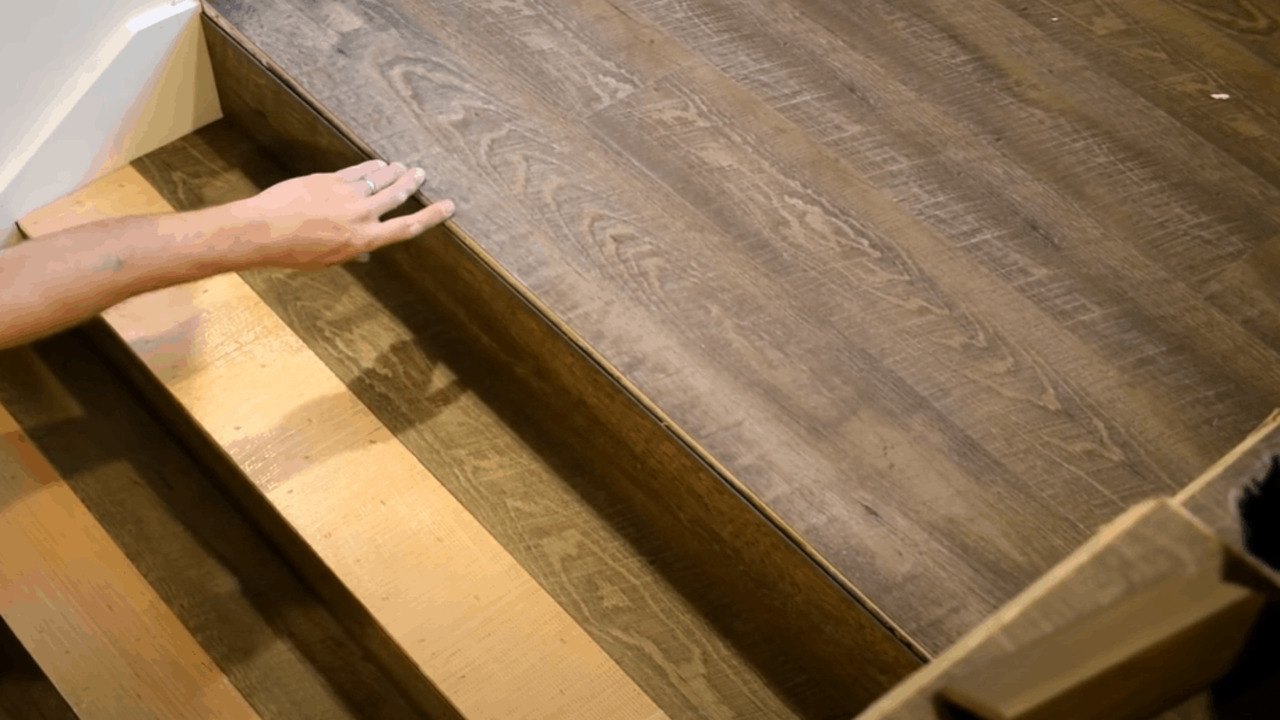
Installing stair nosing is an essential step when it comes to the installation of LVP (Luxury Vinyl Plank) flooring on stairs. Stair nosing provides added safety and protection against wear and tear. It covers the edge of each step, reducing the risk of slips and falls.
Before installing the nosing, ensure the stairs are clean, dry, and free of debris or adhesive residue. Measure and cut the nosing to fit each step snugly. Use adhesive or screws to secure it to the front edge of each step, following the manufacturer’s instructions.
Finishing Touches For A Professional Look
To achieve a professional look when installing LVP (Luxury Vinyl Plank) flooring on stairs, there are a few finishing touches to consider. First, measure each step accurately to ensure the LVP planks fit properly. Next, use stair nose pieces to cover the exposed edges of the steps for a polished appearance and added safety.
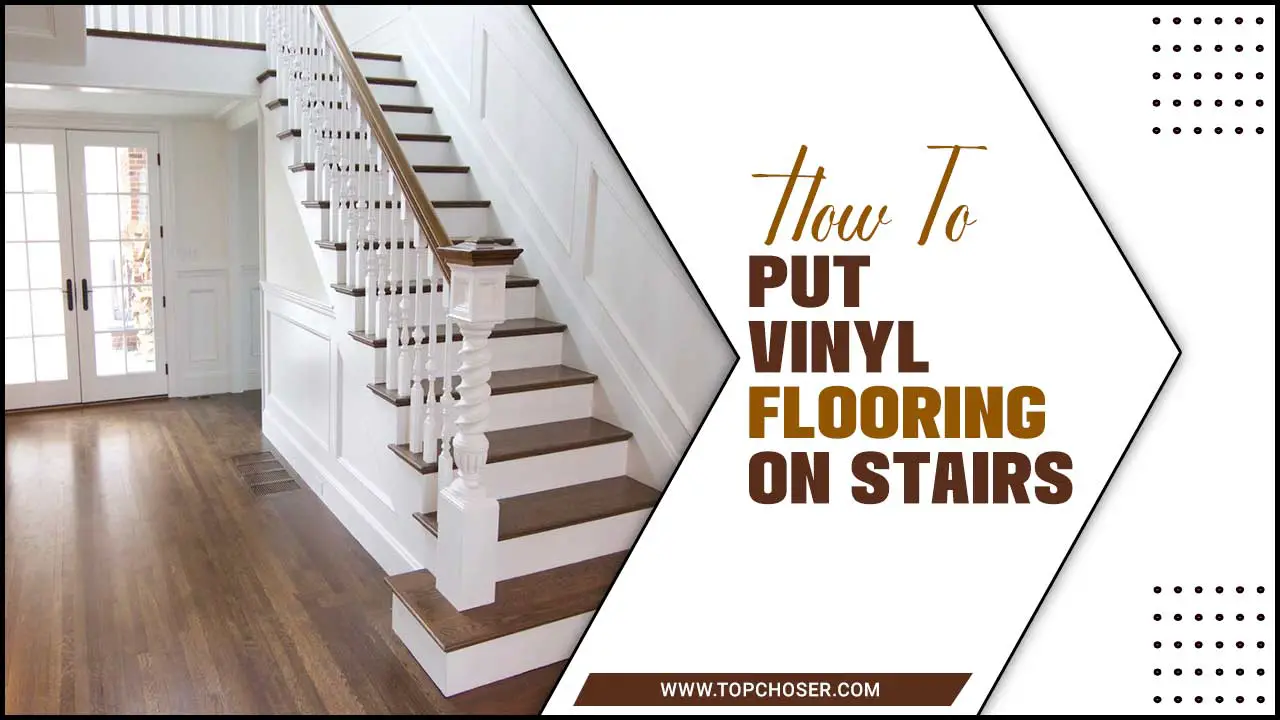
Finally, don’t forget about the risers – consider painting them or using LVP riser covers to complete the cohesive look of your staircase. By paying attention to these details, you can achieve a professional and stylish result when installing flooring on stairs.
Maintenance And Care For LVP On Stairs
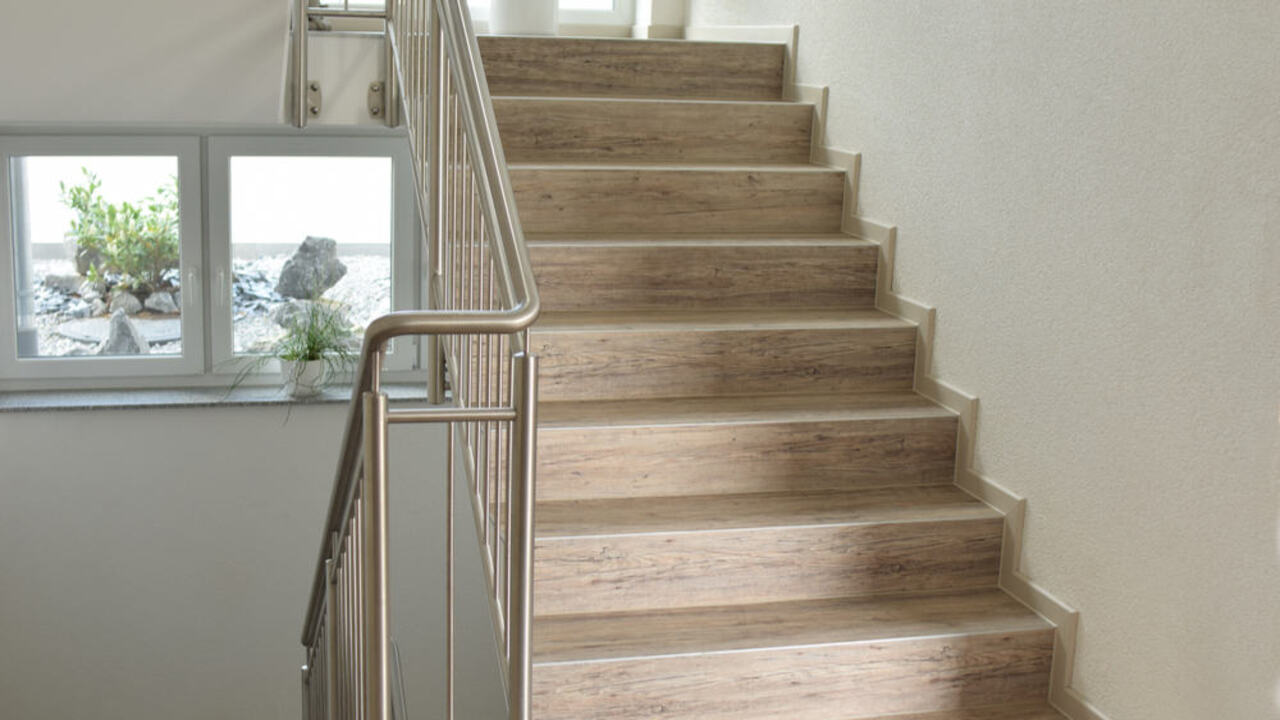
Maintaining and caring for LVP (Luxury Vinyl Plank) flooring on stairs is essential to preserve its durability and appearance. Before installation, ensure the stair surface is clean and smooth. Measure and cut the LVP planks to fit each stair, leaving room for expansion.
Secure the planks using adhesive or double-sided tape, ensuring a firm installation. Regularly sweep or vacuum the stairs to remove dirt and debris, and promptly clean any spills or stains with a mild cleanser and damp cloth. Keep your LVP stairs looking beautiful with proper maintenance.
Troubleshooting Common Installation Issues
When it comes to installing LVP (Luxury Vinyl Plank) flooring on stairs, there can be some common issues that you may encounter. One such issue is fitting the LVP planks on the stair treads. Measuring and cutting each plank accurately is important to ensure a snug fit. Another common issue is securing the LVP planks to the stairs.
Adhesive or double-sided tape can help keep the planks in place and prevent them from shifting or becoming loose over time. Safety is also a consideration, and adding non-slip stair treads or applying an anti-slip coating can help prevent accidents and provide added traction on the stairs.
Conclusion
To enhance the aesthetics and durability of your home, installing LVP flooring on stairs is a fantastic choice. It adds a touch of elegance and provides longevity and easy maintenance. Following the step-by-step guide outlined in this blog, you can achieve professional-looking results and create a safe and stunning staircase for your home.
We’ve got you covered, from measuring and ordering the right materials to installing stair nosing for added safety. Don’t forget to take proper care of your flooring on stairs to maintain its beauty for years. If you encounter any issues during installation, refer to our troubleshooting section for helpful tips.
Frequently Asked Questions
[rank_math_rich_snippet id=”s-7978dd2c-8c96-4446-9489-a14f40a00fc8″]

I am passionate about home engineering. I specialize in designing, installing, and maintaining heating, ventilation, and air conditioning systems. My goal is to help people stay comfortable in their homes all year long.

