Mobile homes have become a popular housing option for many people due to their affordability and flexibility. However, one crucial element of a mobile home’s construction is its subfloor.
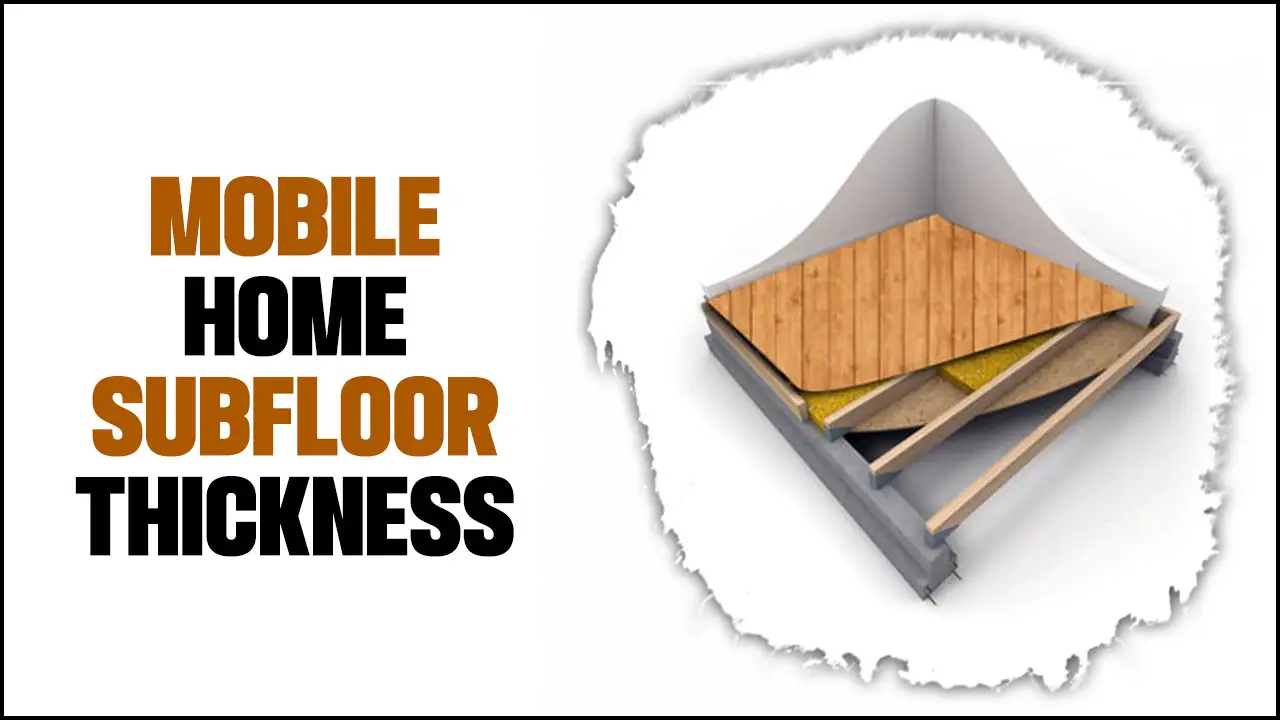
The subfloor is the layer between the structural frame and the finished flooring, and its thickness plays a significant role in the home’s stability and durability. Choosing the right subfloor thickness is essential to ensure the home withstands the test of time.
Here, we will explore different mobile home subfloor thickness options and help you determine which one is best suited for your needs. We will begin by discussing the standard subfloor thickness used in most mobile homes and the reasons behind it. We will also explore the advantages and disadvantages of using thicker subfloor materials and how they affect the home’s overall performance.
Step-By-Step Guide To Replace Mobile Home Subfloor Thickness
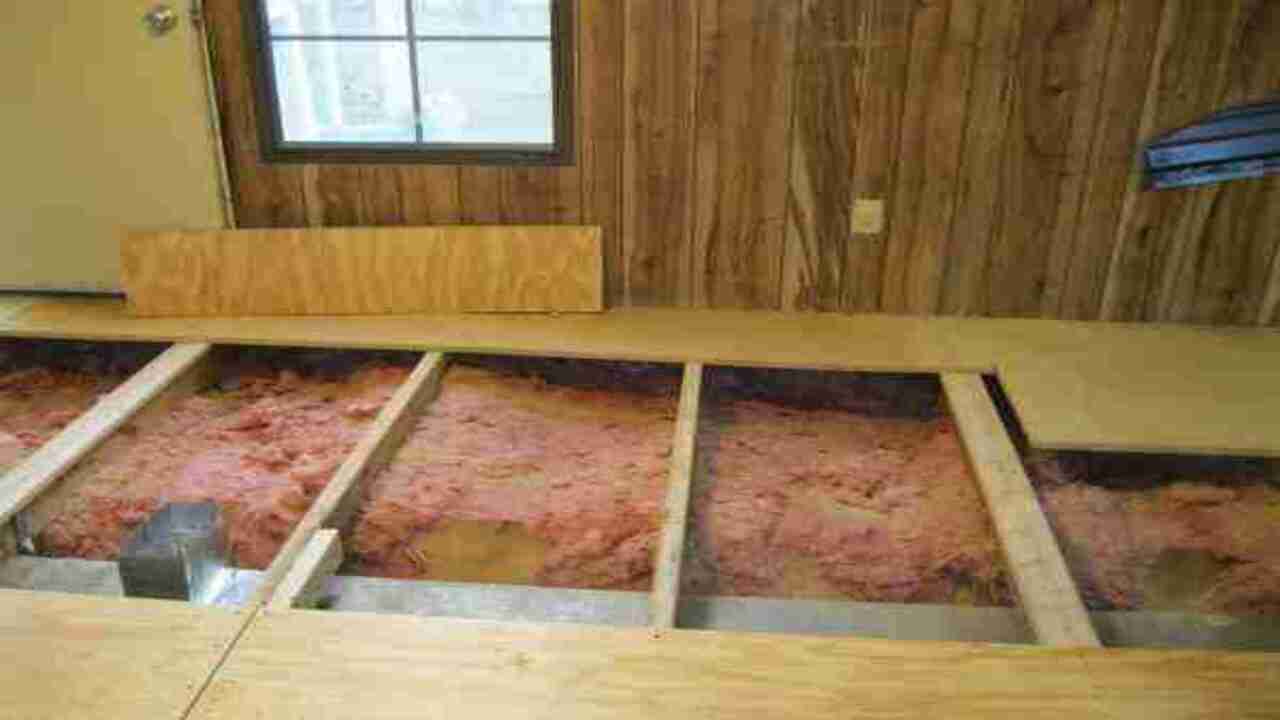
Assess the condition of the existing subfloor, checking for any soft spots or water damage. If replacement is necessary, measure the thickness of the current subfloor to determine the appropriate replacement thickness. Before starting, remove any fixtures or furniture on top of the subfloor and prepare the area.
Use a circular saw or reciprocating saw to cut out the damaged sections. Install new plywood or OSB subflooring, ensuring it matches the correct thickness for your mobile home. Secure the new subflooring with screws to provide stability. Here are some steps to Replace Mobile Home Subfloor Thickness.
Tools And Materials Needed For Subfloor Replacement
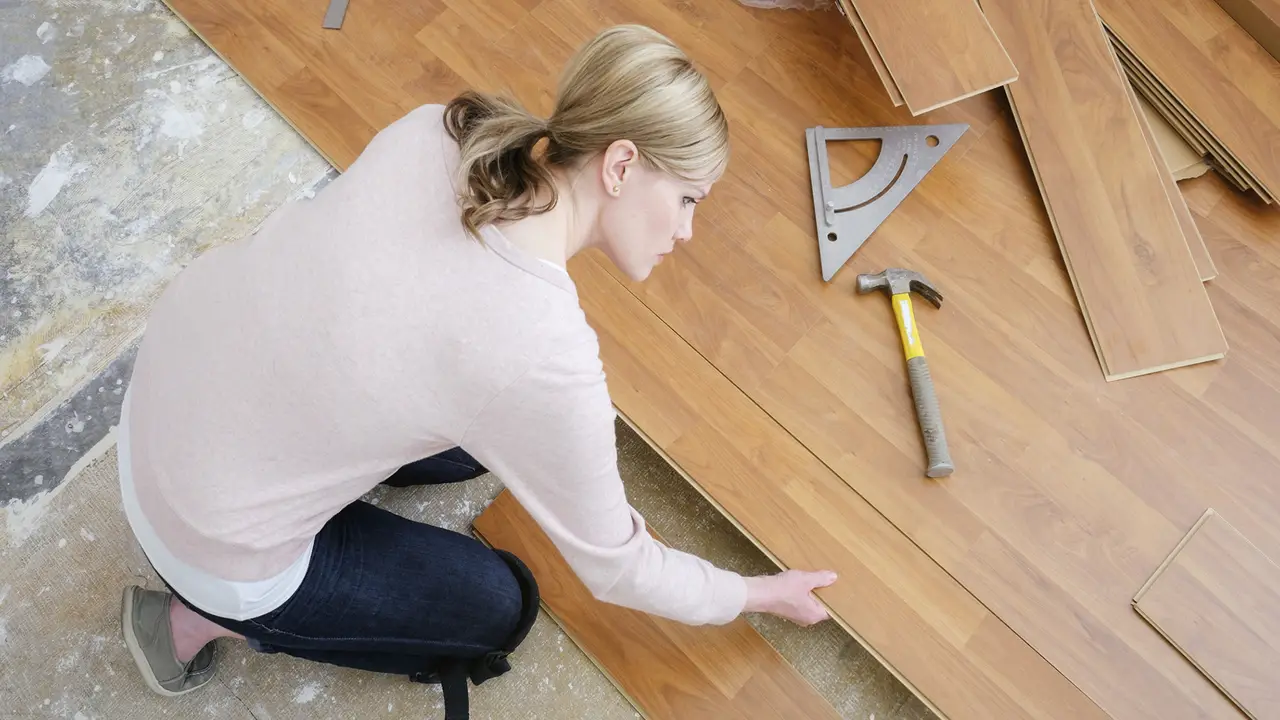
Before starting the subfloor replacement process, gathering the necessary tools and materials is essential. Some essential tools include a circular saw, pry bar, hammer, drill, and tape measure. Additionally, you will need materials such as plywood or OSB (oriented strand board), construction adhesive, screws or nails, and underlayment.
Choosing the appropriate thickness for your mobile home subfloor is crucial, considering local building codes and the condition of your current subfloor. Thicker subfloors provide better insulation and support for flooring materials, but they may require adjustments to door heights and transitions between rooms. Remember to follow proper safety precautions when working with power tools and ensure proper ventilation in the work area.
Inspecting And Preparing The Area For Subfloor Replacement
To ensure a successful subfloor replacement, thoroughly inspect the existing subfloor for signs of damage or deterioration. Look out for soft spots and water damage. Measure the thickness of the subfloor to determine the appropriate replacement thickness. Remove flooring materials, like carpet or vinyl, to expose the subfloor.
Use a circular saw to create a clean edge along the perimeter of the damaged area. Cut along joists or support beams when removing the damaged section of the subfloor. Inspect the joists and support beams for any damage or rot, making necessary repairs or replacements.
Removing The Old Subflooring
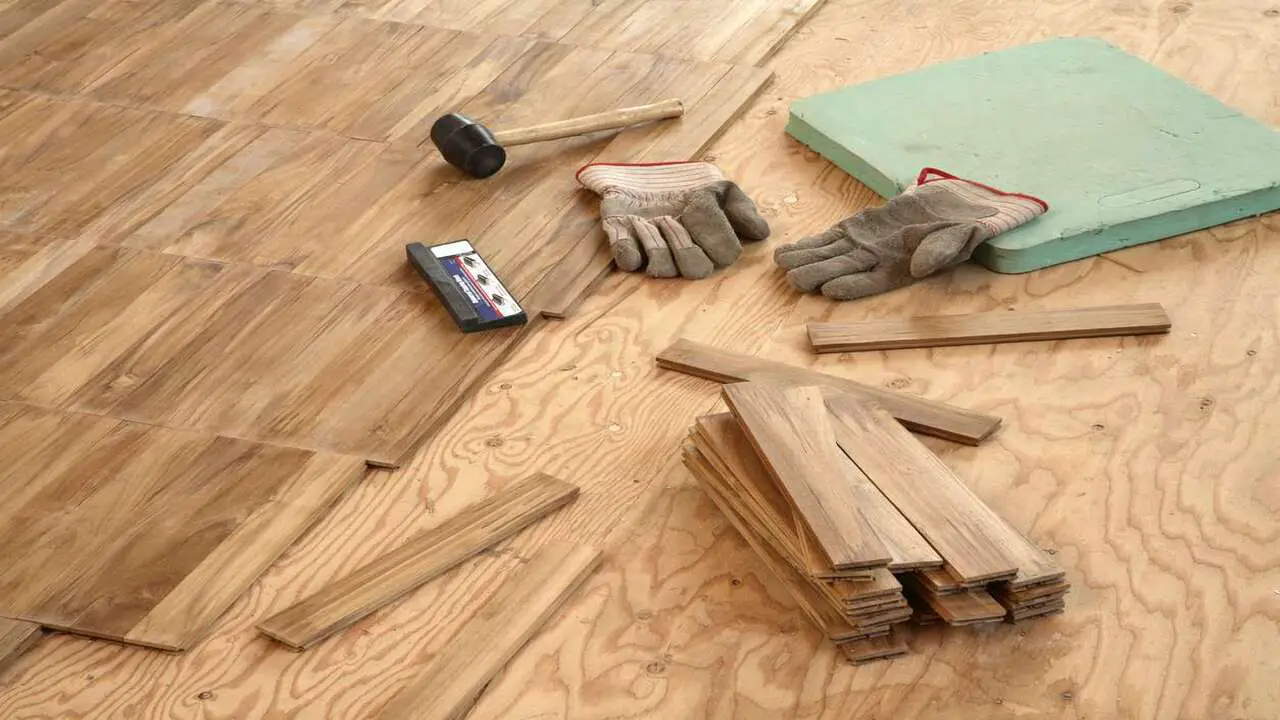
To begin removing the old subflooring, make sure to clear the area of all furniture and belongings. Start by taking off any baseboards or trim that may be covering the edges of the subfloor. Carefully lift and remove the old subflooring using a pry bar or crowbar, starting from one corner of the room.
Be cautious of electrical or plumbing lines underneath and take necessary precautions to avoid damaging them. Dispose of the old subflooring following local regulations. Finally, thoroughly clean and inspect the joists and support beams for any signs of damage or rot.
Fixing The Subfloor Structure
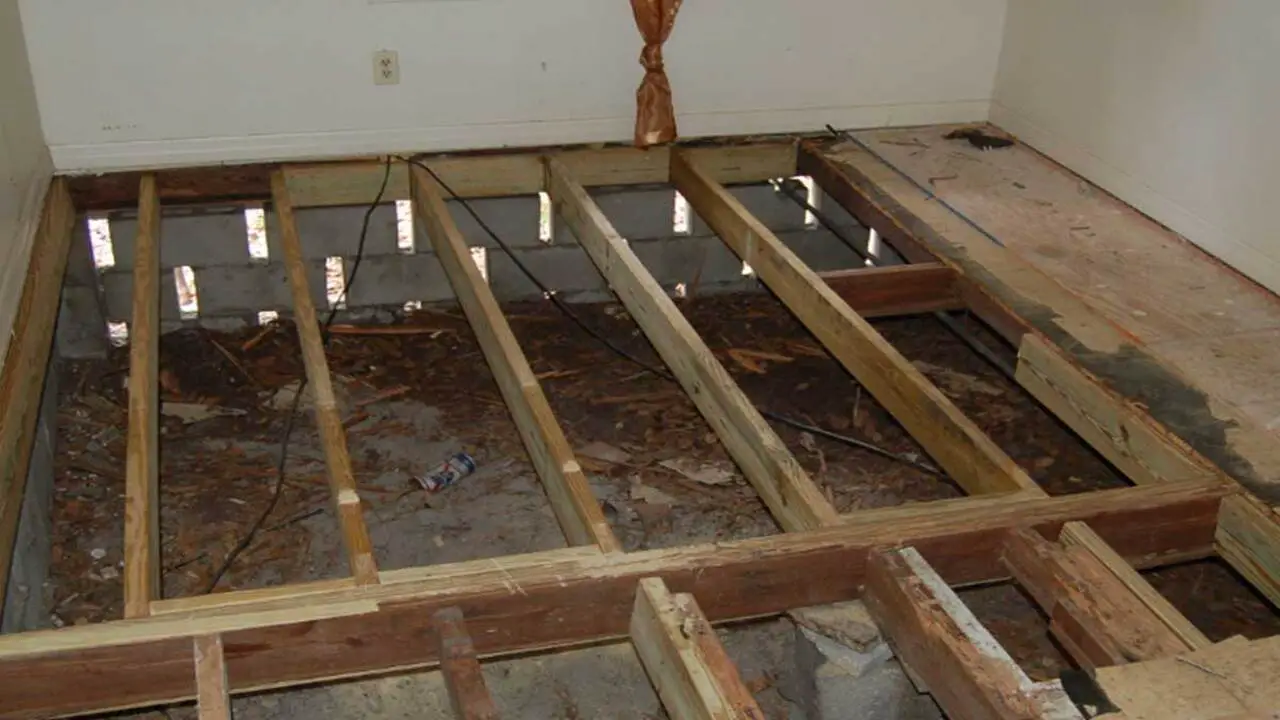
When it comes to fixing the subfloor structure of a mobile home, there are several important considerations. The subfloor plays a crucial role in providing support and stability to the home, so if it becomes damaged or deteriorated, it’s essential to address the issue promptly.
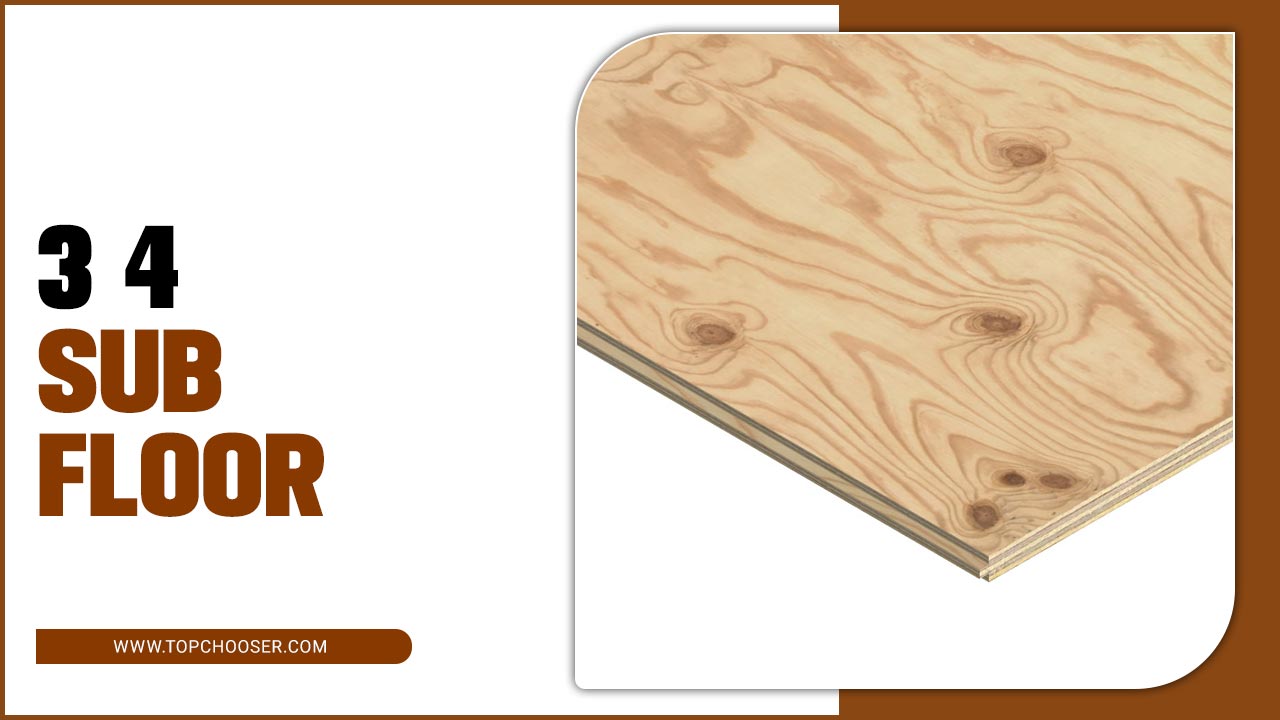
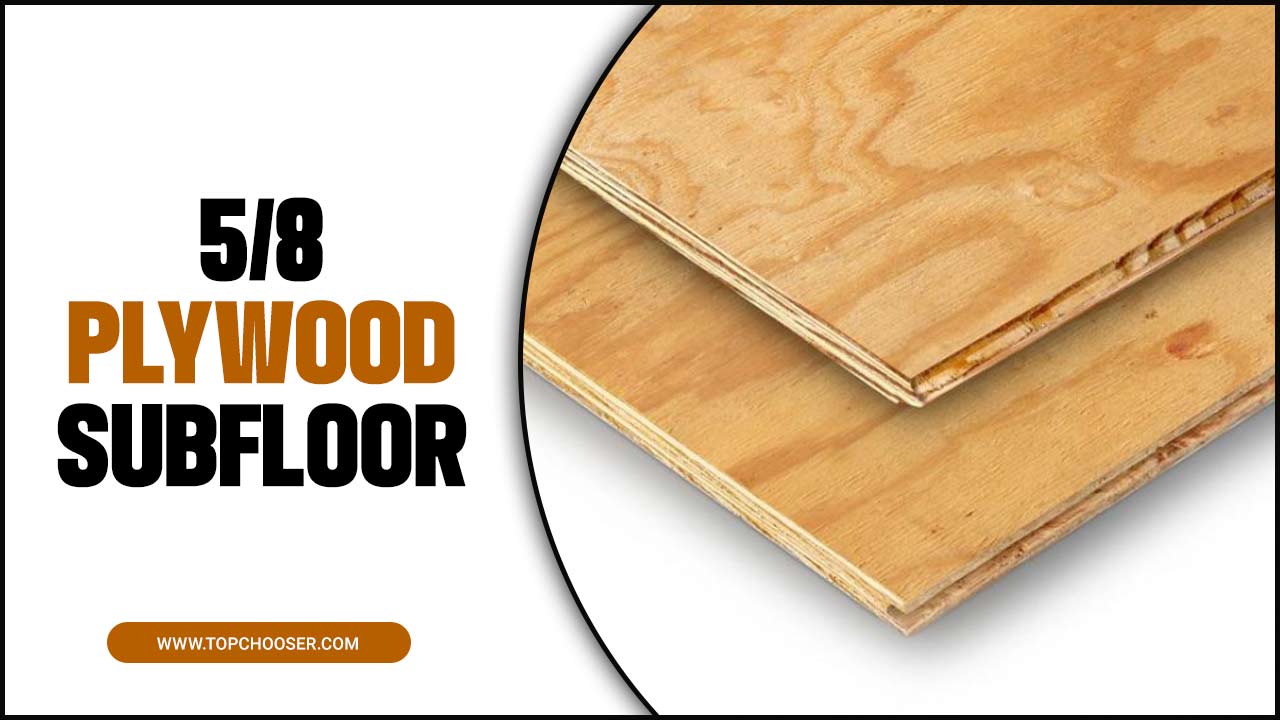
Before replacing the subfloor, it’s crucial to assess the extent of the damage and address any underlying issues, such as water damage or pest infestation. When choosing a replacement subfloor material, consider options like plywood or oriented strand board (OSB) with thickness options ranging from 5/8 to 3/4 inch.
Thicker subfloors offer increased strength and durability, albeit at the cost of added weight to the structure. To properly fix the subfloor structure, follow a step-by-step guide that includes removing the old subfloor, installing new supports if necessary, cutting and fitting the new subfloor panels, and securing them in place.
Measuring And Cutting The New Subflooring
To ensure a proper fit for the replacement subflooring, start by measuring the thickness of the existing subfloor. This will help you purchase the correct thickness of replacement material. Once you have the right material, use a circular saw or similar tool to cut the subflooring to the appropriate dimensions.
Make precise and accurate cuts to ensure a snug fit. Use a jigsaw or other cutting tool to make additional cuts for pipes or obstructions. After cutting, remove the damaged subfloor and clean the area before installing the new subfloor pieces. Make sure they fit together tightly and are level with the surrounding floor.
Installing The New Subflooring
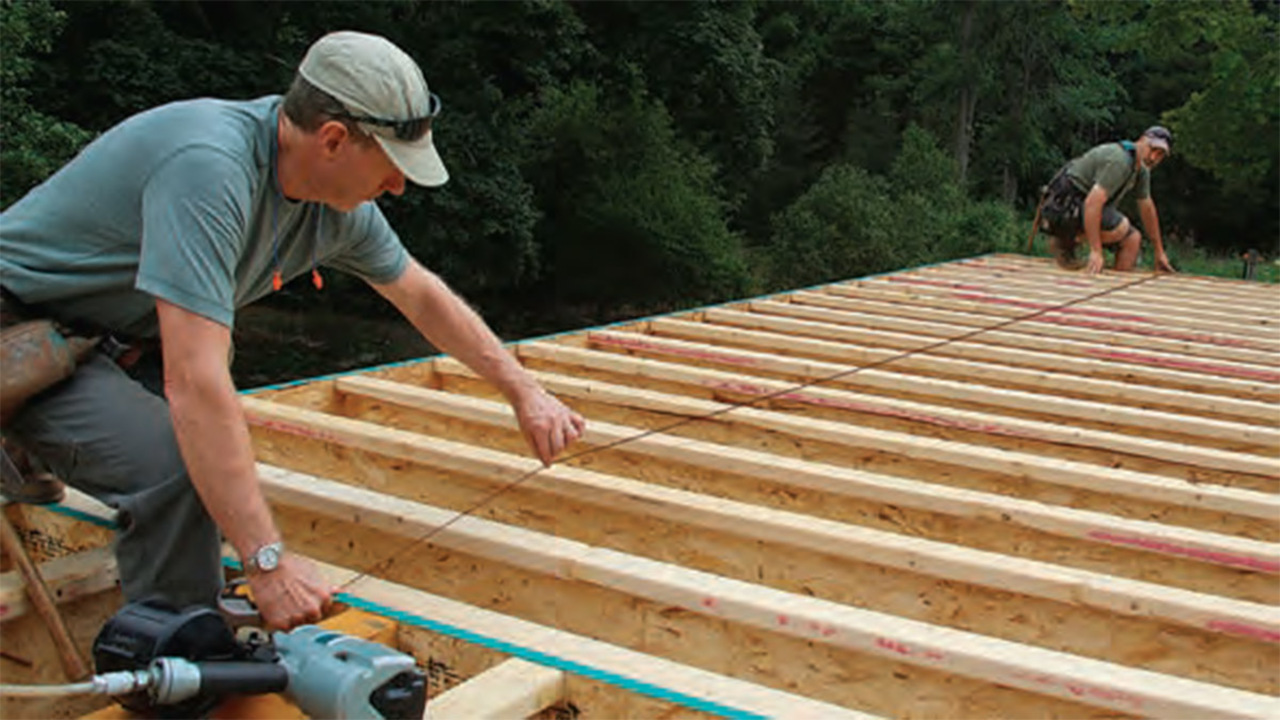
To install the new subflooring, start by removing the old subflooring and ensure that any nails or screws sticking out are removed. Take measurements and cut the new subflooring to fit the dimensions of your mobile home. Apply a layer of construction adhesive on the floor joists before placing the new subflooring.
Secure the new subflooring to the floor joists using a nail gun or screws. Remember to stagger the seams of the subflooring for added stability. Once the new subflooring is installed, you can install additional flooring materials, such as carpet or laminate.
Securing The New Subflooring
To secure the new subflooring, ensure it is cut to the correct size and shape for a proper fit. Use high-quality construction adhesive and press firmly to strengthen the joists’ bond. Fasten the subflooring with screws or nails evenly spaced along each joist.
Counter-sink the fasteners slightly below the surface to prevent tripping hazards or damage to the flooring. Check for areas needing extra reinforcement around plumbing or HVAC vents. Adding support where necessary will ensure a solid subfloor foundation.
Applying Finishing Touches To The Subflooring

Installing and preparing it properly is crucial to ensure a smooth and level subfloor. Begin by filling any gaps or cracks in the subfloor with wood filler or caulk. Next, sand down rough areas or high spots to create a seamless surface. Applying a primer to the subfloor before installing flooring will enhance its durability.
Consider using a carpet pad for added comfort and insulation with carpet installation. If opting for vinyl or laminate flooring, installing an underlayment provides cushioning and protection against moisture.
Post-Installation Maintenance And Care
After installing a new subfloor in your mobile home, it’s crucial to maintain and care for it to ensure its longevity properly. Regularly inspect the subfloor for any signs of damage or wear, such as water stains or soft spots. Keep the subfloor clean and free from debris that could cause rot or damage.
Address any deteriorating or damaged areas promptly to prevent further issues. Consider using a sealant or waterproofing product to protect the subfloor from moisture and potential damage. Monitor the stability of the subfloor, especially in areas with temperature changes or shifting soil.
Common Mistakes To Avoid During Subfloor Replacement
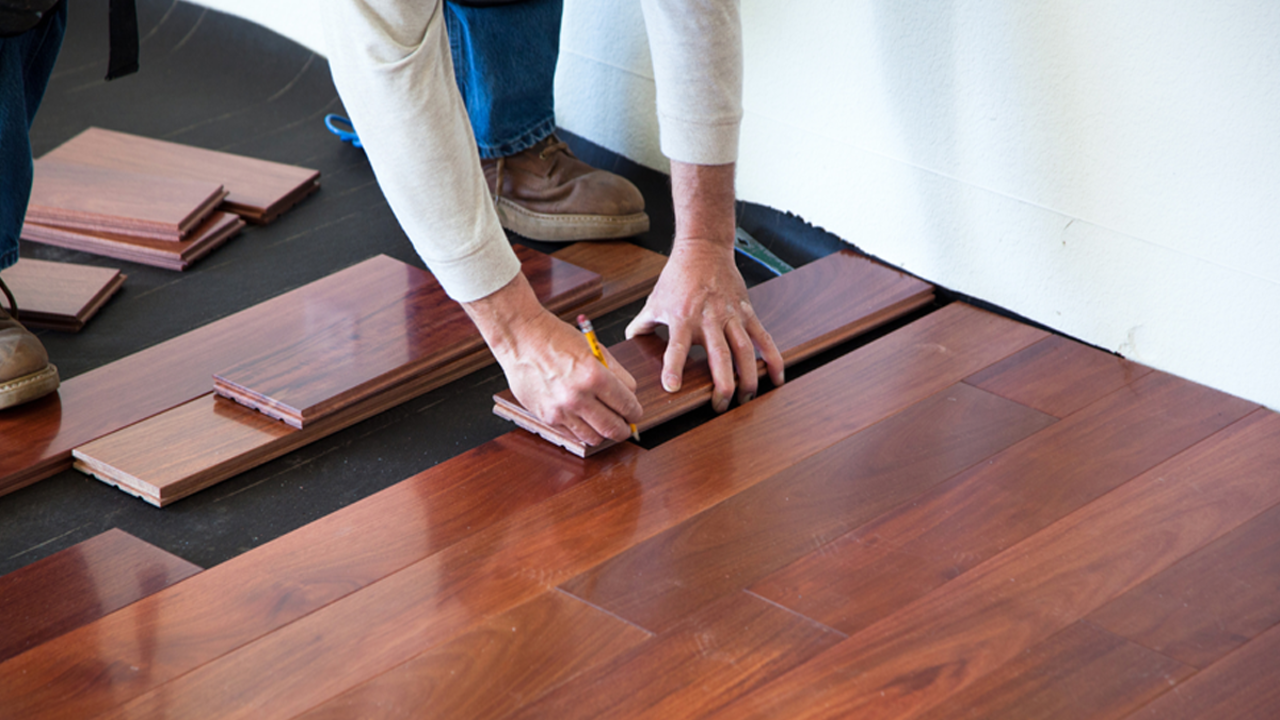
Assessing the extent of damage and determining if the entire subfloor needs to be replaced or if only certain sections need repair is an important step before starting subfloor replacement in a mobile home. One common mistake to avoid is not properly supporting the structure before removing the old subfloor.
It is crucial to use jacks or supports to ensure the stability of the home during the replacement process. Another mistake to avoid is not properly sealing the new subfloor to prevent moisture damage, which can lead to issues like mold and rot in the future. Choosing the correct thickness of the subfloor for your specific mobile home is also crucial.
While 5/8-inch or 3/4-inch plywood are common options, consulting with a professional or referring to manufacturer guidelines is best. Additionally, properly securing the new subfloor with screws instead of nails is essential for its longevity and stability.
Conclusion
A mobile home subfloor thickness refers to the thickness of a subfloor in a mobile home. It is made of lightweight materials designed to install and maintain easily. Replacing the subfloor thickness in your mobile home is a detailed process that requires careful planning and execution.
You can ensure a successful subfloor replacement by following our step-by-step guide and using the right tools and materials. Remember to inspect and prepare the area, remove the old subflooring, fix the subfloor structure, measure and cut the new subflooring, install and secure it properly, and apply finishing touches. We have provided bulk information for the mobile home subfloor and hope our information was helpful from your perspective.
Frequently Asked Questions
[rank_math_rich_snippet id=”s-c13bb212-33c2-4756-890c-d0ccf3ea6840″]

I am passionate about home engineering. I specialize in designing, installing, and maintaining heating, ventilation, and air conditioning systems. My goal is to help people stay comfortable in their homes all year long.

