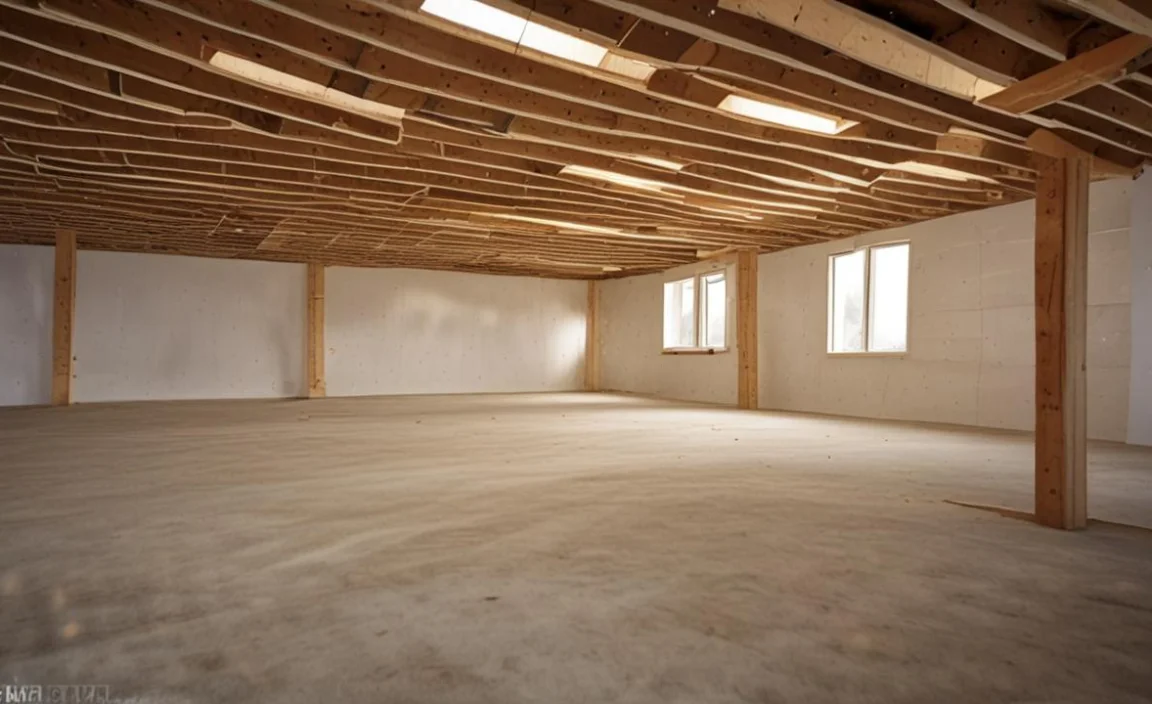
Scabbing floor joists is a term used to describe the process of repairing damaged or weakened floor joists by reinforcing them with additional lumber.
When floor joists become compromised due to rot, insect damage, or other factors, they cannot support the floor’s weight and its occupants’ weight. Scabbing the joists offers a cost-effective alternative to replacing them entirely, especially when the damage is localized, or access is difficult. Attach a piece of lumber to the damaged area using nails or bolts to scab a floor joist.
The additional piece of lumber should typically be of the same size and grade as the original joist. And you should secure it to distribute the load across both pieces of wood. Repairing floor joists can be relatively simple, but it is essential to do it correctly and ensure the additional lumber is adequately secured to prevent further damage or failure.
Tools Required For Floor Joists
These readily available tools will facilitate the scabbing process and ensure a secure and reliable floor structure. Remember, if you’re unsure about the process, it’s best to seek help from a professional contractor experienced in structural repairs. To scab floor joists effectively, you’ll need the following tools:
- Circular Saw: Cut the lumber scabs to the required length and ensure straight cuts.
- Measuring Tape: Essential for accurately measuring the length and dimensions of the scabs and joists.
- Hammer: Using a nail gun can be faster and more efficient than traditional nailing.
- Galvanized Nails or Screws: To secure the scabs to the sides of the existing joists.
- Safety Equipment: Goggles and gloves to protect your eyes and hands during the cutting and installation process.
- Drill and Drill Bits: If using screws, a drill is required to create pilot holes to prevent wood splitting.
- Chisel: Occasionally, you may need a chisel to adjust for a precise fit.
- Pry Bar: Useful for removing damaged or rotted wood before attaching the scabs.
- Workbench or Sawhorses: A stable surface to support and cut the lumber.
How To Repair Scabbing Floor Joists
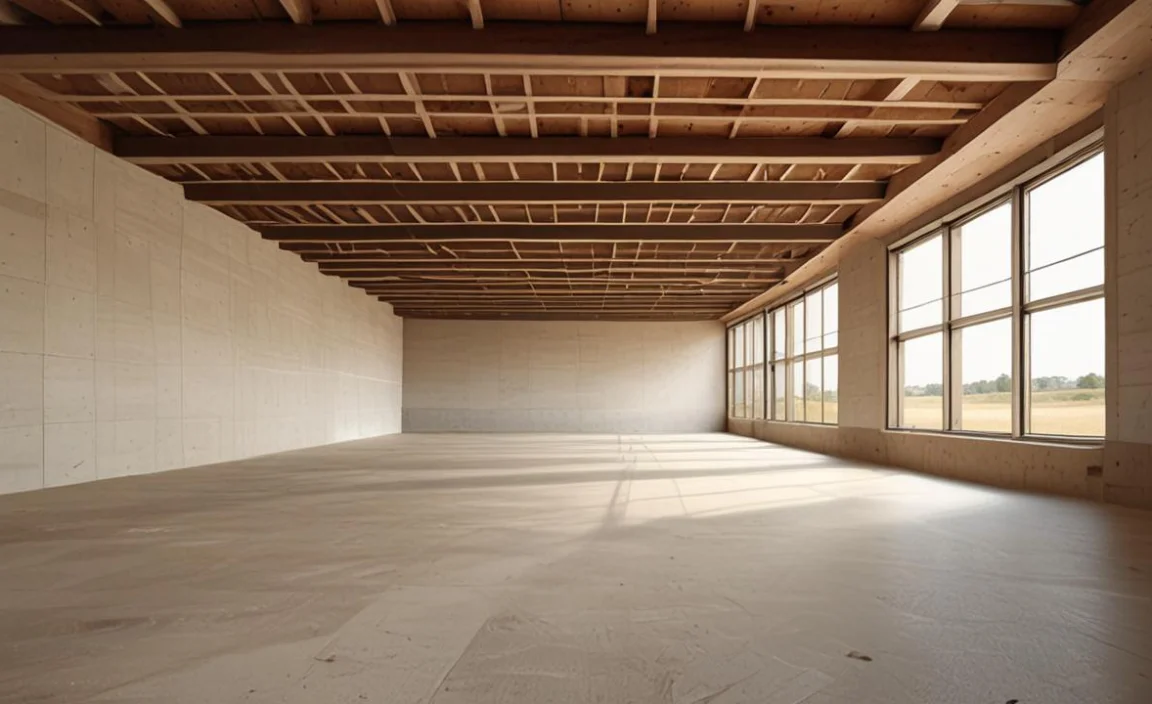
scabbing floor joists is an effective technique that allows you to add strength to and fix minor problems that are affecting floor joists. Scabbing involves taking a piece of wood and fastening it over the problem area. Scabbing can be handy to repair sagging, cracked, or twisted joists, which can happen in older houses or due to water damage. Termite infestation, or excessive load.
Also, Scabbing can also be handy for reinforcing existing joists that are not strong enough to support the floor. Scabbing is a relatively simple and inexpensive method of repairing floor joists but requires some tools and skills.
Identify Which Floor Joists Need To Be Scabbed
Before starting on the floor joists. You can do this by inspecting the crawl space or basement under the floor and looking for signs of damage, such as rotting, splitting, warping, or sagging. You can also use a level or a straight edge to check if the floor is even and stable. If you notice any unevenness or movement in the floor, it may indicate a problem with the joists. You should mark the damaged joists with chalk or tape to easily locate them later.
Remove The Damaged Section Of The Joist
Remove the Damaged Section of the Joist The next step is to remove the damaged section of the joist that you want to scab. You can do this by using a circular or reciprocating saw to cut out the affected part of the wood.
You should make sure that you leave at least 3 feet of undamaged wood on both sides of the cut. Screws or other fasteners attached to the joist. You should wear safety glasses and gloves when cutting the wood and dispose of the waste properly.
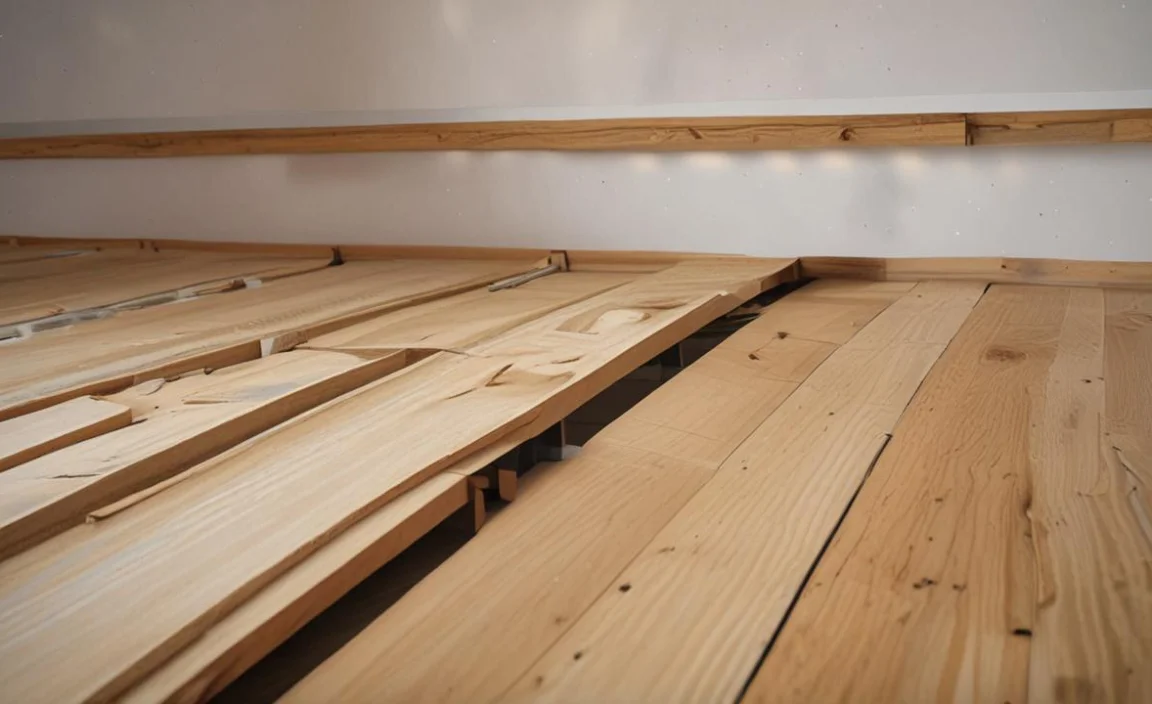
Cut A Scab Board To Size
Cut a Scab Board to Size After removing the joist’s damaged section; you need to cut a scab board to size. A scab board is a piece of wood that is similar in dimension and quality to the original joist. You can use dimensional lumber or engineered wood products for this purpose.
You should measure the length of the gap you created by cutting out the damaged section and adding 6 inches to it. This will be the length of your scab board. You should also make sure that your scab board is at least as wide and as thick as your original joist.
Apply Construction Adhesive To The Scab Board
Apply Construction Adhesive to the Scab Board The next step is to apply construction adhesive to the scab board. Construction adhesive is a strong glue that helps bond the scab board to the original joist and prevents squeaking and movement.
You should apply a generous bead of construction adhesive along one edge of your scab board and spread it evenly with a caulk gun or a putty knife. You should also apply some adhesive on the ends of your scab board.
Position The Scab Board Over The Damaged Section
Position the Scab Board over the Damaged Section The next step is to position the scab board over the damaged section of the joist. You should align the edge of your scab board with the edge of your original joist and ensure they are flush and level. You should also centre your scab board over the gap you created by cutting out the damaged section. Should leave 3 inches of overlap on both sides of the gap.
Drill Pilot Holes For Screws
Drill Pilot Holes for Screws The next step is to drill pilot holes for screws on your scab board. Pilot holes are small holes that help guide the screws into place and prevent the splitting or cracking of the wood. You should use a corded drill and a bit that is slightly smaller than your screws for this purpose.
You should drill pilot holes every 16 inches along your scab board. Starting from one end and working to the other. Also, You should drill pilot holes near each end of your scab board.
Fasten The Scab Board To The Joist With Screws
Fasten the Scab Board to the Joist with Screws The final step is to fasten the scab board to the Joist with screws. Screws are metal fasteners that help secure the scab board to the original joist and provide additional strength and stability.
You should use 3-inch long deck screws or lag screws for this purpose. You should use a cordless drill and a driver bit that matches your screws. Also, You should drive one screw into each pilot hole on your scab board, ensuring they are tight and flush with the wood surface.
Repeat The Process For Additional Damaged Joists
Repeat the Process for Additional Damaged Joists. You should repeat the process for each damaged joist that needs to be scabbed if you have more than one. You should follow the steps described above and use similar materials and tools for each joist. Ensure that you align and level all your scabs with each other and the rest of the floor joists.
How Much Does It Cost To Scab Floor Joists?
The cost of floor joists depends on several factors, such as the extent of the damage, the size and number of the joists, the type and quality of the materials, and the labour involved. However, this cost may vary depending on your location, the complexity of the project, and the contractor you hire.
You should get several quotes from different contractors before scabbing your floor joists. You should also compare scabbing costs with alternatives such as replacing or sistering the joists.
Conclusion
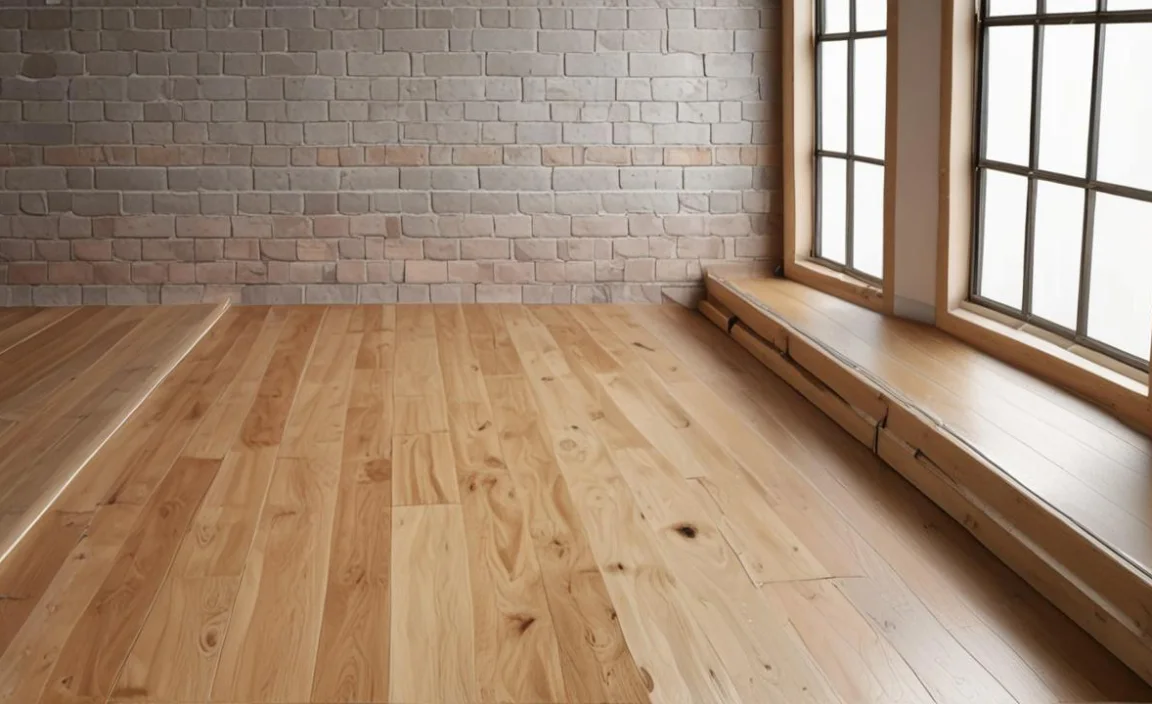
scabbing floor joists can be an effective way to reinforce the structural integrity of a building. While experts do not recommend it for every situation, using this step can be helpful in cases where floor joists become damaged or weakened.
Scabbing involves adding additional pieces of lumber to the existing joists, which can provide added support and prevent further damage from occurring. One should note that only a professional with the necessary expertise should perform scabbing to ensure the job is done correctly and safely. With proper installation, the floor joists can help extend the lifespan of a building and provide a stable foundation for many years to come.
FAQ’s
[rank_math_rich_snippet id=”s-0a2ca78f-77ae-4a66-99cf-72d7b3b58c79″]
