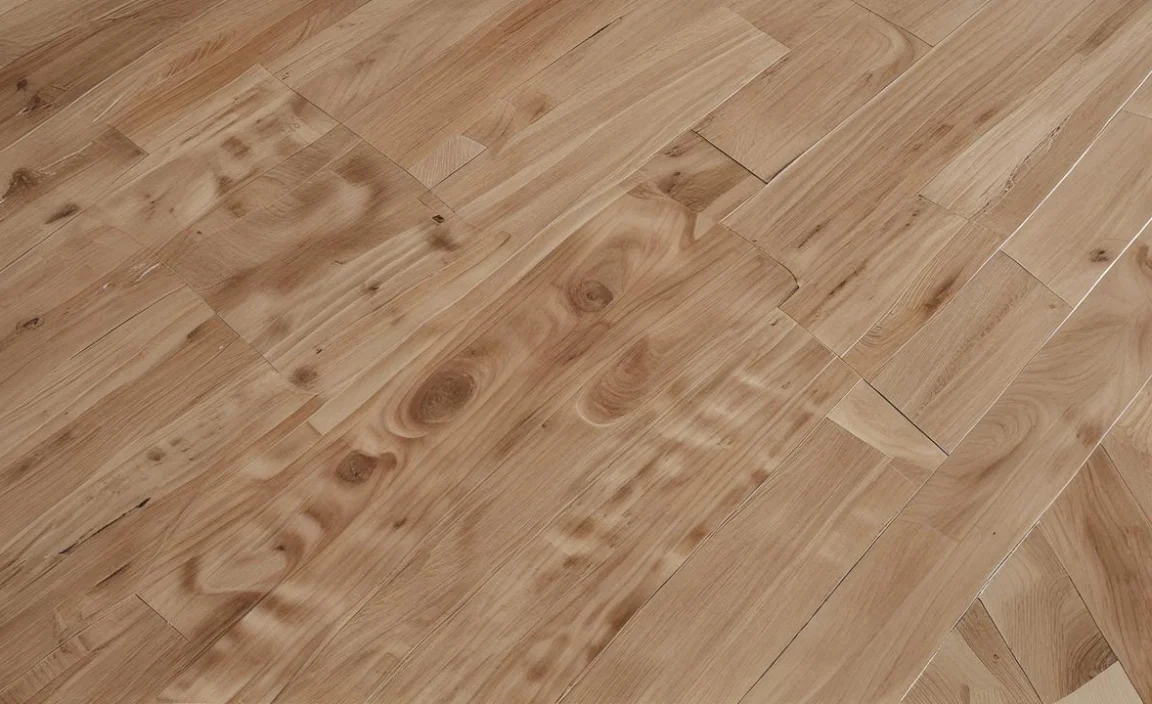
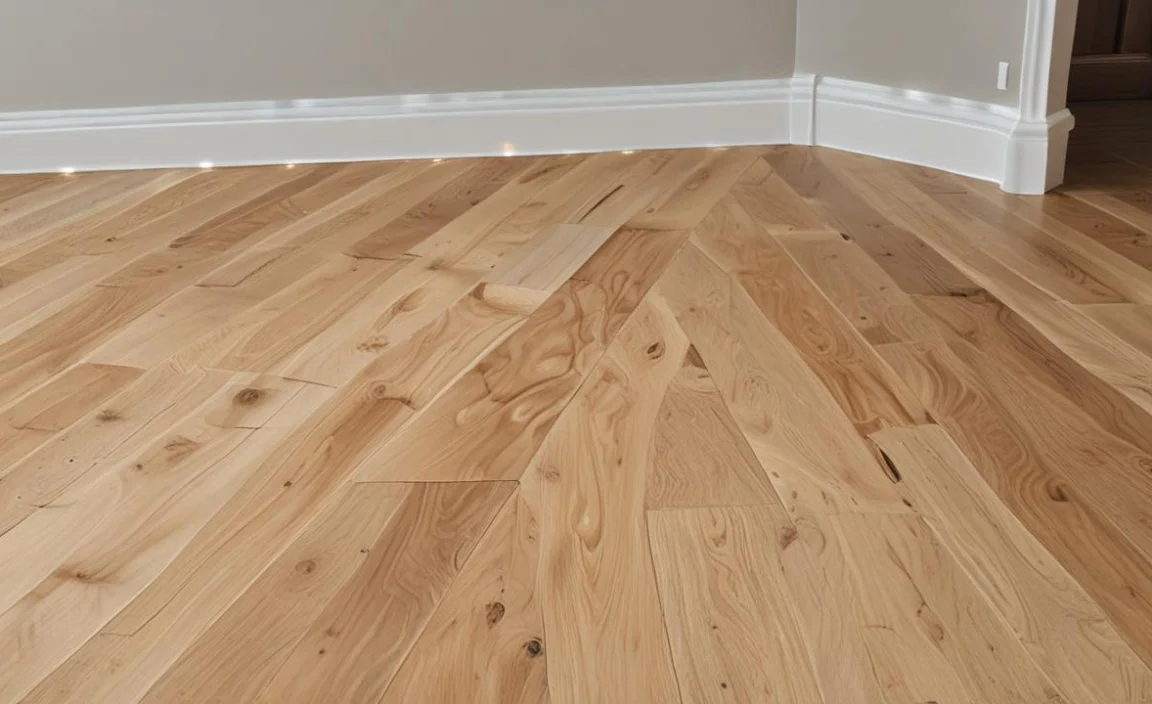
Pegged hardwood flooring is a type of flooring that has been handy for centuries and is still popular today. This type of flooring comes with hardwood boards that are attached to each other with wooden pegs.
The pegs are hammered into holes drilled into the sides of the boards, and then the boards are sanded down until they are smooth. The pegs hold the boards together tightly, making the flooring less likely to warp or shift over time. Additionally, the hardwood used in this type of flooring is often of a higher quality than other types of flooring, which can also contribute to its longevity.
Another advantage of pegged hardwood floors is their aesthetic appeal. The visible pegs create a unique and rustic look that is difficult to replicate with other types of flooring. This type of flooring is particularly well-suited for homes with a traditional or historical style but can also work well in modern spaces with an eclectic design aesthetic.
Types Of Wood Used For Hardwood Flooring
This hardwood flooring, also popular as pegged plank flooring, is a traditional style of flooring where wooden planks are secured to the subfloor using wooden pegs or dowels instead of modern nails or adhesives. While various types of hardwood can be handy for this style of flooring, some of the most common and popular wood species are:
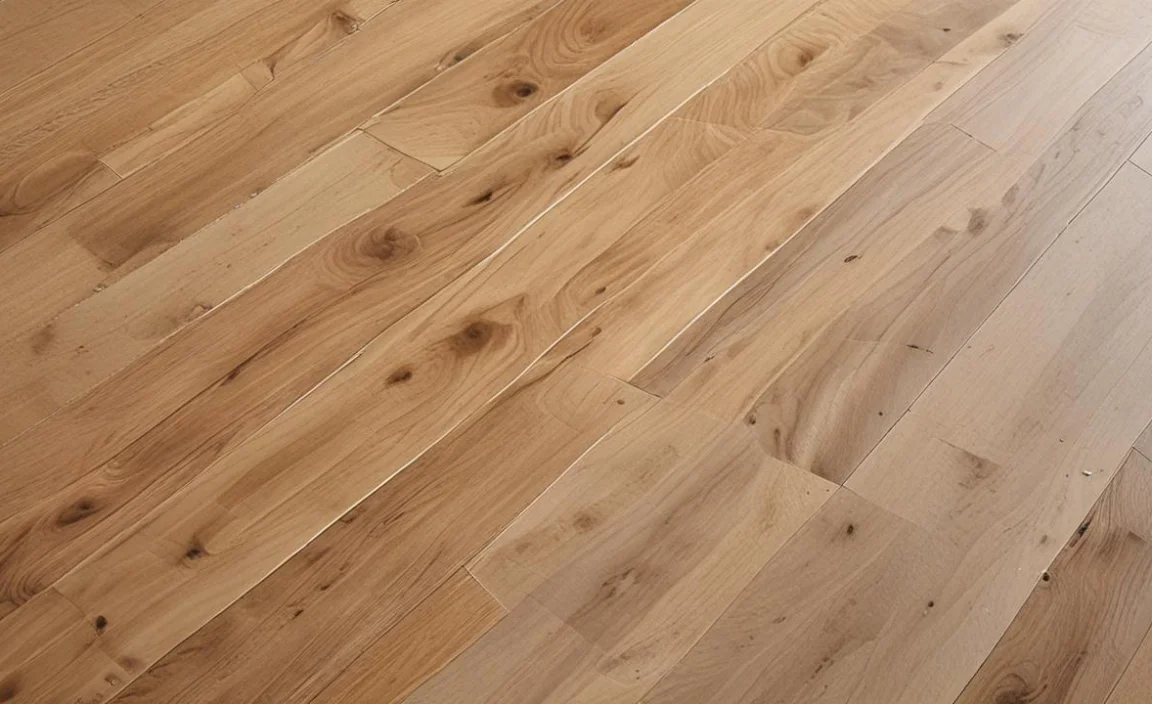
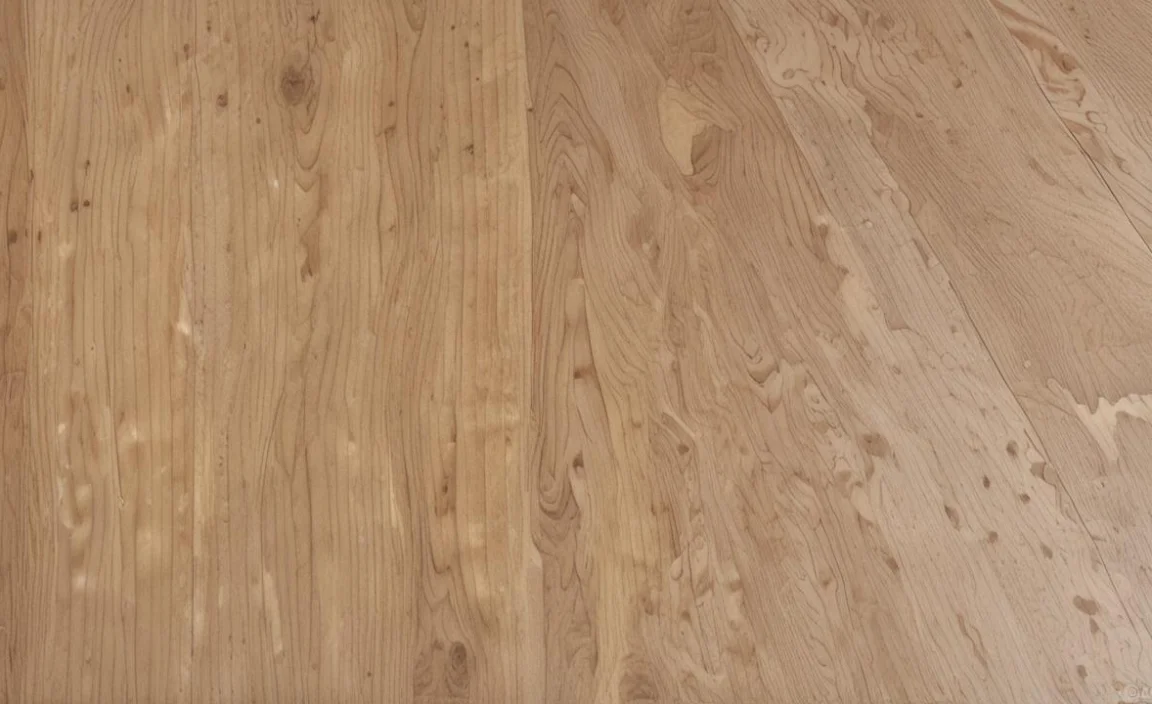
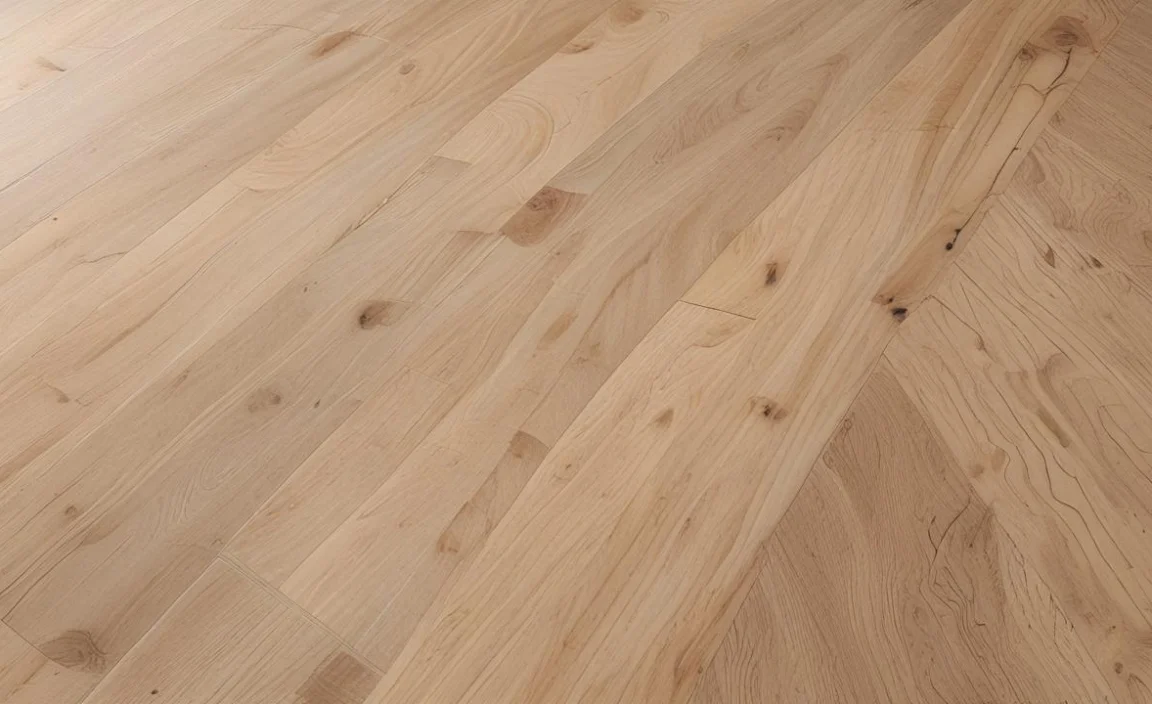
- Oak: Oak is one of the most traditional and widely used wood species for hardwood flooring. It is popular for its strength, durability, and beautiful grain patterns. Red oak and white oak are the two primary varieties used, with red oak having a slightly reddish tint and white oak having a more golden-brown hue.
- Hickory: Hickory is a hard and dense wood that is highly resistant to wear and tear, making it an excellent choice for high-traffic areas. It features distinctive grain patterns and color variations that add character to the flooring.
- Maple: Maple is another popular choice for hardwood flooring. It has a smooth, fine grain and a light color, which can give a more contemporary look to the flooring.
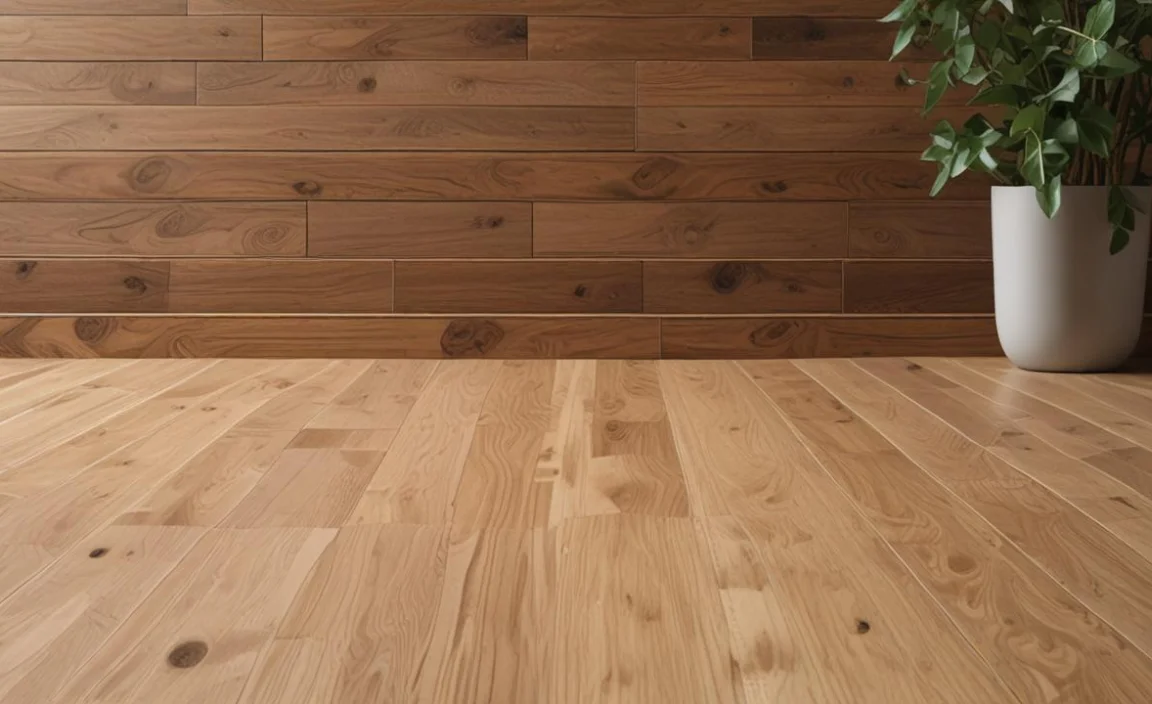
- Cherry: Cherry wood is known for its rich, reddish-brown color that darkens with age and exposure to light. It creates a warm and elegant look for pegged hardwood floors.
- Walnut: Walnut is a dark, luxurious wood with a straight grain and occasional swirls. It adds a touch of sophistication and a sense of timelessness to the flooring.
Gather The Necessary Tools And Materials
Before installing, measure the floor area accurately and purchase enough hardwood flooring boards and contrasting wood species to create the pegs. Check the subfloor’s condition and ensure it is clean, level, and debris-free. Have all the necessary safety equipment to protect yourself during installation. To install hardwood flooring, you’ll need the following tools and materials:
Tools:
- Measuring Tape
- Pencil or Marker
- Drill with Drill Bits
- Hammer
- Rubber Mallet
- Chisel (for cleaning out holes)
- Wood Glue
- Sandpaper or Sanding Block
- Soft Broom or Vacuum
- Damp Cloth or Hardwood Floor Cleaner
- Level (for checking the subfloor)
- Safety Glasses and Dust Mask
- Saw (to cut hardwood boards if needed)
- Nailer or Flooring Nails (if using a nail-down installation method)
- Pliers (for removing damaged pegs, if necessary)
Materials:
- Hardwood Flooring Boards (main flooring material)
- Contrasting Wood Species (for creating pegs)
- Pegs or Dowels (pre-made or cut from contrasting wood)
- Underlayment Paper (optional for moisture protection)
- Flooring Adhesive (if using an adhesive installation method)
- Wood Filler (to fill any gaps or holes)
- Stain or Finish (to protect and enhance the appearance)
- Appropriate Fasteners (for securing hardwood boards to the subfloor)
- Flooring Nails (if using a nail-down installation method)
- Hardwood Floor Cleaner (if using prefinished hardwood)
How To Install Pegged Hardwood Flooring
This hardwood floor is a type of flooring that uses wooden pegs to secure the planks to the subfloor. This style of flooring was popular in the past and is now making a comeback due to its durability, stability and unique aesthetic.
This hardwood flooring is its stability. The wooden pegs distribute the weight of furniture and foot traffic evenly across the subfloor, reducing the risk of damage. Hardwood flooring is a good choice for high-traffic areas in homes and commercial buildings.
This hardwood flooring is a durable, stable and beautiful option for homeowners and designers looking for a unique and long-lasting flooring solution. Here are some tips on how is install pegged hardwood flooring.
Preparing The Subfloor
Before installing hardwood flooring, it’s crucial to prepare the subfloor properly. To ensure a successful installation, the subfloor must be clean, dry, and level. Start by removing existing flooring materials and thoroughly cleaning the surface to eliminate dust and debris.
Check for any damages or uneven spots and make necessary repairs. Consider using a self-leveling compound to create a smooth surface if there are significant irregularities. Proper subfloor preparation is essential as it provides a stable foundation for the hardwood flooring and helps prevent future problems like squeaking or warping.
Acclimating The Hardwood Flooring
Acclimating the hardwood flooring is critical to prevent potential issues after installation. Once the hardwood planks arrive at the installation site, allow them to acclimate for at least 48 hours. This process allows the wood to adjust to the ambient humidity and temperature of the room. Open the packaging and spread the planks across the room without installing them.
It’s important to keep the room in normal living conditions during this period. Acclimation helps reduce the chances of the hardwood expanding, contracting, or warping after installation, ensuring a stable and long-lasting floor.
Determining The Starting Point
Choosing the right starting point for the installation sets the tone for the entire project. Generally, starting along the longest exterior wall or in the direction of incoming natural light is best. This approach creates a more visually appealing layout.
Measure the room’s width and calculate the width of the final row of planks to avoid ending up with very narrow pieces. Mark the starting point with a chalk line and ensure it is perpendicular to the wall. Taking the time to decide on the starting point and making accurate measurements will result in a more balanced and aesthetically pleasing hardwood floor.
Installing The First Row Of Pegged Hardwood
The first row of pegged hardwood sets the foundation for the rest of the installation. Lay the first row with the tongue side facing the wall, leaving a small gap between the plank and the wall to account for potential expansion.
Use a pneumatic flooring nailer or cleats to secure the planks to the subfloor. Follow the manufacturer’s guidelines for proper nailing techniques, ensuring the boards are firmly attached. Double-check that the first row is straight and level, as any discrepancies can affect the entire installation.
Securing The Flooring With Nails Or Cleats
Use a flooring nailer or cleats to ensure the hardwood flooring is securely fastened. These tools help drive the fasteners into each plank’s tongue at an angle, effectively concealing the nails. Position a flooring nailer correctly and strike it firmly with a mallet to insert the nail.
For cleats, a nail gun specifically designed for cleat nails is necessary. Proper and consistent fastening ensures the planks remain firmly attached to the subfloor, reducing the risk of squeaking or movement over time.
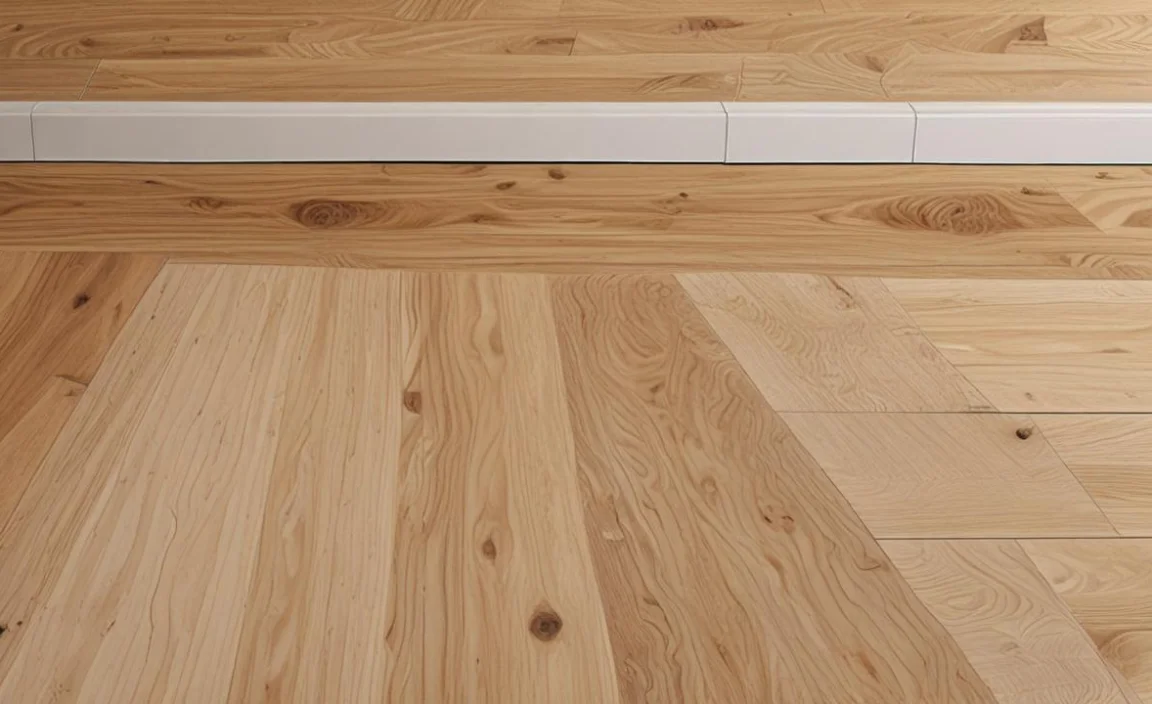
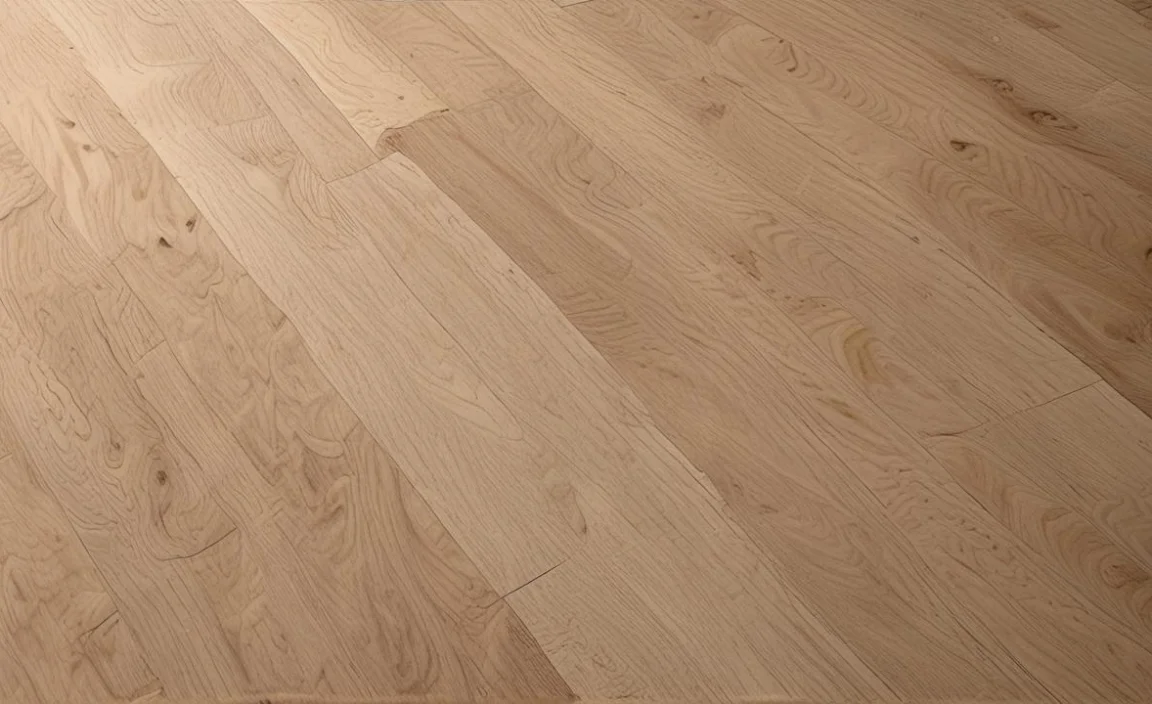
Ensuring Proper Spacing And Alignment
Maintaining consistent spacing between the pegged hardwood planks is essential for aesthetic and functional reasons. Use plastic spacers to ensure a uniform gap along the walls and at the end joints of each row.
This spacing allows the wood to expand and contract with changes in humidity without causing buckling or crowning. Additionally, check the alignment of each row as you progress with the installation. A straightedge or chalk line helps ensure the rows are parallel and produce a visually pleasing result.
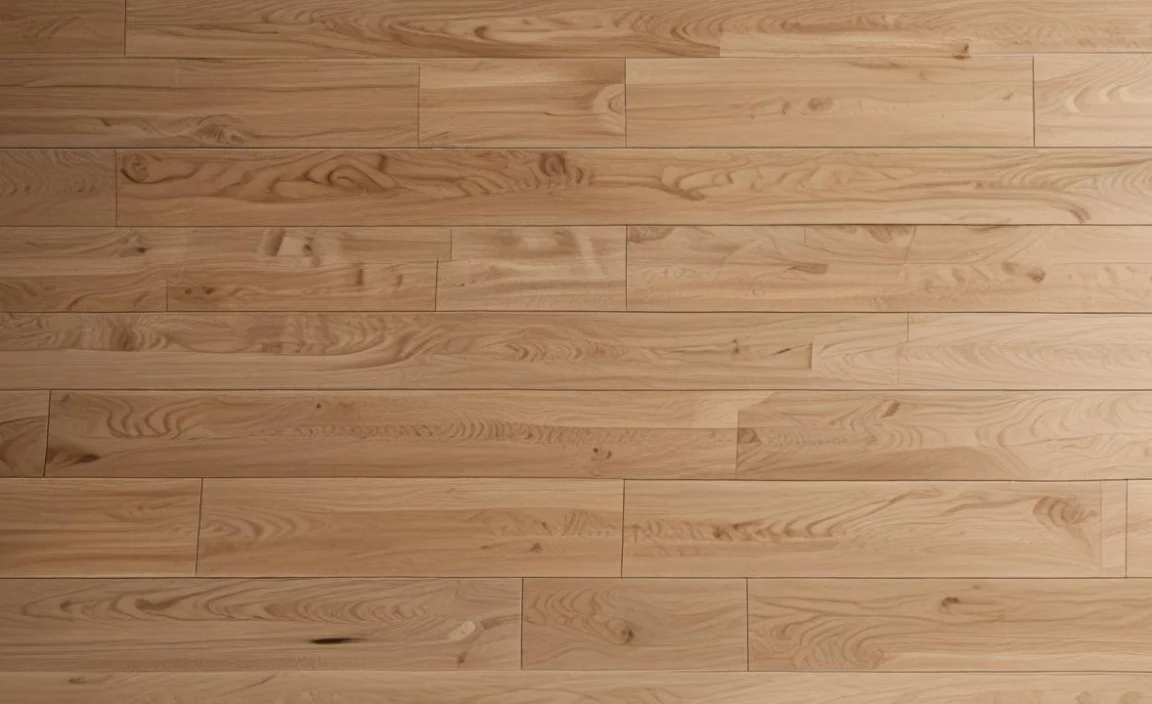
Continuing With Subsequent Rows
As you move on to subsequent rows, it’s vital to stagger the end joints for more stable and visually appealing flooring. Offset, the end seams at least six inches from the previous row, creating a “random” pattern that adds strength to the floor. Staggering the planks also reduces the likelihood of noticeable seams or patterns, resulting in a more natural and harmonious look.
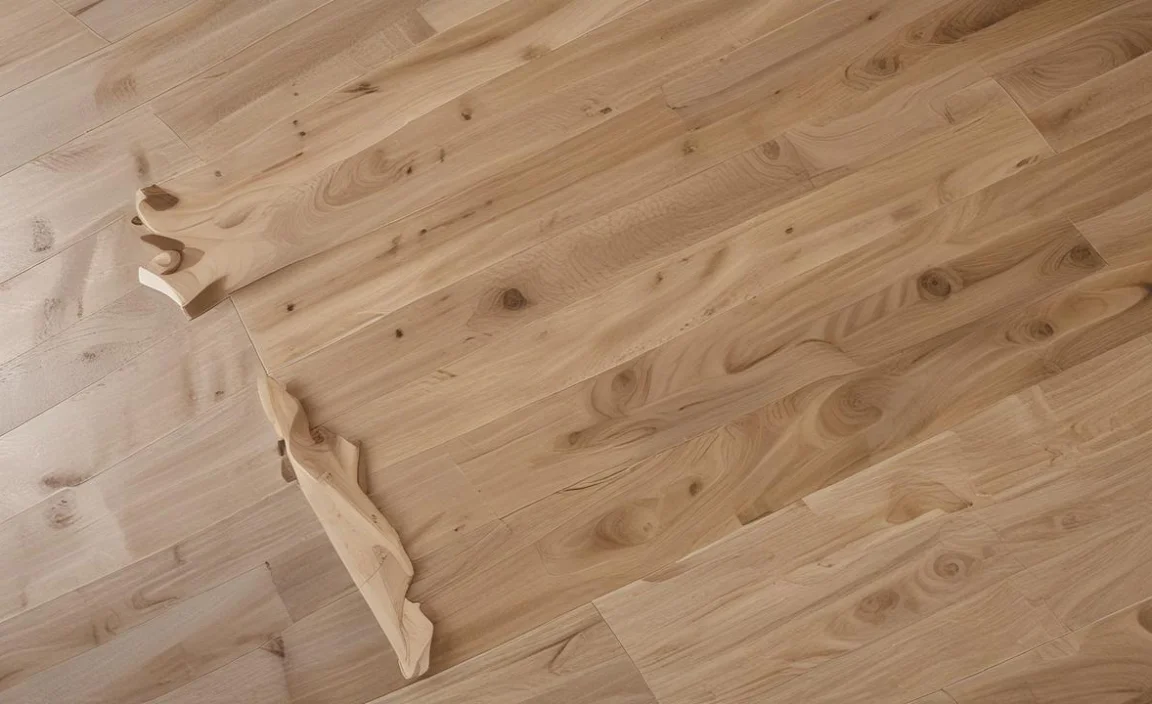
Cutting And Fitting The End Pieces
As the installation approaches the end of the room or encounters obstacles, you’ll likely need to cut and fit the hardwood planks to achieve a proper finish. Use a miter saw or a jigsaw to cut the planks accurately. Take precise measurements and mark the cutting lines carefully to avoid wastage. Fitting the end pieces seamlessly ensures the completed floor’s professional and polished appearance.
Dealing With Obstacles And Doorways
When installing hardwood flooring, you’ll inevitably encounter obstacles like doorways, floor vents, and irregular spaces. For doorways, measure and mark the height of the door casing on the plank before cutting to ensure a precise fit.
Cut out spaces for floor vents, ensuring they align perfectly with the vent openings. When dealing with irregular spaces, take precise measurements and use a jigsaw or coping saw to achieve a snug fit around corners and irregularities.
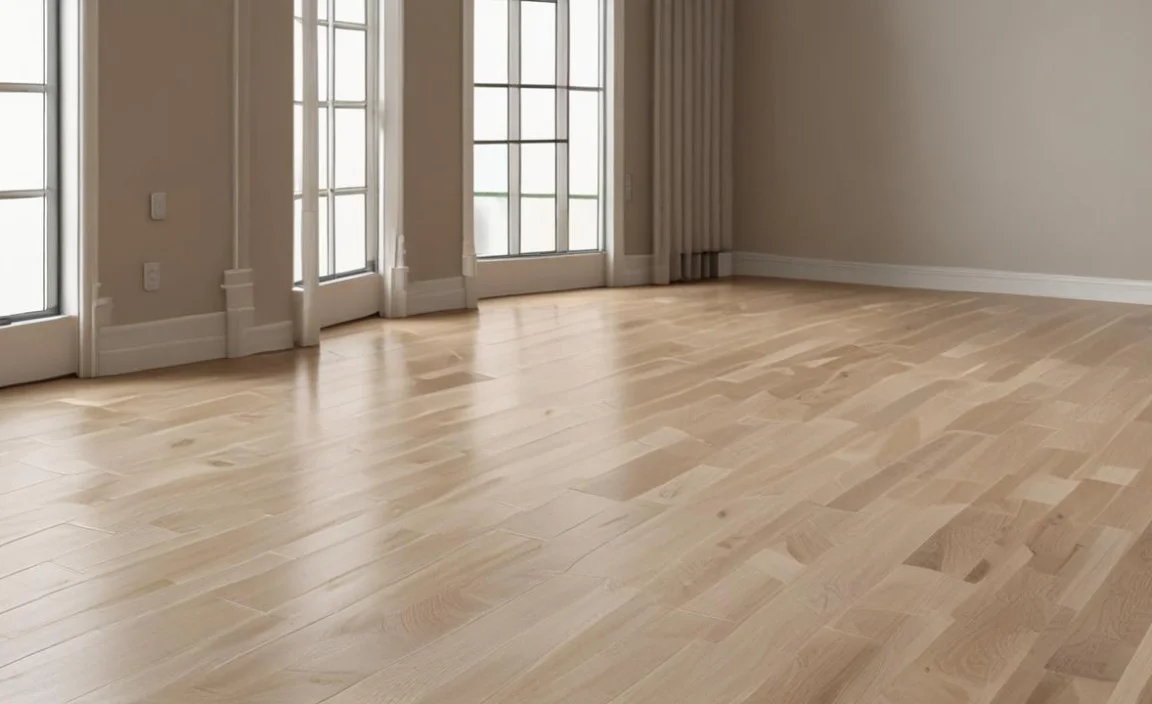
Completing The Installation And Finishing Touches
As you near the end of the installation, it’s time to add finishing touches that give the hardwood flooring a polished appearance. Install baseboards along the room’s perimeter to cover the expansion gaps and create a clean transition between the floor and the wall.
Ensure the baseboards are securely attached to the wall, not the floor, to allow for wood movement. Lastly, fill any nail holes or gaps with matching wood filler, and if desired, apply a protective finish or stain to enhance the beauty and longevity of your newly installed pegged hardwood floor.
Conclusion
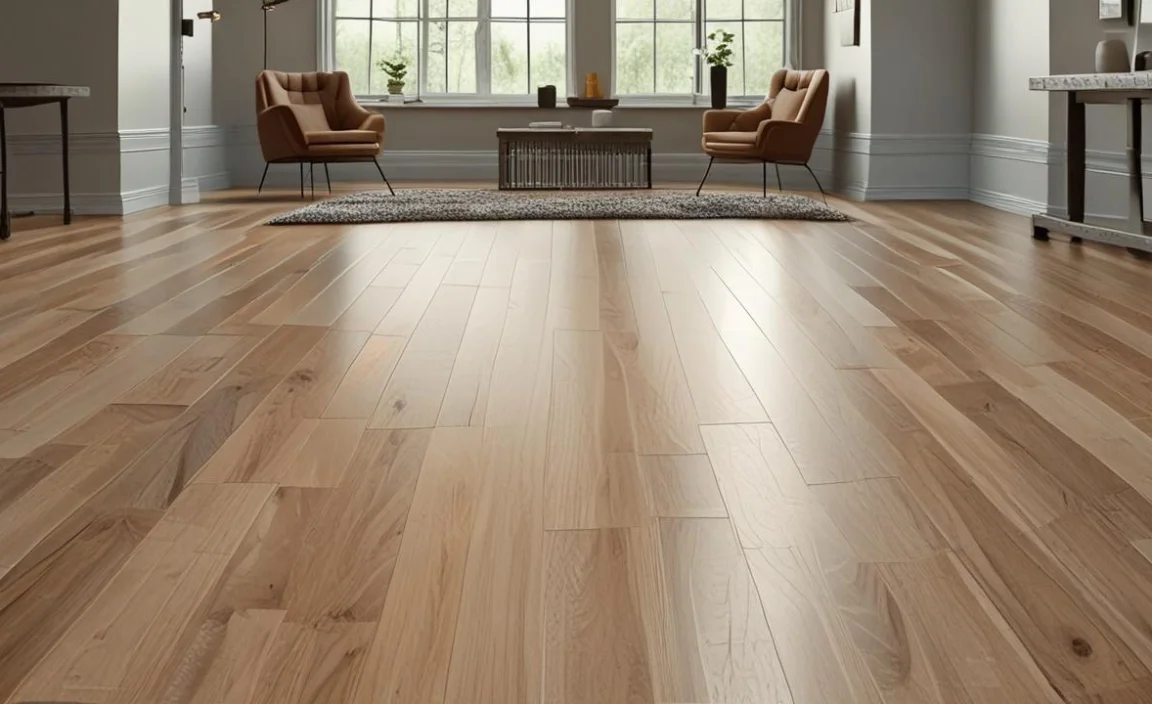
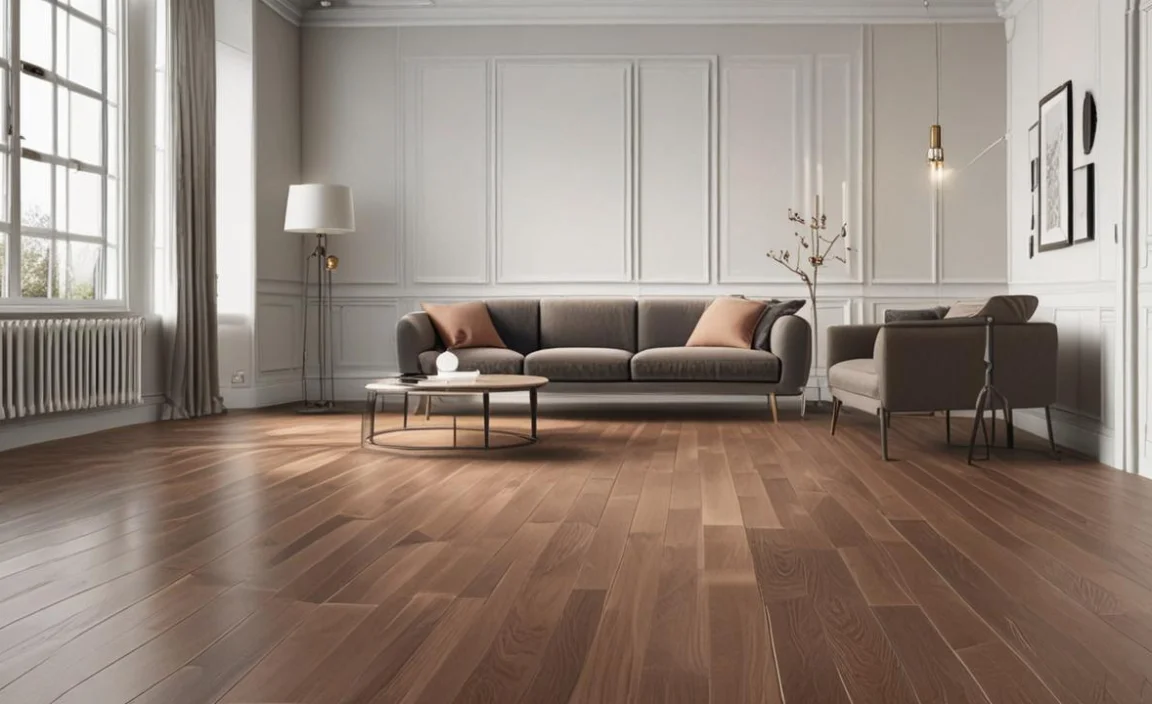
pegged hardwood flooring provides a unique and classic look to any space. The technique of pegging the planks together adds to the aesthetic appeal but also increases the durability of the flooring. This traditional method has been used for centuries and is a popular choice among homeowners and designers alike.
The pegs hold the planks together and allow for natural movement and expansion of the wood, preventing warping and buckling. Additionally, the pegs add to the overall strength and stability of the floor. Whether you want to renovate a historic home or add a touch of old-world charm to a modern space, pegged hardwood floor is a timeless and practical choice.
FAQ’s:
[rank_math_rich_snippet id=”s-dbbb1acf-6b5a-4c7f-a813-98622b469744″]
