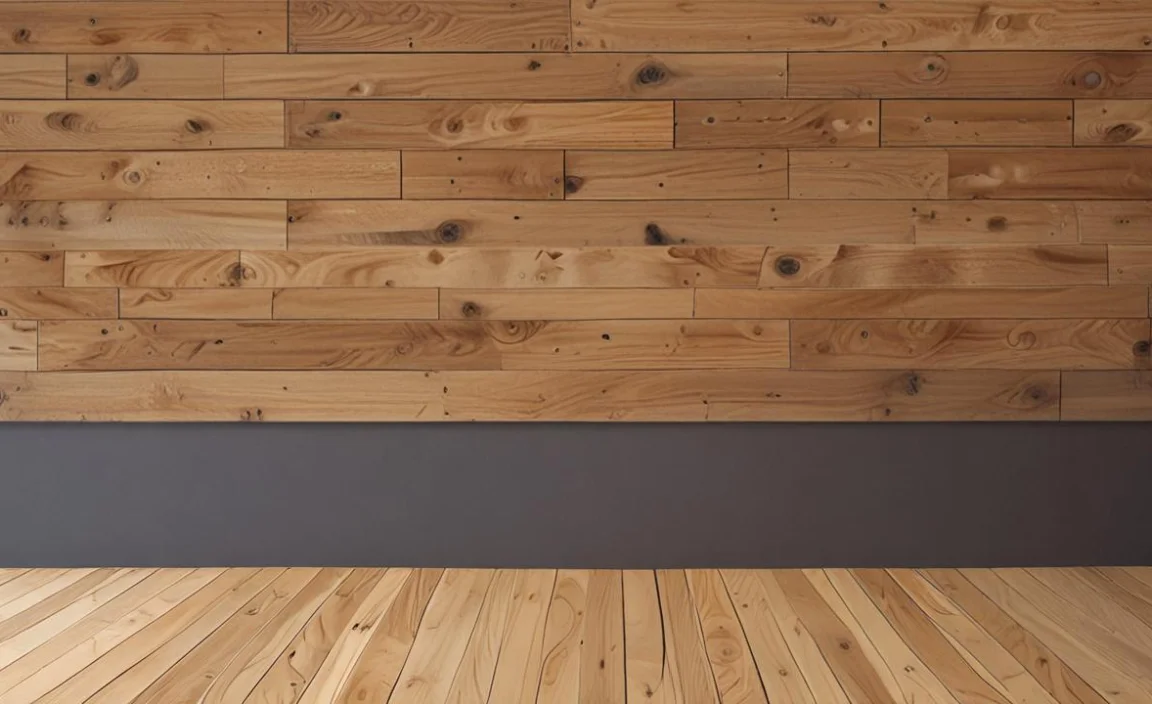
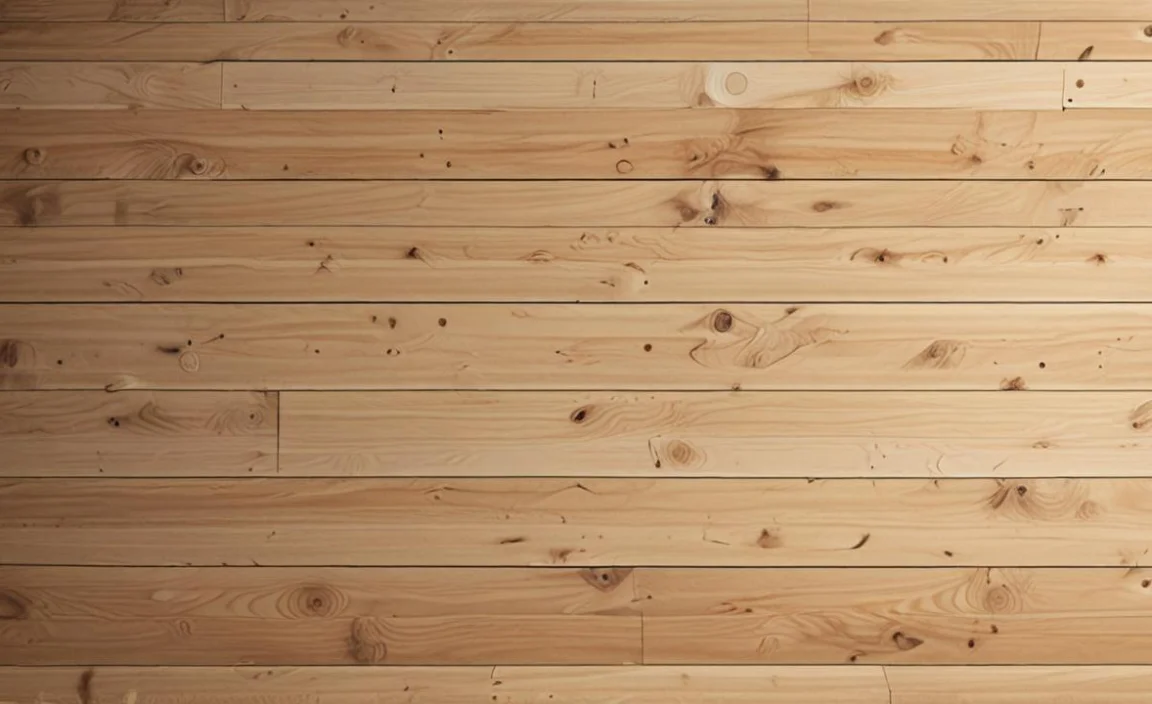
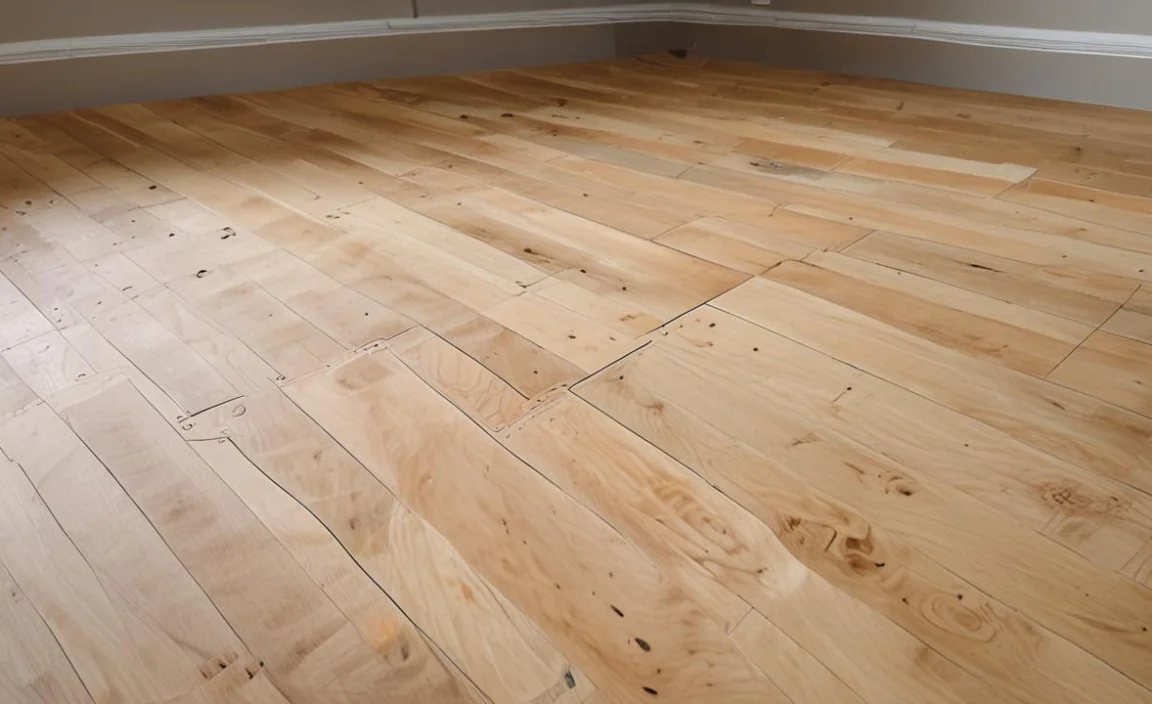
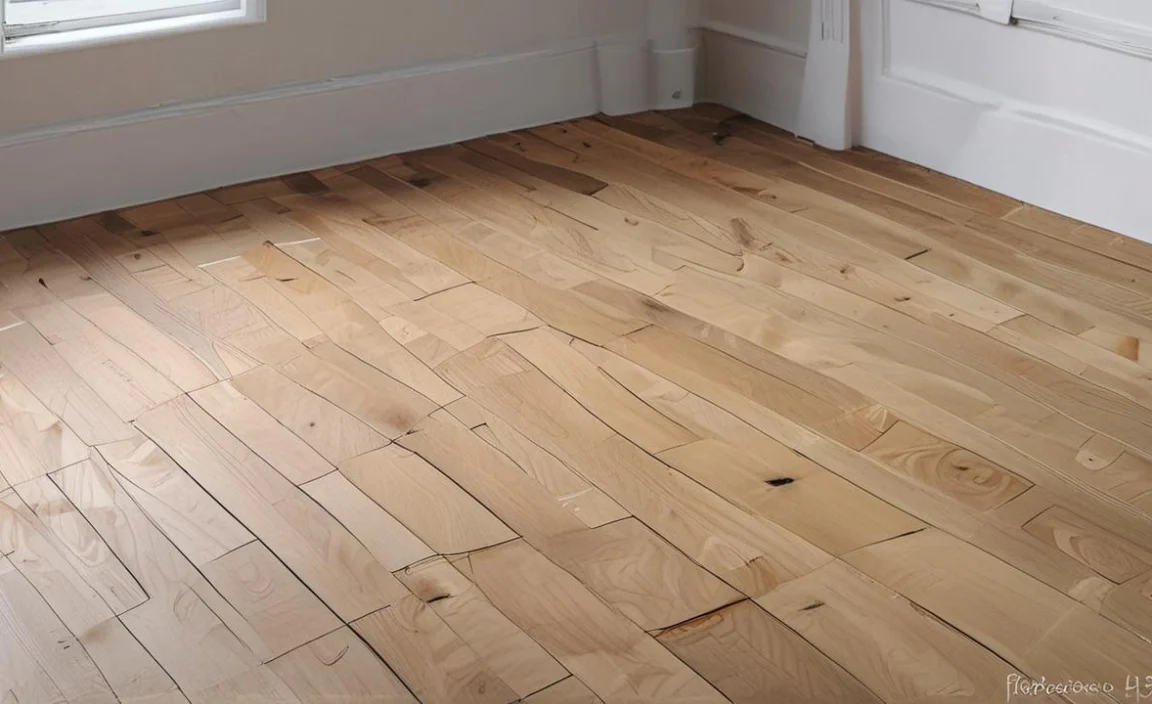
A Plank subfloor is a layer of wooden planks installed directly on floor joists, providing a sturdy and even surface for the final flooring. Made from various types of wood like plywood or OSB, thickness and spacing depend on project requirements.
Here we will guide you through the process of making a subfloor. We will cover everything from understanding what a subfloor is and its benefits to providing you with a step-by-step guide on making one yourself.
You’ll learn about preparing the surface, assembling the planks, and adding those finishing touches. We will also discuss maintaining your subfloor and avoiding common mistakes that could cost you time and money. So get ready to transform your space with a sturdy and budget-friendly subfloor,
Step-By-Step Guide To Making A Plank Subfloor
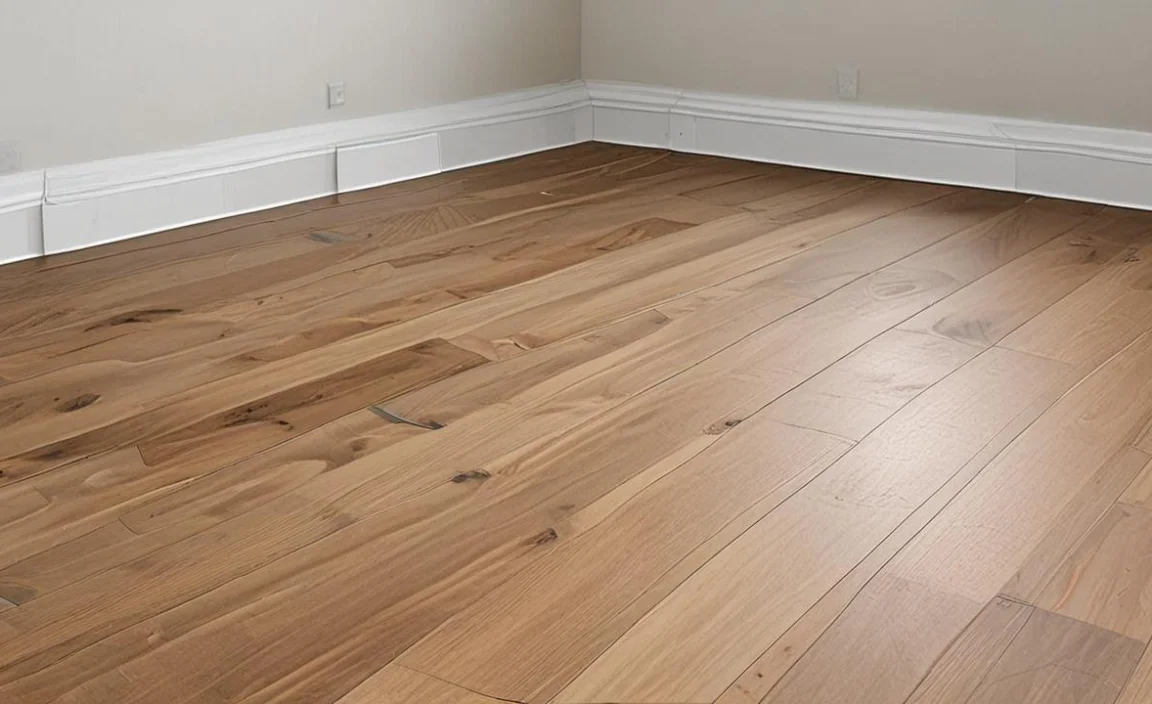
Using a plank subfloor offers several benefits that make it an attractive choice for flooring installation. It provides a stable and level surface, ensuring the proper installation and longevity of your flooring. Additionally, it helps reduce noise transmission between floors, creating a quieter environment.
One of the major advantages is its affordability compared to other subflooring materials. Moreover, the subfloor is relatively easy to install, making it a DIY-friendly option. Lastly, it improves insulation and energy efficiency in your space.
1.Preparing The Subfloor
To prepare the subfloor, remove any existing flooring and ensure the surface is clean and dry. Measure the room’s dimensions and calculate the amount of plywood or oriented strand board (OSB) needed. Cut the planks to fit the room, leaving a small gap for expansion. Apply a layer of construction adhesive before placing each plank and secure them with screws or nails, ensuring even spacing.
2.Installing The Joists
To install the joists, measure and mark the subfloor layout on the walls. Use pressure-treated lumber for rot and moisture resistance. Determine the spacing between joists according to local building codes and the plank thickness.
Attach a ledger board to each wall for joist support. Install the joists, ensuring they are level and securely attached to the ledger boards. Use joist hangers or framing nails to secure the joists to the ledger boards and any existing beams or supports.
3.Frame And Finish The Walls And Roof
To frame and finish the walls and roof, start by measuring the room’s dimensions and determining the spacing for the subfloor planks. Purchase or gather enough planks of the appropriate thickness and width to cover the entire floor area.
Prepare the walls and roof by framing them according to your desired design and structural requirements. Install insulation between the wall studs and roof rafters for added energy efficiency. Begin laying the planks on the floor, starting from one corner and working across the room. Secure each plank to the floor joists using nails or screws, ensuring they are properly aligned and evenly spaced.
4.Insulate And Seal The Room
Insulating and sealing the room is crucial before installing a subfloor. Ensure the subfloor is clean and level by removing any existing flooring. Improve energy efficiency and soundproofing by installing insulation between the floor joists.
Seal gaps and cracks in the subfloor using caulk or foam insulation. Once the room is insulated and sealed, start installing the planks from one corner, using a chalk line for straight lines and staggering the planks for stability.
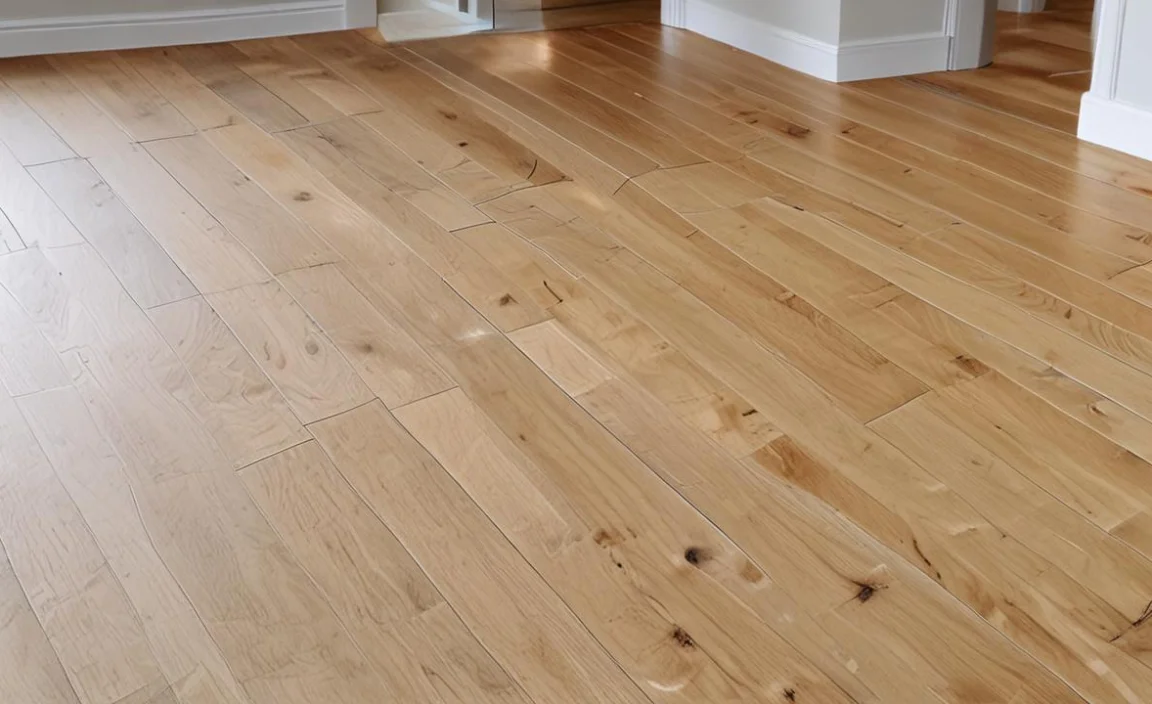
5.Installing The Subfloor
To install the subfloor, start by measuring the dimensions of the room and purchasing enough plywood planks to cover the entire floor area. Remove any existing flooring and ensure the subfloor is clean and level. Lay down a layer of moisture barrier for protection against moisture damage.
Begin in one corner of the room and lay the first plank perpendicular to the floor joists, leaving a 1/8-inch gap between each plank for expansion. Secure the plank to the floor joists using nails or screws, ensuring it is flush with adjacent planks. Continue laying down planks until reaching the opposite end of the room, cutting necessary pieces to fit with a circular saw or jigsaw.
6.Protecting The Subfloor
To ensure the longevity and durability of your subfloor, it’s essential to take steps to protect it. Begin by accurately measuring and cutting the planks to fit the space, removing any existing flooring, and thoroughly cleaning the subfloor.
Next, lay down a moisture barrier, such as a plastic sheet or roofing felt, to prevent moisture damage. Start laying the planks perpendicular to the floor joists, securing each plank to the subfloor with construction adhesive or nails. This will create a sturdy and even surface for your flooring materials.
7.Tools And Materials Needed
To successfully make a subfloor, it is crucial to gather the right tools and materials. These include a circular saw, drill, hammer, measuring tape, nails or screws, plywood sheets, and adhesive. Begin by accurately measuring the room’s dimensions and calculating the amount of plywood required.
Remove any existing flooring and ensure the floor is clean and level. Use a circular saw to cut the plywood sheets to fit the room. Apply adhesive on the existing floor and secure the plywood sheets with nails or screws to the floor joists.
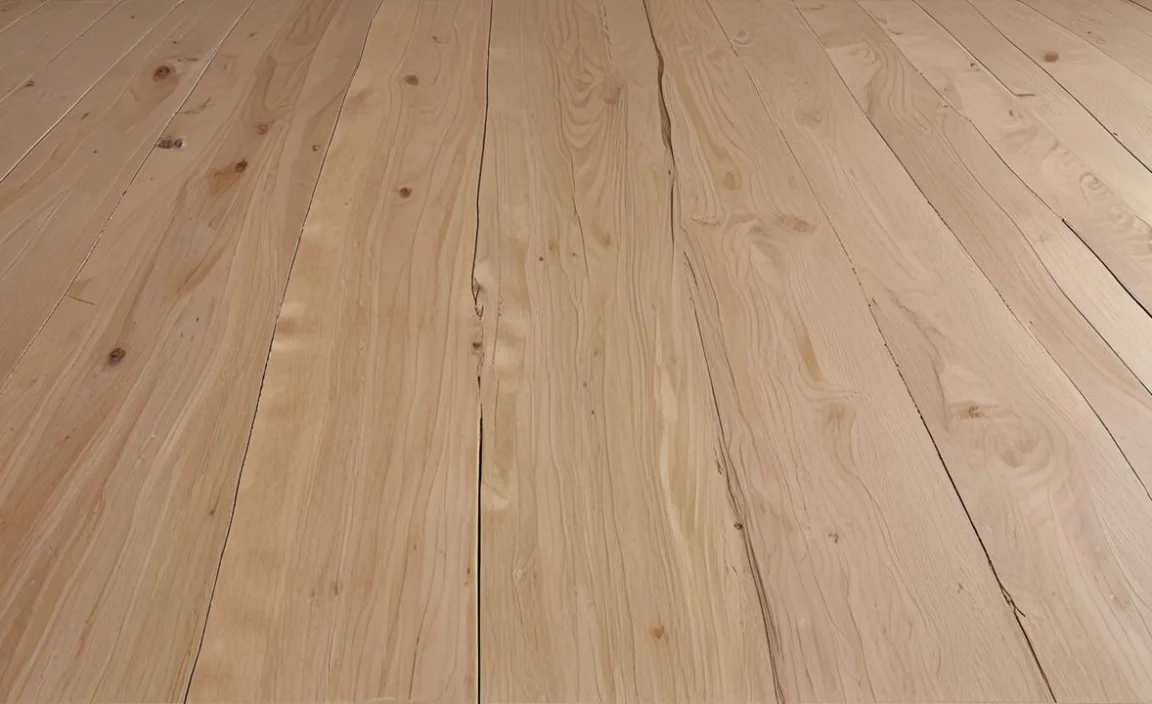
8.Preparing The Surface
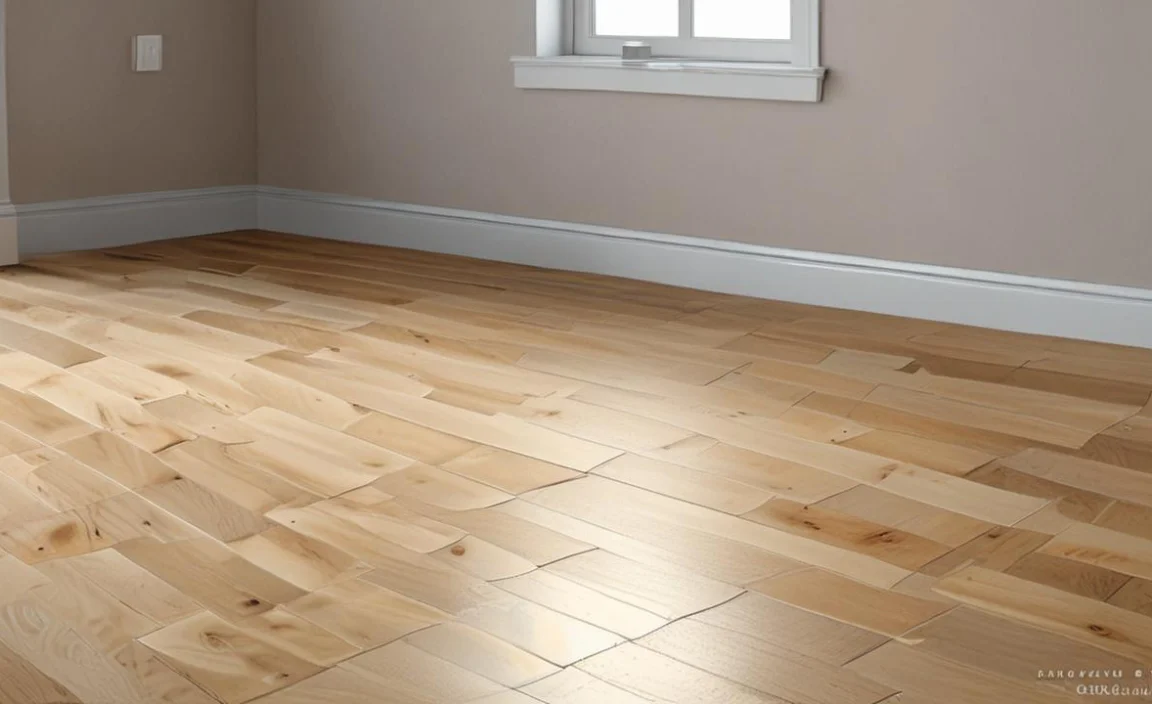
Preparing the surface for your subfloor installation is important to ensure a smooth and durable result. Start by removing any existing flooring and thoroughly cleaning the subfloor. Measure the room’s dimensions and calculate the amount of plank flooring needed.
Choose the type of planks, such as plywood or hardwood, and purchase the necessary materials. Lay down a moisture barrier, like plastic sheeting, to protect against moisture damage. Then, begin installing the planks by laying the first row along one wall, leaving a small gap for expansion. Use nails or screws to secure the planks to the subfloor, ensuring they are level and flush with each other.
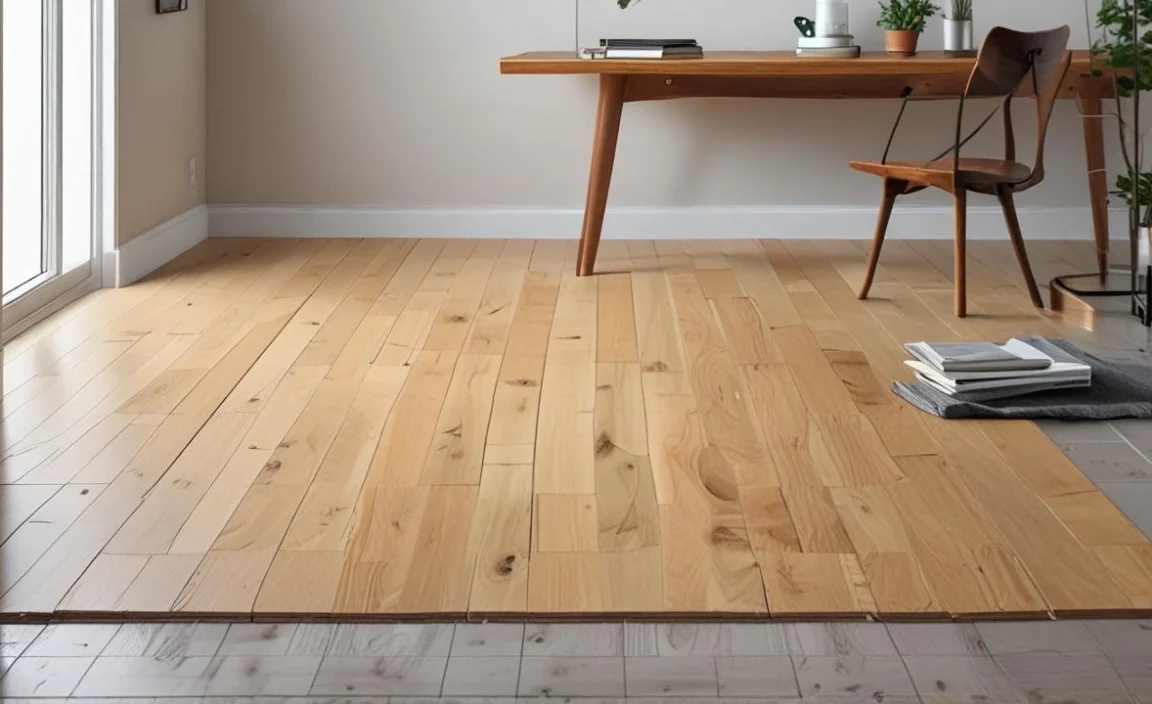
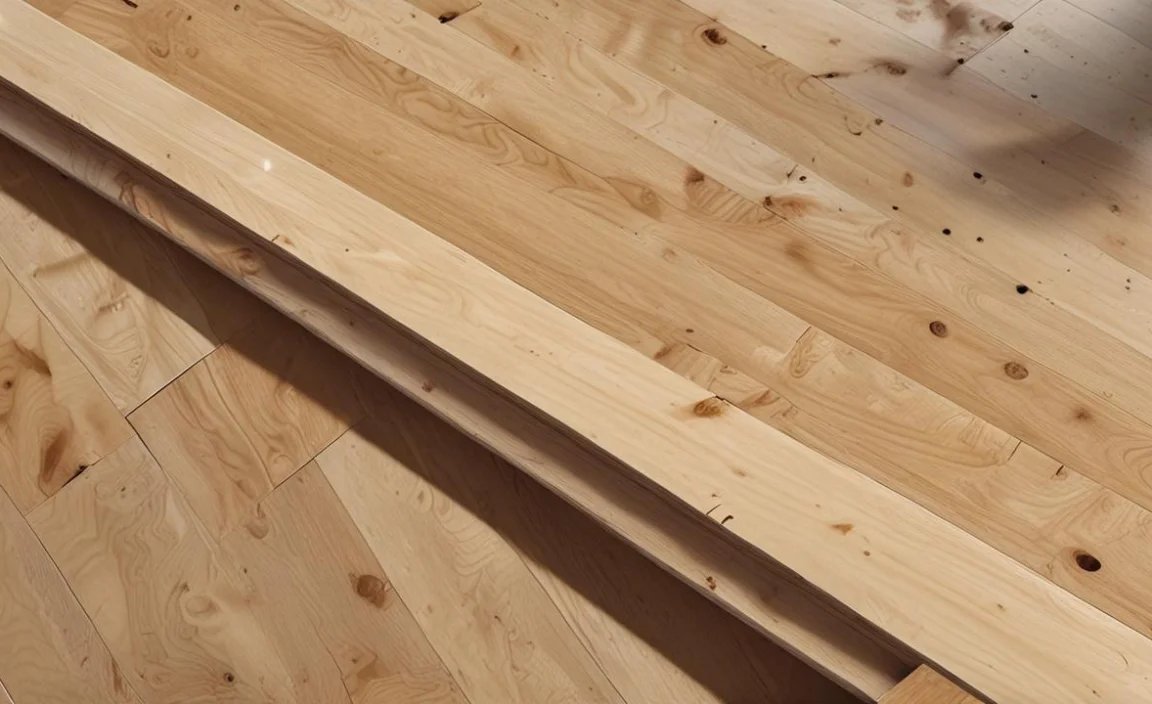
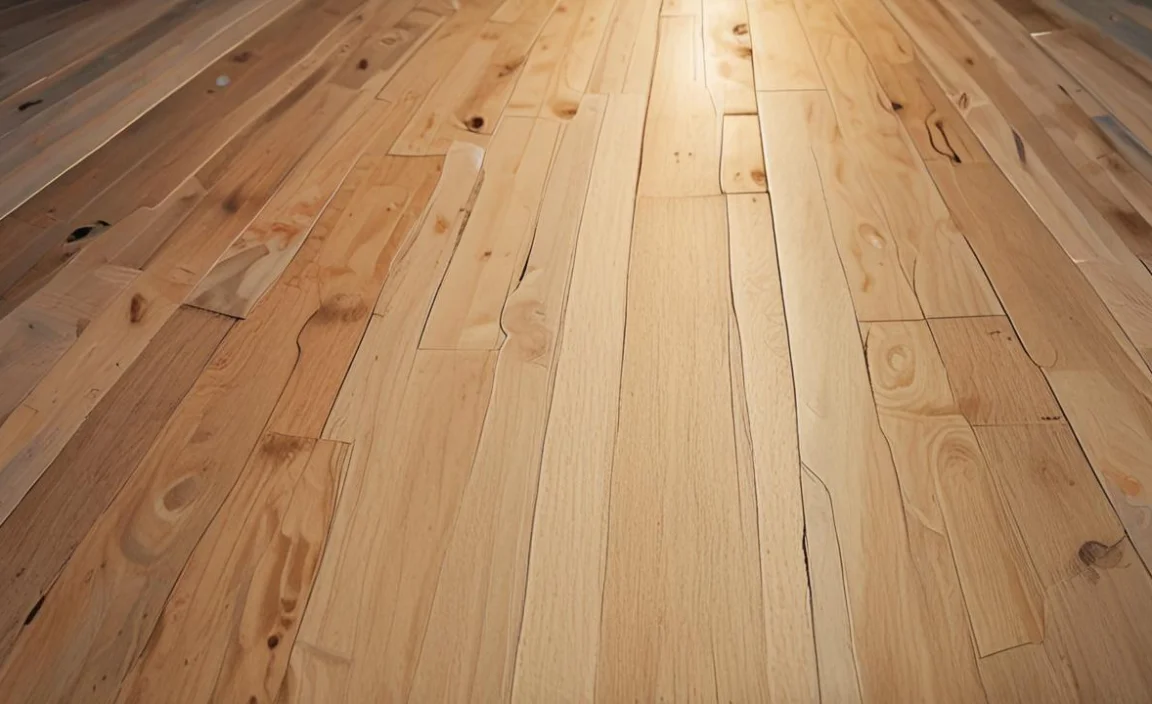
9.Assembling The Planks
To assemble the planks for your subfloor, measure the installation area and determine the number of planks needed. Choose high-quality plywood or oriented strand board (OSB) planks for your subfloor. Cut the planks to the desired length using a circular or table saw.
Lay out the planks in the installation area, leaving a small gap between each plank for expansion. Secure the planks to the floor joists using screws or nails, ensuring the joints between planks are staggered for added stability. Adjust as necessary, and use a level to ensure the subfloor is even and flat.
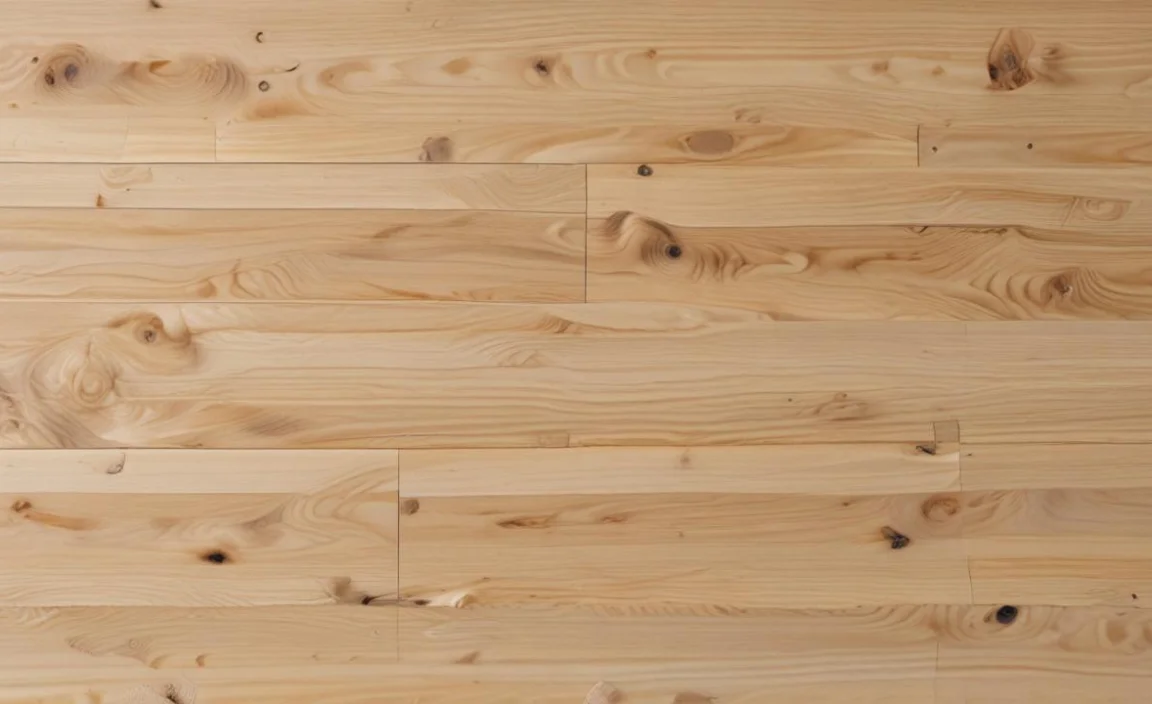
10.Finishing Touches
Once the planks have been securely installed, it’s time to add the final touches to your subfloor. Start by using wood filler to fill in any gaps or cracks between the planks. Use a putty knife to smooth out the filler, creating a seamless surface. Allow the filler to dry completely before proceeding to the next step. Afterwards, sand down the entire subfloor using medium-grit sandpaper to achieve a smooth and even finish.
Maintaining Your Subfloor
Regularly inspect your subfloor for signs of damage or wear. Keep it clean and debris-free. Avoid excessive moisture by using proper sealing techniques. Promptly repair any damaged areas to prevent further deterioration.
Consider adding insulation for energy efficiency and noise reduction. Follow the manufacturer’s guidelines for maintenance and care. By following these steps, you can ensure that your subfloor remains in good condition and provides a stable foundation for your flooring.
Avoiding Common Mistakes While Making A Subfloor
When making a subfloor, it’s crucial to measure and plan carefully to ensure accurate cuts and minimal waste. Quality materials like sturdy plywood or hardwood planks are essential for a durable and long-lasting subfloor.
Properly securing the planks or plywood to the joists, following manufacturer guidelines for spacing and installation, is necessary. Using a moisture barrier or sealant is advisable to prevent moisture damage, especially in water-prone areas. Inspecting and maintaining the subfloor promptly addresses any issues and prevents further damage.
How Much Does It Cost To Make Subfloor?

The cost of creating a subfloor varies based on factors like size, wood type, and labor costs. On average, it can range from $2 to $5 per square foot for materials and installation. Additional expenses may include tools, underlayment, and repairs. Obtain multiple estimates to get an accurate project cost.
Conclusion
If you are looking for a durable and inexpensive flooring material, making a plank subfloor is an excellent option. Creating a plank subfloor is an easy and affordable solution to improve the foundation of your space. Not only does it provide stability and durability, but it also offers various benefits such as insulation and moisture resistance.
By following our step-by-step guide and avoiding common mistakes, you can successfully make a subfloor that will last for years to come. Start your DIY project today and enjoy the benefits of a well-made subfloor in your space. Hope the above guideline will be helpful for you.
