Maintaining your vehicle is a crucial aspect of being a responsible car owner, and ensuring that all components are in good working condition is essential for a smooth and safe driving experience. However, there may come a time when you encounter a faulty rear axle bearing that needs to be replaced.
Usually, this task requires the use of a specialized tool known as a puller, which can be costly and not readily available to everyone. This may leave you wondering if there is an alternative method for removing the rear axle bearing without a puller. Fortunately, with the right tools and techniques, it is possible to remove the bearing without the use of a puller.
Here, we will guide you through the step-by-step process of how to remove rear axle bearing without a puller, providing you with valuable insights and tips to make the task more manageable. So, whether you are a DIY enthusiast or simply looking to save on repair costs, read on to discover how you can remove a rear axle bearing without a puller.
What Is A Rear Axle Bearing?
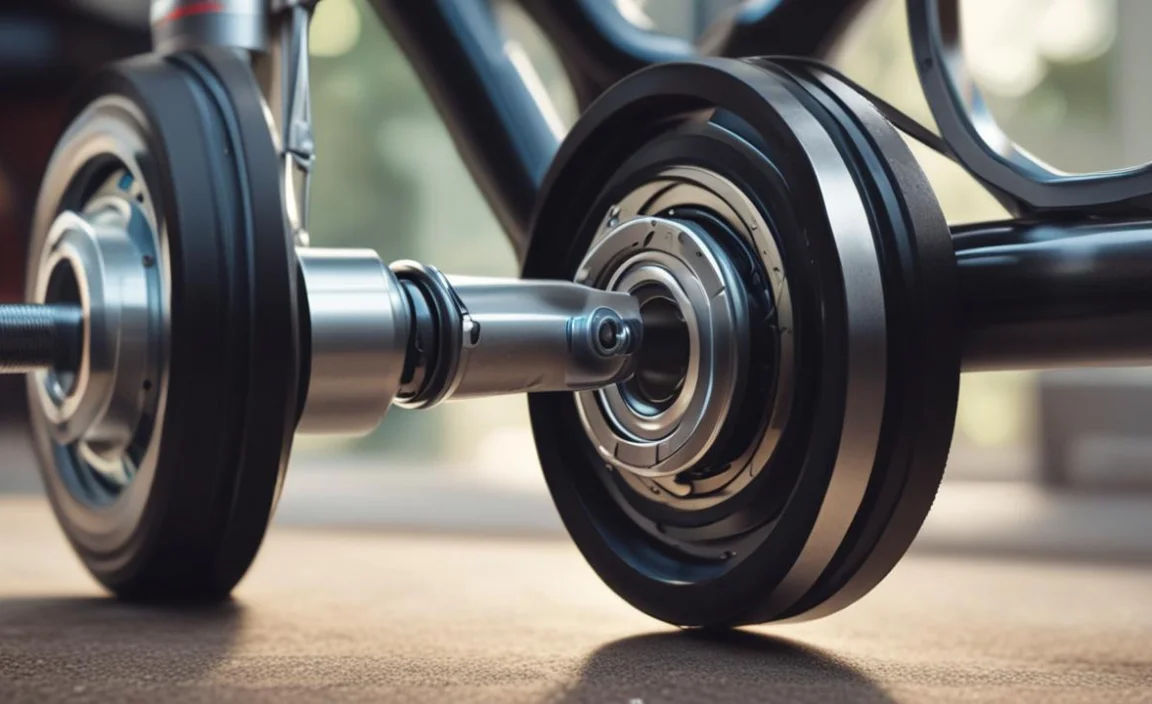
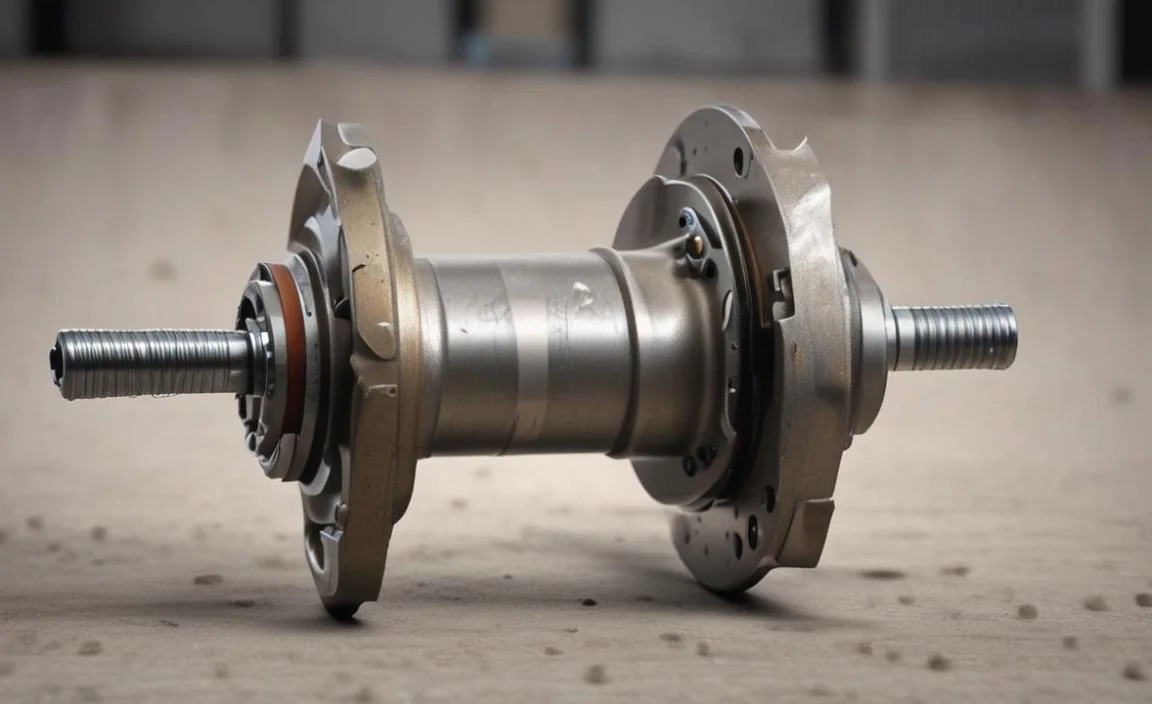
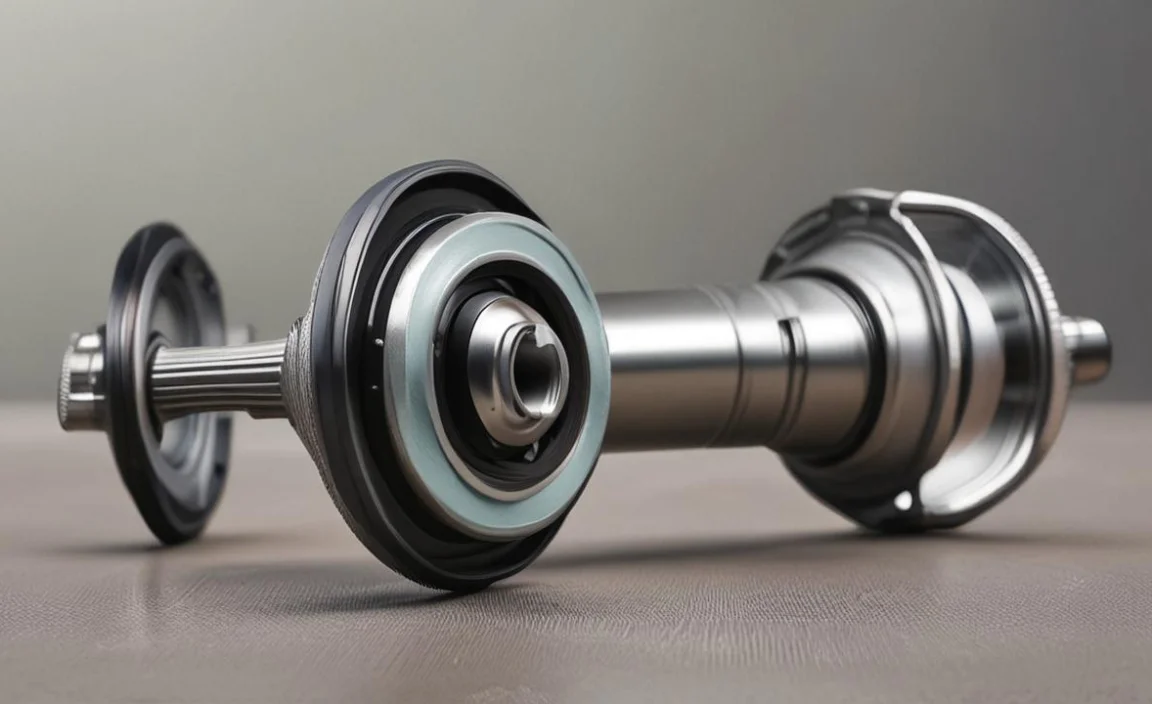
The rear axle bearing is a crucial component of a vehicle’s rear axle system. It is responsible for supporting the weight of the vehicle and allowing the axle to rotate smoothly. Over time, these bearings can wear out or become damaged, leading to noise, vibration, and other issues. If you need to remove a rear axle bearing without a puller, it can be a challenging task.
Tools Needed To Complete The Work
- A hammer
- A punch
- Gloves
- Safety glasses
- Car jacks
- Car manual
- A torch
- A piece of scrap wood
How To Remove Rear Axle Bearing Without A Puller – Full Guide
Removing a rear axle bearing without a puller can be a challenging task, but with the right tools and techniques, it is possible to do it yourself. The rear axle bearing is a crucial component in a vehicle’s drivetrain system. It is responsible for supporting the weight of the vehicle and allowing the wheels to rotate smoothly.
Removing a rear axle bearing without a puller requires some special tools and patience. Following these steps can help you accomplish this task. However, if you are unsure or uncomfortable performing this procedure yourself, Here is a step-by-step guide on how to remove rear axle bearing without a puller:
1. Select The Right Surface
When removing a rear axle bearing without a puller, it is important to select the right surface to work on. Ideally, you want a flat and sturdy surface that can support the weight of the vehicle and provide stability during the removal process.
This could be a concrete floor or a sturdy workbench. Avoid working on uneven or unstable surfaces, as this can make the process more difficult and potentially dangerous. Additionally, consider using protective materials, such as cardboard or a rubber mat, to prevent damage to the surface and ensure that the axle bearing is properly supported throughout the removal process.
2. Apply The Vehicle’s Parking Brake
When attempting to remove a rear axle bearing without a puller, it is important first to apply the vehicle’s parking disc brake. This will help prevent the axle from spinning while you are trying to remove the bearing. By engaging the parking brake rotor, you can create resistance and keep the axle in place, making it easier to work on.
Additionally, applying the parking brake can also help ensure your safety by preventing any unexpected movement of the vehicle during the removal process. Remember always to use caution and follow proper safety procedures when working on any automotive repairs.
3. Use A Car Jack To Raise Your Vehicle
If you’re attempting to remove the rear axle bearing on your vehicle but don’t have a puller, you may wonder what to do. Luckily, there’s a solution that involves using a car jack to raise your vehicle. First, you’ll need to locate the rear axle bearing and determine the best way to access it.
Next, you’ll need to use your car jack to lift the rear of the vehicle off the ground. The car jack should be placed under the axle or the frame of the vehicle, depending on its design. Once the vehicle is safely raised, you can begin to remove the axle bearing. One method is to use a hammer and chisel to carefully tap around the outer race edge of the bearing until it loosens and can be removed.
4. Place Jack Stands Under Your Vehicle
Removing your vehicle’s rear axle bearing may seem daunting, especially if you don’t have a puller. Fortunately, with the right tools and techniques, you can remove the bearing without damaging any components. The first step is to secure your vehicle by placing it on jack stands.
This will ensure that the car is stable and won’t move around while you’re working on it. Once the car is secure, you can start removing the rear axle bearing using a few simple procedures. One effective method of removing the bearing is to use a hammer and chisel. You’ll need to make a small notch in the bearing’s outer ring and then use a hammer and chisel to tap it loose.
5. Remove The Tires
If you want to remove the rear axle bearing without a puller, the first step is to remove the tires. This is essential because you need to have access to the rear axle and rear bearings. With the tires removed, you can proceed to the next step. Removing the bearing without a puller requires unique tools and techniques.
One of the most common methods is using a slide hammer puller. A slide hammer is a tool that enables you to extract the bearing by sliding the hammer over the axle and pulling out the bearing.
Another method is using a pry bar. Insert the pry bar between the bearing and the axle, and then pry the bearing out. However, you need to be careful when using a pry bar because you can easily damage the axle if you’re not careful.
6. Unbolt The Caliper And Remove The Brake Pads From It
Removing a rear axle bearing without a puller can be daunting, but it’s not impossible. One way to achieve this is by unbolting the calliper and removing the brake pads from it. To do this, you must first loosen the lug nuts on the wheel, then lift the car and secure it on jack stands. Next, remove the wheel and set it aside.
Locate the calliper and use a socket wrench to remove the bolts holding it. Once you have removed the calliper, gently pry off the brake pads from it. With the brake pads out of the way, you can now access the axle seal shaft and the bearing behind it. Tap the bearing out of its housing using a hammer and a brass drift.
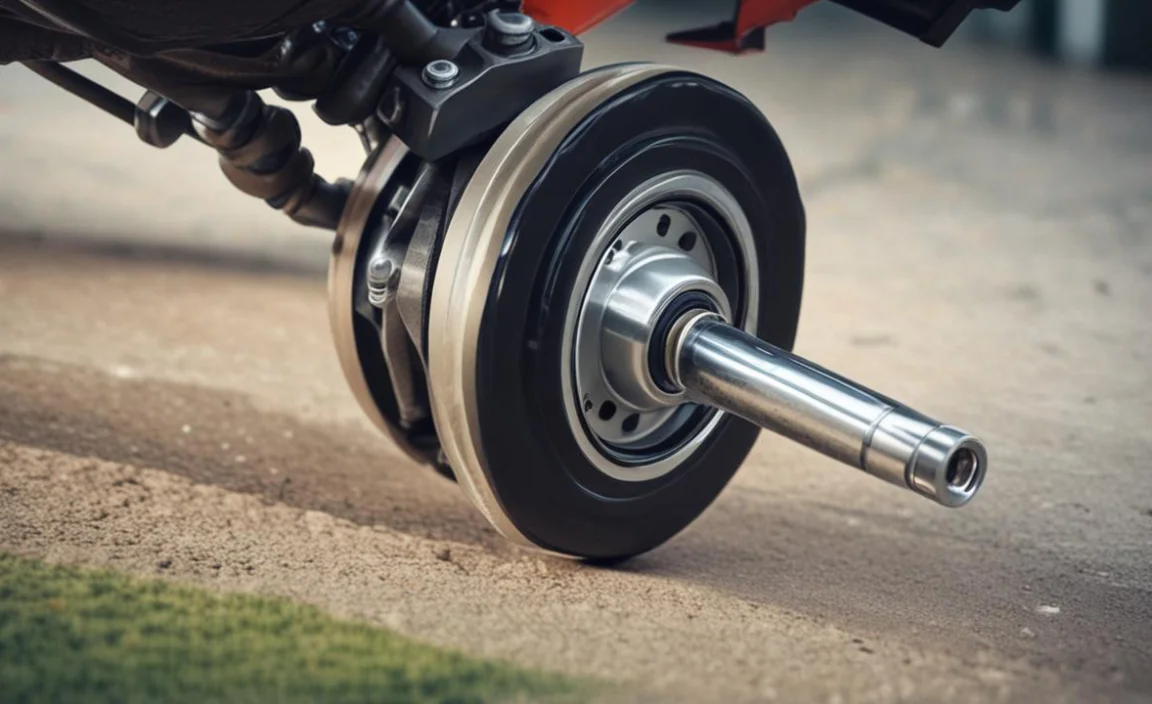
7. Remove The Vehicle’s Disk Rotor

If you’re wondering how to remove the rear axle bearing without a puller, the first step is to remove the vehicle’s disk rotor. This will give you access to the axle and the bearings.
To remove the rotor, you’ll need to remove the brake calliper and the brake pads first. Once you’ve done that, you can remove the retaining bolts holding the rotor. They are usually located on the back of the rotor.
After removing the bolts, you should be able to slide the rotor off the axle. Once you remove the rotor, you can proceed to remove the rear axle bearing. However, it’s important to note that removing the bearing without a puller can be a bit tricky. One method is using a pry bar to pry the bearing off the axle gently.
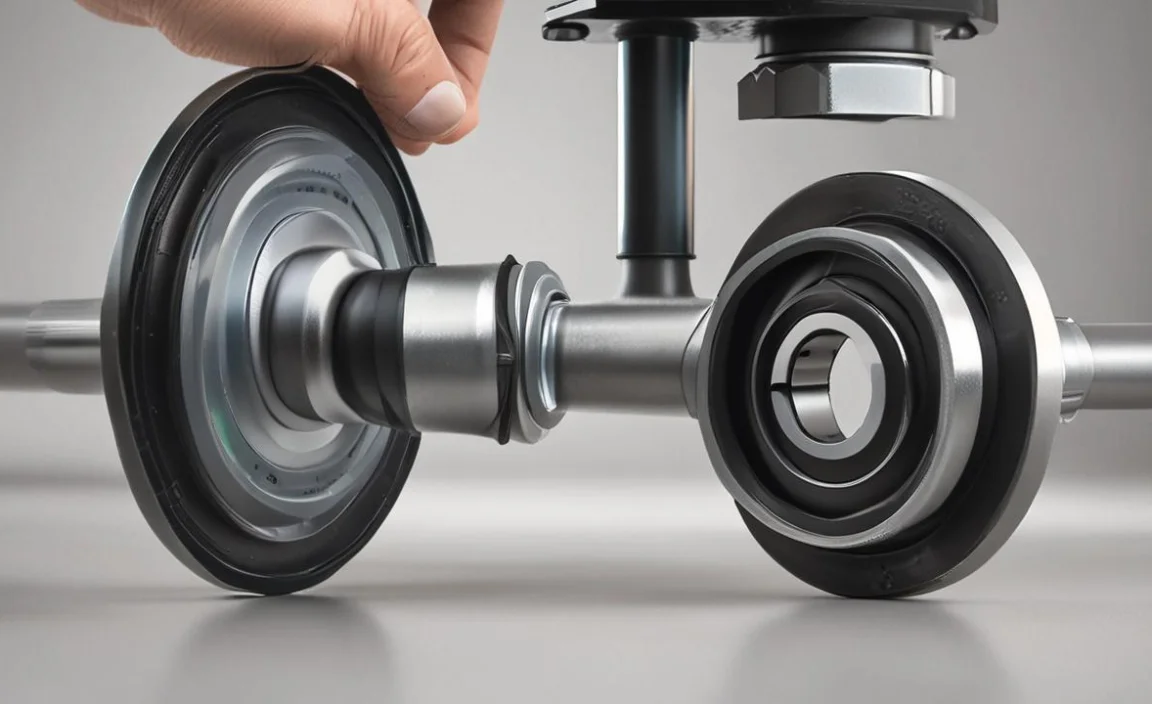
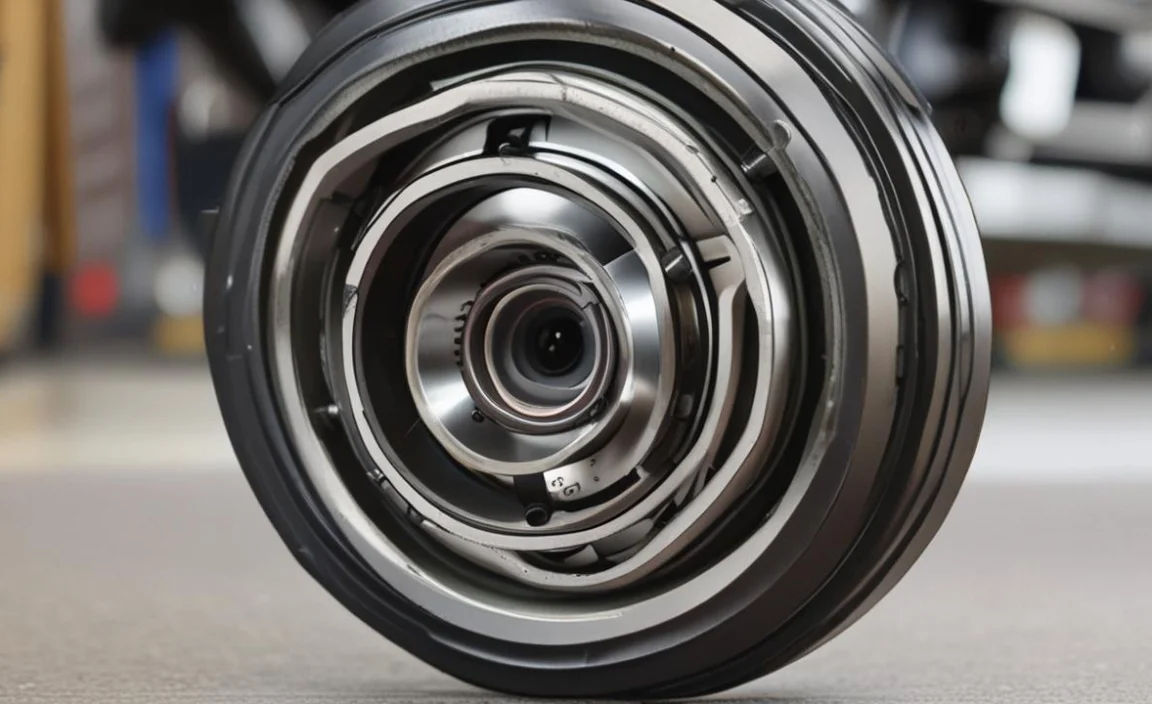
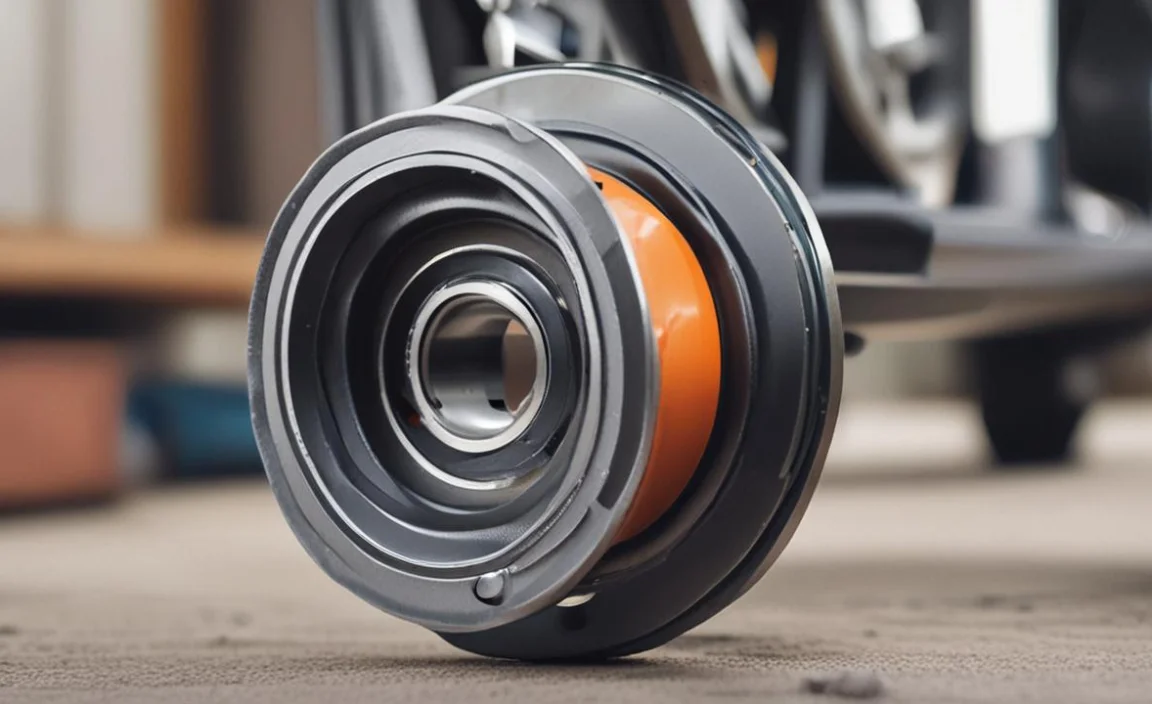
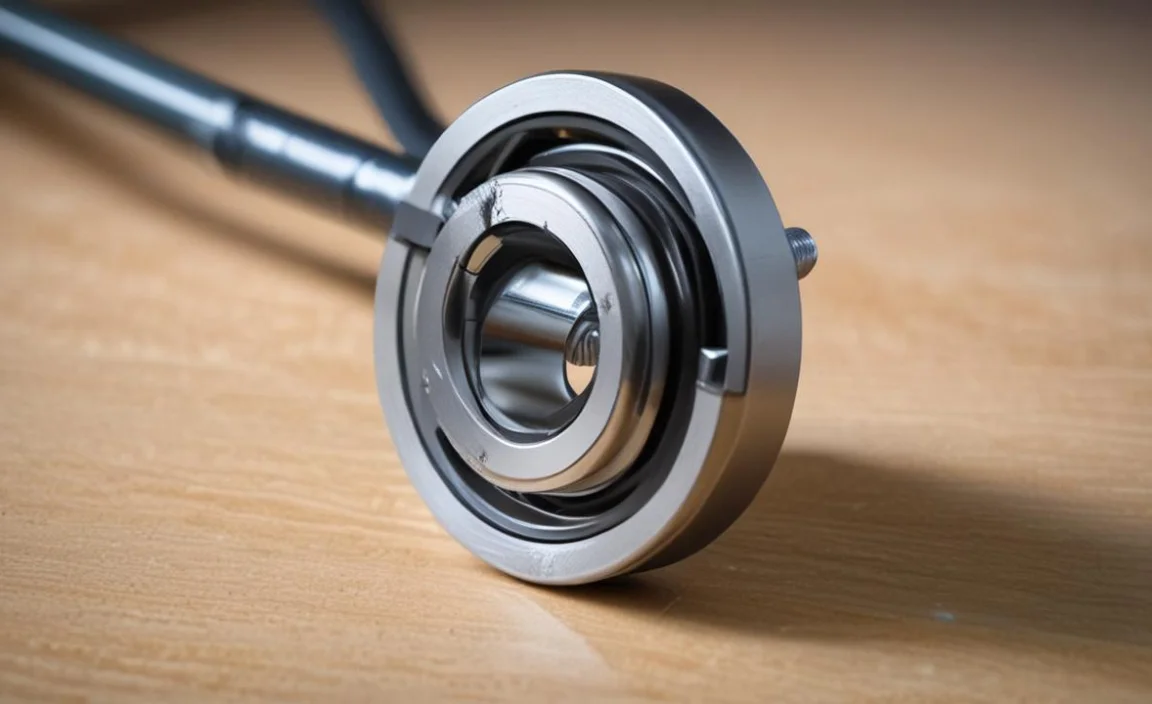
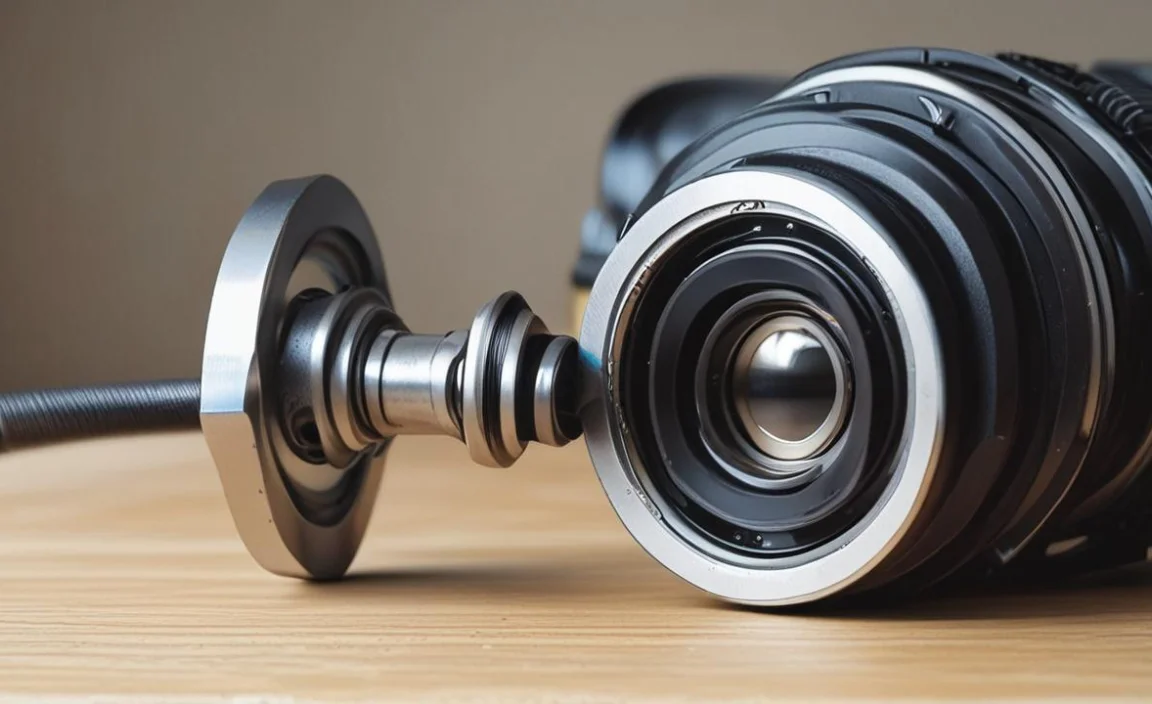
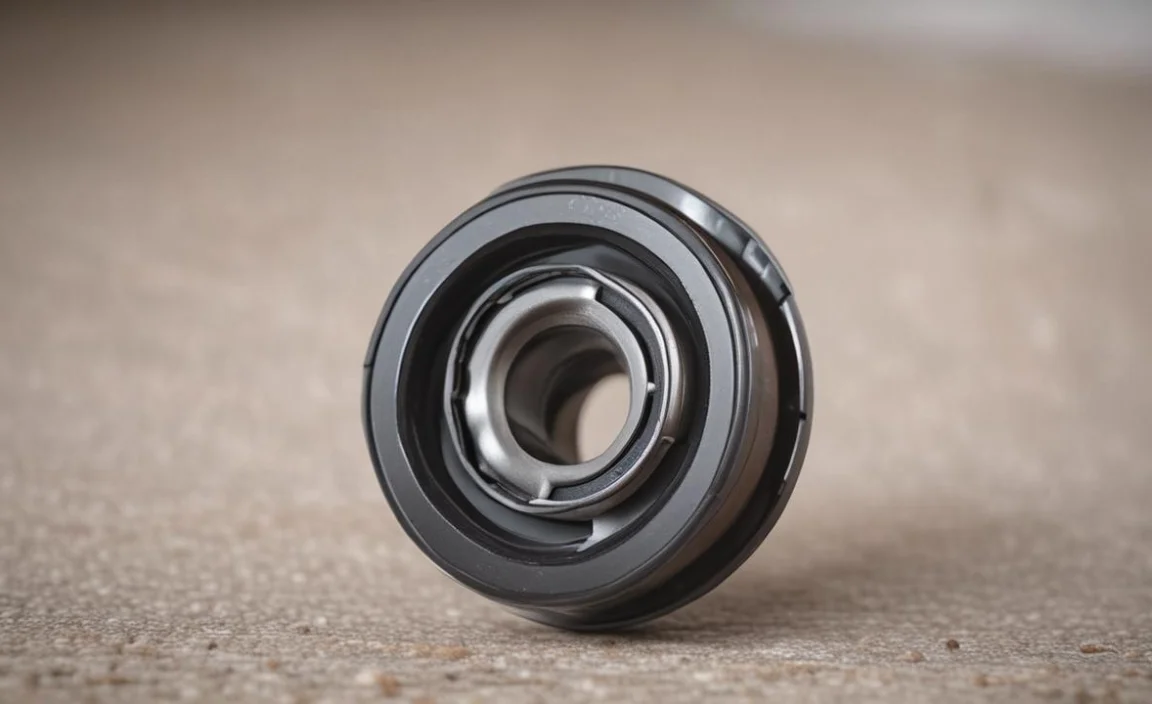
Locate The Rear Axle Bearing
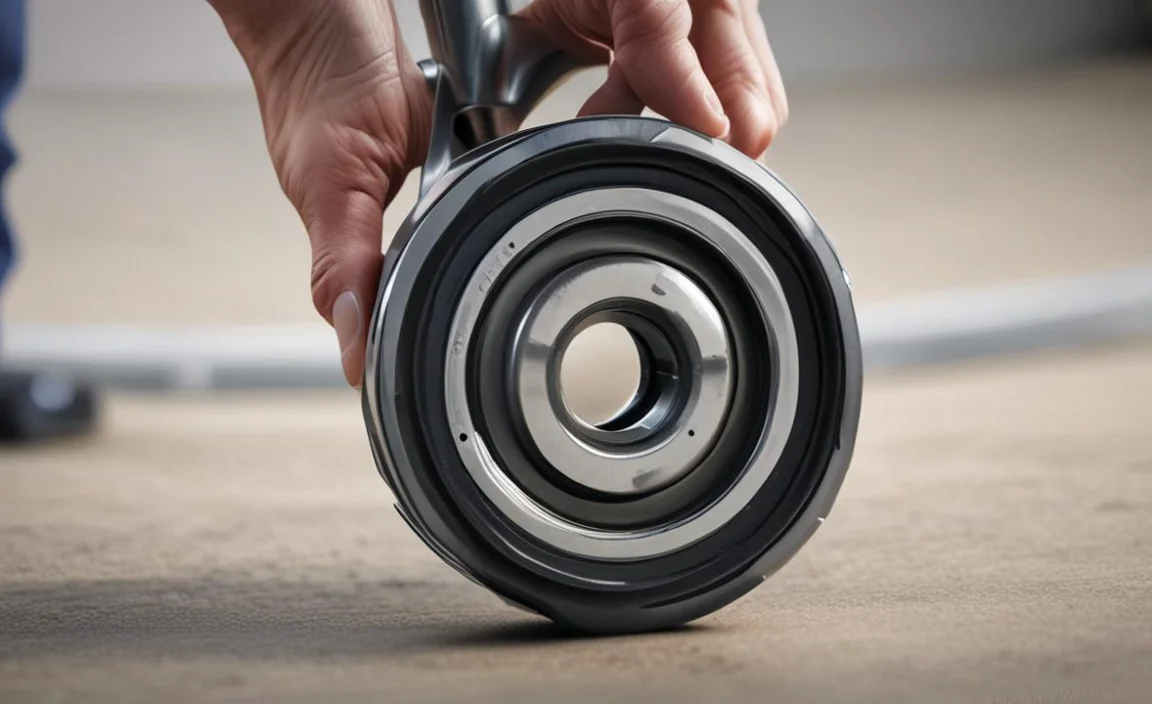
Regarding removing a rear axle bearing without a puller, the first step is to locate the bearing. In most cases, the rear axle bearing is located inside the rear axle housing or hub assembly. To access the bearing, you may need to remove other components,nts such as the rotor or drum and brake assembly.
Once you have located the bearing, you remove it using alternative methods such as a hammer and punch or a slide hammer. It’s important to exercise caution and ensure that you have the necessary tools and knowledge before attempting to remove a rear axle bearing without a puller, as improper techniques can cause damage to the axle or other components.
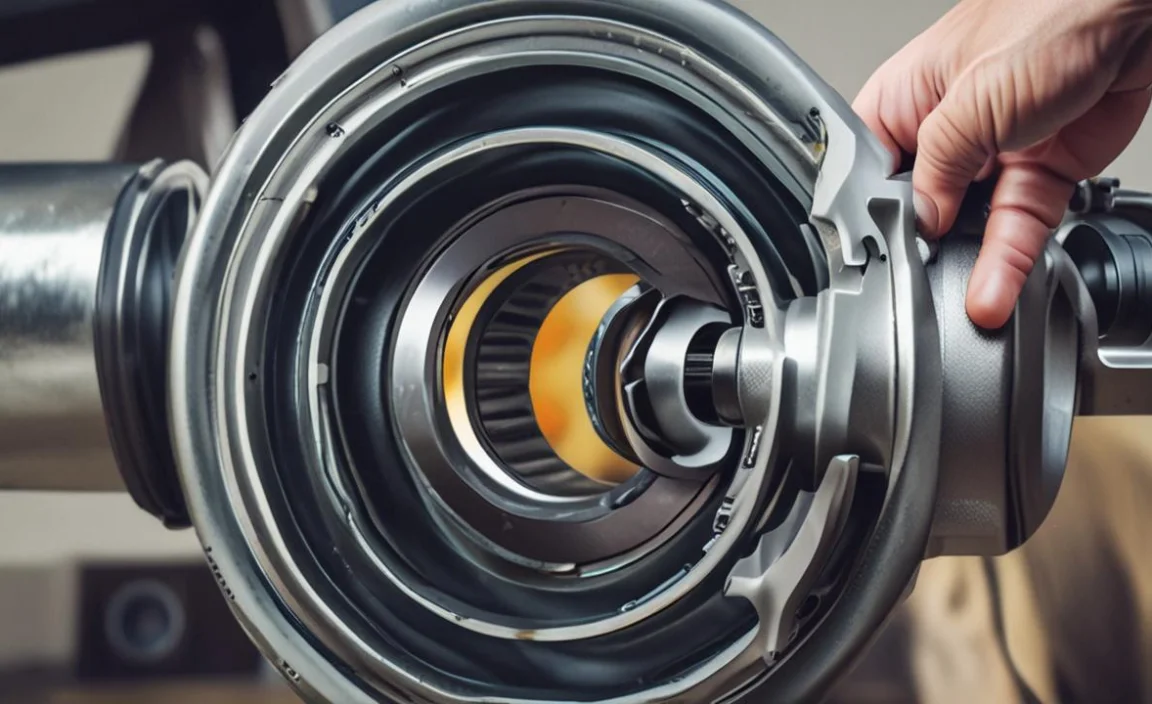
Apply Heat To The Bearing.
Regarding removing a rear axle bearing without a puller, applying heat can be an effective technique. The heat helps to expand the metal, making it easier to remove the bearing. To apply heat, you can use a torch or heat gun to warm up the surrounding area of the bearing.
It’s important to be cautious and not overheat the bearing, as excessive heat can cause damage. Once the metal is heated, you can use a hammer and punch or a press to tap or push out the bearing from its housing carefully. Remember to wear appropriate safety gear and take necessary precautions when working with heat and tools.
Use A Hammer And Chisel
Removing a rear axle bearing without a puller can be a challenging task. However, there is an alternative method that you can try using a hammer and chisel. First, position the chisel against the inner race of the bearing.
Then, firmly strike the chisel with a hammer to create enough force to loosen the bearing from its housing. Gradually work your way around the bearing, repeating this process until it is completely removed. It’s important to exercise caution and ensure that you have a steady hand to avoid damaging the axle tube or other components during the removal process.
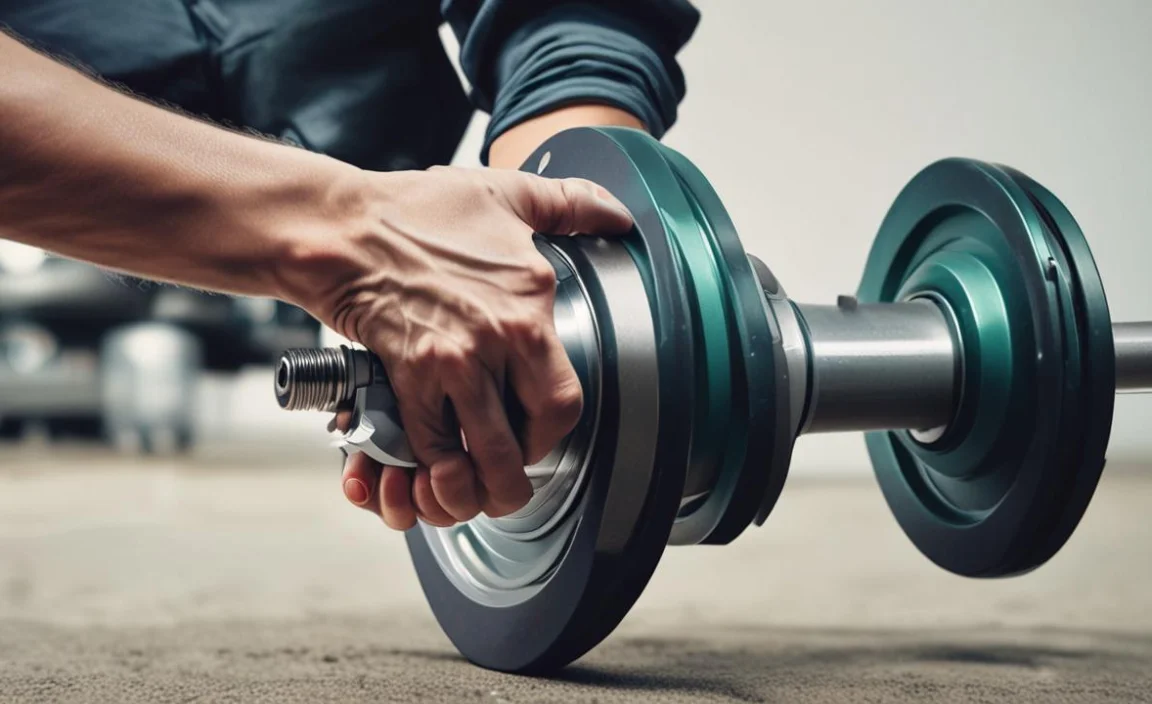
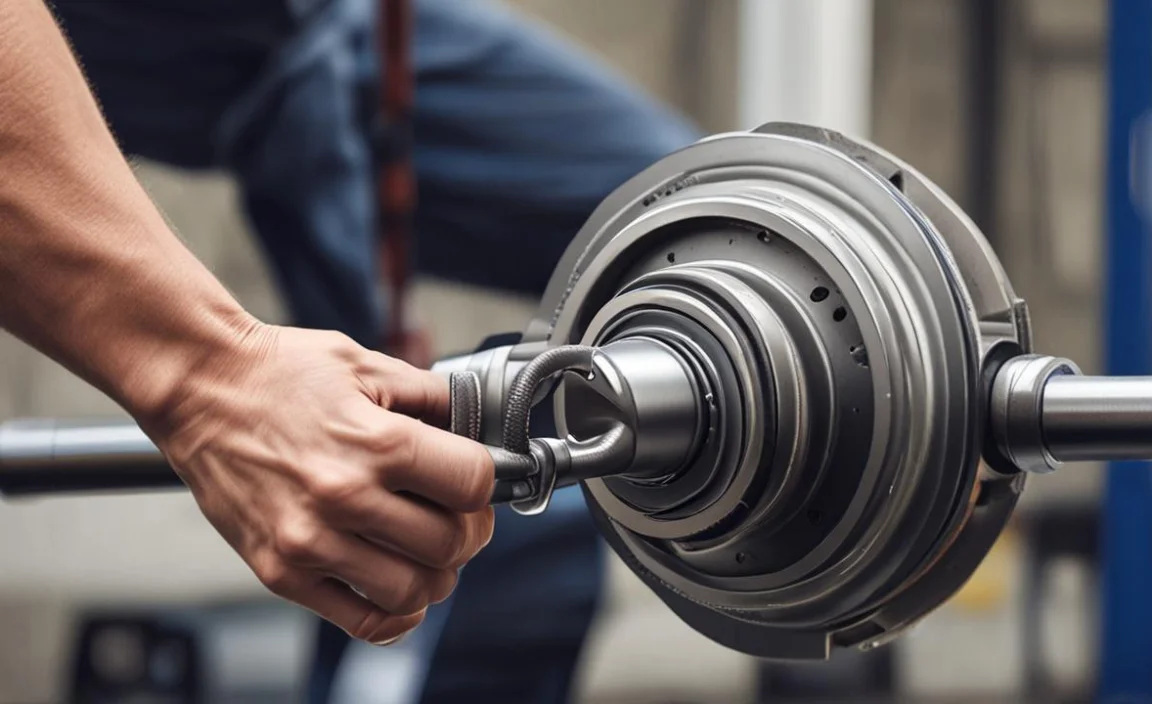
Utilize A Slide Hammer To Remove
For removing a rear axle bearing without a puller, one effective method is to utilize a slide hammer. A slide hammer is a tool that can provide the necessary force to remove the bearing from its housing. To use a slide hammer, first, attach the appropriate attachment or hook to the end of the slide hammer. Then, insert the hook into the inner race of the bearing and firmly grip it.
With a strong and controlled motion, pull back on the slide hammer to apply force and remove the bearing from its position. This technique can be an effective alternative when a puller is not available or suitable for the job. However, it is important to exercise caution and ensure proper safety measures are taken when using any tools or equipment.
Tips And Tricks For A Successful Removal
Removing a rear axle bearing without a puller can be a challenging task, but with the right tips and tricks, it is possible to remove the bearing successfully. Remember, safety should always be your top priority when working on any mechanical task.
Take precautions such as wearing protective gear and ensuring that your work area is well-lit and stable. If you’re unsure about any part of the process or if you encounter difficulties, it’s best to consult with a professional mechanic for assistance. Here are some helpful suggestions to guide you through the process:
- Apply Heat: Heating the surrounding metal can help expand it and make the bearing easier to remove. Use a blowtorch or heat gun to apply heat to the area around the bearing carefully.
- Use A Hammer And Punch: A hammer and punch can be used to tap on the outer edge of the bearing, gradually loosening it from its position. Be sure to use even force and work your way around the bearing.
- Utilize A Homemade Puller: If you don’t have access to a proper puller tool, you can create your own using a threaded rod, washers, and nuts. By tightening the nuts against the washers, you can create pressure that will help pull out the bearing.
- Consider Using A Slide Hammer: A slide hammer is another option for removing stubborn bearings. This tool uses a sliding motion to generate force and pull out the bearing. Attach it securely to the bearing and use steady, controlled force to remove it.
Common Mistakes To Avoid When Removing Rear Axle Bearings Without A Puller

Removing rear axle bearings without a puller can be a challenging task, but with the right techniques and precautions, it can be done. However, there are some common mistakes that you should avoid to ensure a successful removal process.
One common mistake is using excessive force or pounding on the bearing, which can damage the axle or other components. Instead, it is important to use controlled pressure and tapping techniques to loosen and remove the bearing gradually.
Another mistake to avoid is not properly supporting the axle while removing the bearing, as this can cause misalignment and further damage. It is important to use proper tools and equipment, such as a press or a slide hammer, to safely and effectively remove the rear axle bearings without causing any unnecessary damage or complications.
Conclusion
Removing a rear axle bearing without a puller may seem like a daunting task, but with the right techniques and tools, it can be done successfully. We have discussed various methods that you can use to remove a rear axle bearing without a puller.
From using a slide hammer to creating your makeshift puller, there are several options available to you. However, it is important to exercise caution and follow the proper safety procedures when attempting any DIY repairs on your vehicle.
Suppose you’re unsure about removing a rear axle bearing without a puller or would prefer professional assistance. In that case, it’s always best to consult with a qualified mechanic or technician who can safely and efficiently complete the job for you. We hope you know how to remove rear axle bearing without a puller.
